Term-by-term project mapping for school labs
Project Planning is a guided course that helps your team choose the right projects for the right age group, then place those projects into a workable school calendar. We look at the number of learners, lesson length, available computers, printer count and the amount of supervision needed, so the output is more than a list of ideas. It becomes a practical schedule that fits your week, whether you are planning for Grade 4 discovery activities or senior learners doing more detailed design work.
The focus is on time, sequence and classroom control. That means deciding how long learners spend on design, slicing, printing, cooling, removal and review. It also means planning around sports days, exam blocks, assembly times and term breaks. In schools around Stellenbosch, Cape Town and Paarl, we often also factor in power interruptions and the reality of shared labs, so the plan stays usable when the day does not run exactly as expected.
What the planning course covers in practice
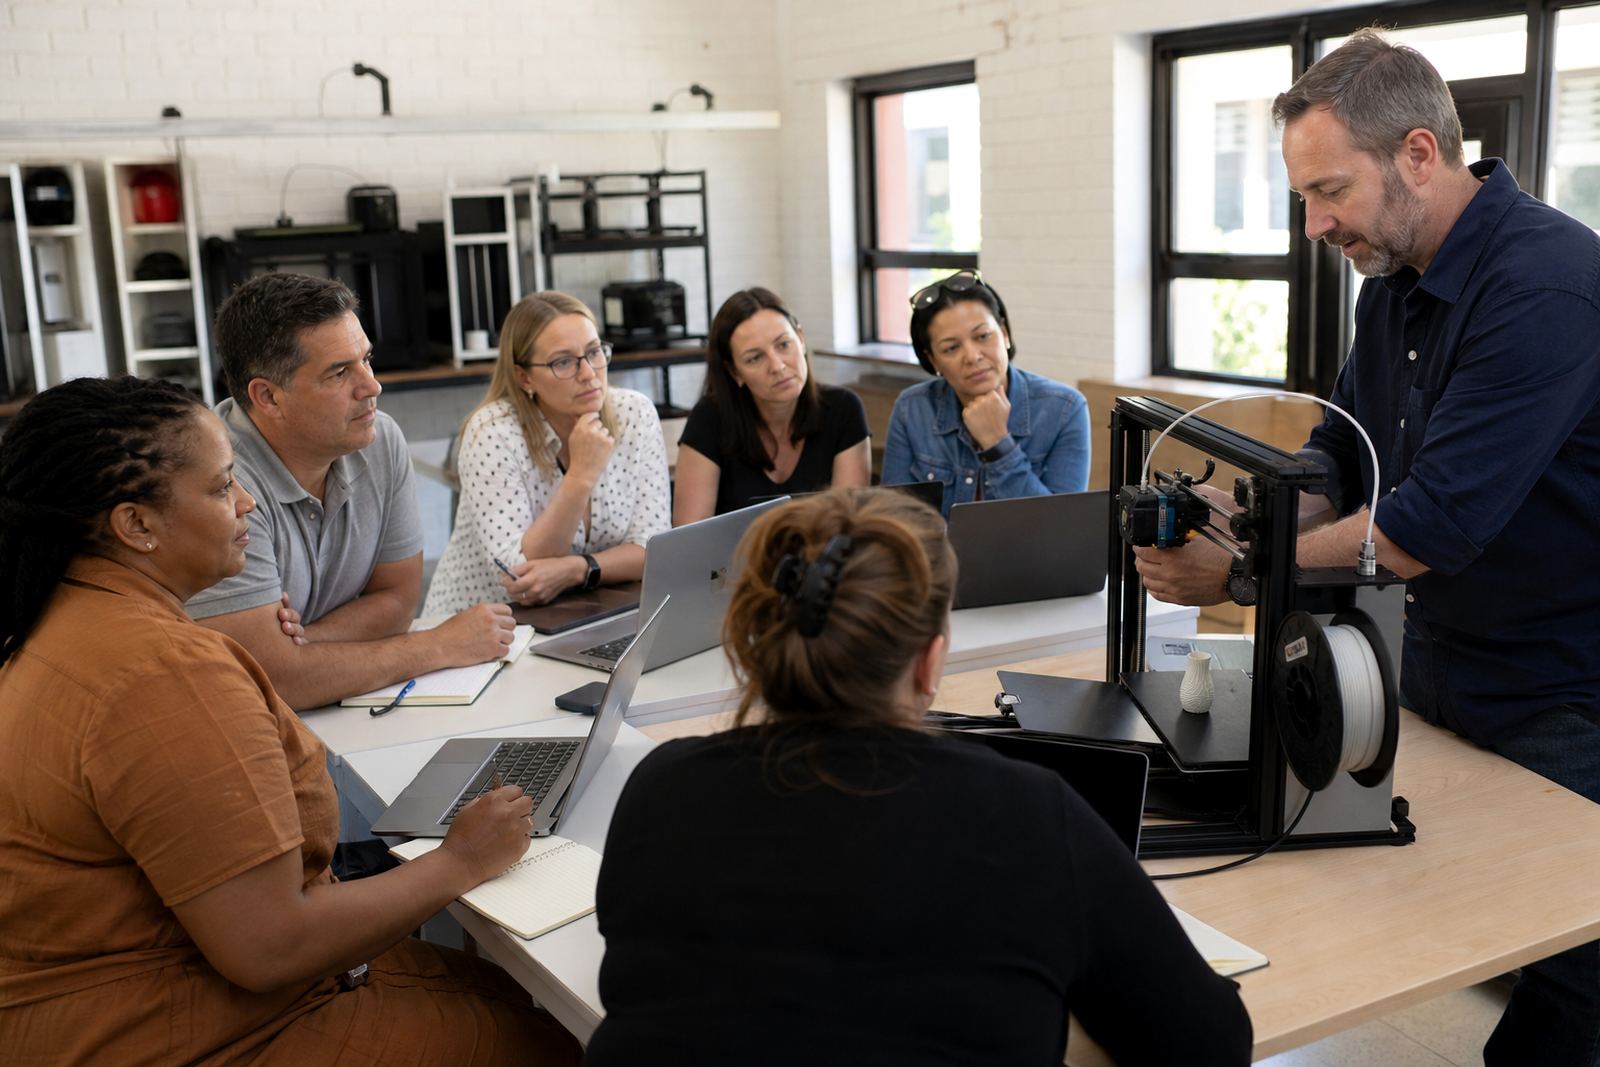
We start with your current setup and work through the projects you want learners to complete. From there, we define the scope for each age group and map what equipment is needed at each step. The course is suited to teachers who are new to 3D printing, as well as staff who already have a printer and want a better rhythm for class use.
- Choosing project themes that match learner age and classroom time
- Estimating design, print and post-processing time per project
- Planning printer use for single classes or rotating groups
- Setting safe handling rules for hot parts, tools and moving components
- Assigning roles for teacher, lab assistant and learners
- Building a term plan that can be repeated or adjusted later
We keep the guidance practical. If a project needs a 45-minute lesson plus a second session for finishing, that is how it is planned. If a class only has one shared computer, we show how to stagger the work so no one is left waiting too long.
How the planning process works from first chat to final schedule
The process begins with a short briefing on your school, your grade bands and the machines you already have. We then review class times, expected learner numbers and how much teacher support is available. After that, the course is shaped around your space and timetable, not a fixed template.
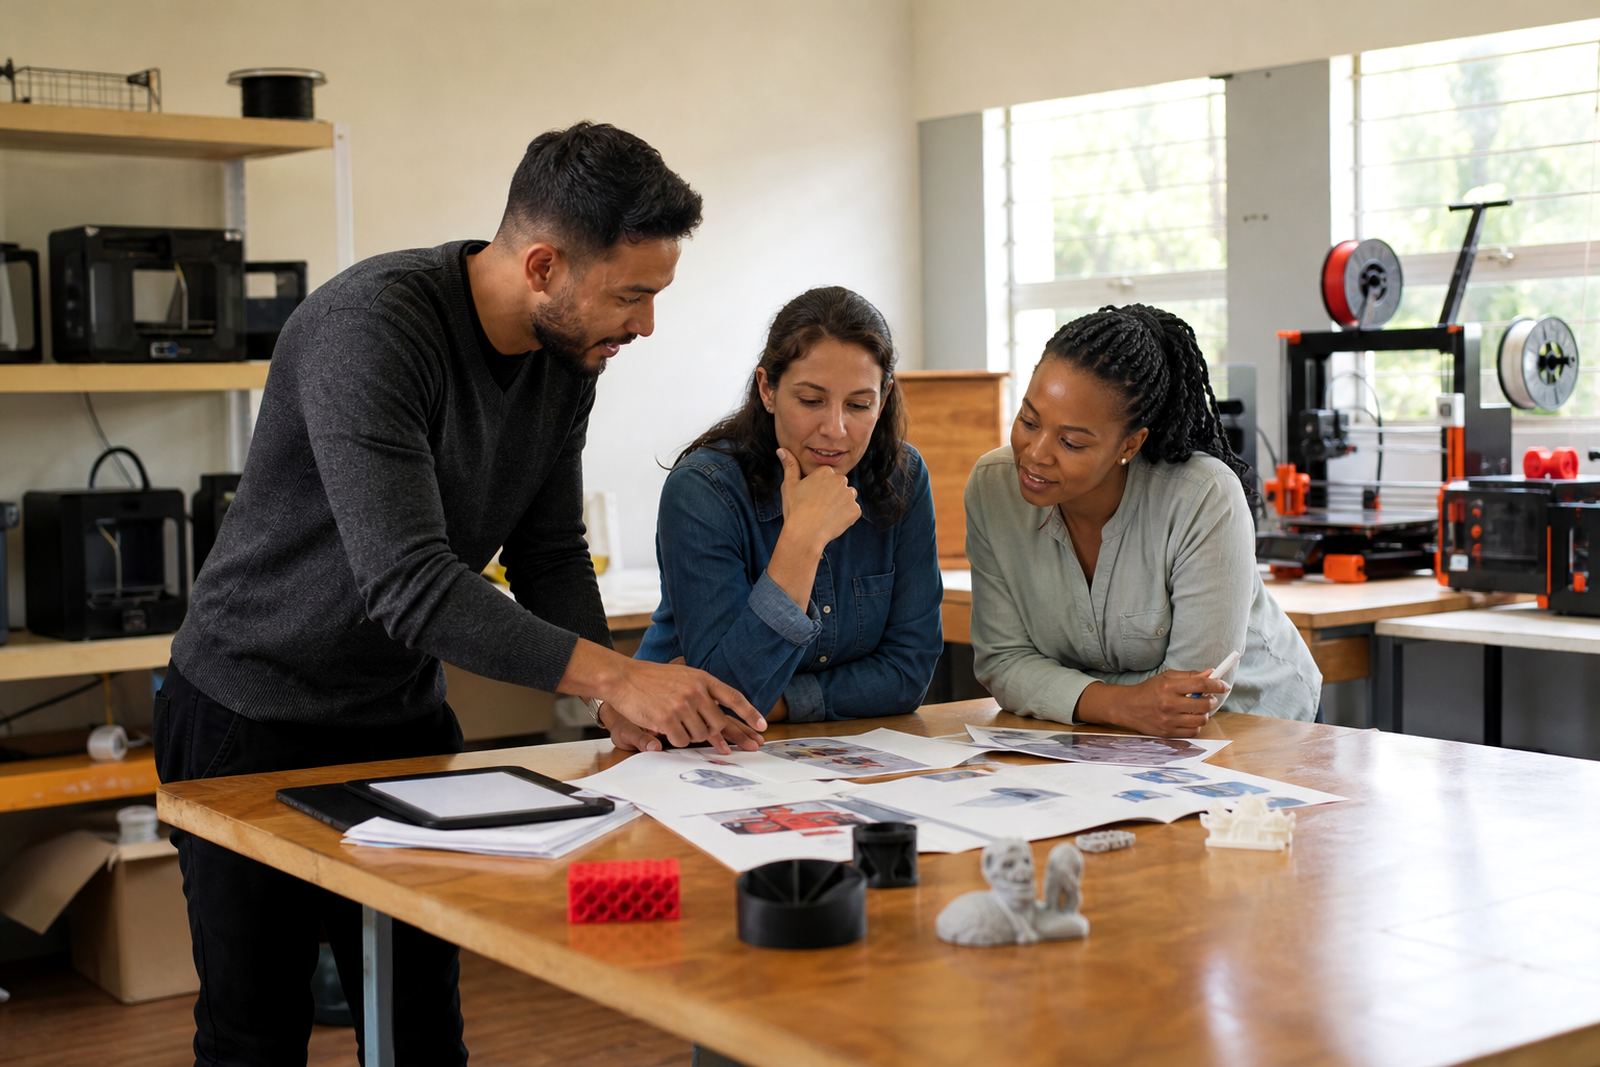
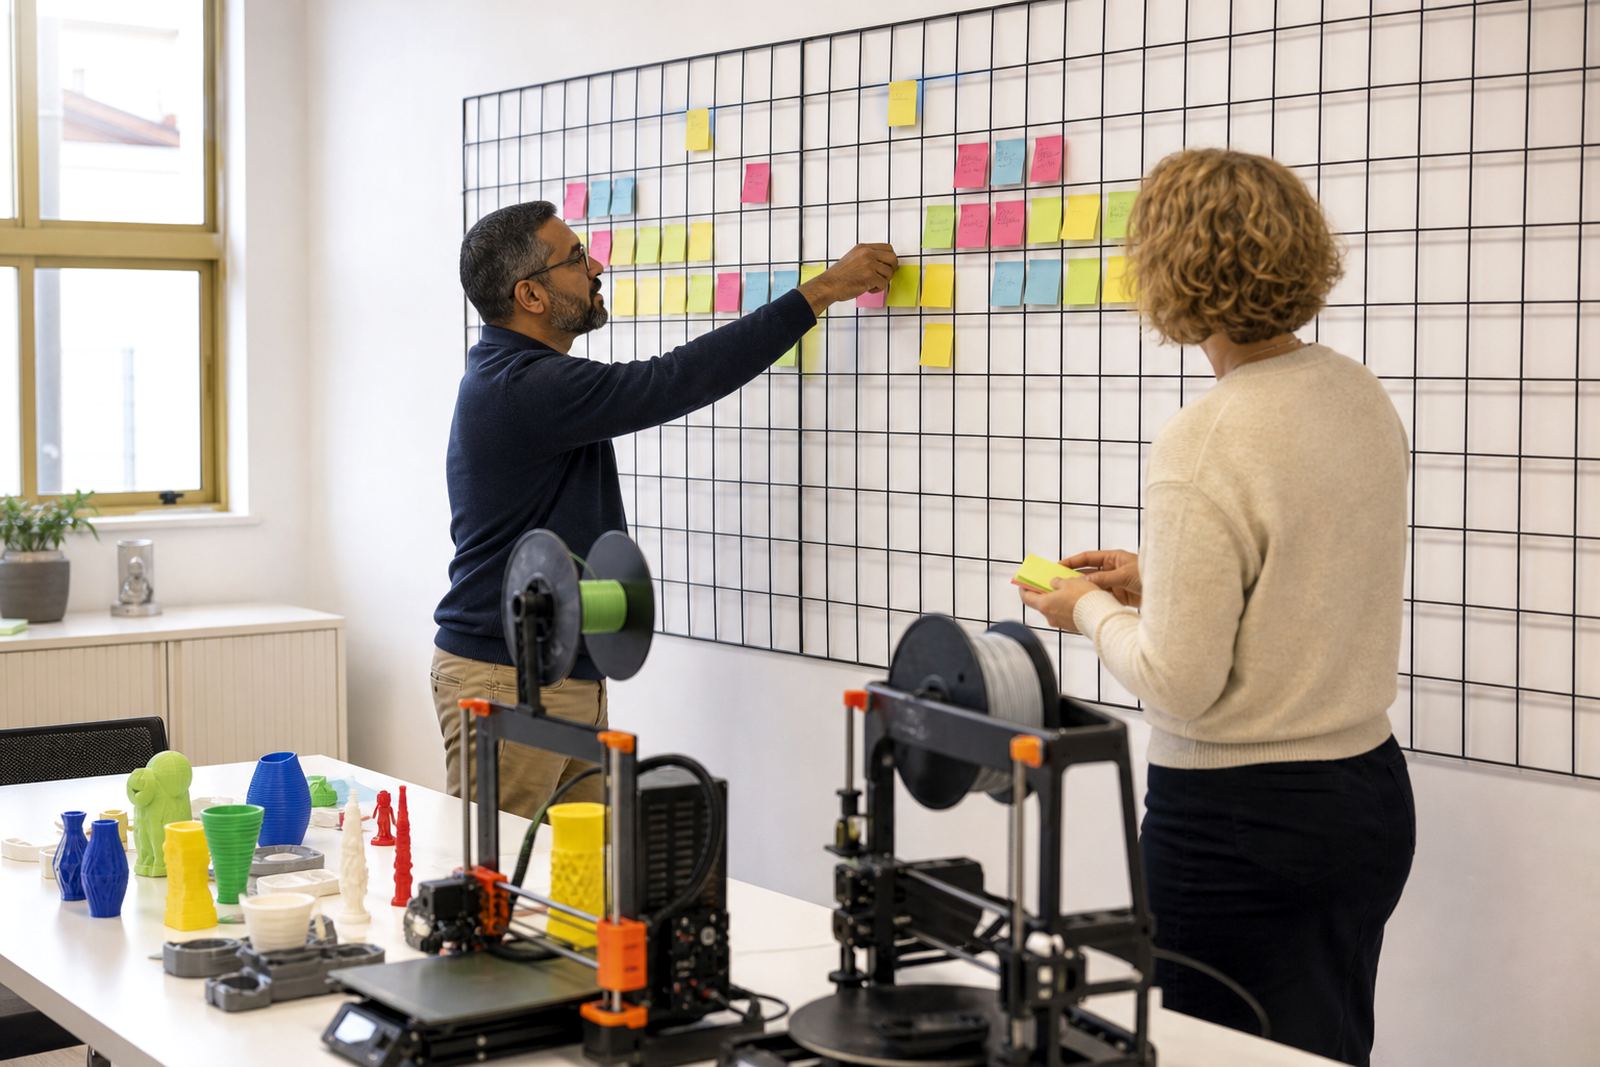
Next comes the project matrix. This is where we set out project level, estimated time, resource use and follow-up work. For example, a lower primary project may need simple shapes and a short print, while a senior project may include measuring, model edits and a longer print run. The result is a clear schedule for the term, plus notes on where to place demo days, assessment checks and catch-up sessions.
Schools in Durban and Gqeberha often ask for planning that works in humid conditions, especially where filament storage and printer downtime matter. We include those considerations as part of the timetable so the lessons are planned with local conditions in mind.
Specs for classroom planning and equipment use
The course also gives schools a practical benchmark for setup, so staff know what to expect before the first print starts. These points are based on common classroom use and help with preparation and budgeting.
- Group size: Best handled in groups of 4 to 8 learners per printer station
- Lesson block: 30 to 60 minutes for theory, design or review, with print time outside the lesson where needed
- Design software access: One computer per learner pair is usually sufficient for guided classes
- Printer use: 1 to 2 printers can support a small maker club or pilot programme, depending on project size
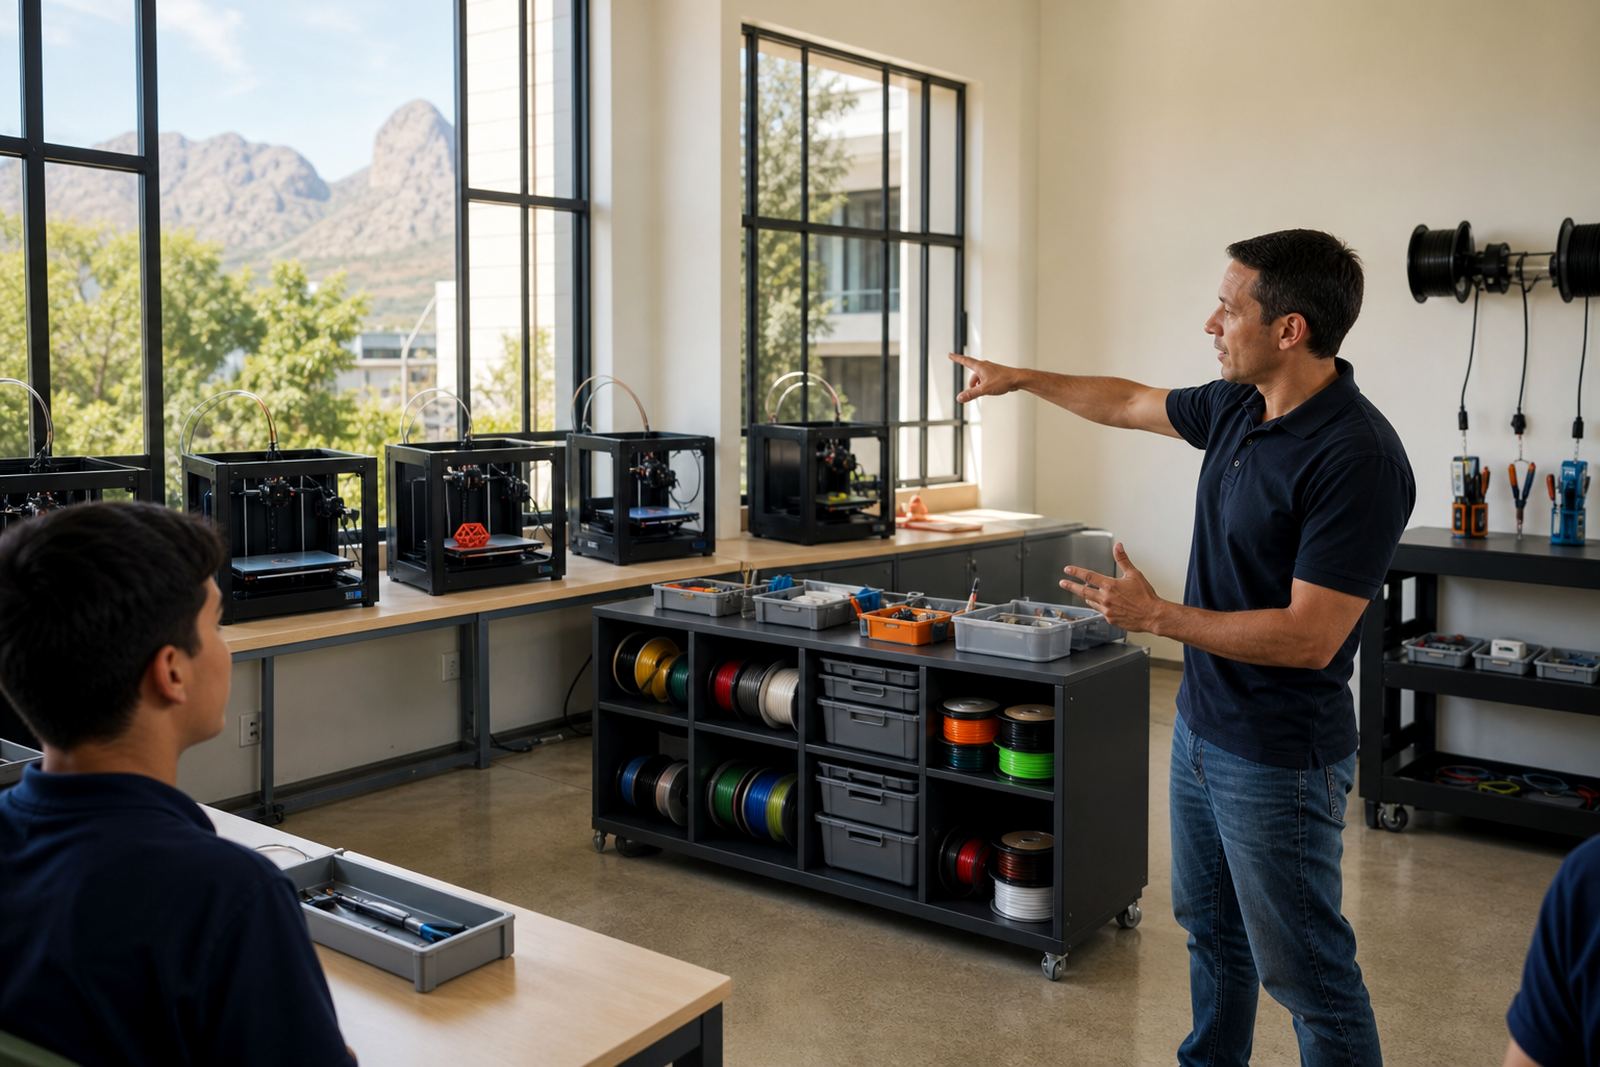
- Material handling: Dry storage needed for filament and labelled project trays for parts
- Safety spacing: Clear working area around the printer, cooling part area and tool zone
We also discuss simple records for each project, such as print date, material used and any notes on failures or reprints. That makes it easier to keep track of what worked from one term to the next.
Maintenance intervals that keep the schedule realistic
A good plan is only useful if the equipment stays ready. For that reason, Project Planning includes maintenance intervals that fit school use, not workshop use. We recommend a quick daily check before printing, a weekly clean and inspection, and a term review for belts, nozzles, beds and moving parts. In schools with regular use, a deeper service should be booked at least once a term or after any heavy project cycle.
Small operating habits help reduce disruption. That includes checking filament feed, keeping print beds clean, clearing the area after each session and switching off equipment properly. It also helps to store spares in a locked cupboard and keep consumables out of direct sun, especially in coastal areas where heat and moisture can affect materials.
Where schools run holiday programmes or maker clubs, we can extend the maintenance plan to cover those sessions too. The aim is to keep the timetable honest, so the school is not promising more print time than the equipment can comfortably handle.
Pricing approach for schools and group bookings
Pricing is based on the scope of the planning work, the size of the school team involved and whether the session is for one site or several departments. A small school pilot with one grade band is priced differently from a full multi-grade planning session with a lab coordinator, teachers and support staff. We also account for whether the work is done on site in Stellenbosch, in Cape Town, or as a broader South African school rollout.
For many schools, the best value comes from grouping planning with related services such as Lab Setup Course or Maintenance Basics. That way the timetable, the equipment flow and the upkeep plan all line up. Where needed, we can quote for a single workshop, a half-day planning session or a larger custom group workshop. Costs are discussed clearly before booking, with no surprises added after the fact.
The pricing approach is straightforward: you pay for the time needed to build a usable plan, not for extras you do not need. If your school only needs project mapping for one term, that is what we focus on. If you need a longer plan across multiple grades, we shape the session accordingly.
Ongoing support after the plan is signed off
Once the plan is in place, many schools want a follow-up check after a few weeks of classroom use. That allows us to see whether the print times are realistic, whether the learner groups are balanced and whether the equipment is being used efficiently. If the schedule needs tightening, we can adjust the project sequence or move certain tasks to a better lesson slot.
Support may include a short review after the first run, a term-end planning update, or a refresh before a new intake of learners starts. This is useful for schools in Johannesburg and Pretoria where timetable pressure can shift quickly, and for schools in smaller towns that want one plan to carry through the whole term. The aim is steady use, clear expectations and fewer interruptions in class.
- Initial planning session and school needs review
- Project matrix with age band, time and resource notes
- Term schedule with classroom sequence and checkpoints
- Maintenance calendar for daily, weekly and termly care
- Optional follow-up review after implementation
Key facts
| Course focus | Age-appropriate 3D print projects, scheduling and equipment planning for schools |
|---|---|
| Typical duration | Half-day or full-day depending on school size and number of grades |
| Suitable for | Teachers, HODs, lab coordinators and maker club leaders |
| Output | Term plan, project matrix, equipment list and maintenance intervals |
| Delivery areas | Stellenbosch, Cape Town, Johannesburg, Pretoria, Durban and Gqeberha |
| Review cycle | Daily checks, weekly cleaning and term-end maintenance review |