What the Teacher Introduction course covers
This course is built for teachers who need a straight forward overview before they introduce 3D printing to learners. We keep the focus on practical classroom use, so participants understand what a printer can do, what it cannot do and how to plan lessons that fit normal school timetables.
The course covers the main types of 3D printers used in education, common materials, basic file preparation and simple print setup steps. We also look at the day to day realities of working in a school environment, including supervision, ventilation, cable management and where to place equipment in a busy room. The aim is to leave teachers confident enough to start planning their own activities, not just watch a demonstration.
Inside the classroom workflow
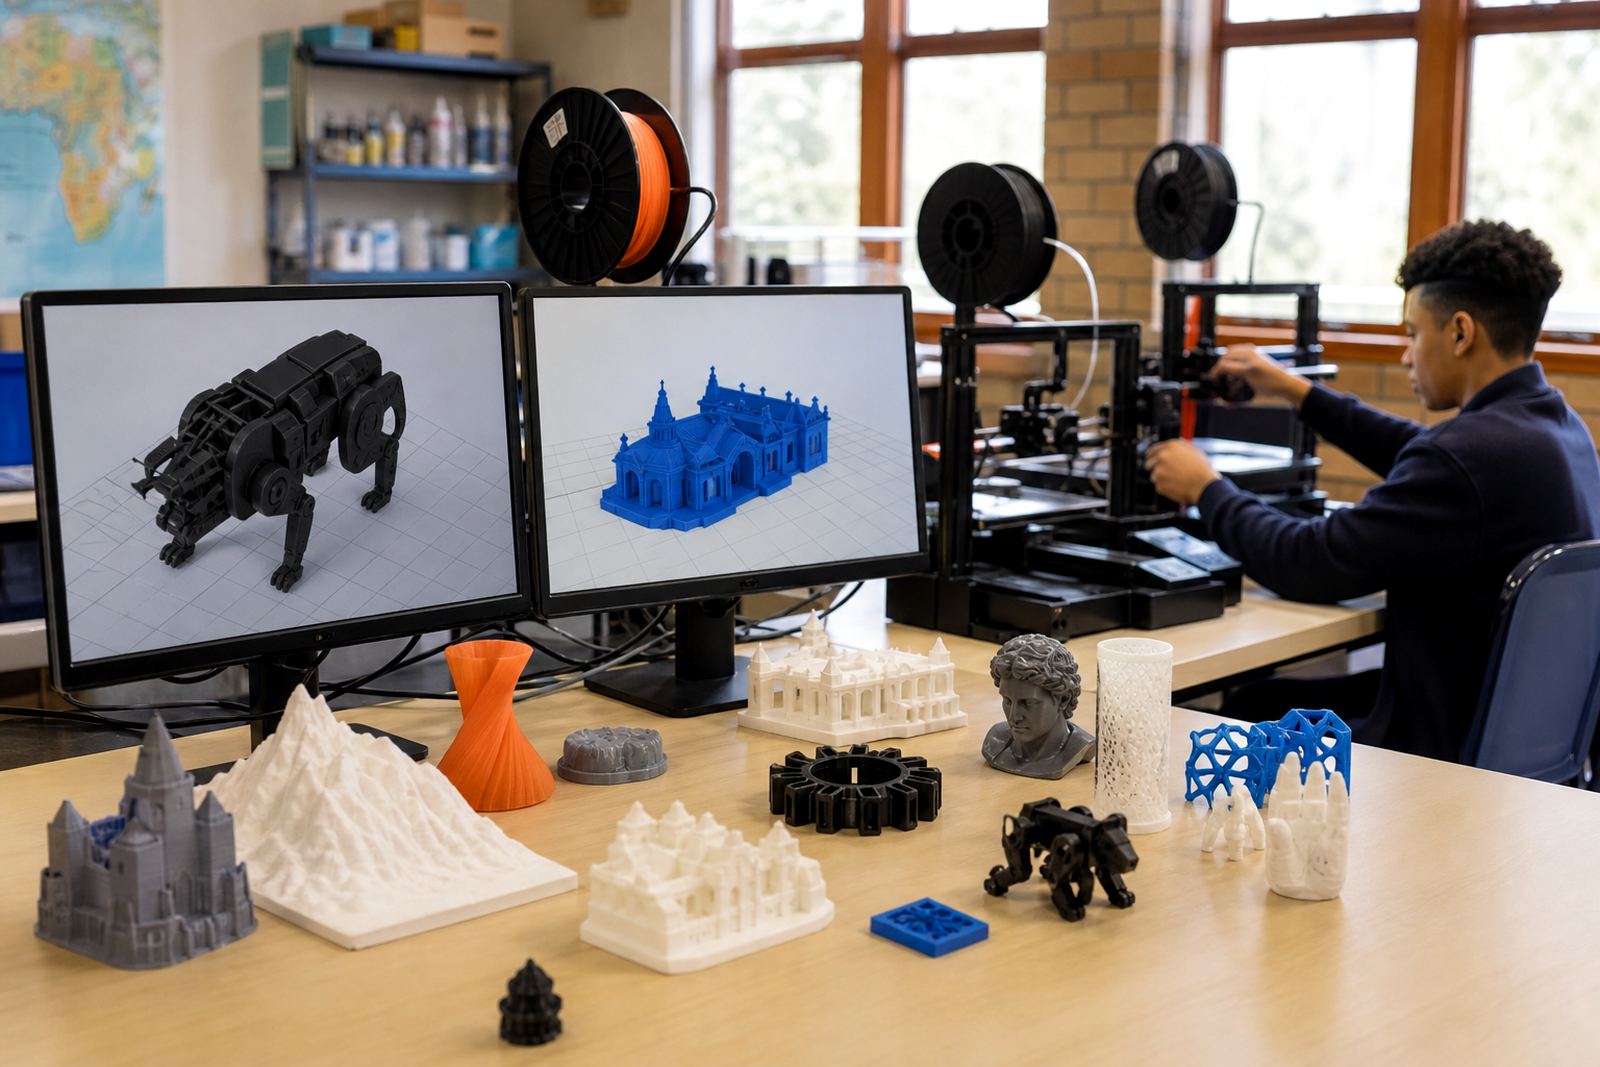
We walk through the full classroom workflow from idea to finished print. Teachers learn how to move a learner project from sketching or simple modelling into print-ready form, how to queue jobs, and how to manage print times around lessons. This matters in South African schools where time, space and power interruptions all shape how a lab should run.
The course also covers practical planning for class groups, including how to split learners into teams, how to assign roles and how to keep the process organised when several groups want to print at once. In many schools the most useful part is learning how to run a small, calm workflow that does not interrupt the rest of the day.
- Basic file review and print preparation
- Simple lesson flow for individual and group work
- Handling wait times during longer prints
- Classroom supervision and safe access rules
Equipment and classroom setup guidance
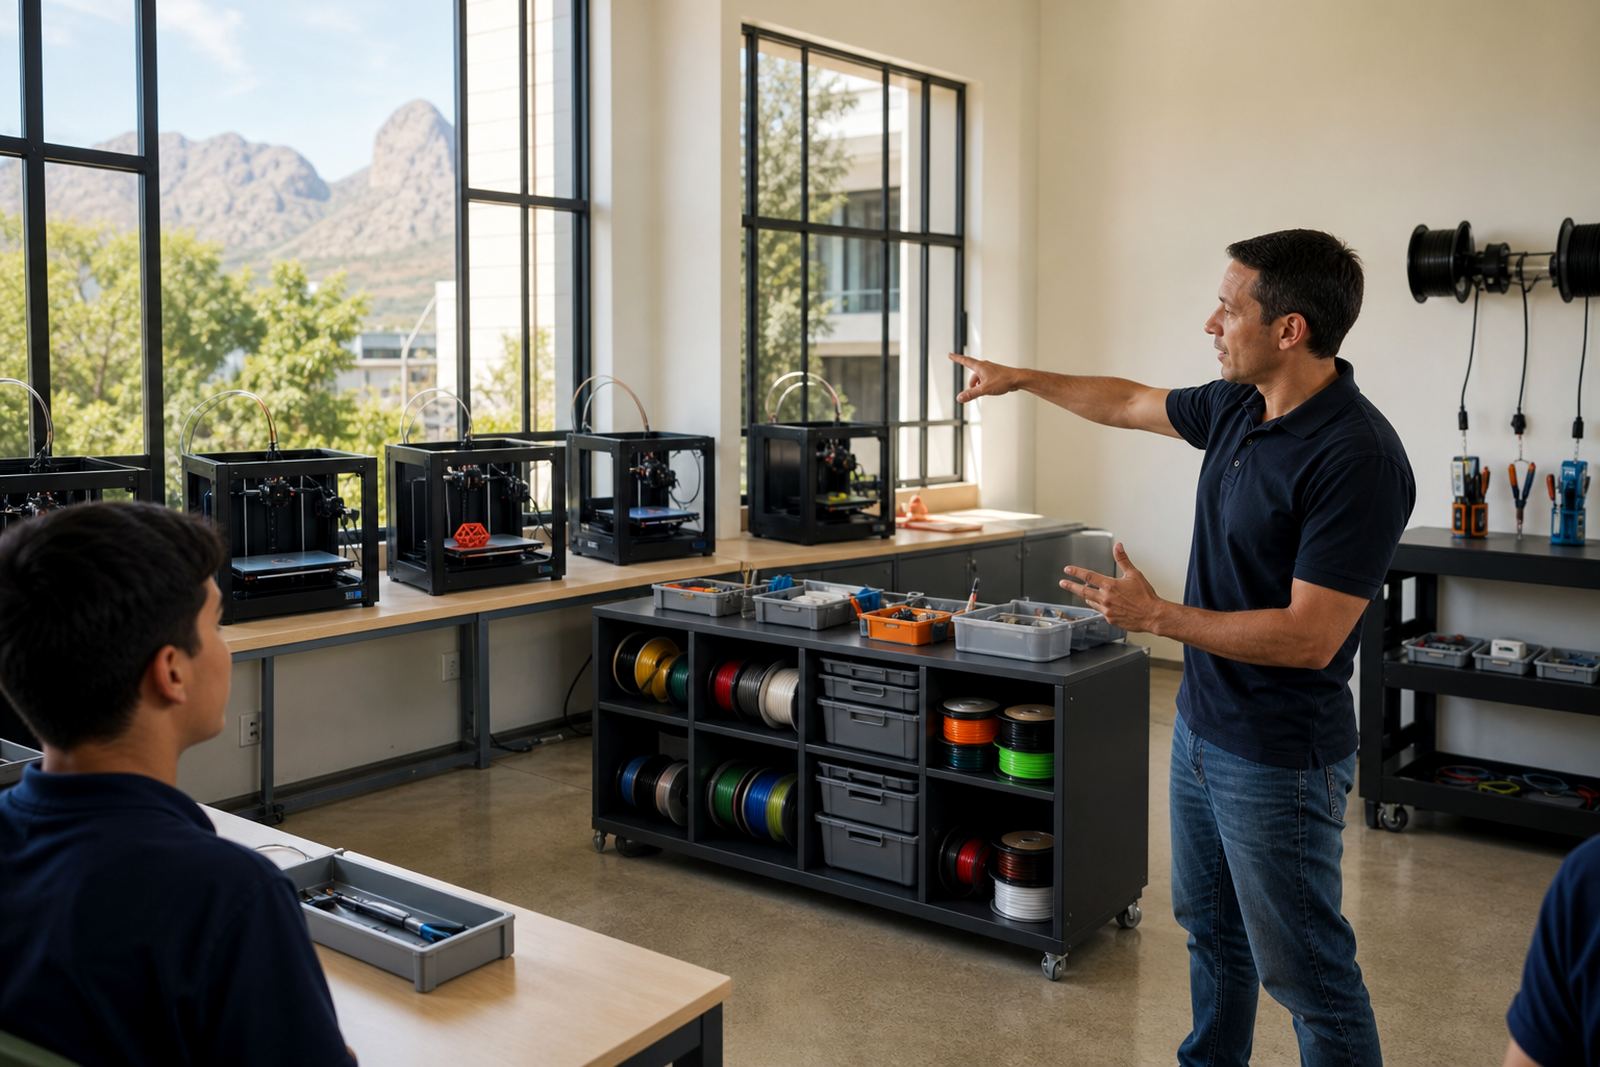
We discuss the equipment usually needed for a school starter setup, including a printer, slicing software, a computer or laptop for preparation, filament storage and a small set of tools for removing finished prints. We also cover bench layout and power planning so the lab can cope with load shedding and general school day interruptions.
For coastal areas like Cape Town, Gqeberha and Durban we pay extra attention to moisture control because damp filament can affect print quality. In inland areas such as Pretoria and Johannesburg, dust management and stable power back-up become more important. The guidance is practical rather than complicated, because schools need systems that teachers can actually maintain.
- Recommended bench space and safe clearance around each unit
- Storage for filament in sealed containers where needed
- Basic power backup planning for interrupted supply
- Simple tools for removal, cleaning and inspection
How the course is delivered
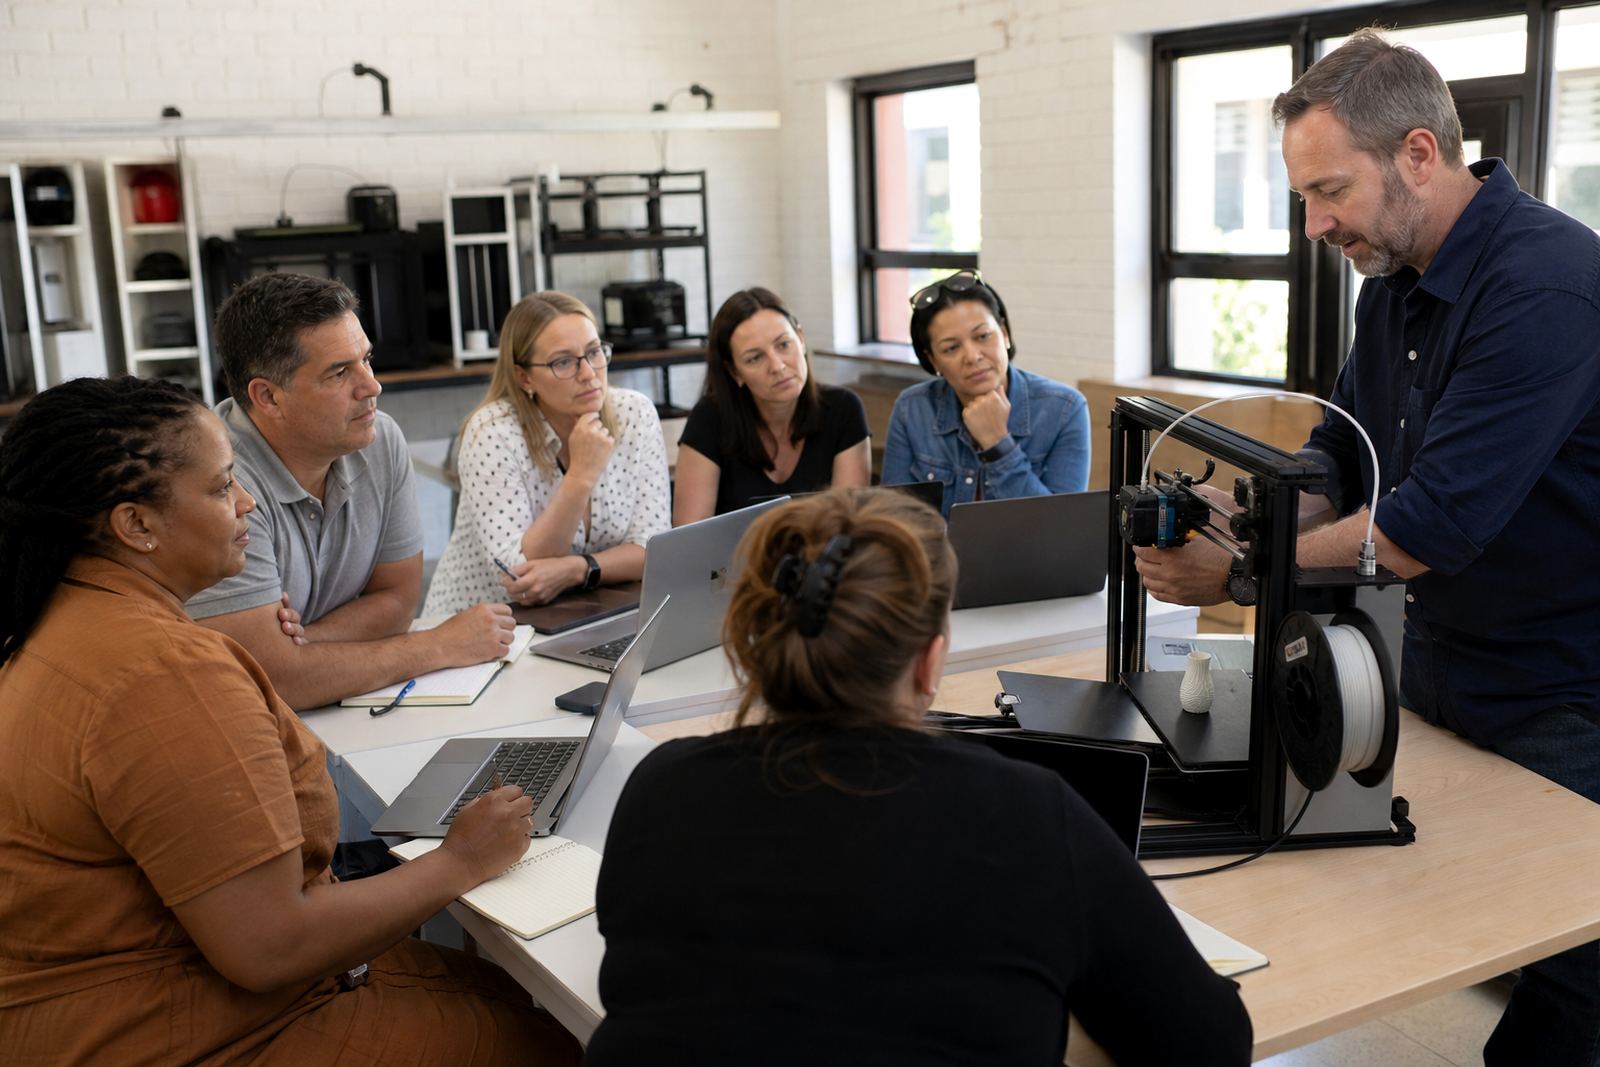
Teacher Introduction is usually delivered as a guided session or short workshop for one school or a small cluster of educators. We can run it in Stellenbosch at our training base, or travel to schools in Cape Town, Somerset West, Paarl and other centres across South Africa. The format is flexible, so it can suit a single department, a foundation team or a larger staff group that wants a common starting point.
The process is simple. First we confirm the school context, then we outline the session plan and identify the level of experience in the group. After that the training is scheduled and presented with room for questions, demonstration and basic hands-on practice. Teachers leave with a clear next step rather than a pile of notes they cannot use. That usually makes a big difference.
Turnaround, pricing approach and booking steps
Turnaround depends on the size of the group and whether the training is for one site or several schools, but the normal booking flow is quick. Once we receive an enquiry through the contact page, we review the request, confirm the scope and give a practical quote based on the session length, number of attendees and travel where relevant. We do not quote blindly, because the needs of a small staff team in Stellenbosch are not the same as a larger school programme in Durban or Pretoria.
Our pricing approach is straightforward. School teams can ask for a single introductory session, a half day workshop or a fuller programme that includes follow up guidance. We keep the quotation linked to actual requirements, not a fixed package that forces schools into extras they do not need. If you are planning a larger roll-out, we can also map the training in stages so the budget can be spread more comfortably across the term.
- Enquiry received through the contact form
- Scope confirmed for school size and location
- Quote prepared for session length and travel
- Training date set and session delivered
Support after training and basic maintenance intervals
After the course, schools usually need some help settling into a regular routine. We cover the basic maintenance intervals that keep an education printer working properly, including nozzle checks, bed cleaning, belt inspection and general visual checks. A weekly quick check is usually enough for light school use, while busier labs may need attention a bit more often.
We also explain what teachers should watch for when a printer starts behaving differently, such as poor first layers, stringing or uneven extrusion. The idea is to help staff spot small issues early before they turn into lost class time. In a school setting this is often more useful than waiting for a full breakdown. A little routine care goes a long way, especially where the lab is used by several classes.
- Daily: tidy the area and check for leftover material
- Weekly: clean surfaces, inspect motion and review print quality
- Monthly: deeper check of belts, nozzles and storage conditions
- Termly: review workflow, learner access and consumable needs
Key facts
| Course level | Entry level for educators |
|---|---|
| Format | Workshop or guided training session |
| Audience | Teachers and school staff |
| Core focus | 3D printing concepts, workflow and planning |
| Delivery areas | Stellenbosch, Cape Town, Johannesburg, Pretoria, Durban, Gqeberha and surrounding areas |
| Enquiry method | Contact form on the website |