What CAD Basics Covers in the Classroom
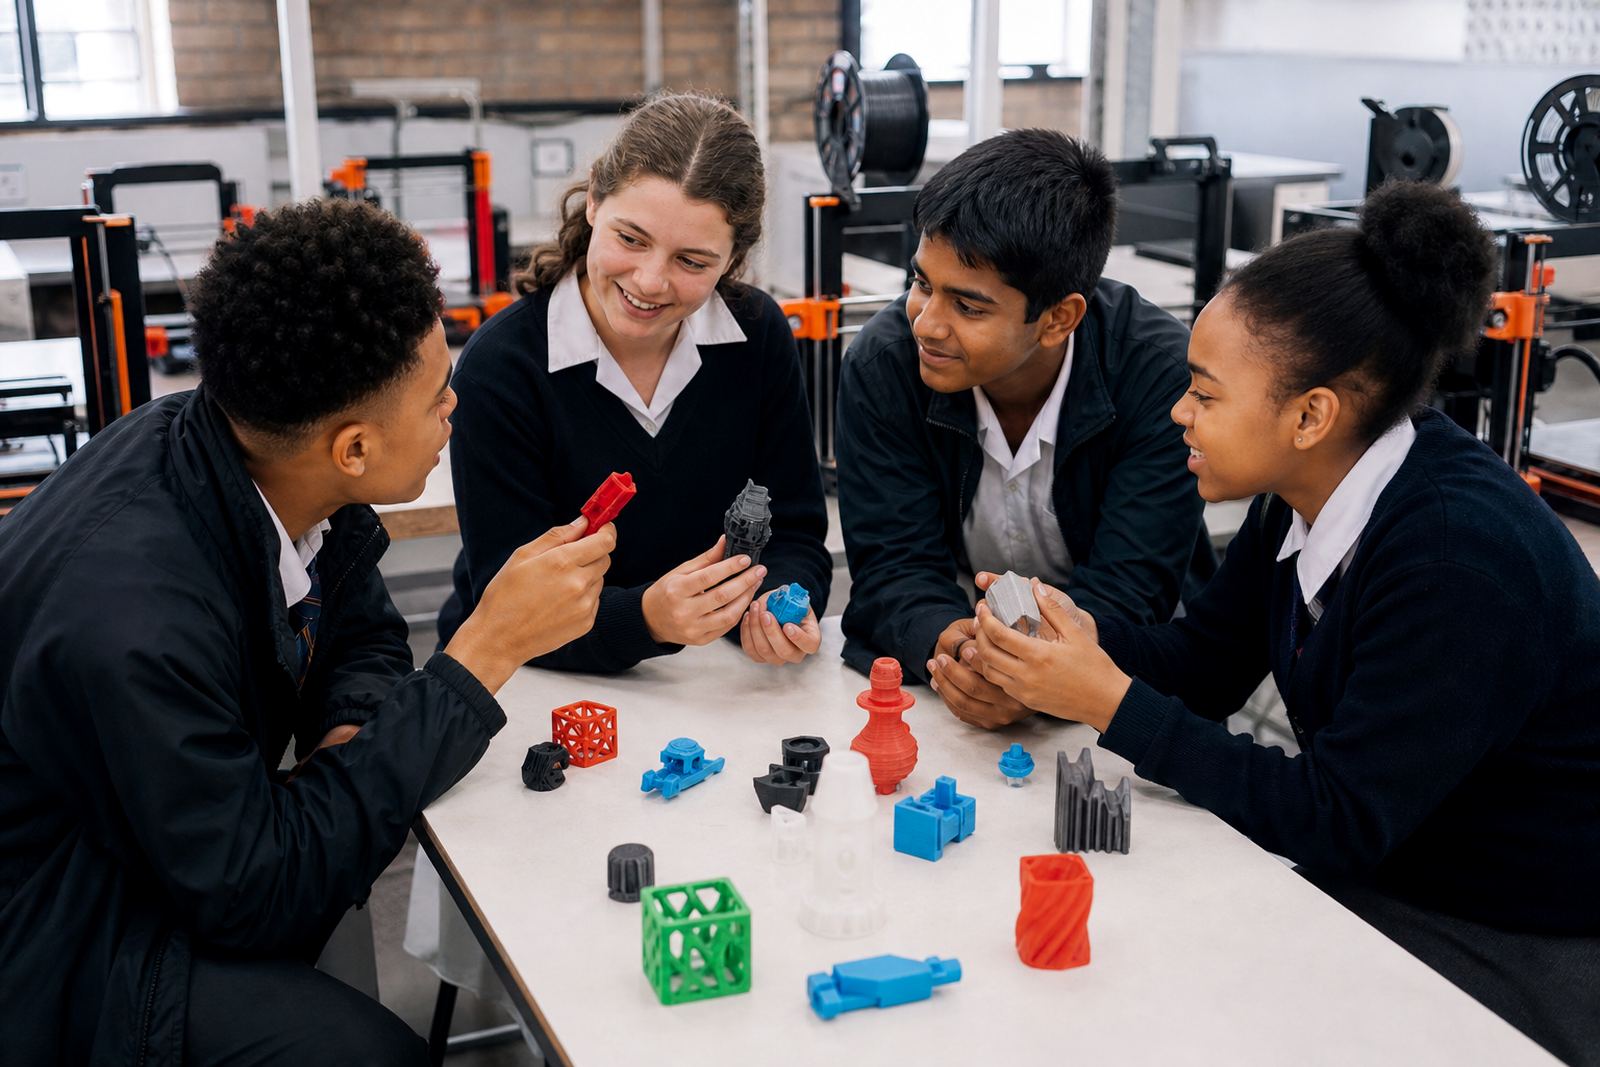
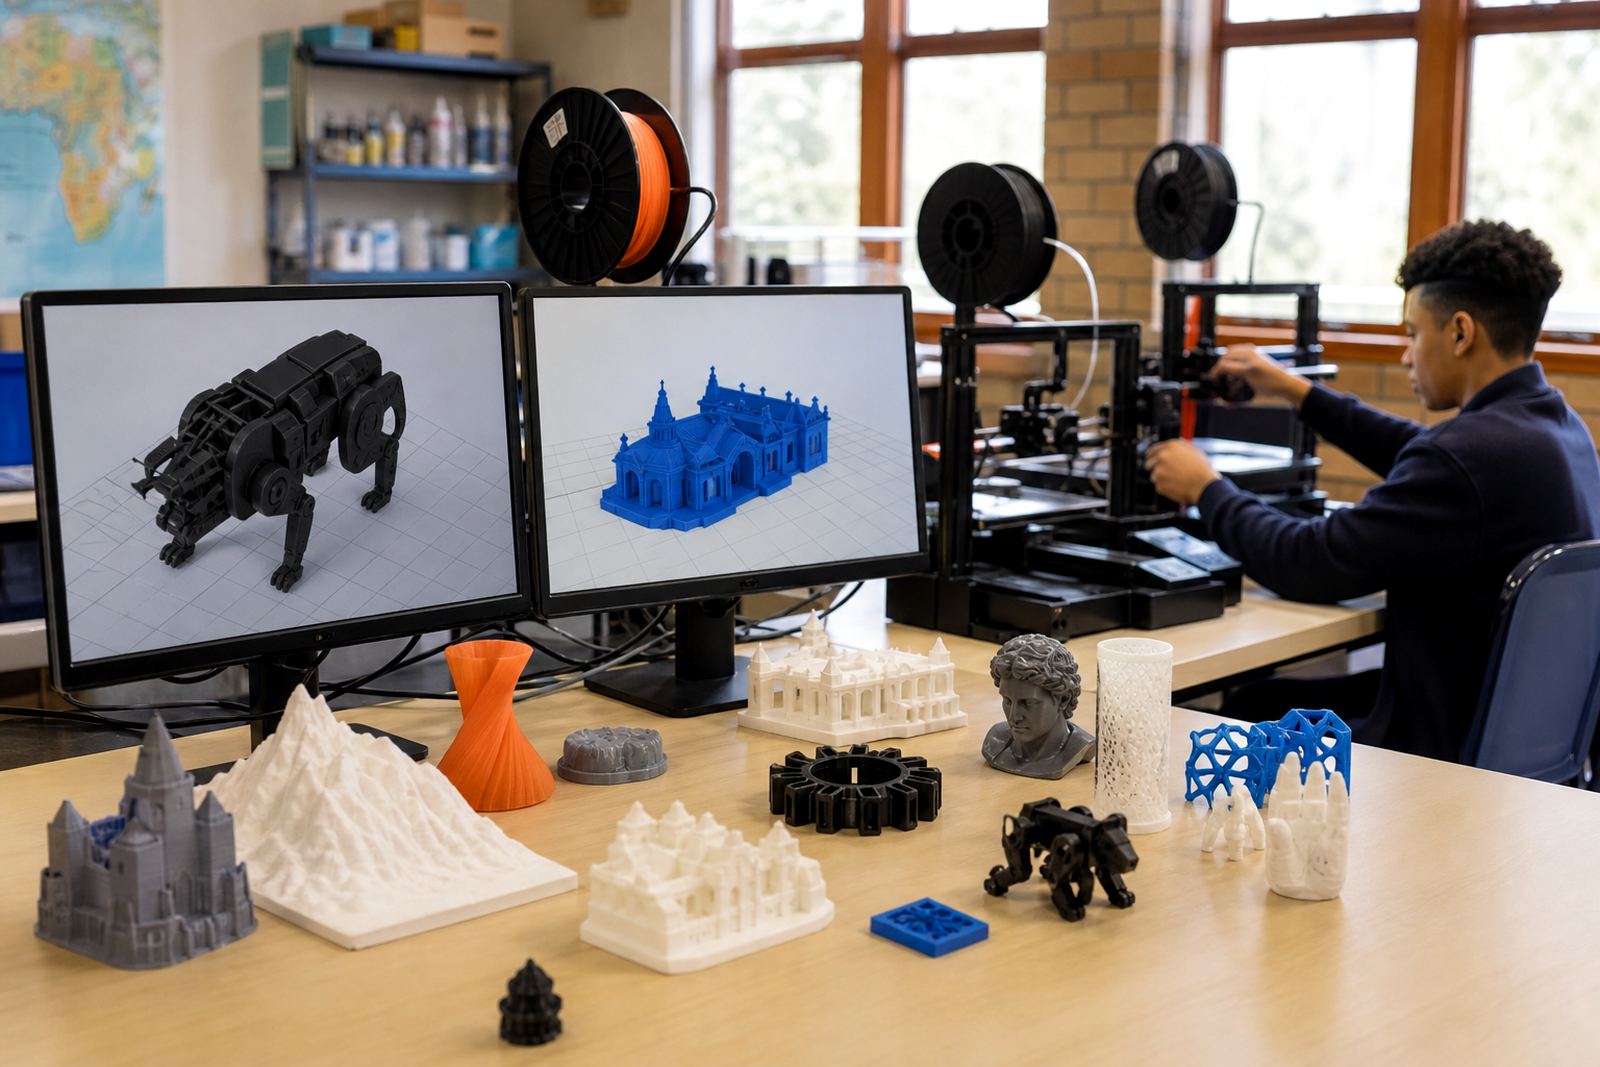
CAD Basics is built for first-time users who need to understand how a simple idea becomes a printable model. We focus on basic geometry, measurements, scale and clean file setup so learners can produce small parts, name tags, keyholders, brackets and simple educational models with confidence. The course keeps the work hands-on and paced for a classroom or lab setting, with clear examples that can be used in ordinary school projects.
We work with common 3D design concepts such as shapes, alignment, extrusions, holes and dimensions. Learners are shown how to think about wall thickness, overhangs and part strength before a file is sent to print. That matters in South African schools where time is limited and equipment may be shared between classes, so the design stage needs to be practical and organised.
- Basic digital shapes and object construction
- Dimensions, scaling and simple measuring
- File naming and folder organisation
- Design choices that suit benchtop 3D printers
Who the Course Is For
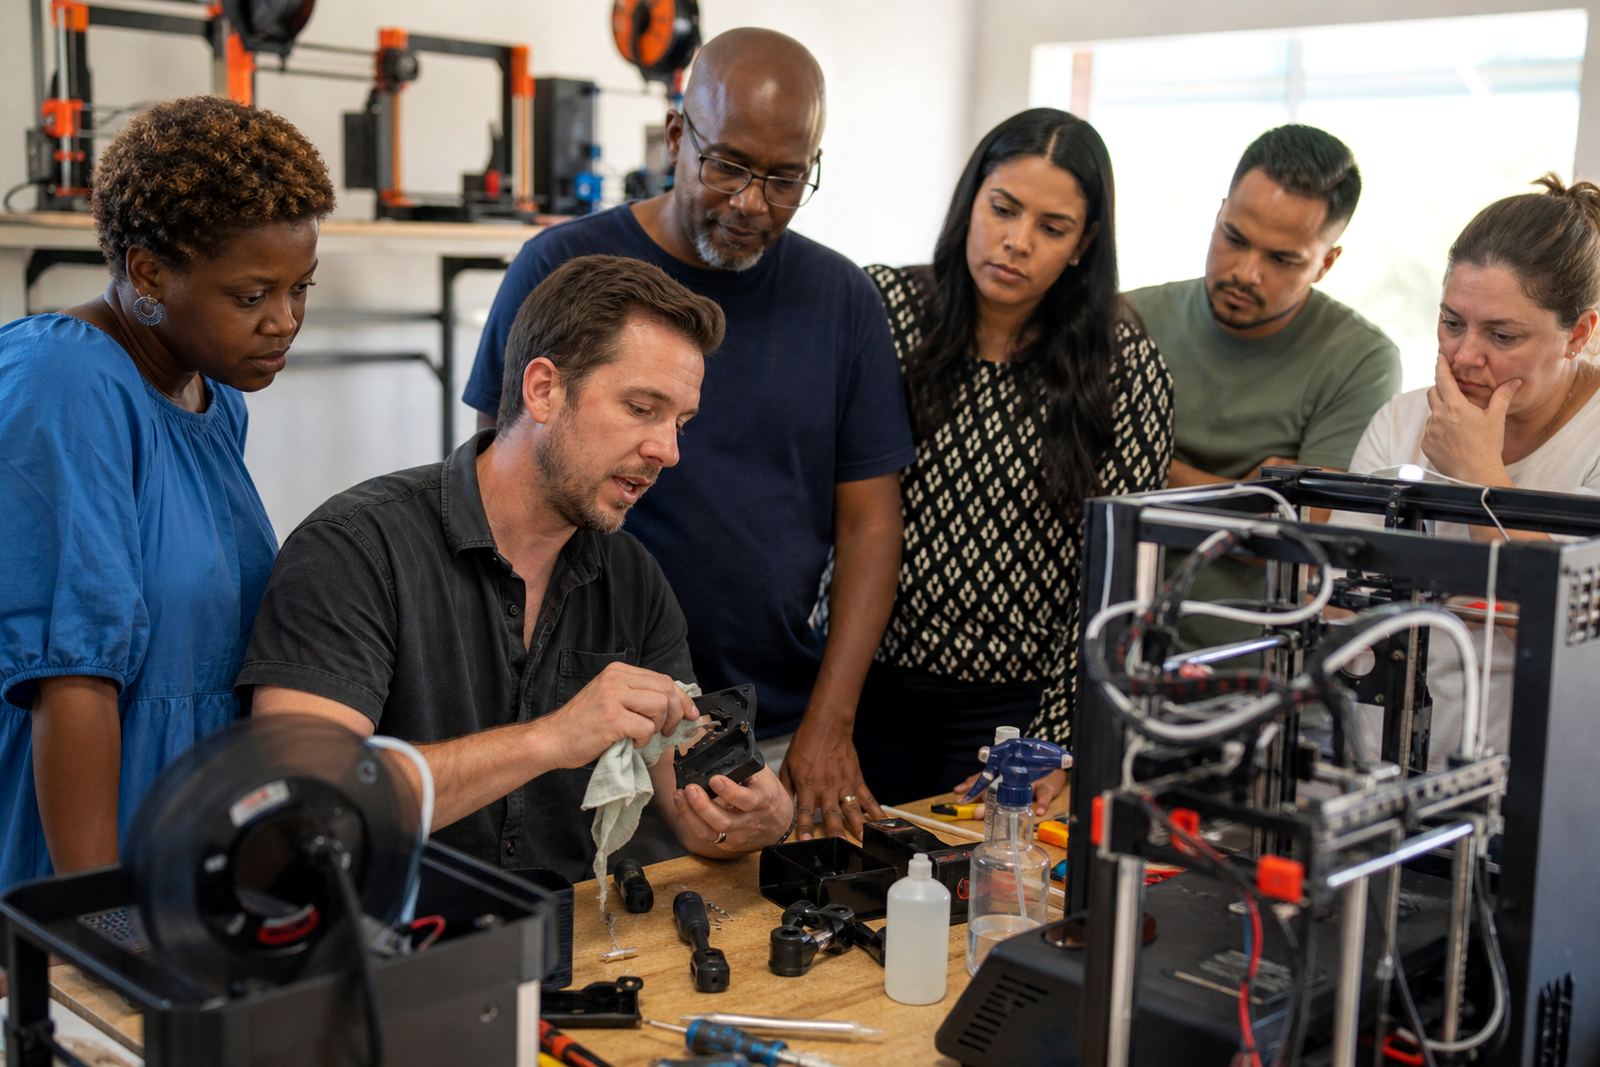
This course is suitable for teachers, lab assistants, maker club leaders and learners who are ready to move beyond viewing printed examples and start creating their own. It also works well for schools that already have a printer and want staff to gain confidence before adding more advanced work. The content is introduced in plain language and can be adapted for small groups or larger workshops.
For schools in Stellenbosch, Cape Town, Johannesburg, Pretoria, Durban and Gqeberha, the course is often used as an introduction before printer operations or project planning. It helps teams build the basics before they take on more detailed classroom printing work. Some groups prefer a one-day introduction, while others book a short series of sessions for better retention. Either way, the aim is the same, to make basic CAD useful in the classroom.
- Teachers starting with 3D design
- School staff supporting a 3D printing room
- Grade-level groups doing practical technology work
- Maker clubs and holiday programme groups
What Is Included in the Training
The course includes guided demonstrations, practical exercises and time for each participant to design a simple printable object. We usually cover how to open a project, place shapes accurately, check measurements, and prepare a file for printing. Learners are also shown how to review a design before export so problems can be caught early, which saves time and filiment.
Where needed, we include classroom-use examples that can be linked to maths, technology or design tasks. Schools often want the work to be repeatable, so we keep the process simple enough for a teacher to run again after the session. A short handover note can also be provided for internal reference, with steps for saving, checking and printing basic objects.
- Live demonstration and guided practice
- Printable project exercises
- Introductory design workflow notes
- Simple file-preparation guidance
Typical Course Process and Turnaround
Most bookings begin with a short needs check through the enquiry form on our contact page. We then confirm the group size, the level of experience and whether the session will take place at a school or training venue. Once that is agreed, we plan the lesson flow and allocate the relevant trainer or support person.
Turnaround depends on the size of the group and the level of customisation. A standard introduction can usually be arranged quickly once dates are confirmed, while custom group sessions need a little more lead time. For schools with busy timetables or limited computer access, we can shape the session into smaller blocks to reduce disruption. Please note, equipment and room readiness should be checked before the session so the group can start on time.
- Enquiry and needs check
- Session outline and date confirmation
- Training delivery with practical tasks
- Basic wrap-up and next-step advice
Lab Setup Support and Classroom Safety
CAD Basics can be paired with school lab kit guidance when a school is setting up or improving a 3D printing area. We advise on practical workspace layout, storage for spools and tools, and simple room controls that support safer use by learners. In coastal areas such as Cape Town, Durban and Gqeberha, it also helps to keep materials in dry storage because humidity can affect print quality and filament handling.
General safety reminders are included throughout the session. Learners should keep hands clear of moving parts, wait for hot surfaces to cool, and work with adult supervision when printers are operating. It is also sensible to keep the area tidy, manage cables properly and place printers away from water, open windows with strong dust movement, and unsupervised traffic. A well ordered room makes the learning easier and cuts down on unnecessary interruptions.
- Workspace layout and storage advice
- Dry storage guidance for filament
- General hot-surface and moving-part reminders
- Simple supervision and housekeeping tips
Pricing Approach and Maintenance Intervals
Pricing is quoted according to the group size, the location, the length of the session and whether the booking is for a school visit or a training venue session. Schools that want a single introduction and those that want repeated training blocks are quoted differently, because preparation time and facilitation requirements change. We keep the pricing approach straightforward, with no hidden extras for the basics agreed in advance.
For maintenance intervals, we recommend a simple routine that keeps the classroom printer ready for training. A quick check before each lesson is useful, with a fuller clean and inspection every few weeks depending on use. If the machine is used daily, a more regular check of the nozzle, bed surface, belts and feed path is sensible. In a school setting, it is better to solve small issues early than to wait until the printer stops halfway through a class and delays the next group. That saves time and avoids avoidable wear.
- Quoted by group size and training length
- Travel and venue needs considered where relevant
- Quick pre-lesson checks before each session
- Deeper maintenance every few weeks for active labs
Key facts
| Course level | Introductory CAD for simple printable objects |
|---|---|
| Typical group | Small classes, teacher groups or mixed school teams |
| Delivery format | On-site school session or scheduled training venue session |
| Software focus | Basic 3D modelling tools and printable file preparation |
| Recommended printer match | Benchtop FDM-style classroom printers |
| Support interval | Pre-session check, then routine maintenance every few weeks depending on use |