What the Lab Setup Course Covers
This course is for teachers, ICT coordinators and school managers who need a workable plan for a 3D printing space, not just a list of machines. We map out how the room should function from the first print job to end of term storage, with enough detail for a busy school day in Stellenbosch, Cape Town or further afield. The focus is on safe handling, sensible workflow and practical upkeep that fits into normal school operations.
We look at the full setup: where printers should stand, how filament should be stored, where learners can wait, and how print jobs move from design to the machine. There is also guidance on power points, ventilation, cleaning routines and simple record keeping. A small typo in the wrong place can waste time, so the course shows staff how to keep labels, files and job notes organised from day one.
- Room layout and workstation placement
- Filament storage and humidity control
- Print queue, sign-off and handover process
- Basic safety checks for learners and staff
- Simple troubleshooting and maintenance logs
How We Plan a School 3D Printing Space
Every school space is different. A secondary school in Durban with coastal humidity will need a different storage routine from a school in Pretoria where dust and dry air are more common. We start by reviewing the room size, access points, table heights, plug locations and after-hours security, then we suggest a layout that suits the number of printers and the age group using them.
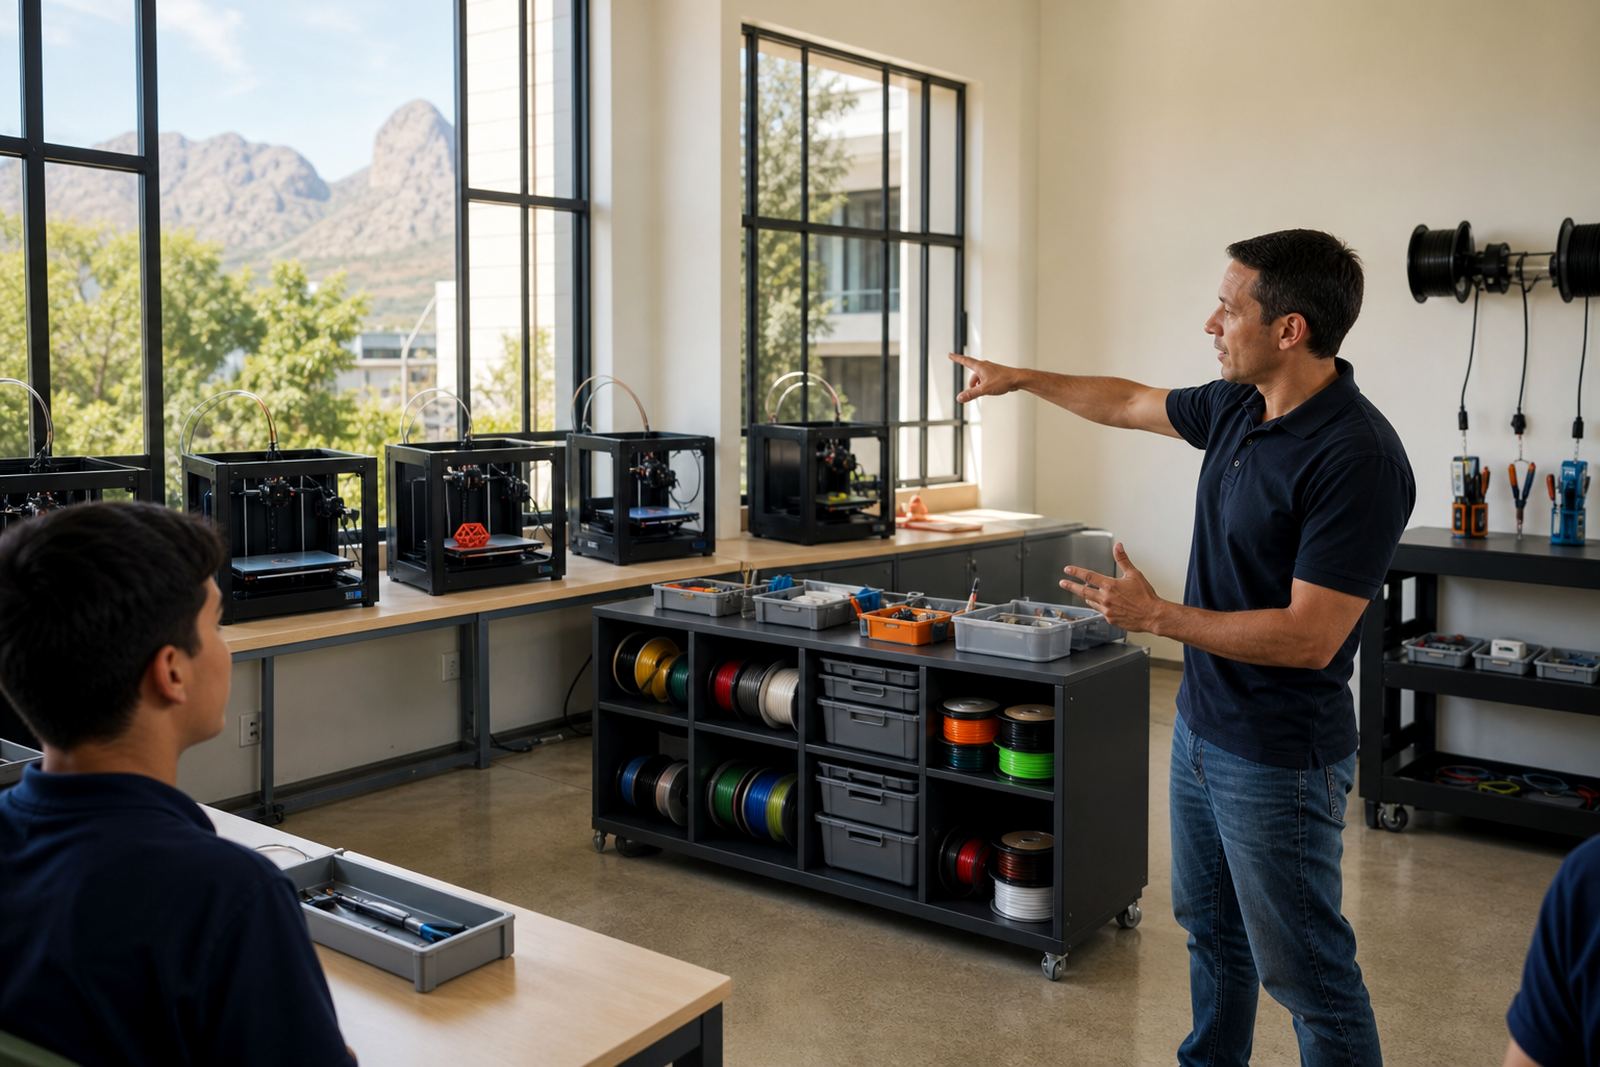
As a guide, a small lab may work with two to three printers, a prep area and a lockable materials cupboard, while a larger lab may need separate zones for design, printing and post-processing. We also advise on cable routing, safe airflow around machines and enough space for learners to observe without crowding the equipment.
- Clear walking space around each printer
- Dedicated shelf or cupboard for filament and tools
- Dry storage for spare nozzles, belts and consumables
- Visible rules for supervision and machine use
- Power planning for load-shedding interruptions
Workflow and Support Routines for Staff
Good lab management is mostly about routine. We set out a day-to-day process for receiving print requests, checking file readiness, loading filament, starting prints and logging completed work. The course also covers what to do when a print fails halfway through the job, or when a learner project needs to pause and resume after a power cut. That kind of planning saves a lot of time later.
Staff are shown how to run basic checks before each session, including bed condition, nozzle cleanliness, filament feed and print surface alignment. We also cover a weekly and monthly support rhythm so the equipment stays in service longer. For many schools, this is the difference between a lab that gets used and one that becomes a storage room.
- Before-use checklist for teachers or facilitators
- Weekly cleaning and inspection routine
- Monthly lubrication and wear checks
- Job log for prints, faults and repairs
- Simple escalation steps for technical support
Safety, Supervision and Classroom Control
We keep the safety guidance practical and age appropriate. The course covers hot-end awareness, moving parts, safe tool use and general supervision practices for learners working around the machines. We also explain where to place warning labels, how to manage curious hands near a running printer, and how to keep material offcuts and tools from piling up on surfaces.
Teachers also get advice on house rules for the room, such as no reaching into a printer while it is moving, no loose clothing near moving parts, and no unsupervised access to blades or scrapers. In schools with younger learners, the setup can be arranged so that printing happens in a controlled corner while design work happens elsewhere. It is a simple idea, but it works well.
- Keep clear rules posted near each machine
- Use adult supervision during active printing
- Separate hot tools from learner browsing areas
- Store blades, scrapers and adhesives securely
Process, Turnaround and Pricing Approach
Our process starts with an enquiry through the contact form, followed by a short needs discussion about the school, the number of users and the room you have available. From there we recommend a suitable course format and a session plan that matches the level of experience in the team. Some schools want a single planning visit, while others prefer a hands-on workshop that includes setup walk-throughs and support routines.
Turnaround depends on scheduling, travel and the size of the group, but most courses are arranged after the planning stage and confirmed once the training date and room requirements are agreed. Pricing is quoted according to the course type, group size, location and whether the school needs a basic lab plan or a more detailed setup session. We keep the pricing approach straightforward, with no hidden add-ons for the kind of practical support schools normally need.
- Initial enquiry and needs review
- Course recommendation and session outline
- Venue or room planning discussion
- Confirmed schedule and quoted fee
Maintenance Intervals and Ongoing Use
After the course, schools usually need a basic maintenance rhythm to keep the lab steady through the term. We recommend a quick daily check before printing, a weekly cleaning routine and a more detailed monthly review for wear, storage and machine condition. In coastal areas such as Gqeberha and Durban, checking filament dryness and storage seals becomes more important, especially during humid weather.
Schools that print often may choose a tighter schedule, especially if the lab is used for Maker Club sessions, holiday programmes or class projects across several grades. We show staff how to spot early signs of clogging, bed wear, loose belts and feed issues so they can act before the printer is out of service. Regular attention helps the lab stay useable through the year, even when power interruptions or busy timetables get in the way.
- Daily: visual check and clean-up after use
- Weekly: inspect nozzles, beds and moving parts
- Monthly: review belts, lubrication and storage
- Termly: reassess layout, tools and workflow
Who Runs the Course and Where It Fits
The course is led by our training team under the direction of Ettienne Truter, with support from staff who handle lab planning, technical support and workshop delivery. Schools in Stellenbosch, Paarl, Somerset West, Cape Town, Johannesburg, Pretoria, Durban and Gqeberha can all enquire through the contact form, and we tailor the setup advice to the space and timetable at hand.
Lab Setup Course works well before a new room opens, when a school is adding a printer to an existing tech space, or when staff need a cleaner system for a lab that already sees regular use. It is practical, direct and aimed at helping schools keep the room in order once the first print has been started.
Key facts
| Course type | School lab setup planning and practical workflow session |
|---|---|
| Suitable for | Teachers, ICT staff, lab coordinators and school managers |
| Typical room needs | Worktables, power points, storage cupboard and supervised access |
| Equipment focus | Benchtop 3D printers, filament storage, tools and basic consumables |
| Session format | On-site or arranged group workshop, depending on school needs |
| Maintenance rhythm | Daily checks, weekly cleaning, monthly inspection and termly review |