Why student models should be seen, not stored
A good print display gives learners a reason to finish carefully and think about presentation, not just getting the model off the build plate. In a classroom, it helps teachers talk about design choices, print quality, troubleshooting and what could be improved next time.
It also makes the technology visible to parents, school leadership and visiting educators. When models are shown properly, the room feels organised and purposeful rather than cluttered. That matters in busy South African schools where space is limited and equipment often needs to be packed away after lessons.
Choose a display method that suits the school day
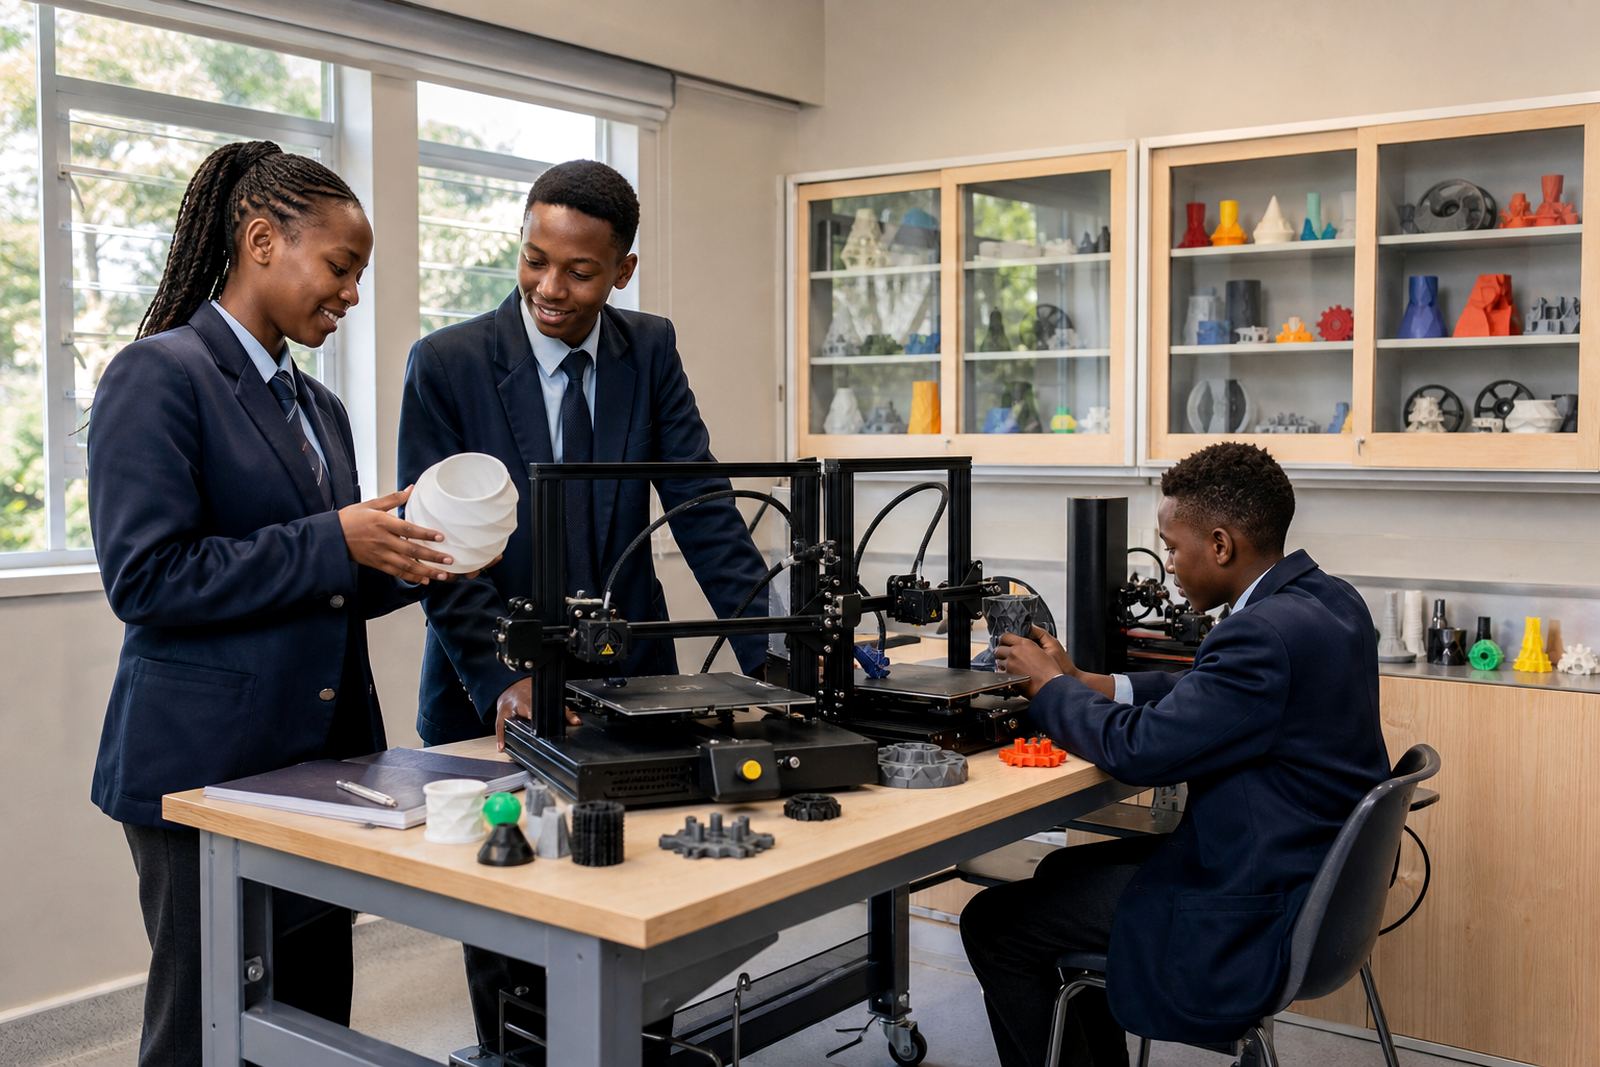
Not every school needs a glass cabinet. Some classrooms work better with a labelled wall shelf, a rotating table display or a lockable trolley that can move between rooms. The right choice depends on the age group, room size and how often the models need to be handled.
- Open shelf units work well for supervised viewing and quick learner access.
- Lockable cabinets suit valuable prints or projects that must stay dust free.
- Mobile display trolleys help when a lab is shared between classes.
- Wall mounted ledges save floor space in smaller rooms.
In coastal areas such as Cape Town or Gqeberha, it helps to keep displays away from direct damp air and open windows. Humidity can affect labels, adhesives and some printed materials over time, so a little planning goes a long way.
Label each model so the learning is clear
A printed model is more useful when learners and visitors can understand what they are seeing. A simple label card beside each print should explain the project name, the learner or group, the material used and one thing the class learned from the process.
Keep the wording short and easy to read. Avoid overcrowding the display with too much text. The point is to make the work understandable at a glance, especially for younger learners or parents who may not know much about 3D printing.
- Project title and class group
- Material type and print time
- Design software or drawing method used
- One lesson learned from the print
For older learners, add a small reflection note about why the model changed during testing or what they would improve next time. It turns the display into a proper learning record, not just a row of objects.
Use colour and arrangement to make the wall or shelf work harder
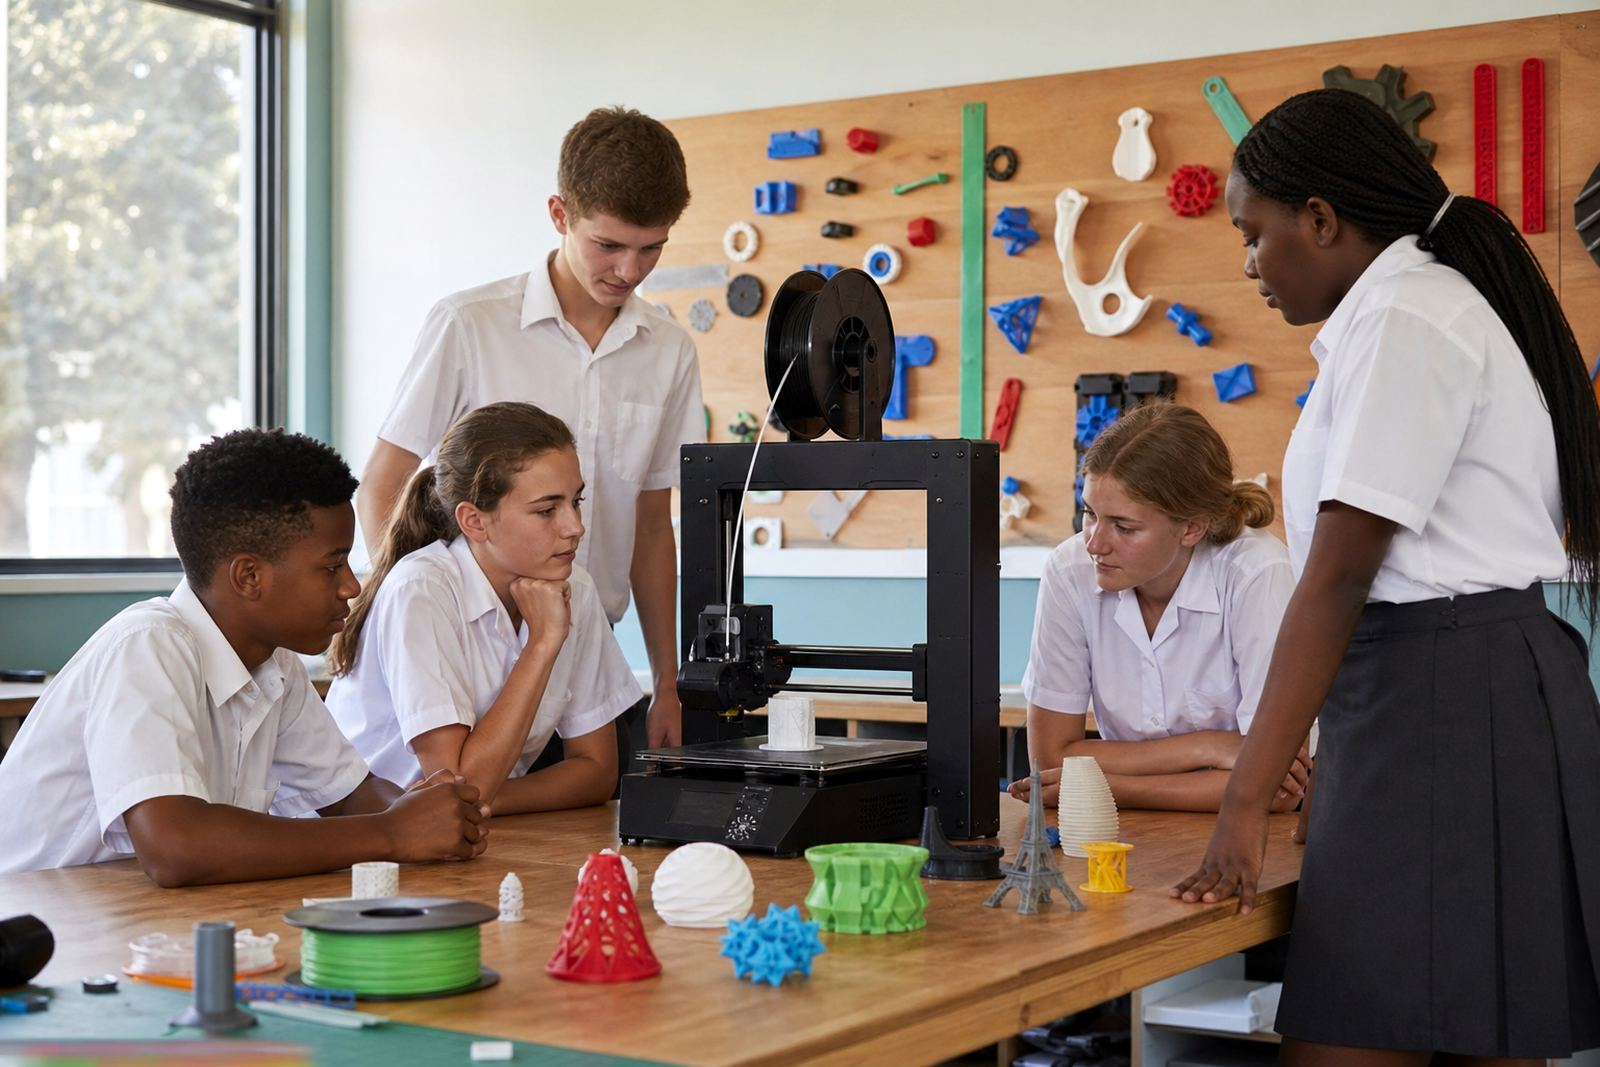
Displays look better when there is some order to the way models are placed. Group similar projects together, such as beginner shapes, engineering parts or holiday programme models. Keep enough space between items so each print can be seen properly instead of merging into one busy mass.
Colour can help too. A plain backing board in grey, white or a school colour gives the models a clean frame. If the prints themselves are bright, keep the background simple. If the prints are mostly neutral, use small coloured headers or section dividers to help the eye move across the display.
At a primary school in Stellenbosch, a teacher used three shelves for Learner Foundations work and then moved the best examples to a corridor panel near the library. That allowed younger learners to see what was possible without taking prints out of the classroom every day.
- Place stronger prints at eye level first
- Mix finished models with process photos where suitable
- Keep large and small models in separate groups
- Leave clear space for new work each term
Keep the display safe in a working school environment
Safety must come before presentation. Printed models should not block walkways, emergency exits or access to electrical points. If learners can touch the items, make sure edges are smooth and nothing is loose or breakable. This is especially important for younger grades, where curious hands can knock things over quickly.
Use stable shelves and secure mounting. In rooms where cleaning happens daily, avoid very low displays that can be brushed off by accident. If the school runs load shedding backups or power tools nearby, keep the display away from cables and work areas. Good placement reduces damage and keeps the room tidy.
General classroom reminders help too:
- Do not place hot prints directly into a display area
- Let models cool fully before handling them
- Keep small parts out of reach of very young learners
- Inspect mounts, clips and stands regularly
A neat display should never interfere with the practical side of the lab. If it does, it needs to move.
Link the display to lessons, competitions and maker culture
The best displays do more than show finished work. They support teaching. A model on its own is interesting, but a model beside sketches, measurements or test versions tells a fuller story of how the learner got there.
Schools can also use display space to show holiday programme pieces, maker club projects or custom workshop outcomes. That helps teachers build a visible culture of making throughout the year instead of only during one lesson block. It also gives learners a reason to take care with their work because they know it may be shown to others.
- Rotate displays each term so new learners can see fresh examples
- Include before and after photos where space allows
- Use one section for first attempts and another for refined work
- Keep a simple record of which class made each item
In a Durban school, a teacher displayed learner-made geometric models beside their hand-drawn design notes. Parents could see the thinking behind the print, not just the final object, and the learners were proud to explain each piece.
A display plan should be part of the lab setup from the start
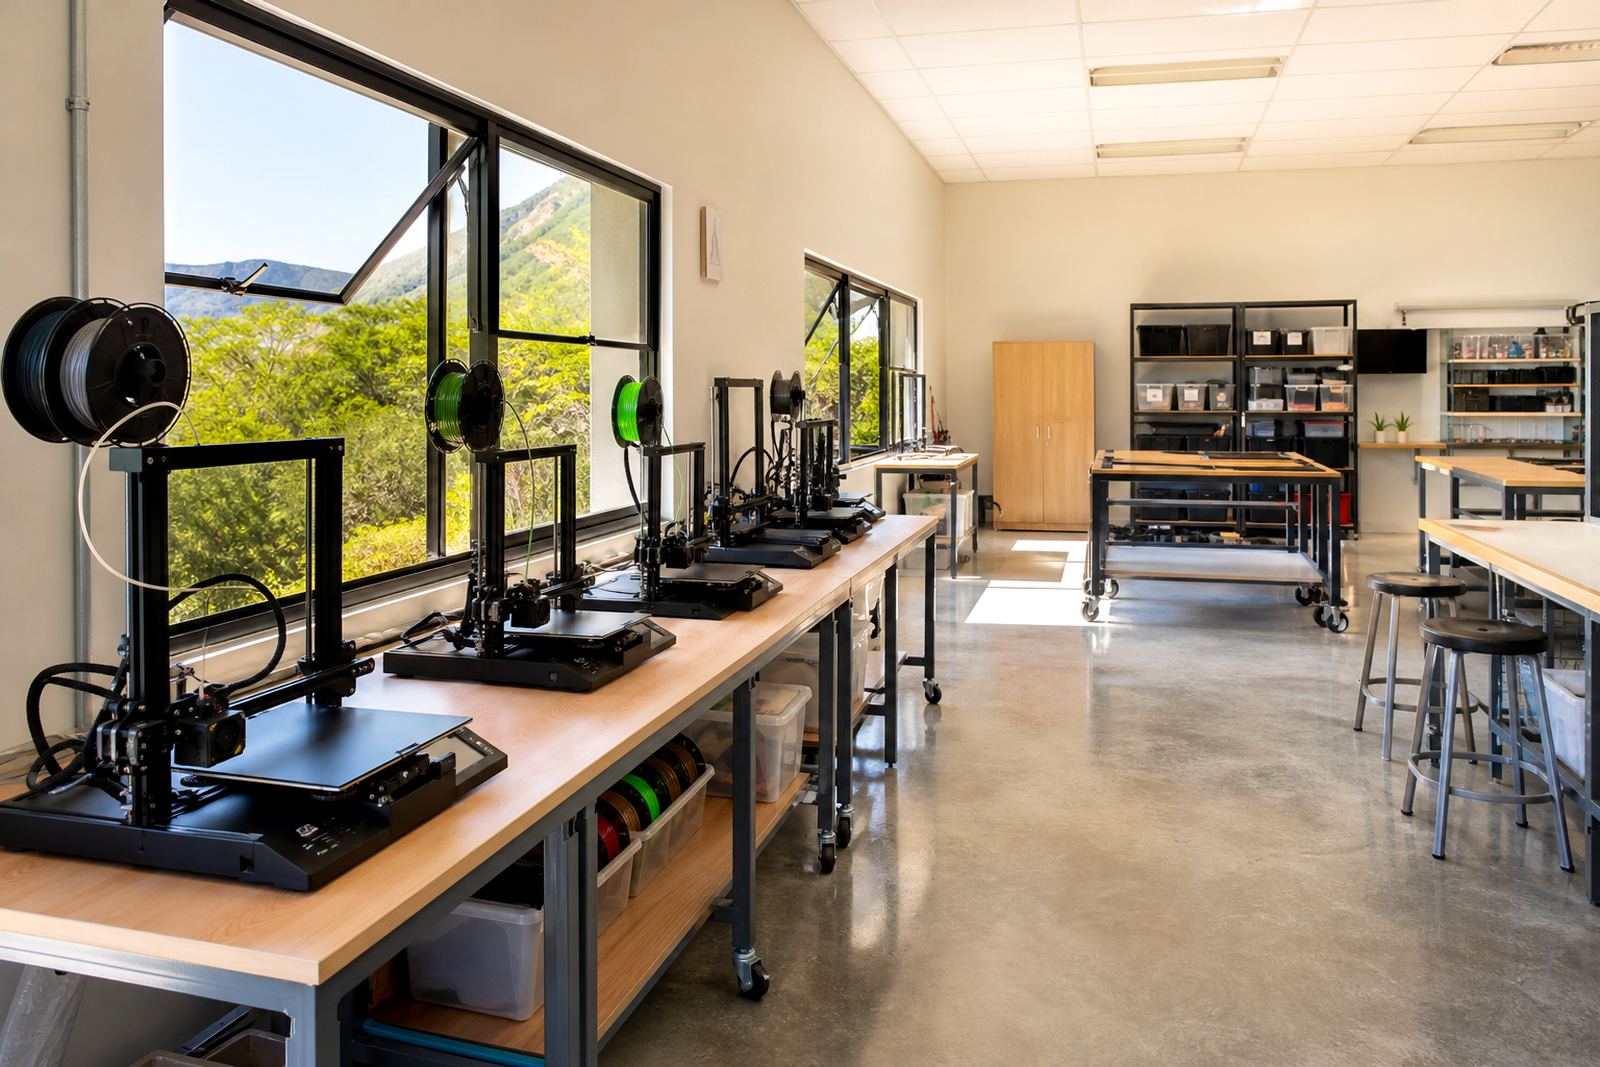
It is easier to plan for display space during the lab setup stage than to try fitting it in later. When the room is laid out properly, there is space for printers, tools, filament storage and a small display area without crowding the workflow.
That is why schools should think about display shelves, labels, storage and learner movement as one system. A good setup supports the teaching and the showing of work at the same time. It also makes the room easier to manage for teachers, especially where several grades share the same equipment.
When models are displayed neatly and meaningfully, they become part of the school environment rather than items that disappear into boxes. The work stays visible, the learning stays active and the classroom feels like a place where making matters. That simple change can carry a lot of weight through the year.