Why short holiday sessions work better than full-day marathons
A holiday workshop should feel active from the start. Learners arrive with energy, but attention drops fast if the session turns into one long talk. A shorter format gives room for a live demo, a guided design task and a print that is ready to show before the day ends. That balance keeps younger learners interested and gives teachers a practical structure they can repeat.
In South African schools, holiday sessions also need to fit around transport, load-shedding and busy family schedules. A focused 2 to 3 hour block is often easier to manage than a full day, especially when the aim is to introduce 3D printing without overwhelming beginners. It also leaves space for clean-up, nozzle checks and a proper safety chat before everyone heads home.
A simple workshop flow that keeps the pace moving
The best holiday format follows a clear rhythm. Learners first watch the printer being set up and hear what each part does. Then they move into a small design task, usually one that can be finished quickly and printed on the same day. The final section is the reveal, where the group compares output, talks through what worked and what could be changed next time. It sounds basic, but that structure works well in classrooms from Stellenbosch to Gqeberha.
- Welcome and safety reminders, including hot-end awareness and tidy cable handling
- Short printer demonstration with the build plate, filament path and control screen
- Guided design time with a simple object, name tag or keyring
- Printing stage with explanations while the machine runs
- Final reveal, feedback and a short reset for the next group
Keeping each block tight matters. If design time runs too long, learners lose the link between what they drew and what the printer can actually make. If the demo is too long, the room gets restless. The point is to keep things moving without rushing the finish.
What to cover in the first ten minutes
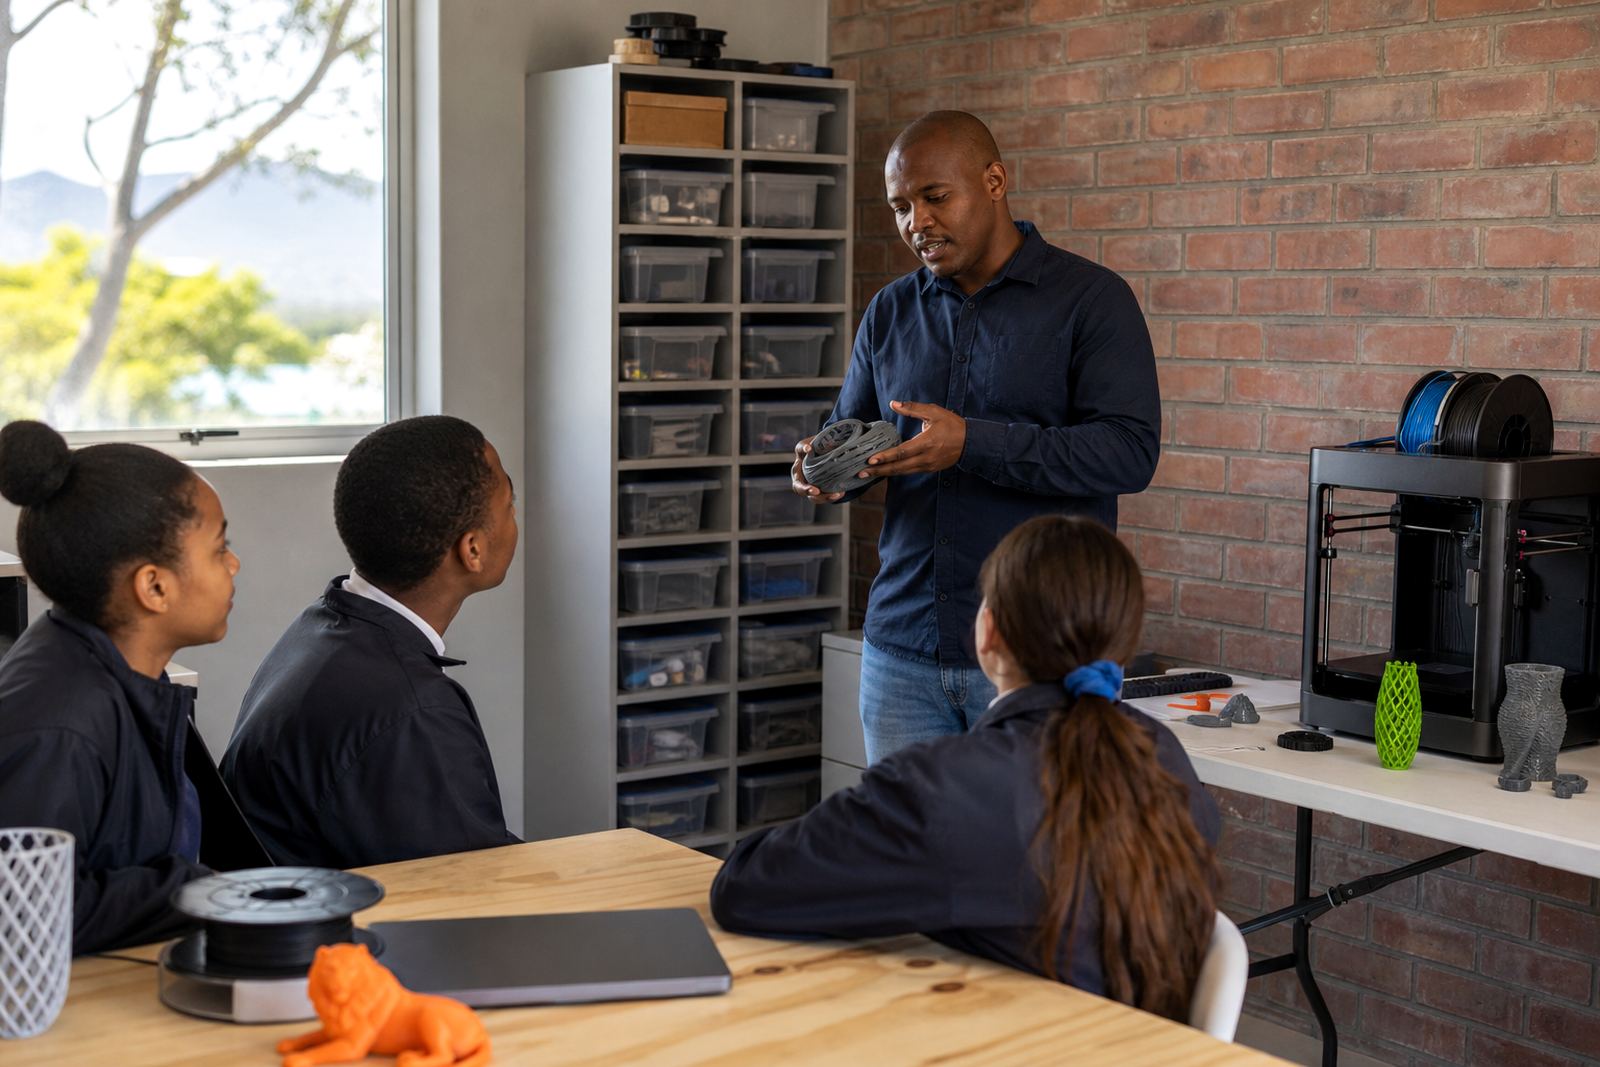
The opening section sets the tone. Learners do not need a lecture, they need enough context to understand the machine and work safely around it. A quick explanation of how 3D printing builds layer by layer is usually enough. From there, the facilitator can point out the moving parts, the print bed, the filament spool and the controls used to start, pause or stop a job.
For holiday groups, the first ten minutes should also show how to behave around hot equipment. Keep hands away from the nozzle, do not lean over the printer while it is moving, and wait for an adult or facilitator before removing a print. These basics are useful in any school hall, lab or library space and they help the rest of the session run calmer and safer.
- Explain the difference between a model on screen and a finished print
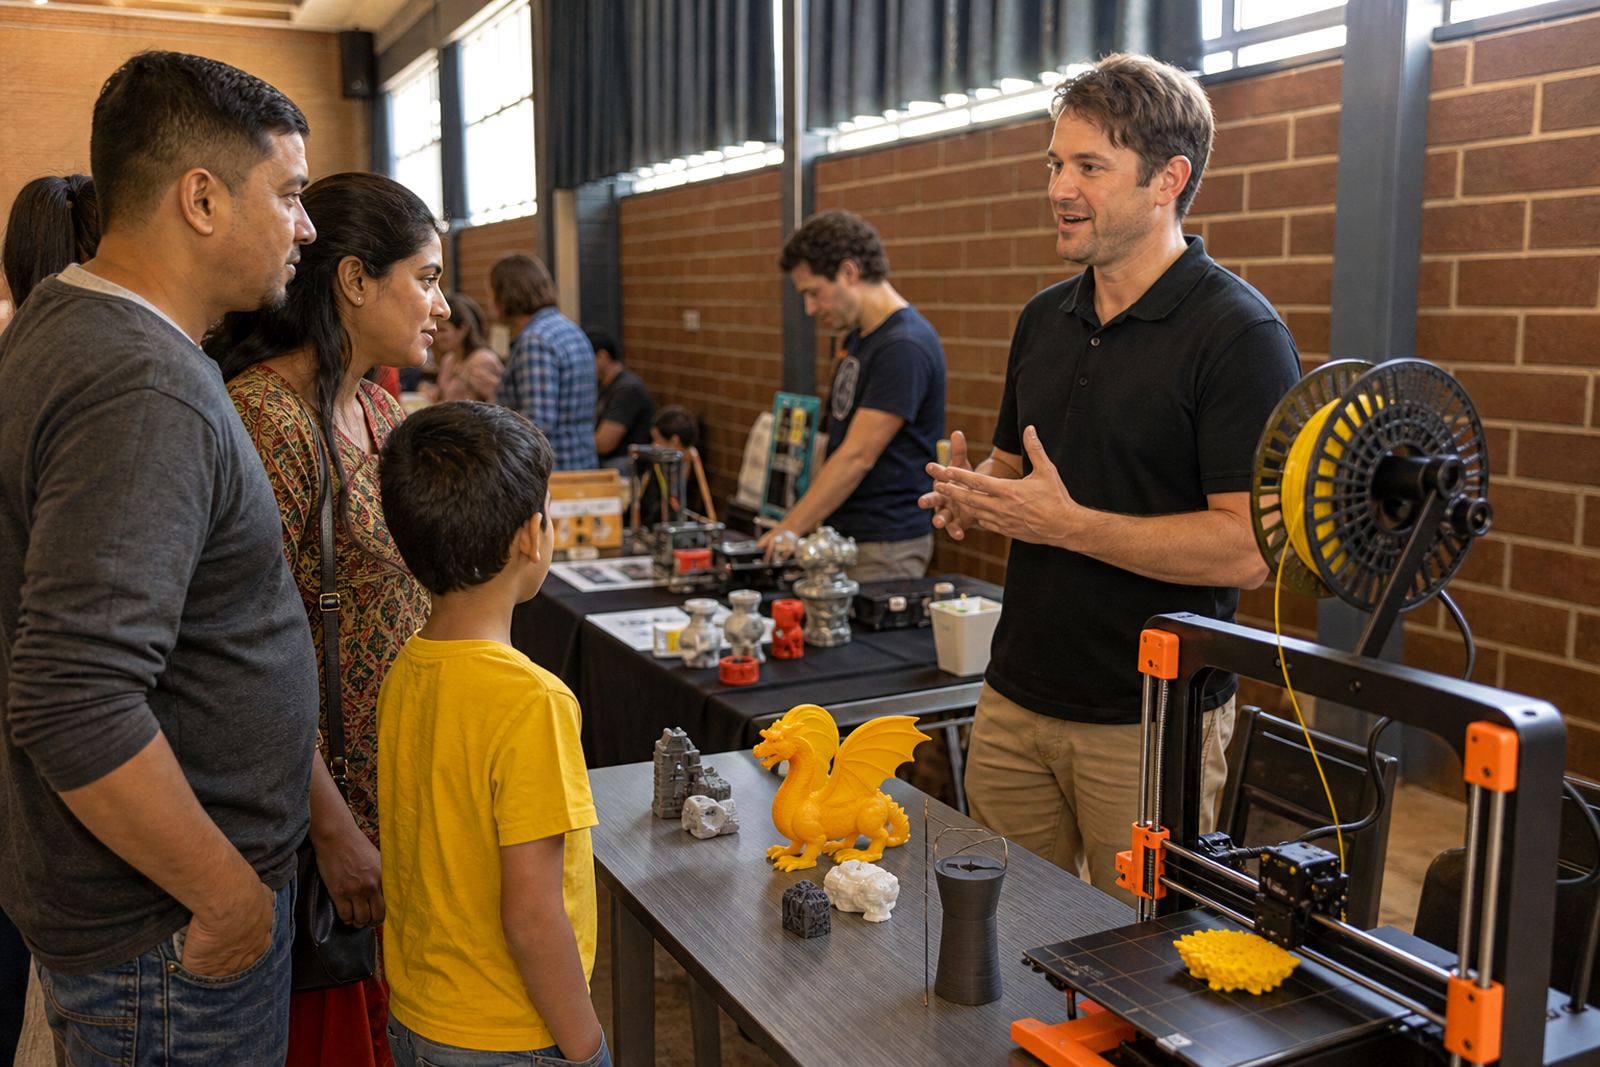
- Show one completed sample so learners can see size and layer detail
- Point out common mistakes such as thin walls or unsupported overhangs
- Set one clear goal for the day so everyone knows what they are making
Design time that suits different ages and confidence levels
Holiday groups are mixed by nature. Some learners have used design software before, while others are touching it for the first time. A good workshop format does not force everyone through the same advanced steps. Instead, it gives one base task with room to extend. A learner might start with a simple badge, while another adds text, a shape cut-out or a small clip detail.
That flexibility helps teachers too. They can keep the stronger learners occupied while supporting the beginners who need help with measurements or basic navigation. In a classroom in Paarl, for example, a facilitator might let the group choose between a plant marker, ruler tab or simple geometric charm. The job is to keep the design manageable so the print can finish before the session ends, not to make it complicated.
- Use short prompts instead of open-ended tasks
- Keep dimensions small enough for a quick print
- Offer one design option for beginners and one extension option for fast finishers
- Print a sample first so learners can judge scale before saving their file
How to plan for print time, noise and power interruptions
Holiday workshops in South Africa need practical planning. A short session only works if the print fits the time available and the room can handle the machine running in the background. Before the day starts, test the chosen model and check how long it takes to print. If the job is too long, cut it down or move to a simpler shape. This avoids the common problem of a room full of eager learners waiting for a print that will not finish in time.
Load-shedding is another factor. If power supply is uncertain, it helps to choose a print that can pause safely or to schedule the workshop around a protected power window. Rooms near the coast should also keep an eye on humidity, because moisture can affect filament storage and print quality. A sealed storage box and clean work surface go a long way.
- Check the print duration before the group arrives
- Keep filament dry and covered between sessions
- Have a backup activity ready if power is interrupted
- Place the printer where noise and movement will not distract the whole room
Good planning is not complicated, but it does save a lot of time and friction.
A Stellenbosch example that fits a school holiday morning
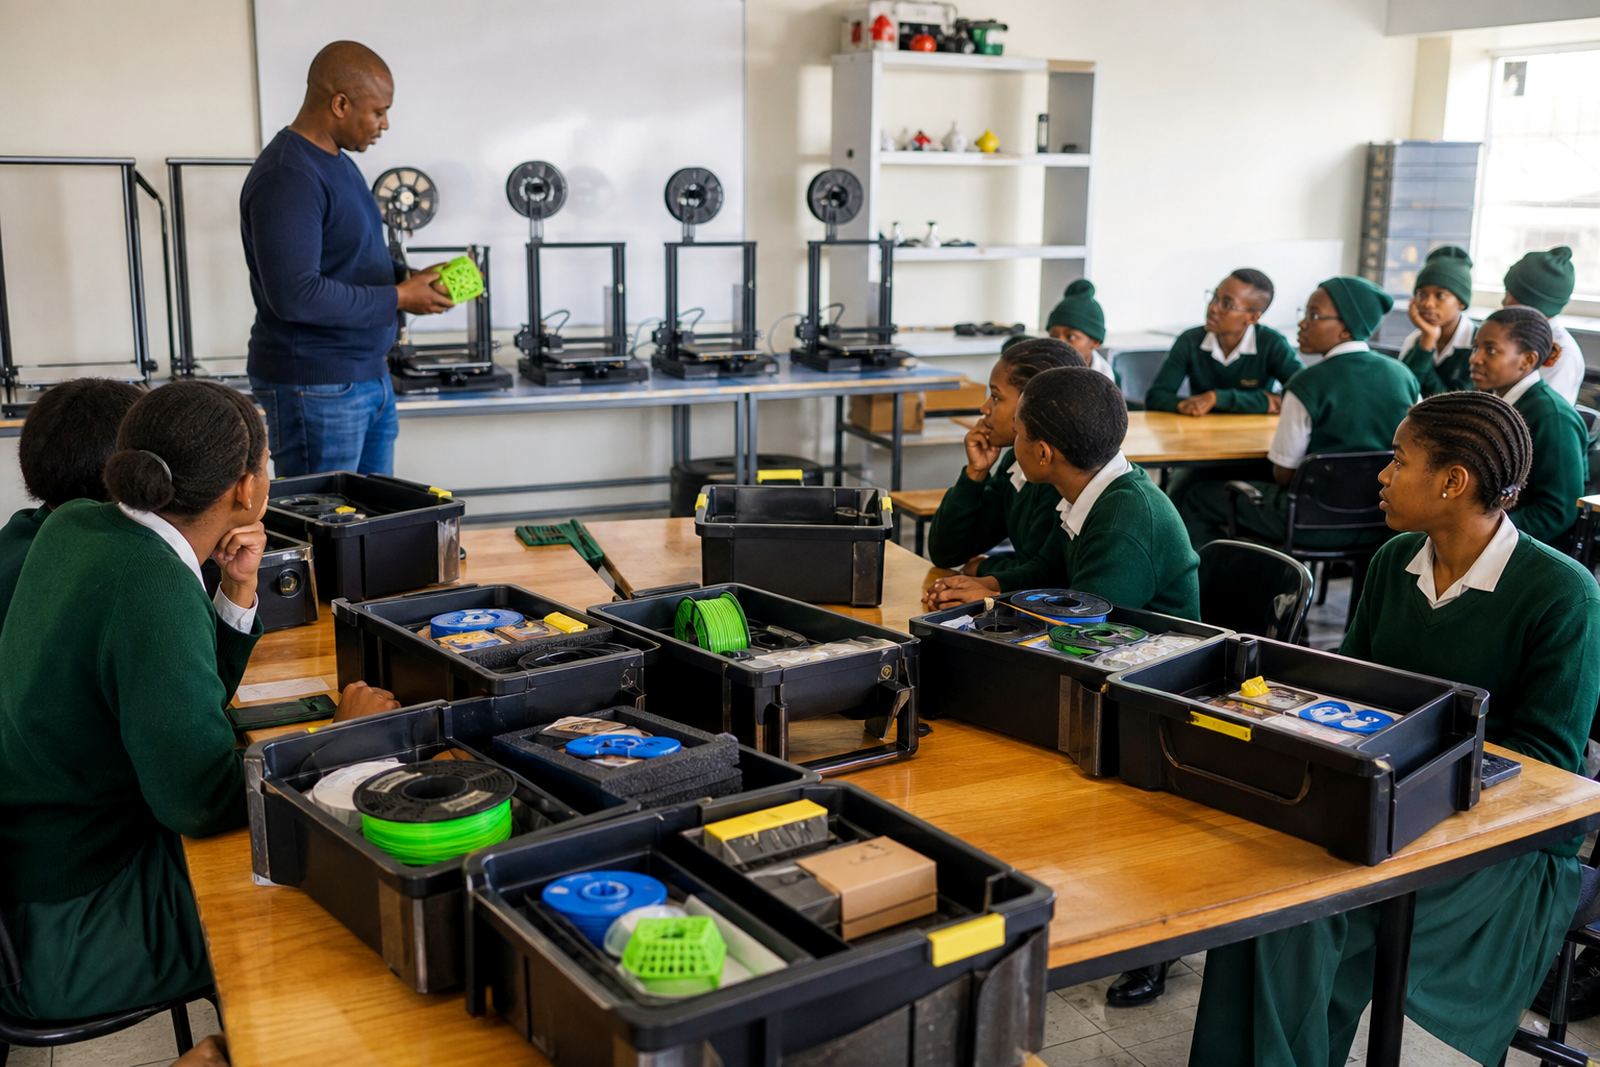
A practical holiday workshop in Stellenbosch might start with a group of 12 learners in a school hall or library space. The facilitator begins with a short demo and a completed sample. Learners then design a small tag with their initials or a simple school symbol. While the first print runs, the group watches the layers form and learns what to look for if the first layer is not sticking properly. By the end of the session, each learner has seen the full process from idea to object.
That kind of format also works for teachers who want a quick introduction before term starts again. They leave with a better sense of setup, daily checks and how to keep the room organised when several learners want to try the machine at once. For schools in Somerset West, Cape Town, Durban or Pretoria, the same approach can be adapted to the space available and the age group present.
What matters most is that the final print reveal feels earned. Learners have seen the work, waited through the process and can compare the finished item to their original idea. That is the moment that usually sticks.
What a school should prepare before the holiday group arrives
A holiday workshop runs better when the room is ready before the first learner walks in. Tables should be clear, cables secured and the printer positioned so everyone can see without crowding it. If the session includes a lab kit, make sure the tools, filament and sample parts are already sorted into simple groups. That saves time and keeps the pace steady.
It also helps to appoint one adult as the main helper, especially when the class is large. One person can monitor movement, while the facilitator focuses on the print and the design activity. A well-run holiday session is not only about the machine, it is about giving the group enough structure to work with confidence.
- Clear the work area and keep drinks away from electronics
- Prepare sample prints and spare filament
- Check ventilation and power access
- Have paper, pens and basic notes ready for the planning stage
With the right setup, a short holiday workshop can be calm, useful and memorable without feeling rushed.