Make the event about learning, not just display
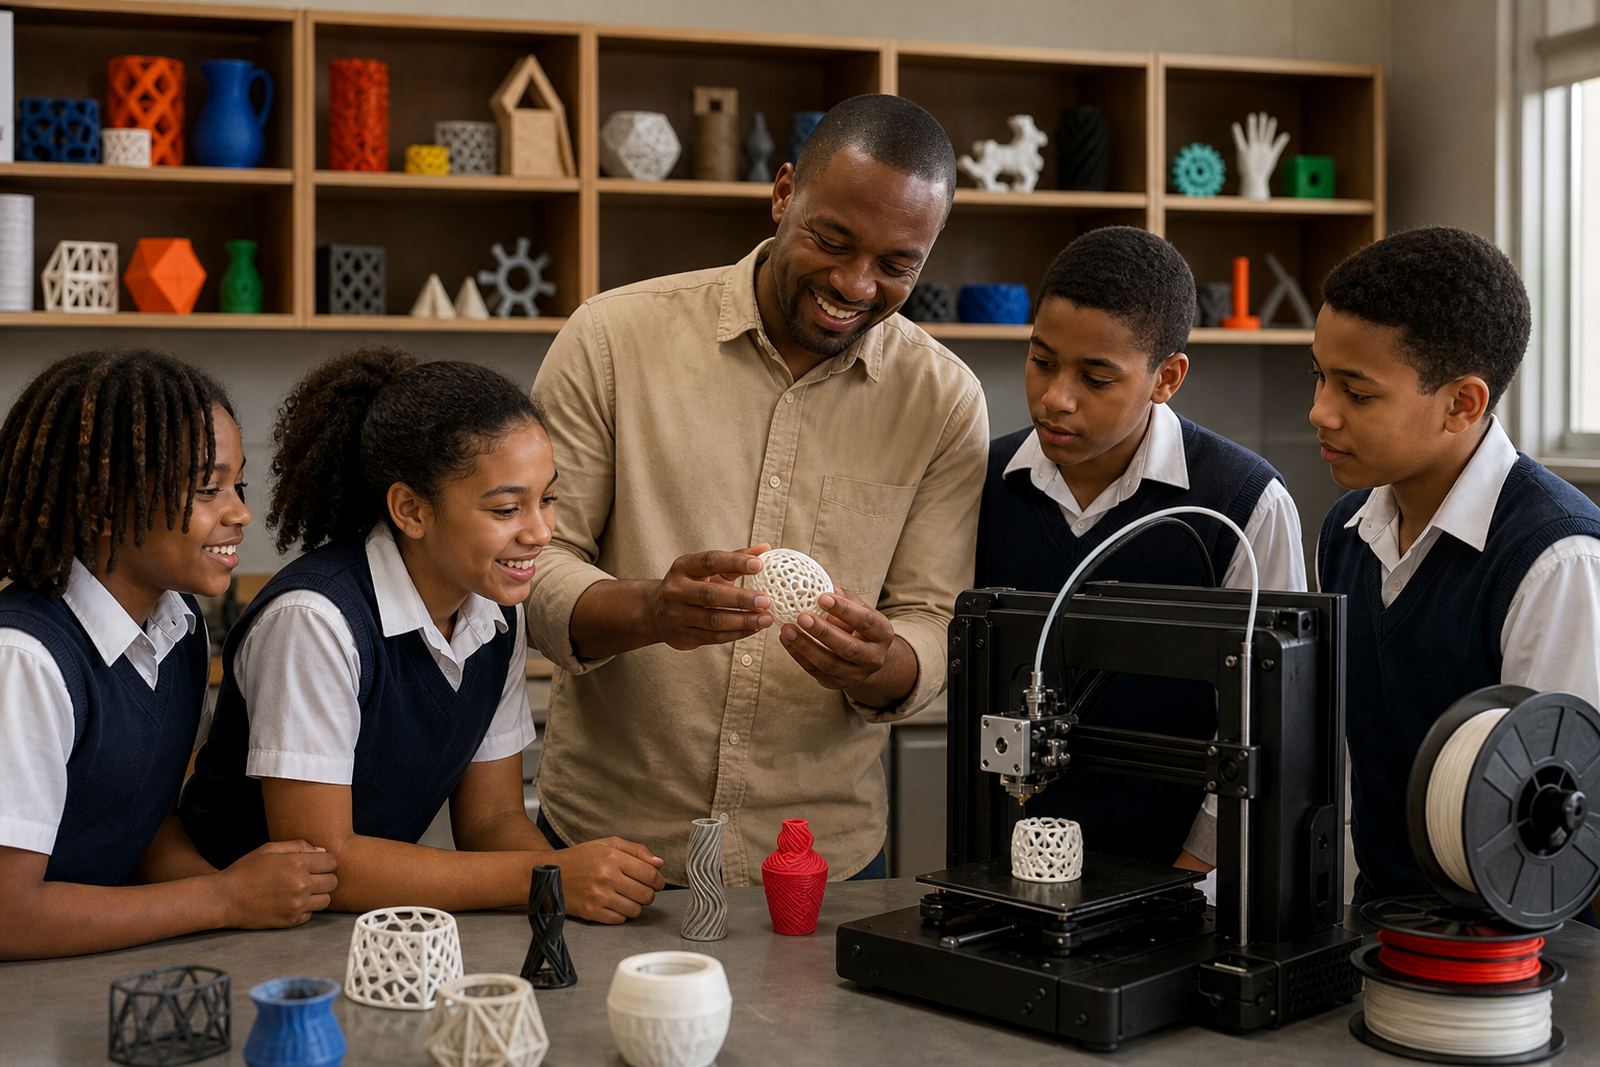
School display events work best when they give learners a chance to talk through the process behind each model, from first sketch to final print. That is especially useful with 3D printing because the making journey often includes failed first layers, support removal, sanding and a few design changes along the way.
When the event is framed this way, teachers can assess more than a finished item. They can listen for planning, problem solving and the ability to explain choices clearly. Learners also gain confidence because they are not being judged only on whether a part looks perfect on the day. In a school setting, that shift makes the event calmer and more meaningful.
- Ask learners to label each project with the problem it solves
- Include a short reflection card beside every model
- Keep the tone practical, not theatrical
Choose a layout that keeps visitors moving and thinking
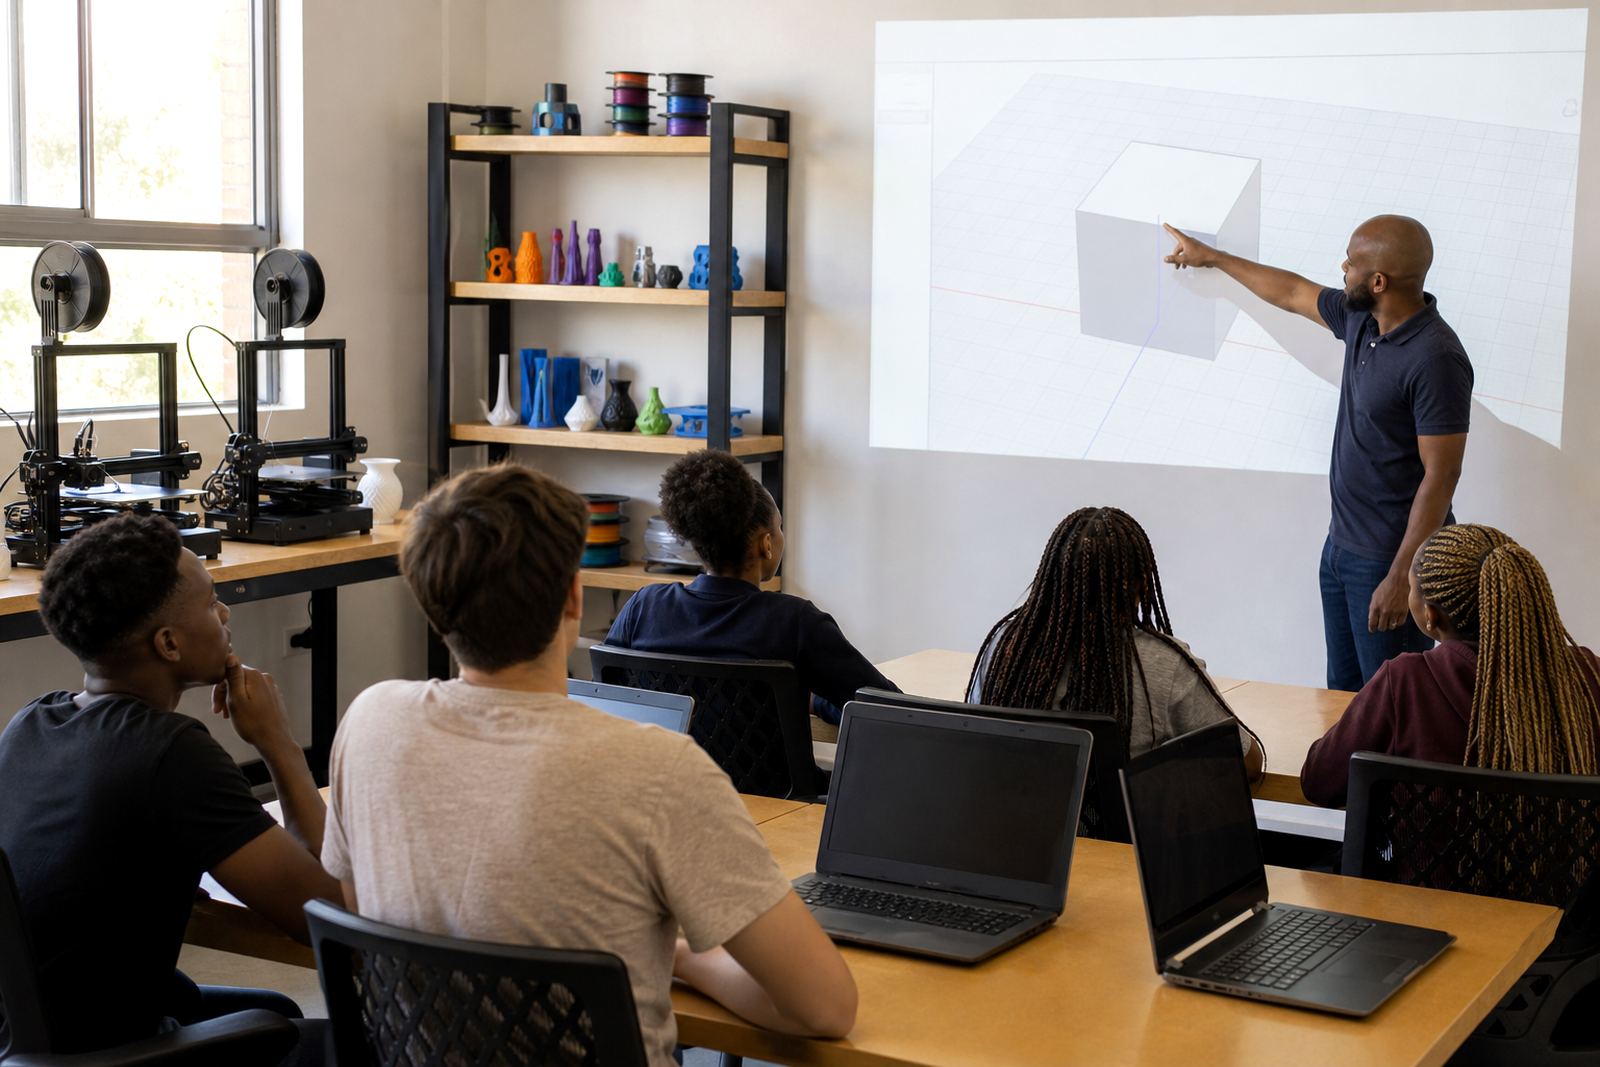
For a hall or classroom display, the layout should guide visitors through a simple story. Start with the earliest design ideas, then move to printed parts, then to a final reflection area. If the room is cramped, use the walls for posters and keep the centre open for people to walk through without crowding the models. In many schools, load-shedding planning also matters, so keep extension leads tidy and avoid stretching cables across walkways.
A useful layout can be as simple as three zones: design, print and reflect. That structure helps parents, staff and other classes understand what happened at each stage. It also lets teachers speak about safe handling, material use and the realities of classroom printing, which is important in schools where equipment is shared and time is limited.
- Place fragile prints away from the edge of tables
- Use clear signs for entering, stopping and moving on
- Keep one area free for live demonstrations if power is available
Give learners a speaking role, not just a standing role
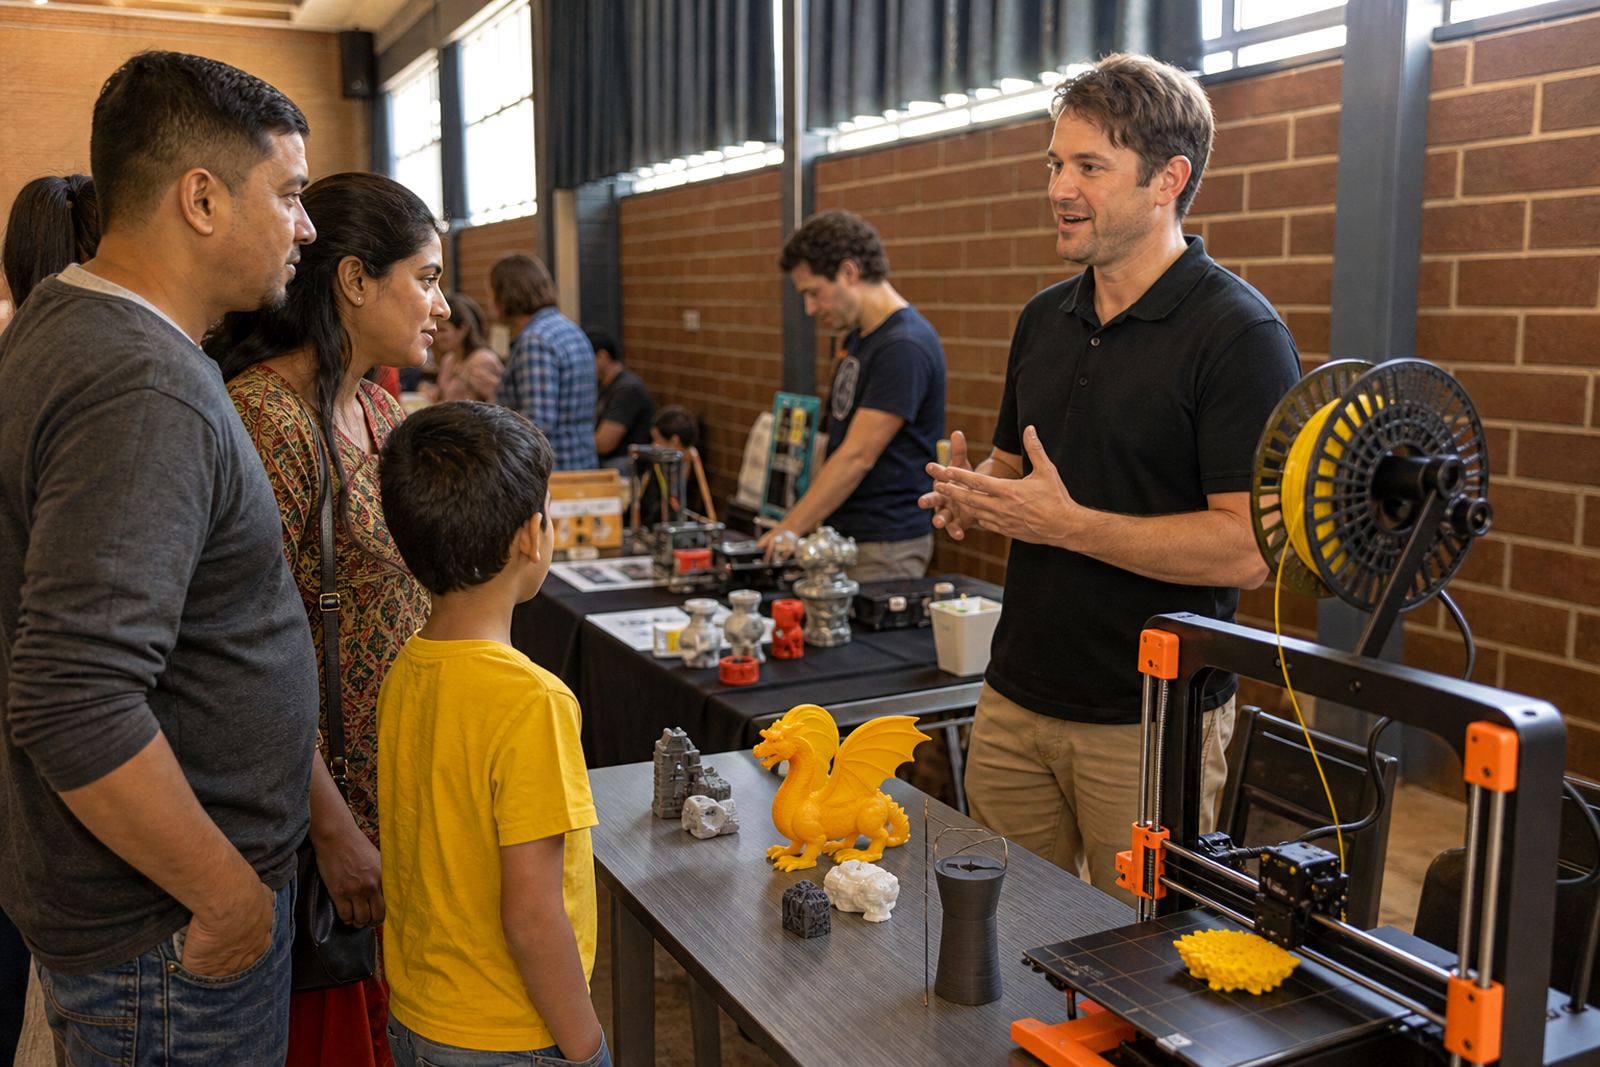
At many school events, adults do the talking and learners only point at their work. A better approach is to give learners a short script or prompt card so they can explain their own model. Even younger learners can answer simple questions such as what they designed, what they changed after a test fit and what they would improve next time.
This is where a display becomes more than a display. It becomes a speaking exercise, a confidence builder and a practical review of the learning process. Teachers can rotate roles too, so one learner speaks while another shows the model and a third manages the reflection notes. That way the event does not depend on a single confident child carrying the whole presentation.
- Keep explanations to 30 to 60 seconds per learner
- Encourage honest comments about mistakes and fixes
- Let quieter learners present in pairs
Use reflection prompts that are simple and honest
Reflection should not feel like a formal exam answer. Short, direct prompts work better for most school groups, especially when learners are still building their design vocabulary. A prompt such as “What problem did you solve?” is easier to answer than a long worksheet full of abstract terms. The aim is to help learners think about what they learnt, not to write a perfect paragraph.
For 3D-printing projects, reflection can cover design choices, machine setup, time management and finish quality. It is also useful to ask what they would change if they had another hour, another spool of material or a different mounting method. Those questions lead to better classroom habits and stronger project planning the next time round.
- What was the original idea?
- What changed during printing?
- What would you improve before a second version?
A Stellenbosch example that fits a real school day
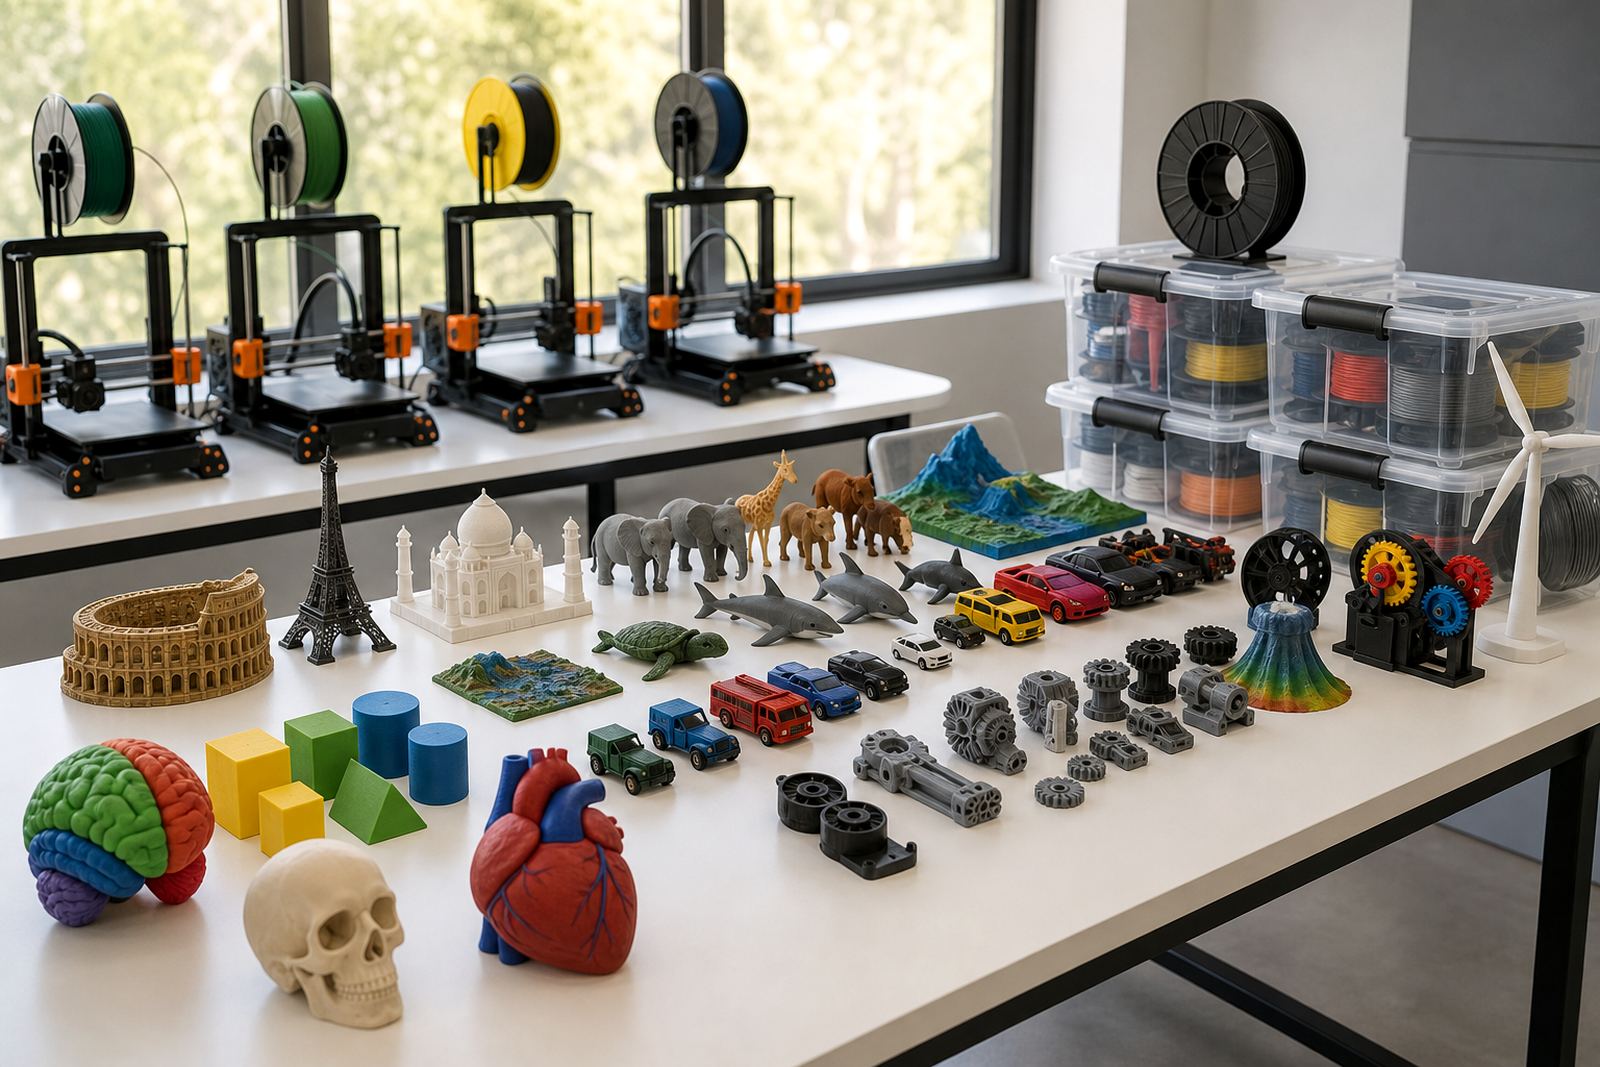
In Stellenbosch, a school might host a Friday afternoon display after class, using one multipurpose room and a few poster boards. Learners could display simple useful items such as a clip, a badge holder, a ruler guide or a small prototype for a science project. The event does not need expensive decor. A clean tablecloth, printed labels and a neat queue for visitors are usually enough.
Because the Western Cape can be windy and schools often have limited indoor space, it helps to plan for both order and movement. If the event includes parents, teachers and learners from lower grades, one person should guide the route while another answers questions about the projects. The best part is often the discussion afterwards, when younger learners see that making things is not limited to art class or a special occasion.
A local example also shows why reflection matters. A learner who printed a simple measuring aid may explain that the first version was too thin, the second warped slightly near the corners and the final version worked after a small adjustment in the model. That kind of honest explanation gives the audience a better sense of what practical learning looks like.
Keep the event safe, tidy and easy to repeat
Safety in a school display should stay practical and clear. If printers are running during the event, they must be supervised, with hot parts kept out of reach and no loose cables lying where people can trip. Schools should also avoid blocking exits or placing equipment too close to curtains, especially in older buildings where space is tight.
If the event becomes part of the school calendar, it is worth building a short checklist that staff can use every term. That keeps the workload manageable and makes the event easier to repeat without stress. It also helps with municipal or school venue rules around noise, access and public movement, which are easy to overlook when everyone is focused on the display itself.
- Check power points and cable paths before visitors arrive
- Keep water, snacks and models apart
- Assign one adult to watch the equipment area
Why display events matter beyond the afternoon itself
A good display does more than fill a hall for an hour. It gives learners a reason to finish work properly, talk about their choices and see value in careful making. Teachers get a clear view of understanding, while parents and school leaders can see how technical learning fits into everyday classroom practice. In that sense, the event becomes part of the learning programme, not a separate extra.
For schools using 3D printing, the biggest benefit is often confidence. Learners begin to see that design is something they can revisit, improve and explain. That habit carries over into other subjects too. When a child can stand beside a printed object and explain how it was planned, tested and adjusted, the learning has clearly stuck.