Why a shelf of sample prints makes lessons easier to teach
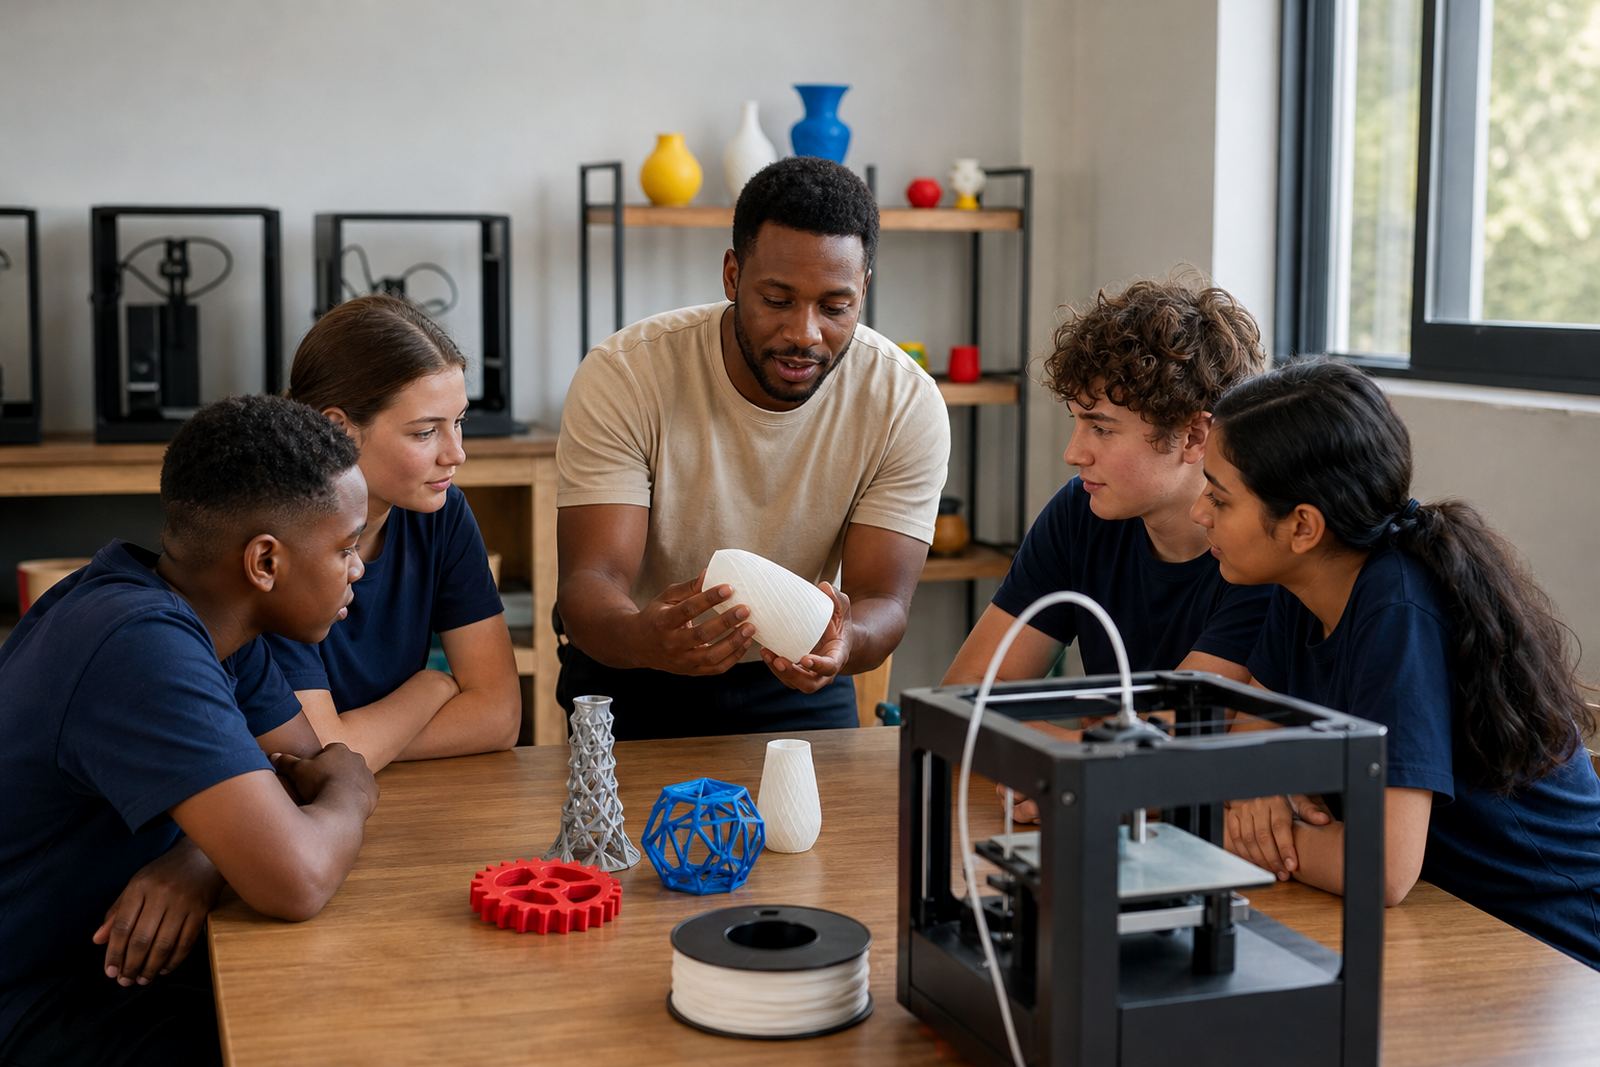
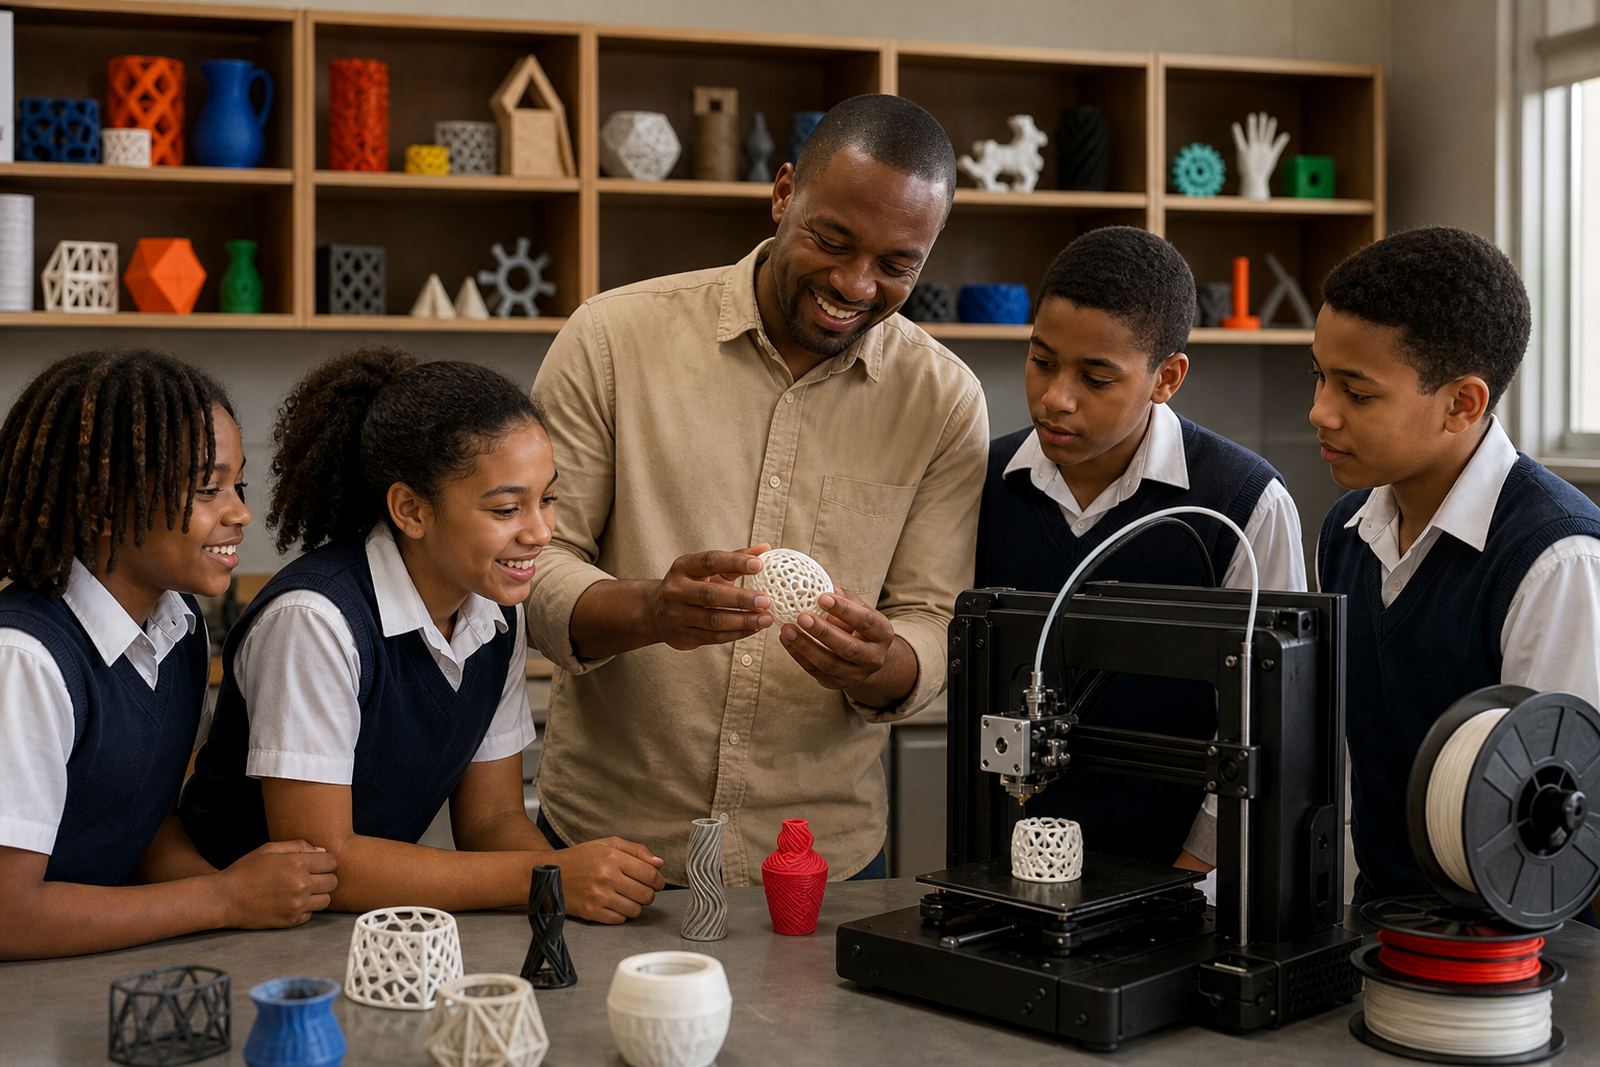
A sample model library gives teachers something concrete to point to when a lesson turns from theory to practice. Instead of describing layers, supports, infill and tolerances in the abstract, you can show a real object and ask learners what they notice first. That simple step cuts down on repetition and helps the class settle faster.
In a South African classroom, that matters. In Stellenbosch, Paarl or a school in the Western Cape coast, one lesson might be running with limited time because of load-shedding or a shortened timetable, so every minute needs to count. A good sample library helps you explain faster, plan better, and avoid wasting filament on guesswork.
What belongs in a practical classroom sample library
The best examples are not the fanciest prints, but the ones that teach one clear idea each. Keep them labelled and grouped by use. A neat tray or lidded box works well, especially in dusty classrooms or rooms with sea air near places like Somerset West and Gqeberha.
- Calibration cubes and other small test pieces for first prints
- Layer height samples showing coarse and fine finishes
- Support examples, including clean removals and failed support placement
- Bridges, overhangs and small geometry examples
- Simple functional parts such as clips, brackets and connectors
- Project samples from CAD Basics, Printer Operations and Project Planning lessons
Each piece should have a short note: what it shows, what settings were used, and what learners should look for. That little label saves time later when the class asks why one print looks smoother than another.
How example prints support planning, not just demonstration
A sample model library is also a planning tool for the educator. When you know which models are available, you can build the lesson backwards from the example instead of trying to explain the outcome after the fact. That helps with class pacing and with choosing prints that suit different age groups.
For example, a Teacher Introduction session may use simple objects with obvious differences in shape and strength. A Teacher Intermediate group can compare wall thickness, orientation and support use. Learners in a Maker Club can then move on to simple design changes and ask how a small adjustment changes print time or finish. It becomes easier to organise the whole term, not just one lesson.
- Choose examples that match the lesson objective, not just what is available
- Keep one set for clean display and one set that can be handled by learners
- Replace damaged samples early so the library stays useful
- Write down printer settings beside each sample for future planning
Using samples to explain mistakes before they happen
One of the most useful things about a sample library is that it lets you talk about mistakes before the class makes them. A warped edge, stringing, poor bed adhesion or a rough top surface can all be shown safely on a sample print. Learners usually understand these issues much faster when they can see and touch the result.
That is especially helpful in school lab setups where only a few printers are available. Instead of letting every group learn by trial and error, you can bring out an example and explain what went wrong. This saves filament, reduces frustration and keeps the room calmer. It also means the teacher is not rushing to troubleshoot while the rest of the class waits.
A Stellenbosch classroom example that kept the lesson on track
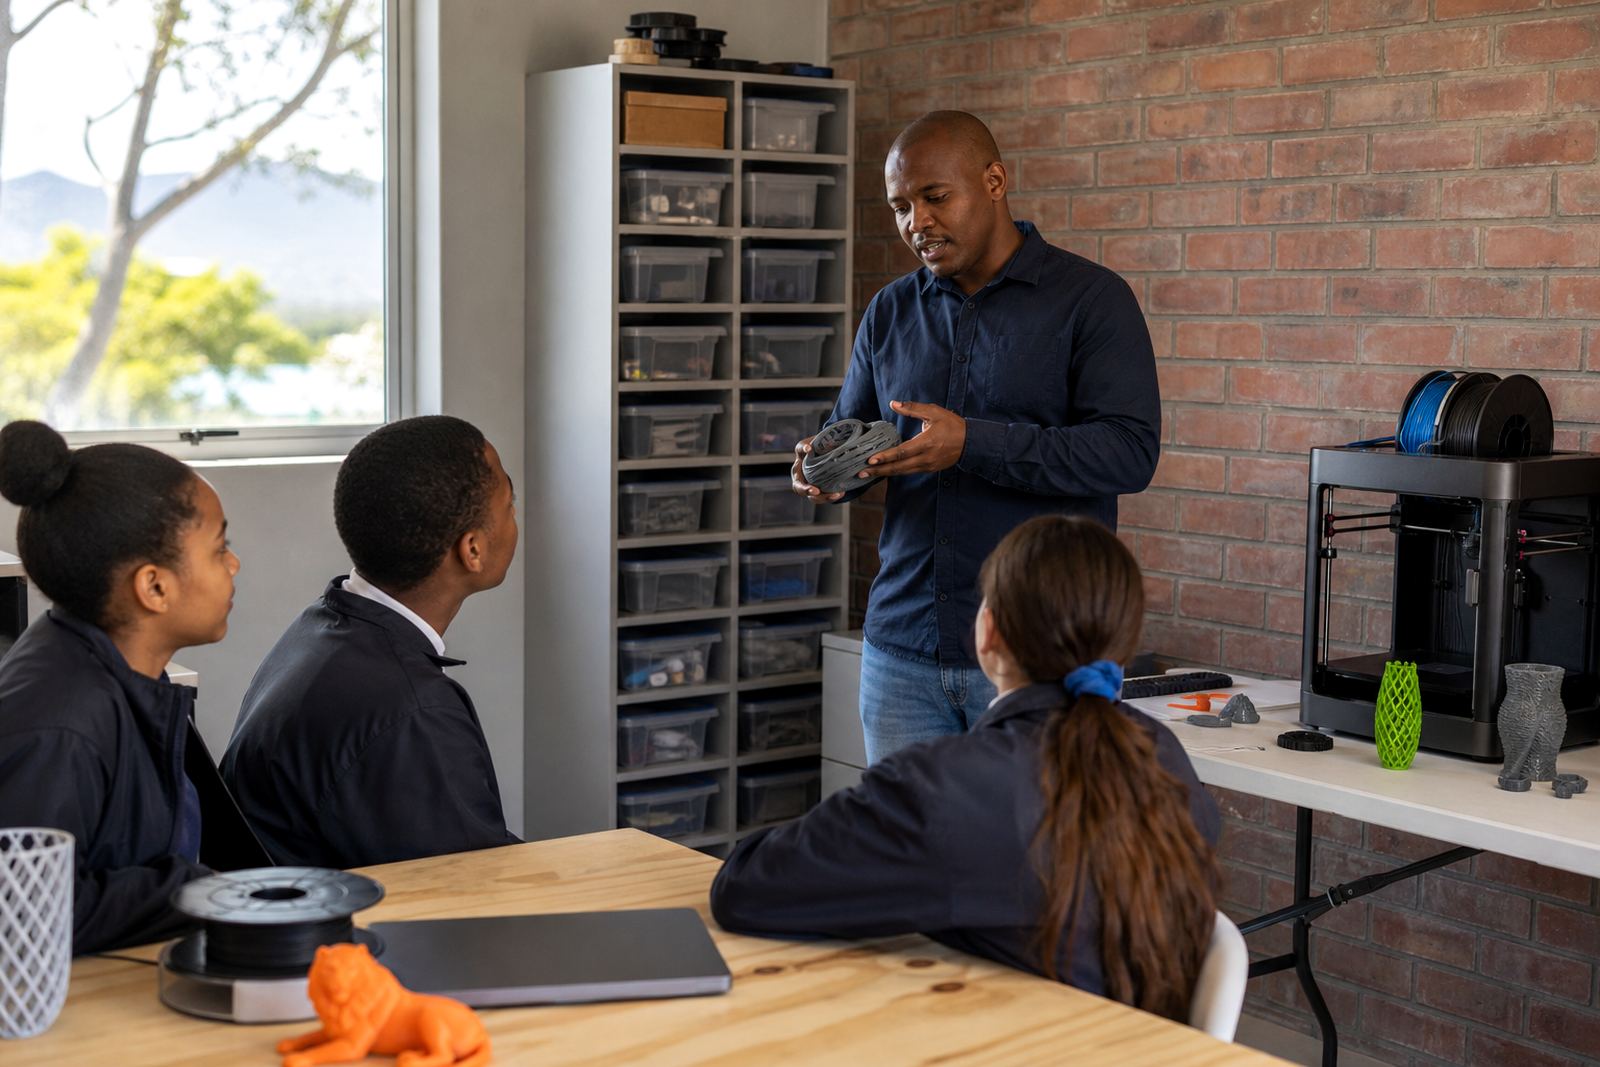
In one Stellenbosch training session, a teacher was preparing a lesson for Grade 8 learners who had never handled a printed part before. The class had one hour, a limited number of machines, and a load-shedding window later in the day. Rather than start with a new print from scratch, the teacher used a small sample set: a calibration cube, a hinged object, a support-heavy shape and a simple bracket.
The learners passed the samples around and compared smooth surfaces to rough ones, then discussed which shapes would need support and which would not. Because the examples were already on hand, the teacher could move straight into lesson questions and planning. The class finished with a clearer idea of how design choices affect a print. It was a practical day, and no time was lost waiting for a print to finish.
Keeping the library tidy, safe and ready for the next class
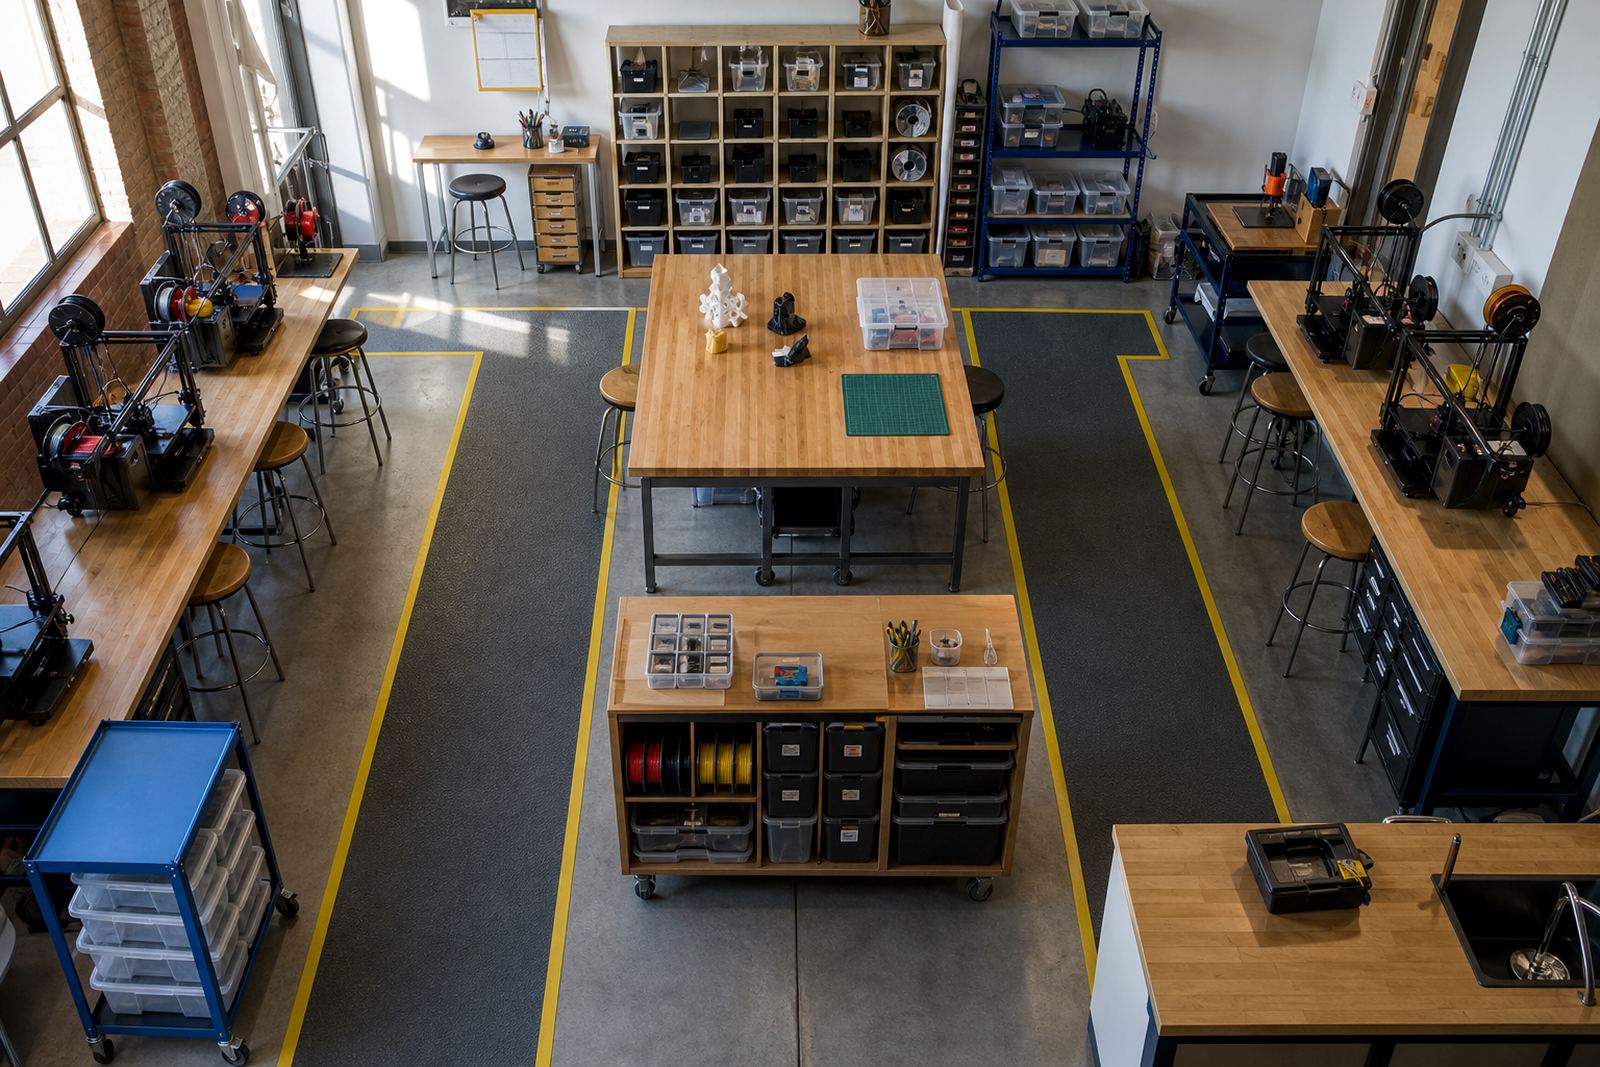
A sample model library works best when it is treated like classroom equipment. Keep it dry, clearly labelled and out of direct sun. In coastal areas, moisture can affect storage over time, so closed containers are a good idea. Broken or sharp pieces should be removed quickly and small parts should be counted after each lesson.
- Store samples by topic in labelled containers or drawers
- Keep heat-sensitive pieces away from windows and warm equipment
- Do a quick check after each term for cracks, chips or missing parts
- Use a simple sign-out list if several teachers share the same library
- Remind learners not to force moving parts on fragile prints
A tidy sample library makes the next lesson easier to start and gives teachers something reliable to reach for. That kind of preparation saves effort, keeps examples in good condition and makes classroom explanations much more practical.