Start With the Room, Not the Printer
Before placing a single machine, measure the room and note where doors, windows, plugs and walkways already sit. A printer area works best when it fits the room rather than fighting it. In a Stellenbosch lab or a coastal school in Gqeberha, humidity, salt air and dust can all affect how often equipment needs attention, so the layout should make routine checks easy.
Choose a position where staff can see the whole room from one standing point. Avoid placing printers in corners where cables, boxes and chairs build up. If the room is used for more than one class, leave a central aisle that stays open at all times. That simple choice reduces bottlenecks during lessons and helps with orderly entry and exit.
- Keep the printing zone away from direct sun and open windows.
- Leave space behind each machine for access to power and maintenance.
- Plan for storage so filament, tools and finished parts are not scattered on tables.
Schools that run after-hours clubs or holiday programmes often need the room to shift between groups. A flexible layout is better than a fixed one, because it can still work when class size changes or a teacher swaps activities at short notice.
Separate the Workflow Into Clear Zones
A practical layout is built around zones. Learners should know where to go for design work, printer operation, cooling, and collection of finished pieces. When these steps are mixed together, the room gets noisy and supervision becomes harder. Clear zones also help with safety because learners are less likely to reach across hot surfaces or crowd around a machine that is still moving.
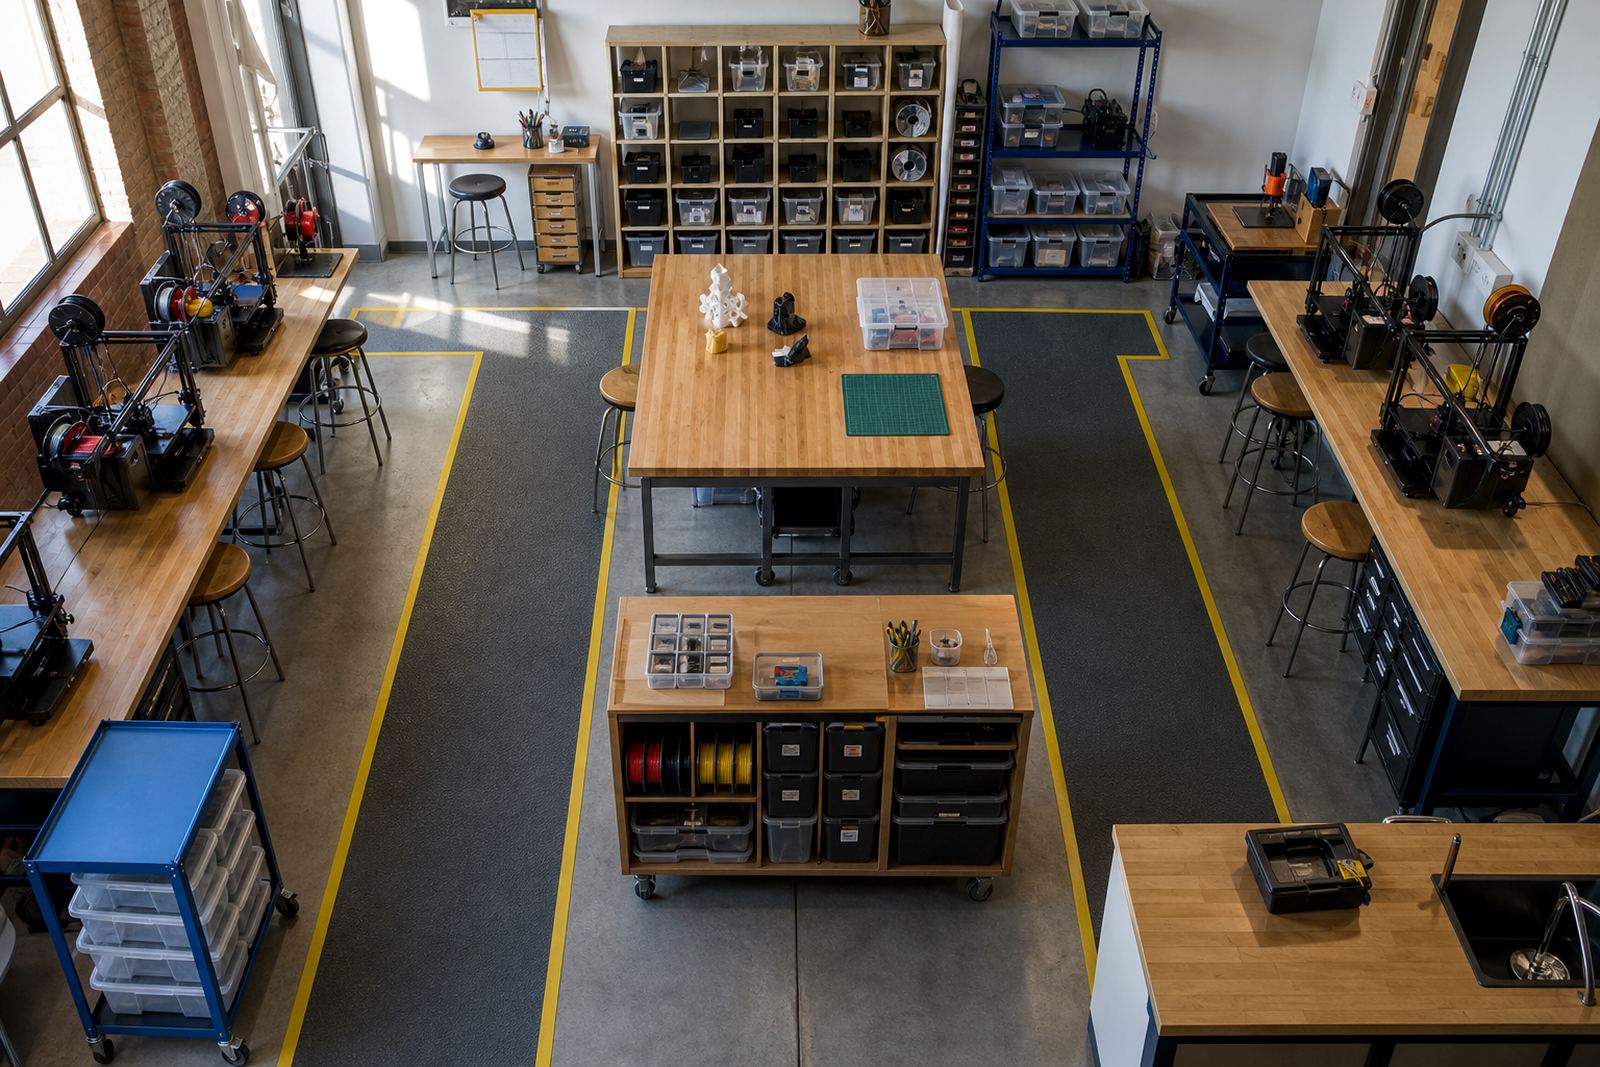
For a school lab, think in terms of four simple areas: computer work, printer operation, post-print handling, and storage. These do not need walls. Even a table change, a shelf, or floor markings can show learners where each task happens.
- Design area: computers, notebooks and project briefs.
- Printer area: machines with enough air flow and easy access.
- Cooling area: a clear table for finished parts to settle before handling.
- Storage area: locked or labelled shelves for materials and tools.
When zones are clearly marked, teachers spend less time repeating instructions. Learners also take more responsibility because they can see the process from start to finish, and that makes the room feel calm rather than cluttered.
Keep Supervision Easy for Teachers
Teacher visibility is one of the main reasons to get the layout right. A printer area should not force the educator to walk around obstacles just to check temperature, nozzle movement or print progress. The best arrangements let a teacher move from one machine to the next in a smooth loop, without squeezing between tables or stepping over cables.
Height matters too. If printers are placed on surfaces that are too low, it becomes difficult to inspect a print quickly. If they are too high, learners may strain to view the build process safely. A middle height, with a clear front and side view, usually works well in school settings.
- Place printers where the teacher can see them from the doorway if needed.
- Keep the tallest storage units away from the centre of the room.
- Use clear labelling so tools are returned to the same spot every time.
In a busy class, one learner may be loading filament while another checks a model on screen. Good supervision depends on being able to watch both tasks without losing sight of the rest of the room. That is where a sensible layout earns its keep.
Plan for Power, Heat and Load-Shedding
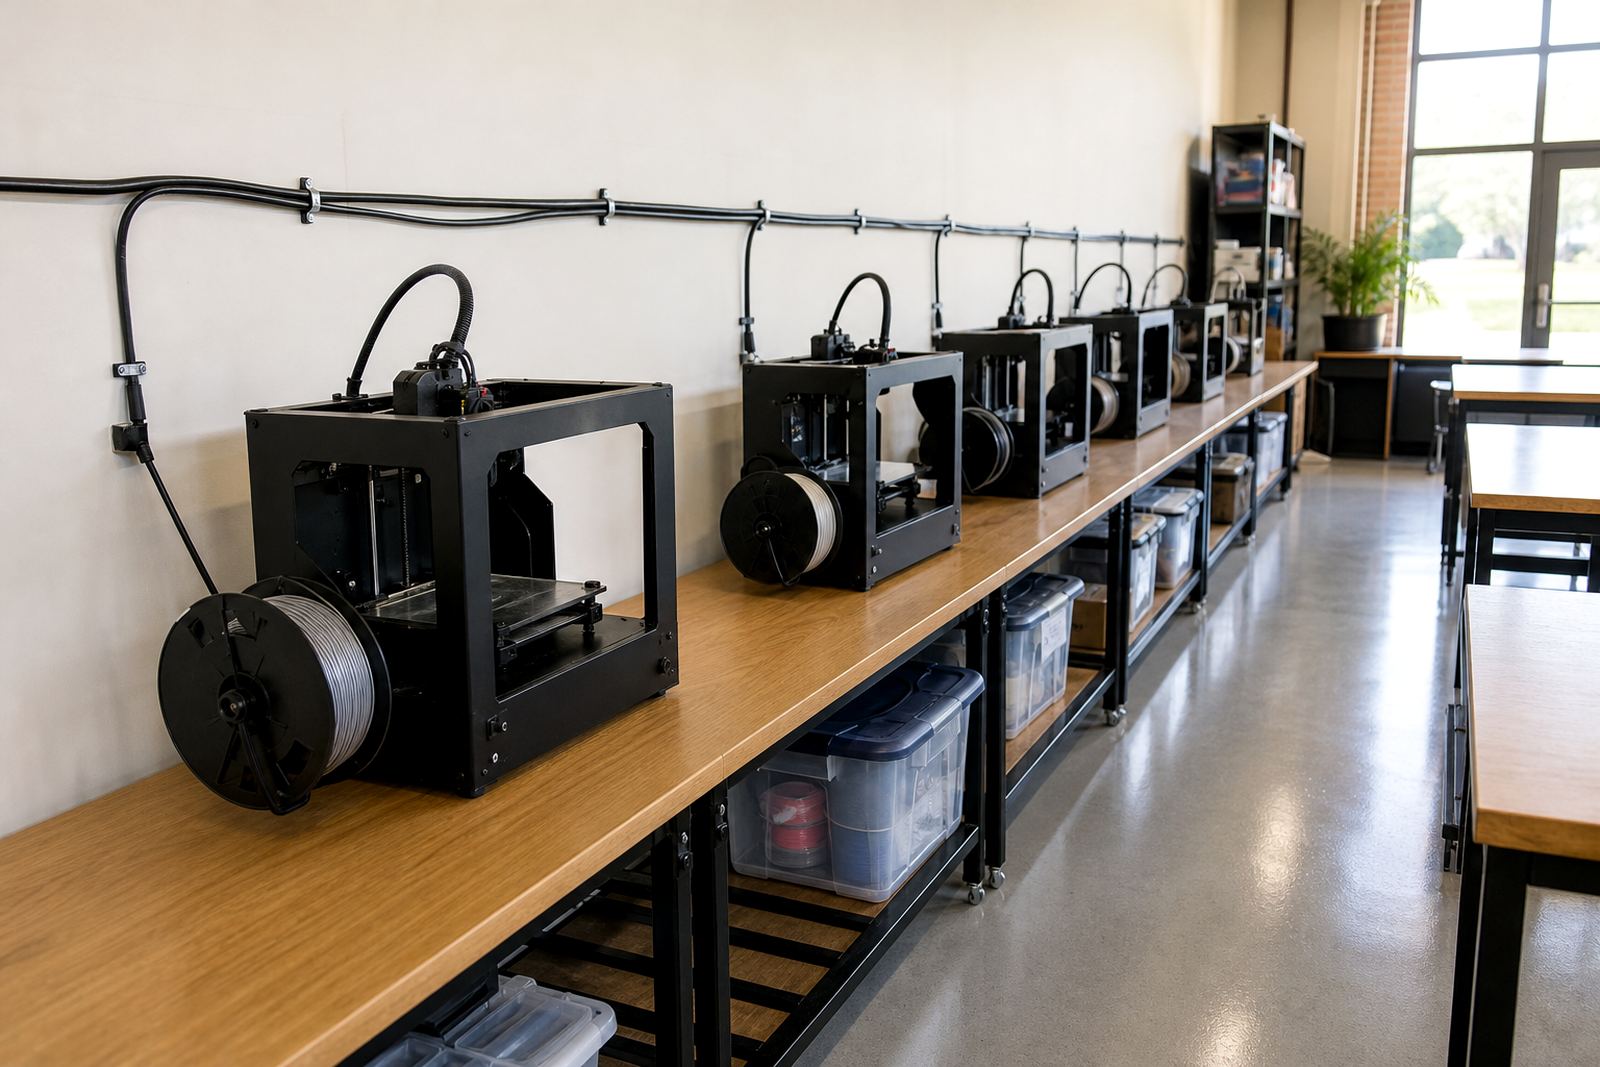
Power access needs careful planning, especially in places where load-shedding can interrupt lessons. Printers should be close to safe plug points, with cables kept short and tidy. Extension leads are sometimes necessary, but they must not become trip hazards or overload a circuit. If the lab uses multiple machines, it is worth mapping the power points before finalising table positions.
Heat and airflow are also important. Printers should have enough space around them to prevent hot air from building up. Rooms that become stuffy make it harder for learners to work comfortably and can shorten equipment life over time. In hotter Western Cape weather, a room with poor air movement can feel cramped very quickly.
- Keep cables off walkways and tape them down where needed.
- Allow open space around machines for ventilation.
- Position equipment so a power cut does not trap the class in a tight corner.
A simple backup routine helps too. Teachers should know which print jobs can pause and which ones should wait for a stable supply. The layout should support that routine, not complicate it.
Make Clean-up and Maintenance Part of the Layout
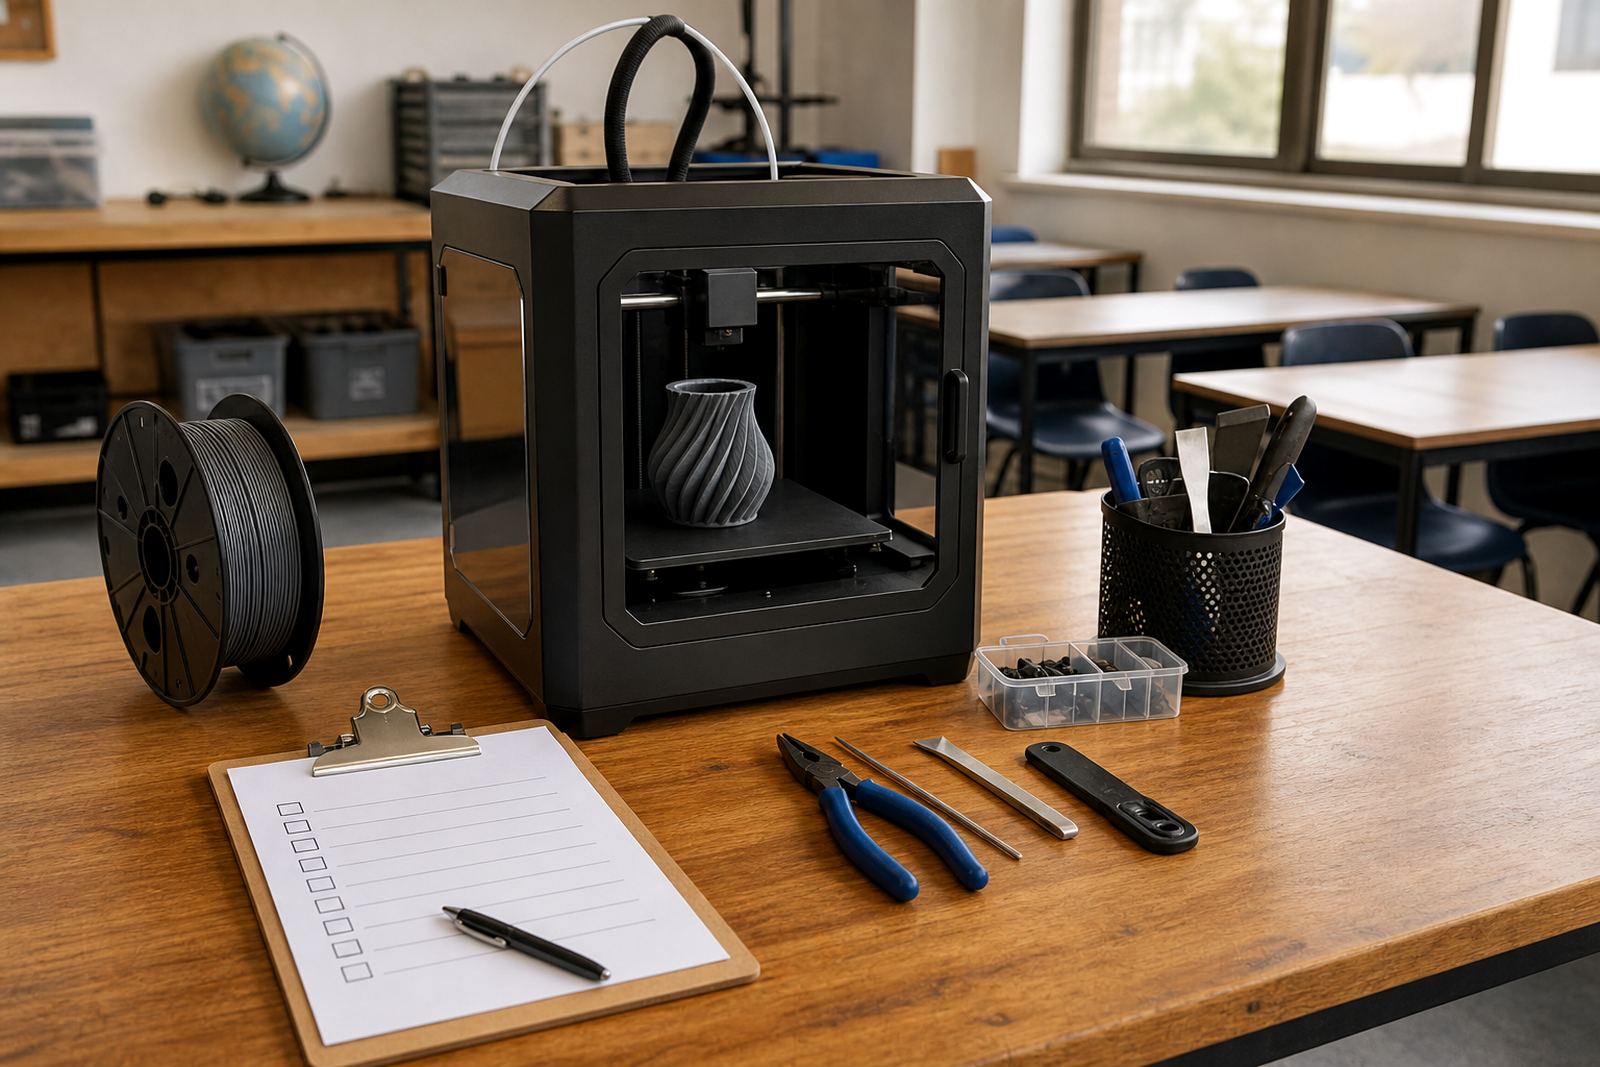
Maintenance is easier when the room is organised for it from the start. Schools often focus on printing, but the small tasks matter just as much: cleaning nozzles, checking build plates, storing tools, and clearing scraps. If those items have no fixed place, they disappear into drawers or pile up beside the machines. That is where avoidable damage starts.
A good school lab keeps cleaning supplies, spare parts and tools close to the printers but separate from learner workspace. It also gives staff a place to inspect machines after class without blocking the next group. In practice, that means one small service point or trolley is often enough. It need not be fancy, just consistent.
- Label drawers or shelves for tools, spools and maintenance items.
- Keep a small bin near the printer area for offcuts and supports.
- Set aside one surface for repairs, checks and part replacement.
When maintenance is built into the room layout, it becomes part of the school routine. That keeps the lab neater and saves time during term, which every teacher appreciates.
A Local School Example from the Western Cape
In a Stellenbosch school room used for science and technology lessons, the best layout was not the largest one. It was the one that gave the teacher a clear line of sight from the door, put the printers near the power points, and left a central aisle open for movement. Learners entered on one side, worked at the design table, then moved to the printer area only when called. Finished items cooled on a separate surface at the back of the room.
That simple arrangement reduced confusion straight away. The teacher could check the machines without stopping the whole class, and learners knew where to stand and where not to stand. It also made end-of-day packing faster, which matters in schools where rooms are shared and time is tight. The room was nothing special to look at, but it worked every day, and that is what counts.
Across Cape Town, Pretoria, Durban and Gqeberha, schools face different room sizes and different building conditions, yet the same principle applies: a layout should support teaching, not get in the way of it. If the room can be walked through cleanly, supervised clearly and reset quickly, the printer area is doing its job.