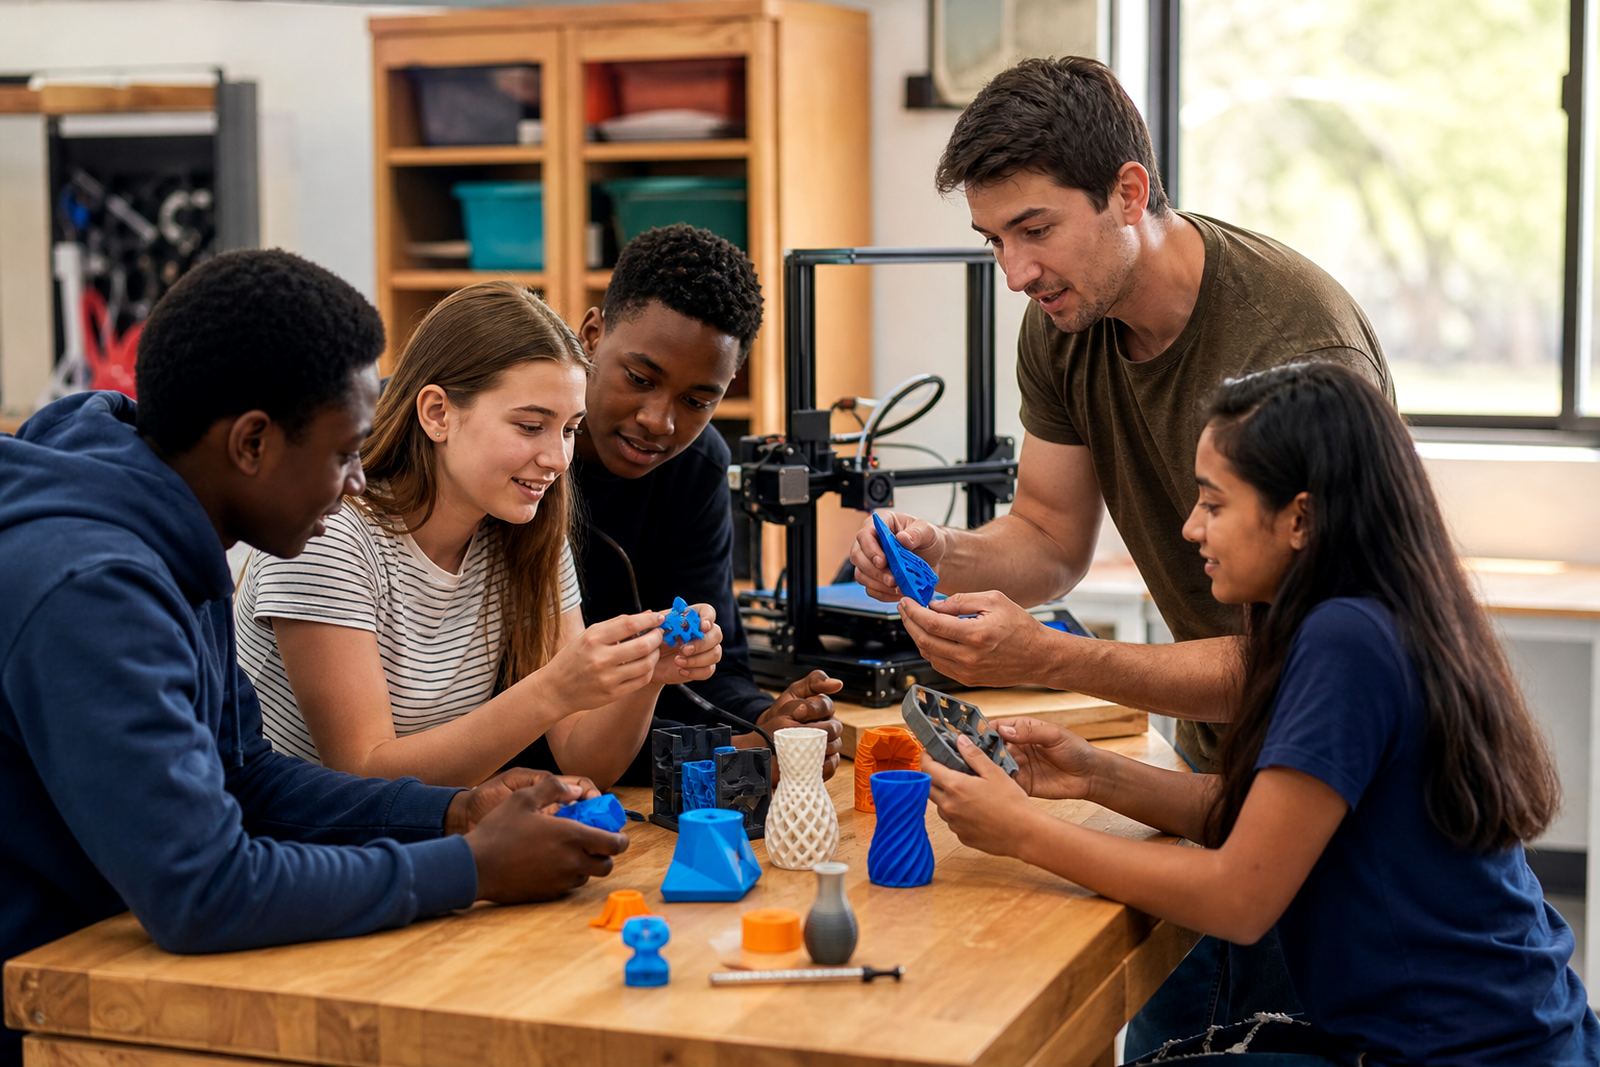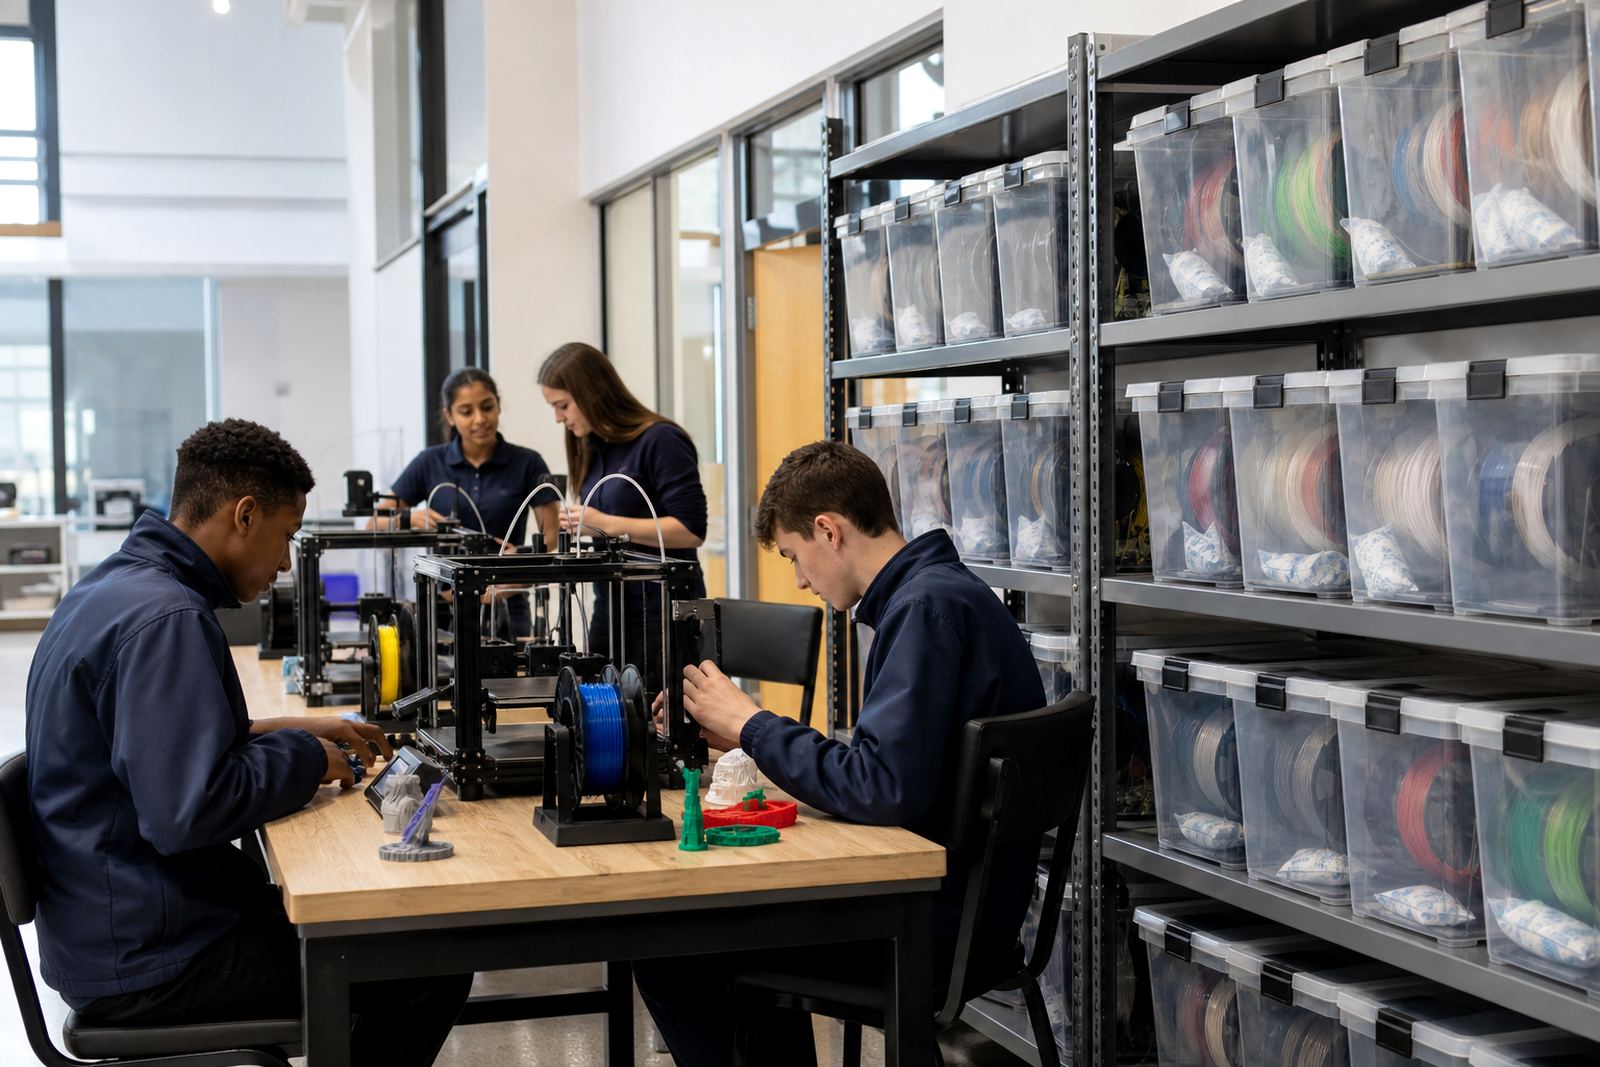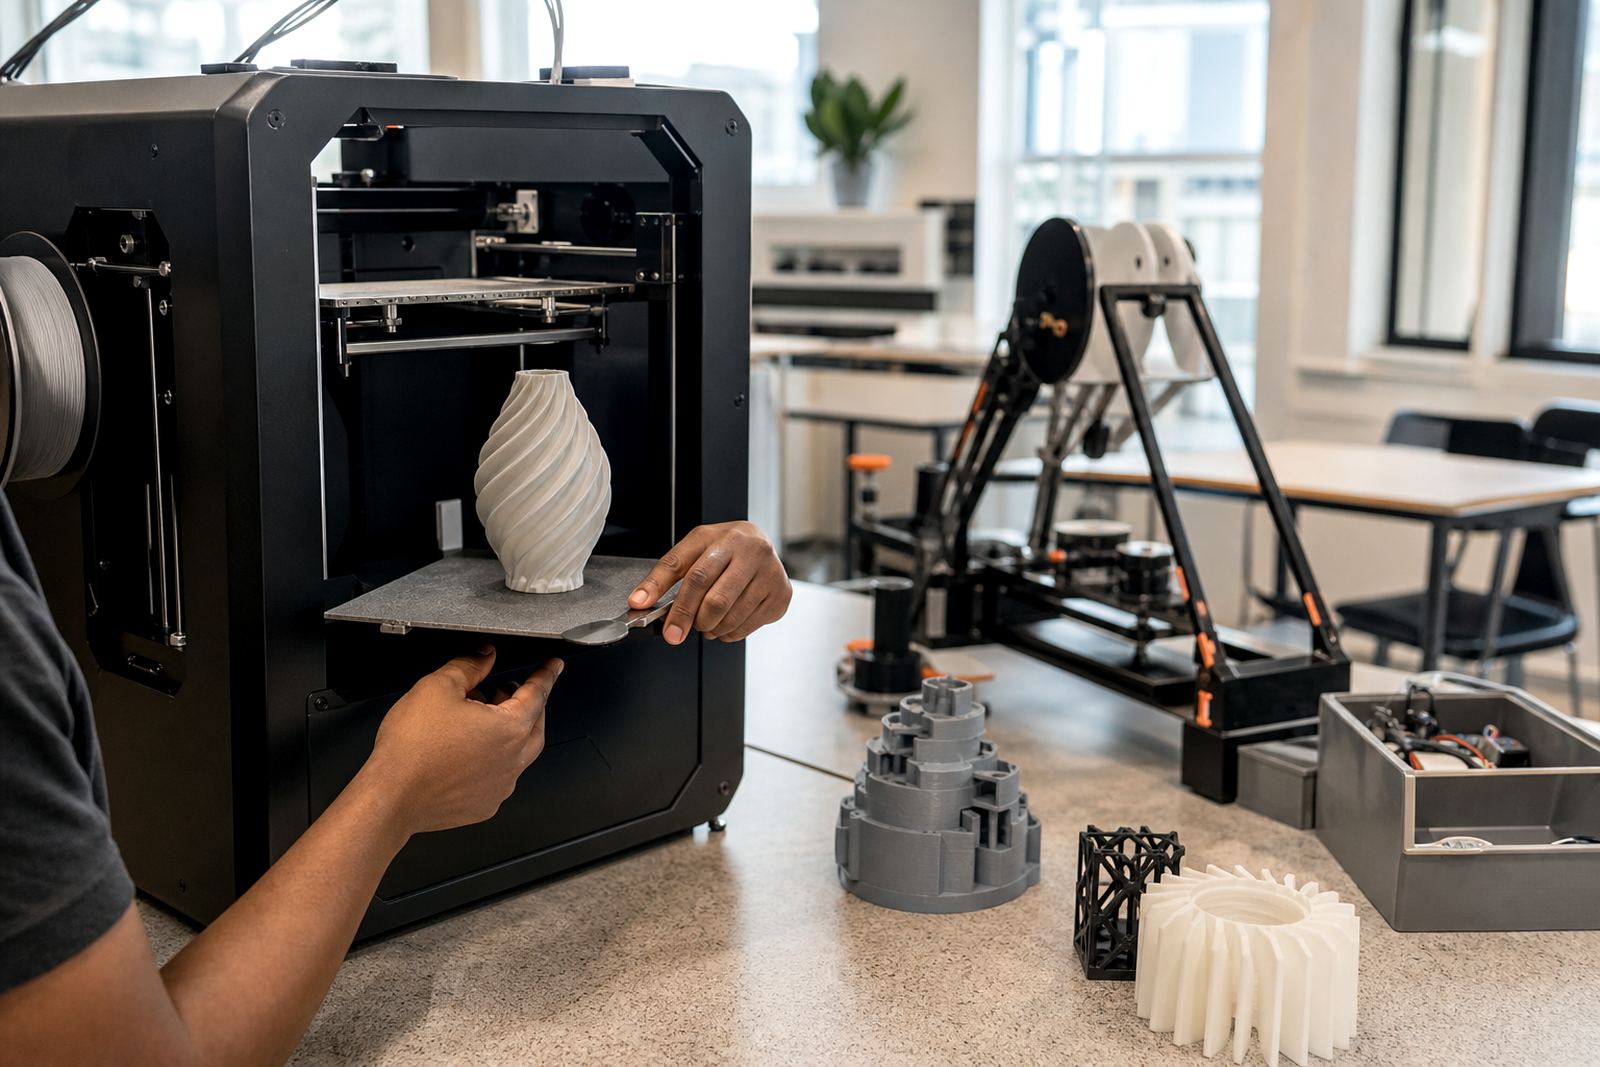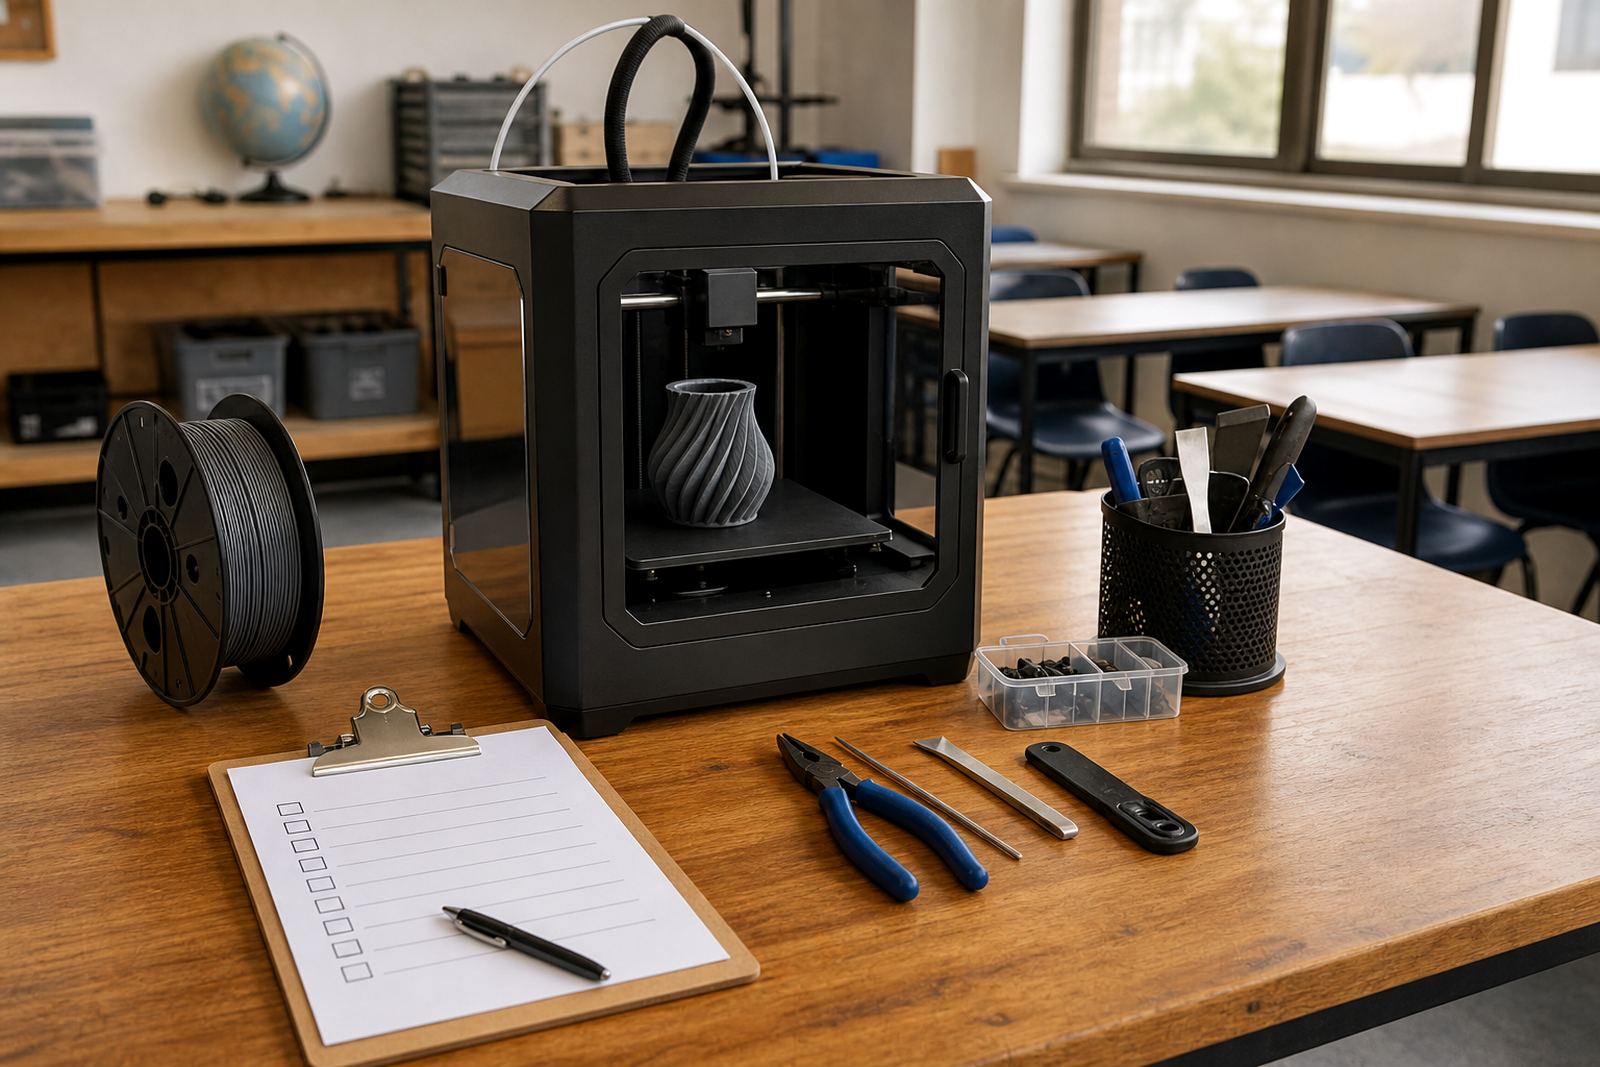
Start with a clear classroom goal
Before anyone powers up the printer, decide what the first print is meant to teach. A small name tag, a simple keyring, a geometric shape or a classroom aid is usually better than a complicated model. The aim is to show the full process from file choice to finished object without putting the class under pressure.
In a school setting, the first print should be short, predictable and easy to explain. If learners are watching, use one example that shows how design, slicing, material choice and machine control fit together. Keep the goal focused so the lesson does not turn into problem-solving on the fly.
Check the room, table and power supply
3D printers prefer a stable surface, a dry room and enough space around the machine for safe movement. In Cape Town or Durban, where coastal humidity can be a factor, store material in a sealed container and keep the printer away from open windows. In a Stellenbosch school with load-shedding schedules to plan around, check that the printer and computer will not lose power halfway through the job.
- Place the printer on a level table that does not wobble.
- Keep a clear area around the machine for access and supervision.
- Make sure there is a working plug point and a backup plan for power cuts.
- Use a well-ventilated room with no loose paper, cords or clutter near the build area.
A small oversight here can waste an entire class period, so check the room before learners arrive. A clean, prepared space also helps teachers keep control of the lesson.
Inspect the printer before the lesson begins
Run through a basic machine check with the printer switched off. Look for loose cables, dust on moving parts, a clean build surface and enough material loaded for the print. If the machine has not been used for a while, move the axes gently by hand if the model allows it, and make sure nothing is catching.
For a first classroom print, avoid starting with settings that are unfamiliar or rushed. Use the printer settings recommended for the material and the model size. If the machine has a display, confirm that the nozzle temperature, bed temperature and print speed are all set for the job. A quick check now is better than finding a fault once the class is watching and asking questions.
Prepare the file and the lesson file
The print file should be simple, tested and matched to the printer in use. Teachers should confirm that the model is the right size for the build area and that it has a flat base or supports where needed. If learners helped choose the object, make sure the design is suitable for the time available.
- Open the file in slicing software and check the layer preview.
- Confirm the size, orientation and estimated print time.
- Check that supports are only used where necessary.
- Save the file on the machine or memory device before class starts.
It also helps to prepare a short teaching sequence. Explain what the file represents, what the printer will do first, and what learners should watch for during the first few minutes. That way the class stays involved instead of waiting silently for a machine to finish.
Use a simple safety routine with learners
Classroom 3D printing needs clear rules, even for a short print. Learners should know where to stand, what parts of the machine must not be touched and who may operate the printer controls. Heat, moving parts and the build surface all need respect.
A teacher can keep the routine simple: one person operates the machine, others observe from a safe distance, and no one leans over the printer while it is running. If the classroom includes younger learners, mark a standing line on the floor or place the printer on a raised but secure surface. Safety does not need a big speech, just consistent habits.
- Do not touch the nozzle or bed during or after printing until fully cool.
- Keep hair, sleeves and bags away from moving parts.
- Only supervised learners should press buttons or start a print.
- Explain that the first layers matter and should not be disturbed.
Watch the first layers closely
The first few minutes tell you most of what you need to know. Check that the material is sticking properly, that the printer is moving smoothly and that the lines are forming in the right place. If the print starts lifting, shifting or dragging, pause and fix the issue early rather than letting the whole job continue.
This is also where learners learn the most. Let them see how small changes affect the result. A first print is a good time to show that technology needs attention, not just a button press. If the print goes well, say why it went well. If it does not, explain the fault calmly and use it as part of the lesson, not a setback.
Finish with a clean handover and quick reflection
When the print is done, allow enough time for cooling before removal. Use the right tool for taking the object off the build surface and store the item safely while it sets fully. Clean the printer bed if needed, remove waste material and check that the machine is ready for the next lesson.
After the print, ask three short questions: What worked? What would we change next time? What did we learn about the machine? That reflection helps learners remember the process and helps teachers improve the next session. In schools from Paarl to Pretoria, a careful finish often makes the next print much easier.
For a first supervised classroom print, the win is not a perfect object. The win is a calm, safe process that gives learners a clear first experience of how a 3D printer behaves and what a teacher needs to manage.