Why the removal step matters after a supervised build
A finished print can look ready the moment the machine stops, but it still needs a few minutes to settle. Parts that are lifted too early may warp, crack or leave marks on the build surface. In a classroom, rushed removal can also lead to burnt fingers, snapped tools and avoidable damage to clips, plates or levelling surfaces.
In school lab settings across Stellenbosch, Cape Town and the wider Western Cape, the safest habit is to treat the final few minutes as part of the lesson. Learners should wait for the build area to cool, confirm that the print has fully released or that the teacher has approved removal, and only then start lifting the part. That simple routine helps build patience and keeps the space orderly.
Let the build cool before anyone reaches in
Cooling is one of the most important steps, especially after longer jobs or prints with a wide base. A warm part can still cling to the bed and bend while being lifted. In a school environment, the teacher or facilitator should decide when the print is cool enough to handle, rather than allowing learners to guess.
For classrooms dealing with summer heat, coastal humidity in Gqeberha or the stop-start rhythm of load shedding, cooling times can vary. A room that is warm and still may keep the chamber hotter for longer. It helps to leave the door closed briefly, then open the machine only when the part and bed are safe to touch with care.
- Wait until the build surface is no longer hot to the touch
- Check that no small edges are still soft or bending
- Keep hands clear until the teacher gives the go-ahead
- Do not rush the process because the next class is waiting
Use the right hand movement and the right tool
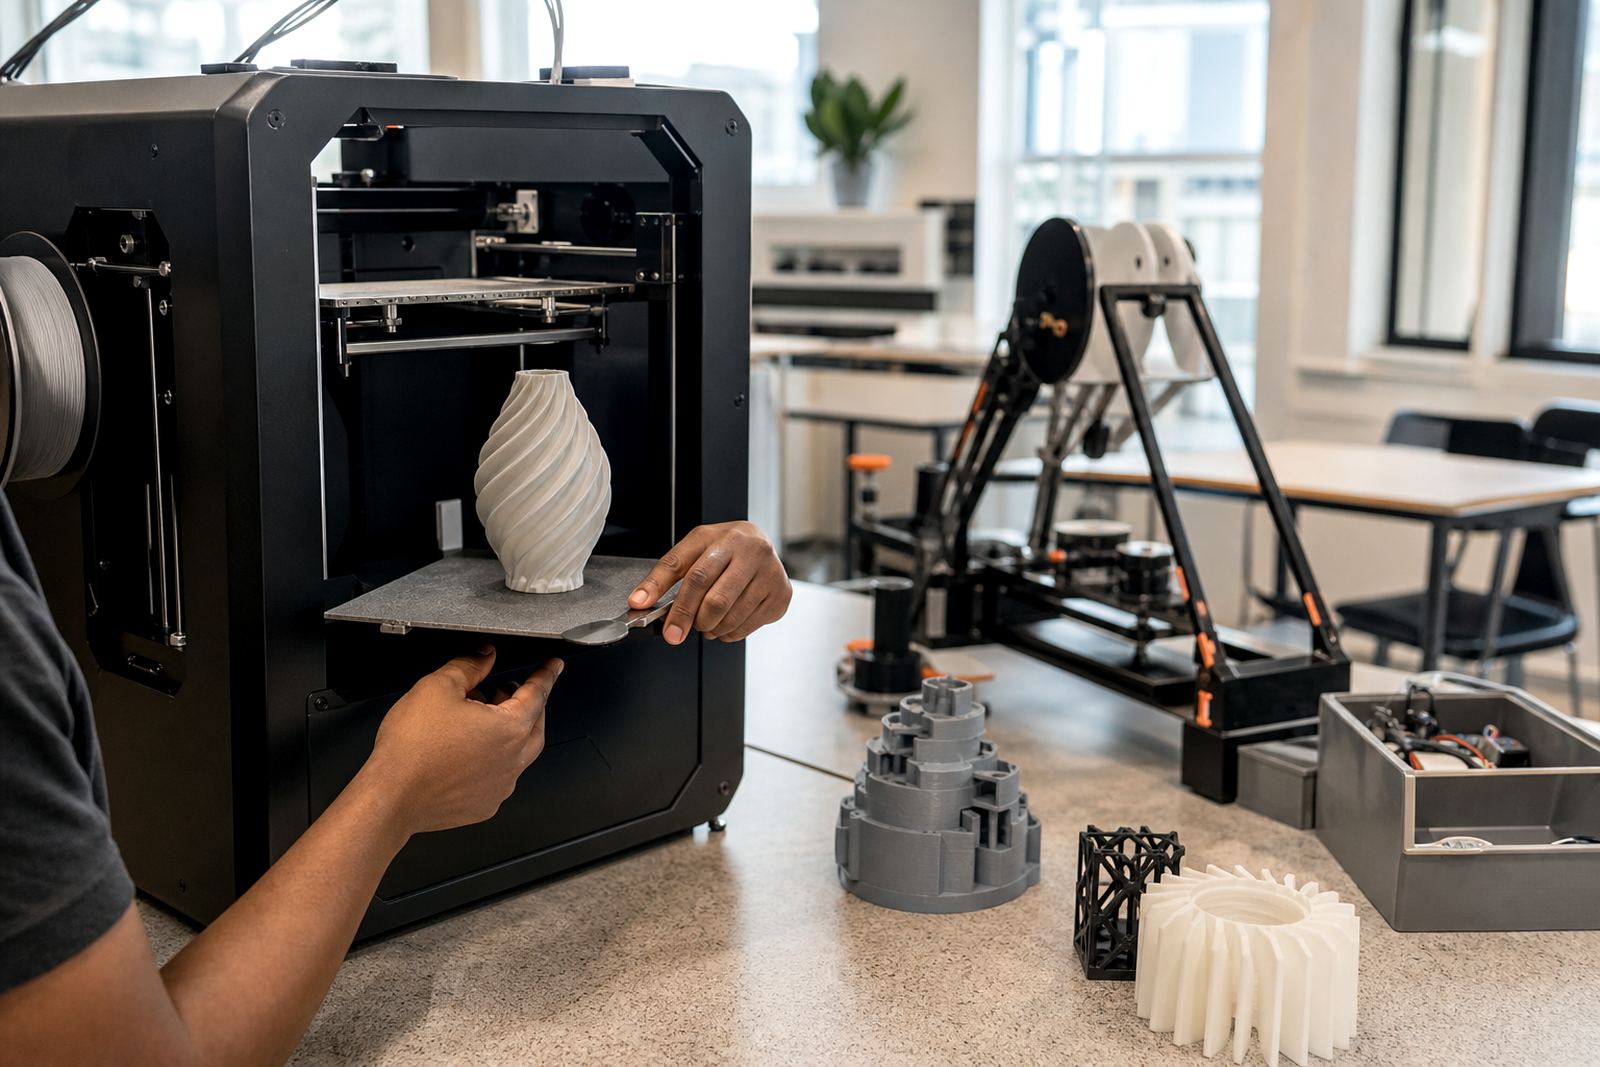
Once the part has cooled, remove it with steady pressure and a controlled angle. Never force the object straight up if it is still holding in one corner. A thin scraper or release tool can help, but it must be used flat and with measured pressure so the bed surface is not gouged. Sharp prying is usually what causes the damage, not the print itself.
For learner groups, it is best to demonstrate the movement first and then let one person at a time try under supervision. That keeps the process calm and reduces crowding around the machine. A small wobble is normal, but if the part resists too much, stop and check rather than pushing harder.
- Hold the tool low and flat against the bed
- Apply gentle pressure, then pause if needed
- Support larger parts with a second hand once they loosen
- Keep fingers away from the edge of the tool path
Protect delicate features while lifting the print free
Many classroom projects include thin walls, bridges, text or fine clip features that can snap during removal. A learner may feel tempted to grab the part by a small tab or pull on a thin corner, but that often breaks the finished work. The better approach is to free the base first, then lift the part with both hands and support the weakest areas.
If the model includes overhangs, hinges or small connectors, inspect the print before removing support material. In some cases it is easier to detach the part and then clean it on a table than to twist it while it is still attached to the build plate. This is especially useful for holiday programme sessions and maker club tasks where students want to keep each project intact for presentation.
- Lift larger prints from the strongest section, not the thinnest edge
- Keep a tray or mat nearby for parts that may roll or tumble
- Separate support structures gently after the print has cooled
- Check for hidden stress points before flexing the model
Keep the classroom tidy while the next group waits
A clean removal routine helps the whole lab move faster. Scraps, support material and loose filament should be cleared as soon as the print is off the bed. If the table is left cluttered, the next learner group has less space to work and more chance of losing small parts. A labelled tray, a cloth for dust and a bin for offcuts all make a difference.
In schools around Paarl, Somerset West and Pretoria, this simple habit also supports better supervision. The teacher can see which prints are complete, which need post-processing and which should be set aside for repair or review. It keeps the room calm and helps students understand that print removal is part of a proper workflow, not an afterthought.
- Return tools to the same place after each use
- Store removed parts on a flat surface so they do not warp
- Separate finished work from failed prints and test pieces
- Wipe the bed only when the machine is safe and switched off as instructed
A local classroom example from the Western Cape
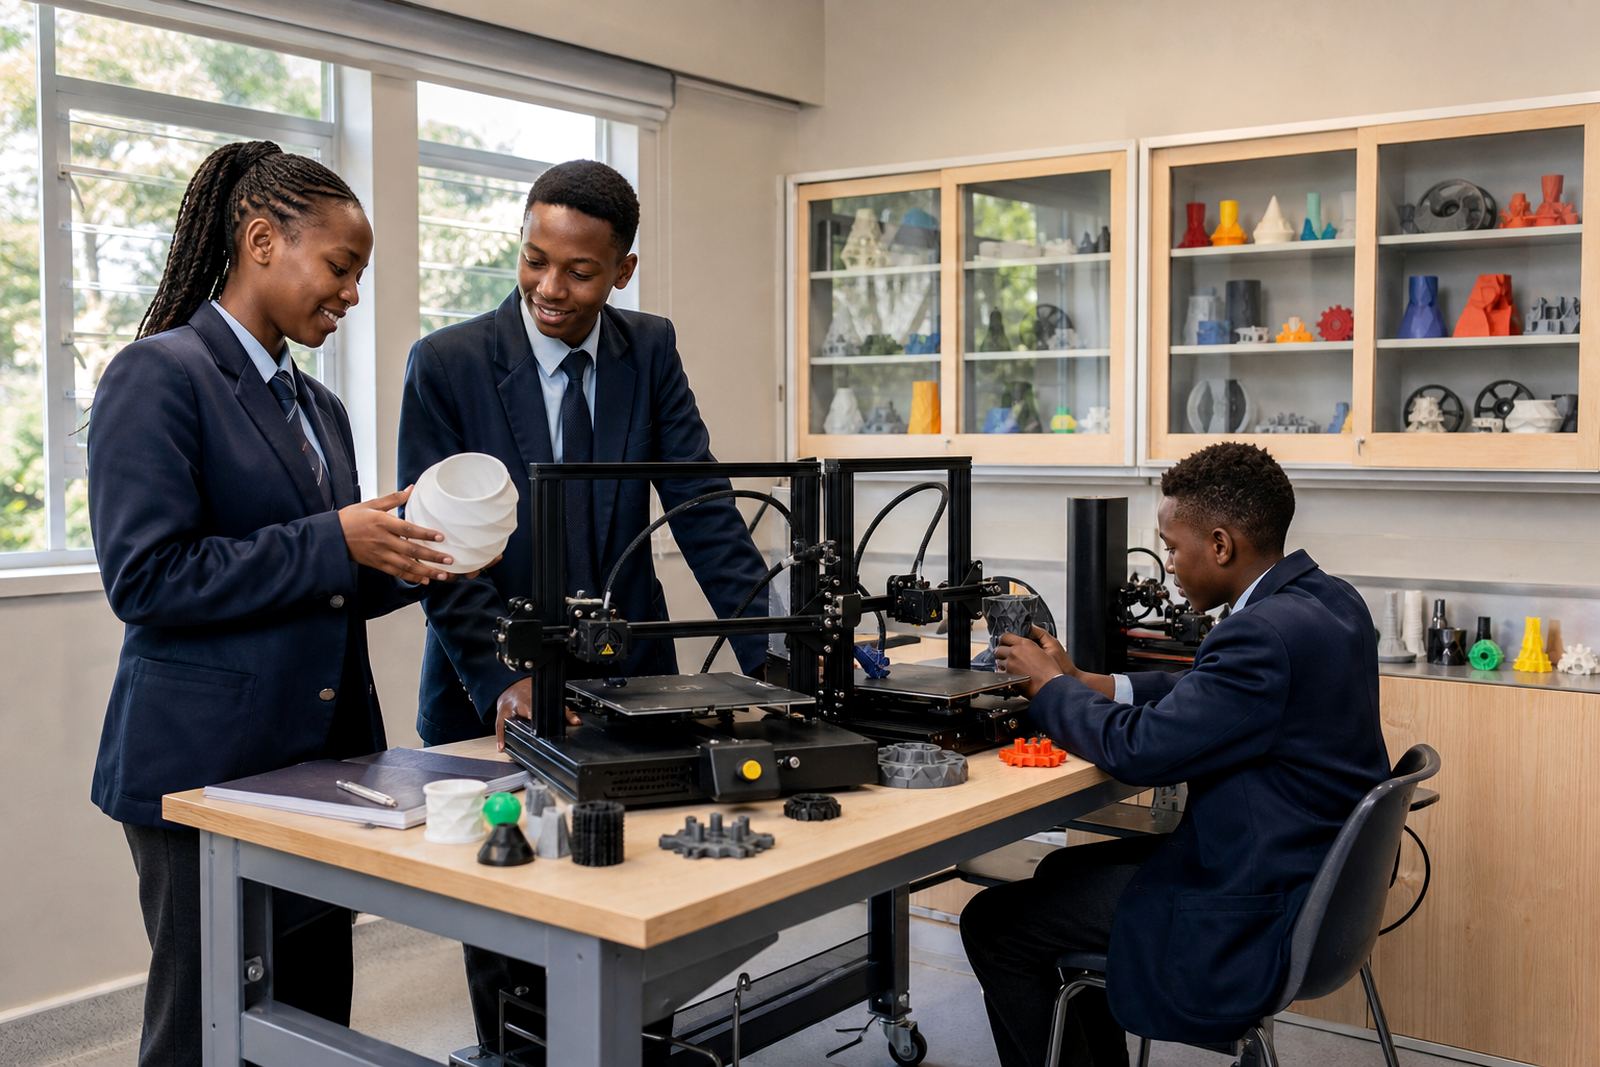
In a Stellenbosch school lab, a class may finish a simple bracket, key holder or prototype during a workshop period. The students watch the final layers go down, then wait while the bed cools and the teacher reviews the build. One learner removes the part with a thin tool, another holds the tray and a third checks that no clips or small corners are left behind on the plate.
That kind of routine matters because it turns a quick task into a repeatable method. It teaches learners to work slowly, respect shared equipment and think about the next user of the machine. In a busy school where class time is limited and power interruptions can change the day, a careful removal habit saves time later and reduces avoidable damage.
What teachers should remind learners before every removal
A short reminder before the final step helps keep the room safe. It does not need to be complicated. The key is to keep the message consistent every time a print comes off the bed, whether the group is in Cape Town, Durban, Gqeberha or Johannesburg.
The best reminders are plain and practical: wait, check, lift gently and set the part aside properly. If the print is stuck, pause and ask for help instead of forcing it. If the model is still warm, leave it to cool a bit longer. Those small choices protect both the class equipment and the learner’s work.
- Only remove the print when the teacher says it is safe
- Use slow movements and avoid sudden twists
- Do not reach across a hot surface
- Report any damage to the bed or machine straight away
A careful finish gives the lesson a better outcome
Part removal may look like a small step, but it is where a lot of classroom discipline shows. A neat print that comes off cleanly feels rewarding, while a rushed lift can spoil a model that took hours to complete. When learners are shown how to wait, lift and clean up properly, they carry that habit into every later project.
For schools building out a 3D-printing programme, this is one of the easiest skills to teach and one of the most useful to repeat. It supports safer handling, better results and a more organised workspace, which is exactly what a shared lab needs.