Start With A Clear Power Layout
Before a printer is plugged in, work out where each machine will sit and where the nearest socket is located. Keep the power path short, direct and out of walkways. In a classroom, a lead that runs across a passage between tables is asking for trouble, especially when learners are moving around with trays, tools or prints in hand.
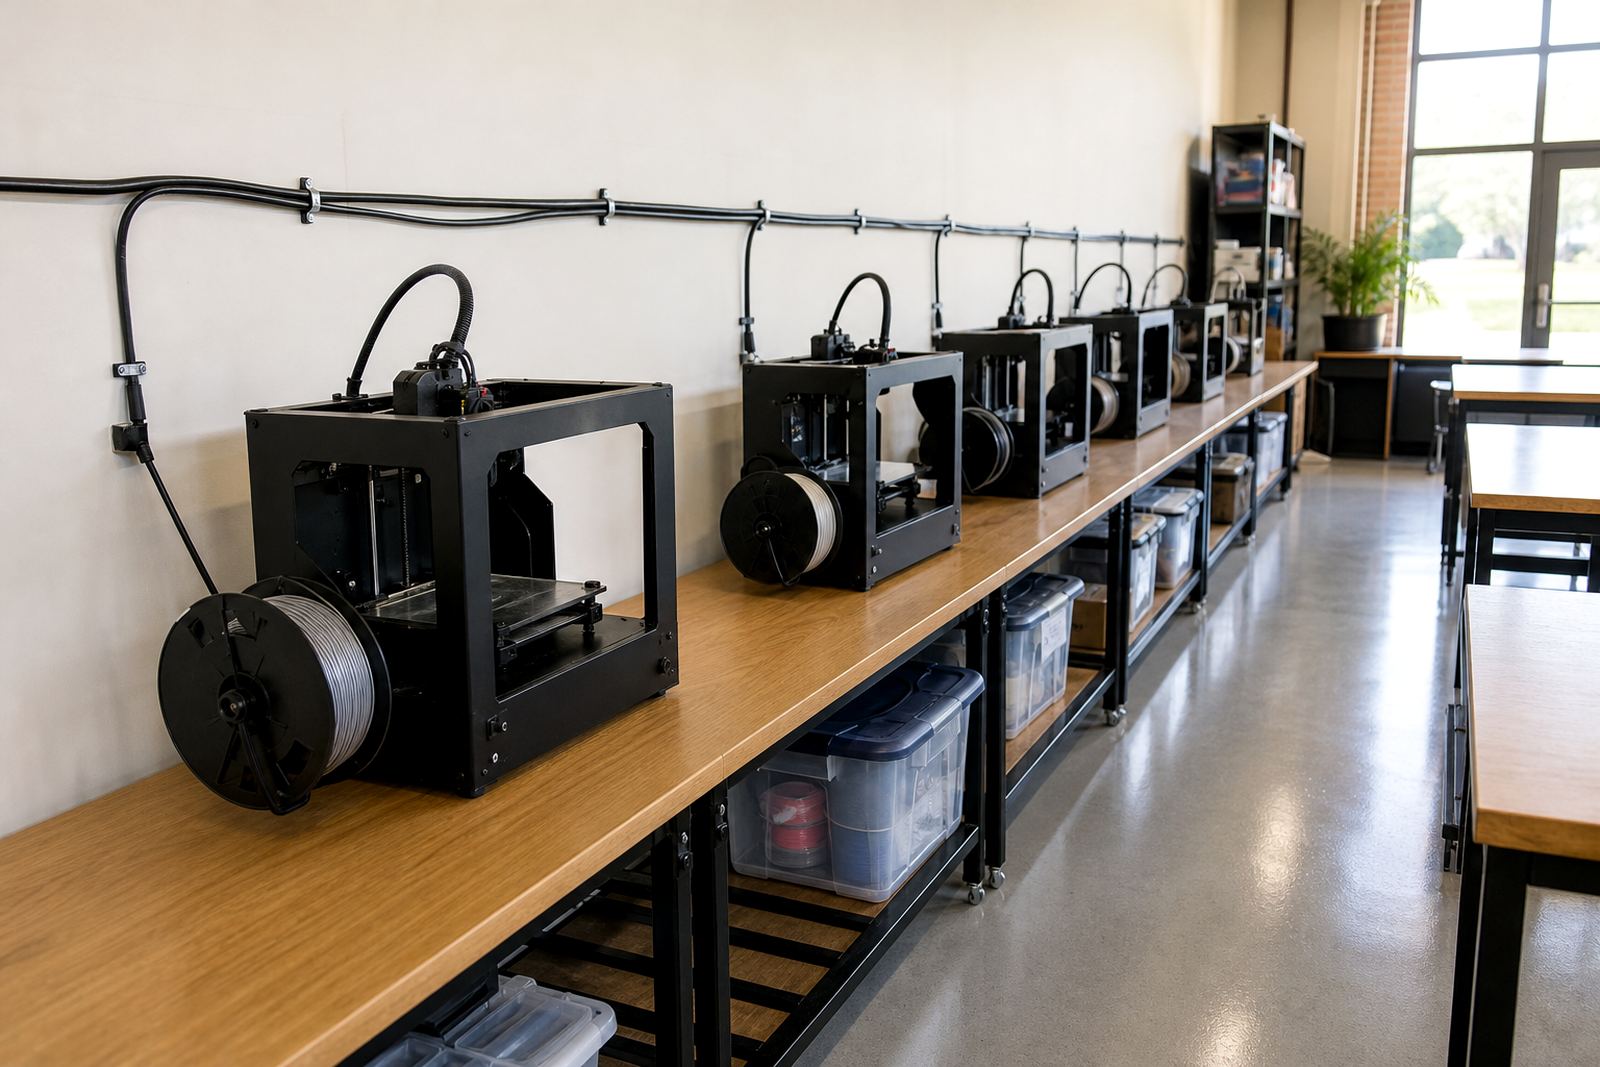
Plan for the full setup, not only the printer itself. Many schools add a computer, a small screen, a router, a work light or a filtration unit to the same area. Each item needs a proper place so the leads do not end up all over the floor. Where possible, keep the printer area against a wall or on a sturdy bench with enough access at the back for plugs and maintenance.
In Stellenbosch, where many schools deal with load-shedding and backup power changes, it also helps to mark which socket feeds which machine. That makes it easier for staff to reset one printer without affecting the whole room.
Keep Leads Off The Floor Where You Can
Floor-level cables wear faster and get damaged by chairs, cleaning equipment and moving feet. If you can route a lead along a wall, under a bench edge or through a simple cable tray, do it. The aim is not to make the room fancy, it is to keep the floor open and the equipment safe.
Use the shortest practical lead length. Long loops of cable gather dust and get caught on bag straps or shoes. If a longer lead is necessary, bundle the extra length neatly and secure it so it cannot move around. This is especially important in shared spaces where one class may use the room for printing and the next may use it for a lesson on design.
- Keep power leads away from doorways and chair paths
- Use cable clips or trays to guide leads along fixed edges
- Do not stack heavy items on top of cables
- Replace cracked plugs or frayed cords straight away
Leave Space Around Each Printer
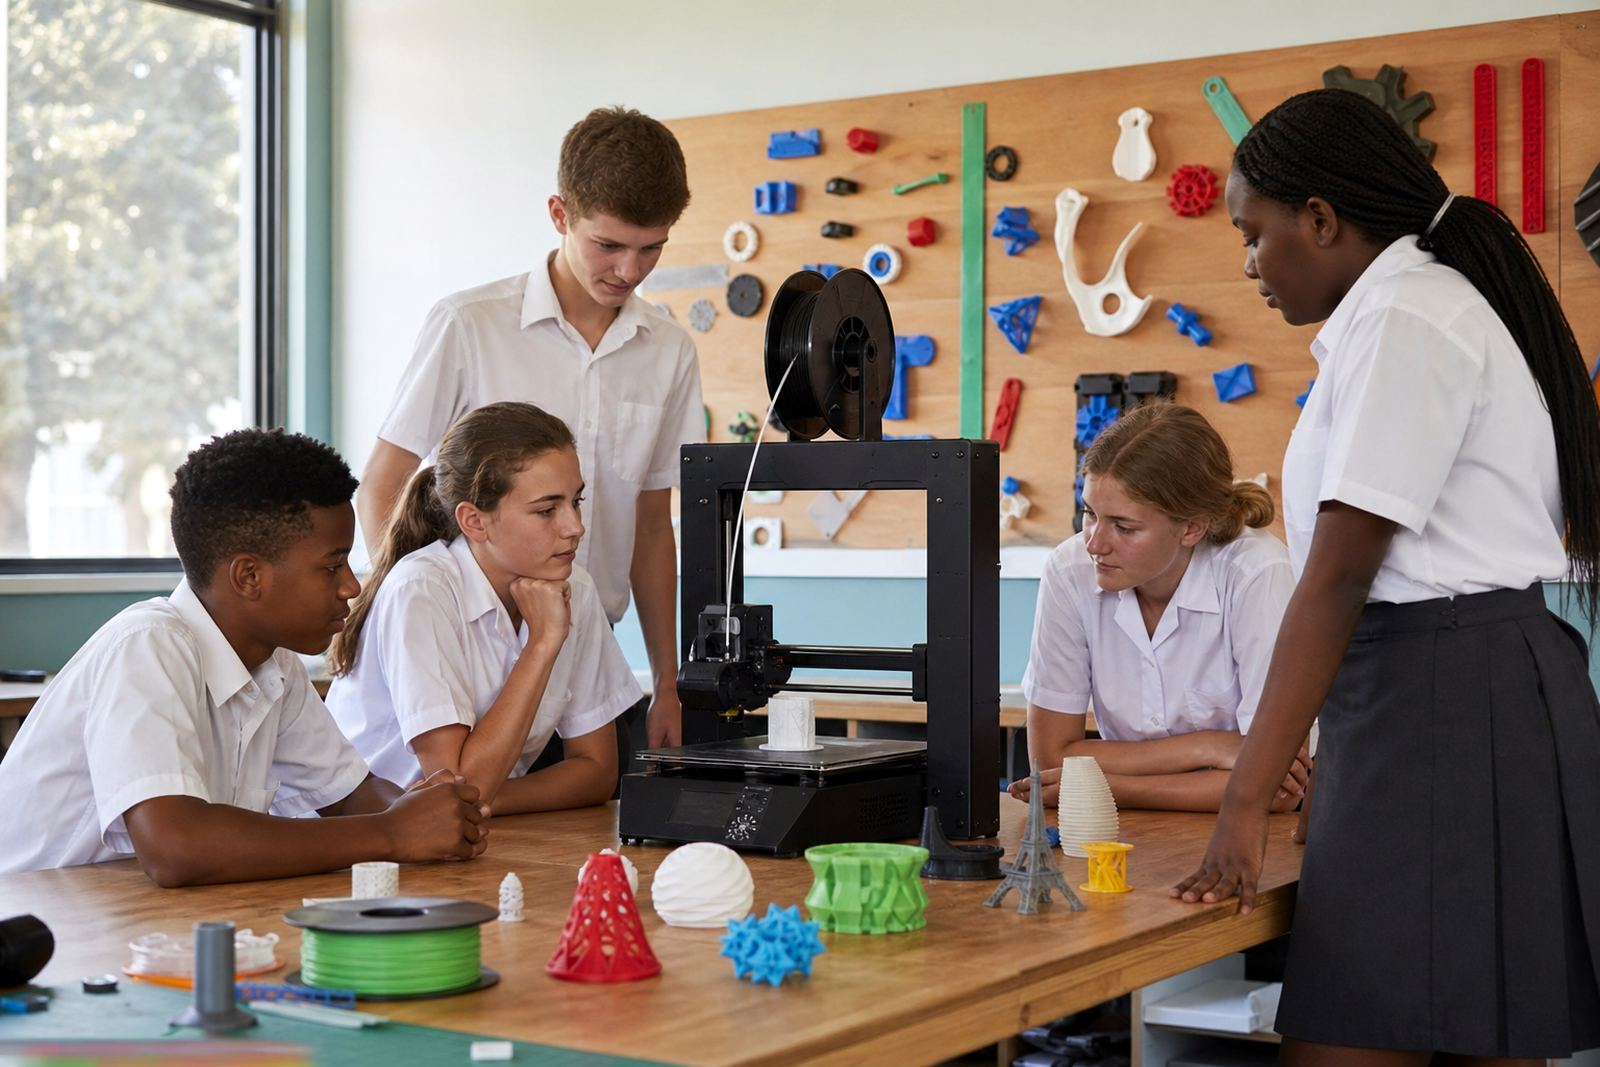
3D printers need breathing room. Students must be able to see the machine, but they should also be able to step back without bumping into a cable, spool holder or tool caddy. Leave enough space for the heated bed, moving parts and maintenance access, and keep the surrounding area clear of books, bags and loose objects.
A crowded printer area makes simple jobs harder. If a print fails and the operator has to reach around a tangle of leads, the fix takes longer and the chance of a mistake goes up. Clear space also helps with heat management, which matters in warmer rooms and on humid coastal days in places like Durban and Gqeberha where equipment can be left working for long periods.
A practical rule is to keep the front, side and rear access areas open. That way the printer can be checked, cleaned and switched off without moving half the room around it.
Teach Learners What Not To Touch
Safety in a school lab is not only about the hardware. It is also about habits. Learners should know which cables are for power, which leads belong to data or accessories, and why they must not pull, twist or unplug anything without permission. Simple routines help the whole class stay calm and organised.
It is worth building these reminders into the first few lessons. When learners understand that a cable can be a trip hazard or a shock risk, they treat the room differently. Teachers do not need a long lecture. A short explanation before each practical session usually works better.
- Do not drag chairs over leads
- Do not unplug equipment by yanking the cord
- Report any warm, damaged or loose plug immediately
- Keep drinks and food away from powered equipment
Make Backup Power Use Simple And Safe
Many South African schools work around outages and scheduled power cuts. That means printers may be connected to backup systems, switched off between lessons or moved to a different circuit when needed. When backup power is part of the room, the cable layout becomes even more important because staff need to know what stays on and what must be shut down.
Labeling helps here. If a printer, computer and light are all on separate plugs, mark each lead clearly so the teacher or technician can identify it at a glance. This reduces confusion when the room is reset after load-shedding. It also helps during maintenance, since the right equipment can be isolated before any work starts.
In a school in Paarl, for example, a tidy setup makes it easier for a teacher to switch off the printer area quickly when the bell rings and the class changes. No one wants to spend the first five minutes of a lesson untangling a knot of cords.
Inspect Cables Before Every Workshop
A quick visual check before each session can prevent a lot of interruptions. Look for cuts in the outer casing, loose plugs, bent pins, scorch marks or connectors that do not sit properly. If a cable looks damaged, take it out of use until it has been repaired or replaced by someone competent.
It also helps to build a closing routine. Switch off the machines, coil the leads neatly, return spare cables to a fixed storage point and make sure nothing is left under a chair or behind a printer. Good habits at the end of a lesson usually save time at the start of the next one.
For schools running maker clubs, holiday programmes or teacher training, this routine keeps the room ready for the next group without last-minute scrambles. It is simple work, but it makes the whole space easier to manage.
A Neat Room Supports Better Learning
Clear cables do more than reduce risk. They also set the tone for the room. When learners walk into a space that is organised, they tend to treat the equipment with more care. That matters in a classroom where students are learning design, machine operation and project planning at the same time.
A good setup does not need expensive extras. It needs attention to detail, enough space around each printer and a habit of keeping power leads where they belong. Whether the lab is in Cape Town, Pretoria, Johannesburg or a smaller town like Somerset West, the principle stays the same: keep the path clear, keep the leads tidy and keep the printer area open.
That kind of discipline helps lessons run on time, protects the equipment and makes the room easier to use for everyone.