Start with the lesson outcome, then work backwards
Before a class opens any design software, decide what the learners must leave with. It may be a simple keyring, a name tag, a small container or a joint that fits together. Once the outcome is clear, the time plan becomes easier because you can see what must happen in class and what can wait for the next period.
For a 45-minute lesson, the goal should be focused. For a double period, you can add more design choices and a short review at the end. In South African schools with busy timetables and shared computer rooms, it helps to keep each session tied to one task only. That way learners do not rush the drawing stage just to get to the printer.
A simple plan can be:
- 5 minutes for settling in and checking tools
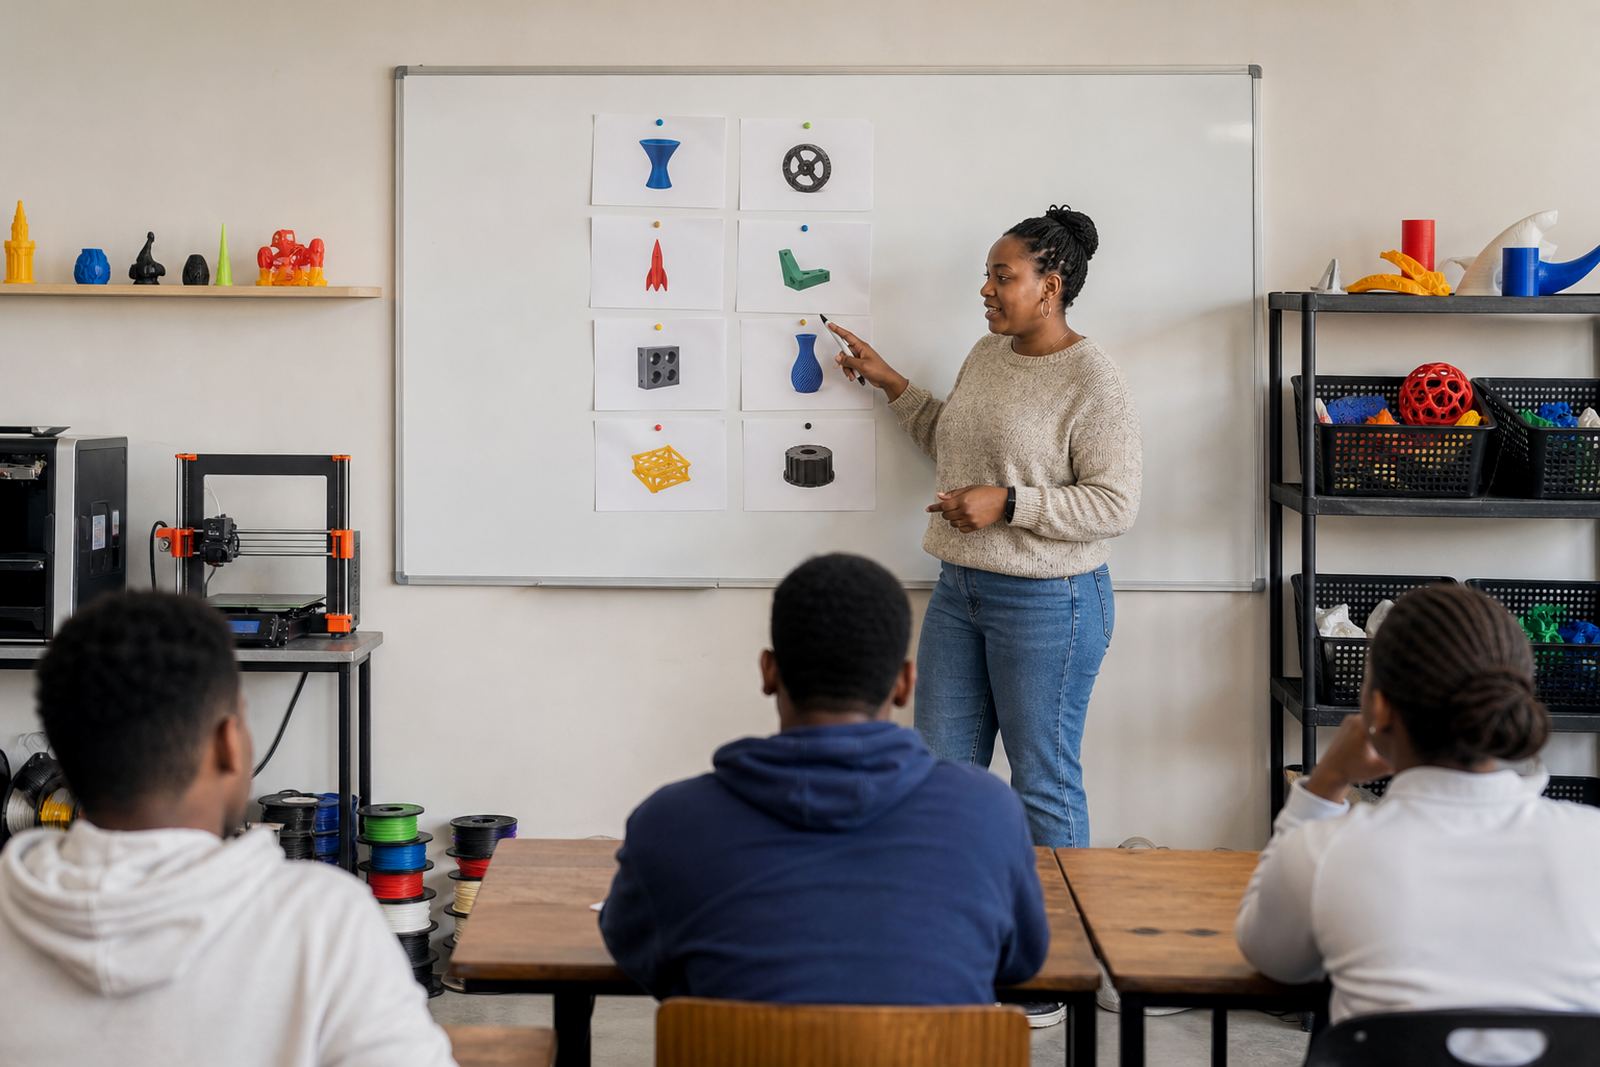
- 10 minutes for a demo or recap
- 15 to 20 minutes for design work
- 5 minutes for saving files and packing up
- Printing and collection in a later lesson
Use shorter design blocks for better focus
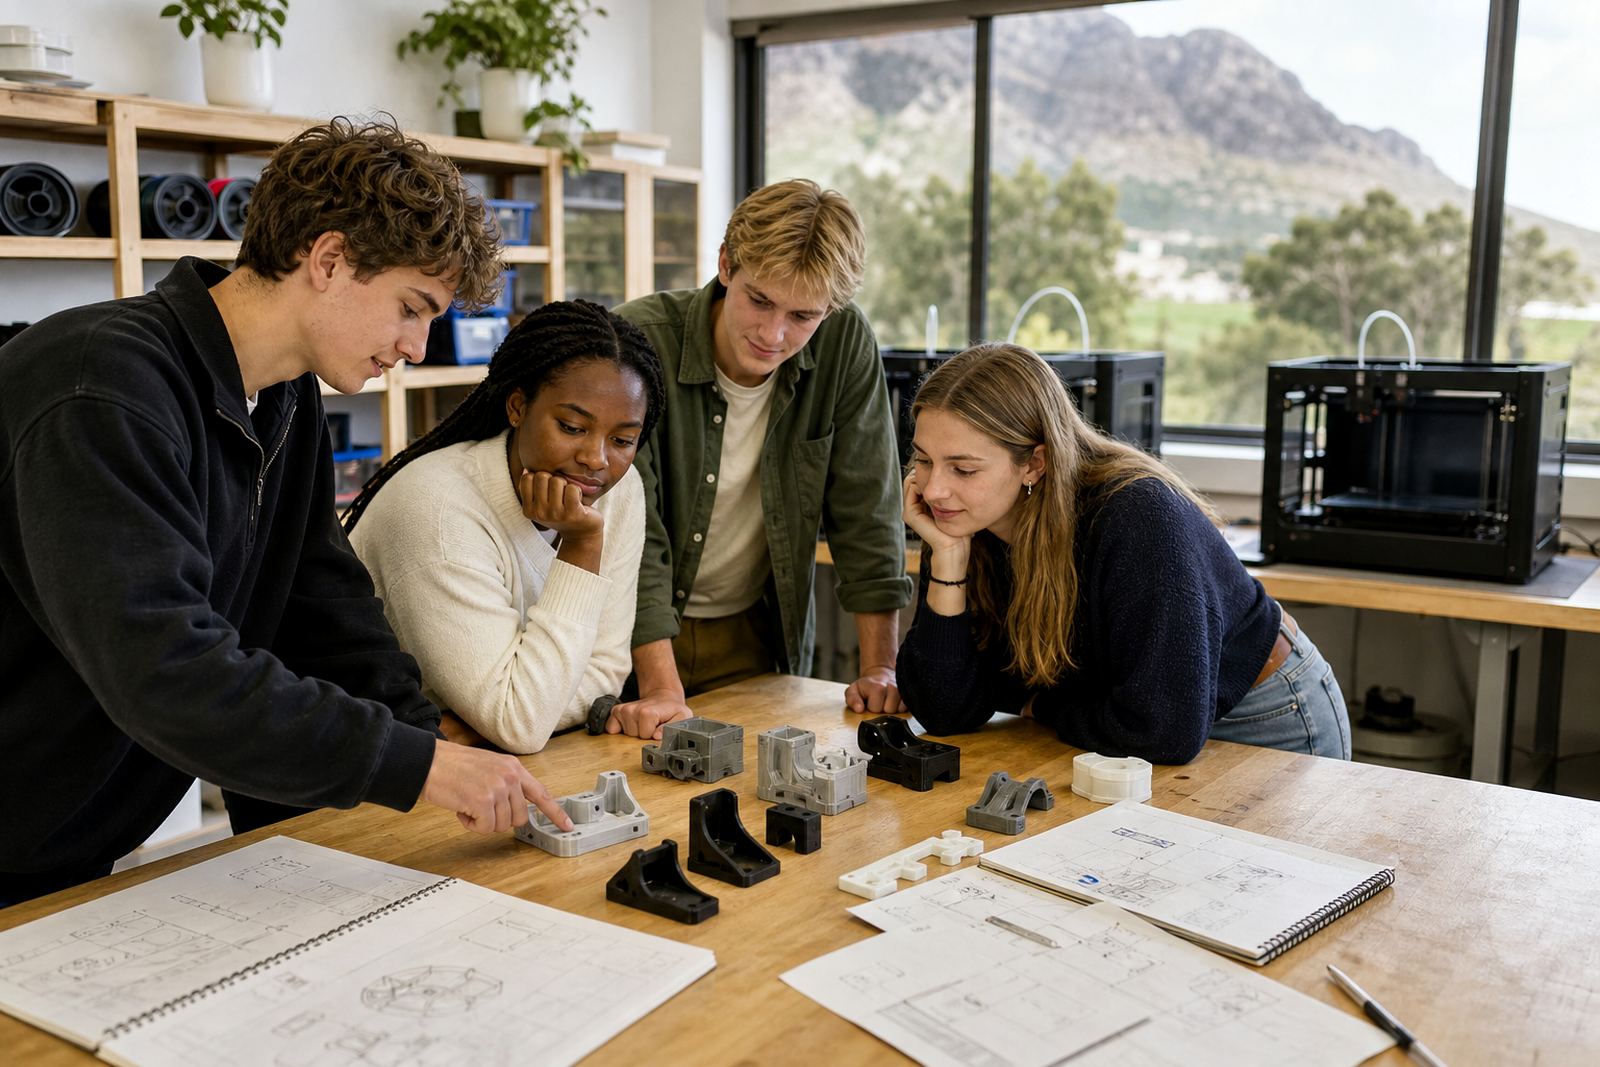
Design work needs concentration, but it does not have to fill the whole lesson. Learners often do better in short blocks with a clear checkpoint in the middle. A first block can cover measuring, sketching and basic shapes. A second block can handle text, holes, supports or simple changes. This is especially useful for mixed-ability groups, where some learners move quickly and others need more guidance.
In schools around Stellenbosch and Paarl, where class sizes and room availability can shift from week to week, short design blocks make the lesson easier to manage. If the computer room is shared, one group can continue with hand sketches while another checks dimensions on screen. It keeps the lesson moving without making everyone wait for the same pace.
- Keep one printed reference sheet per learner or pair
- Use a shared naming system for files so nothing gets lost
- Set a stop point before learners start decorating or adding extras
- Save work twice if the room has unstable power or older machines
Plan printing as part of the timetable, not an afterthought
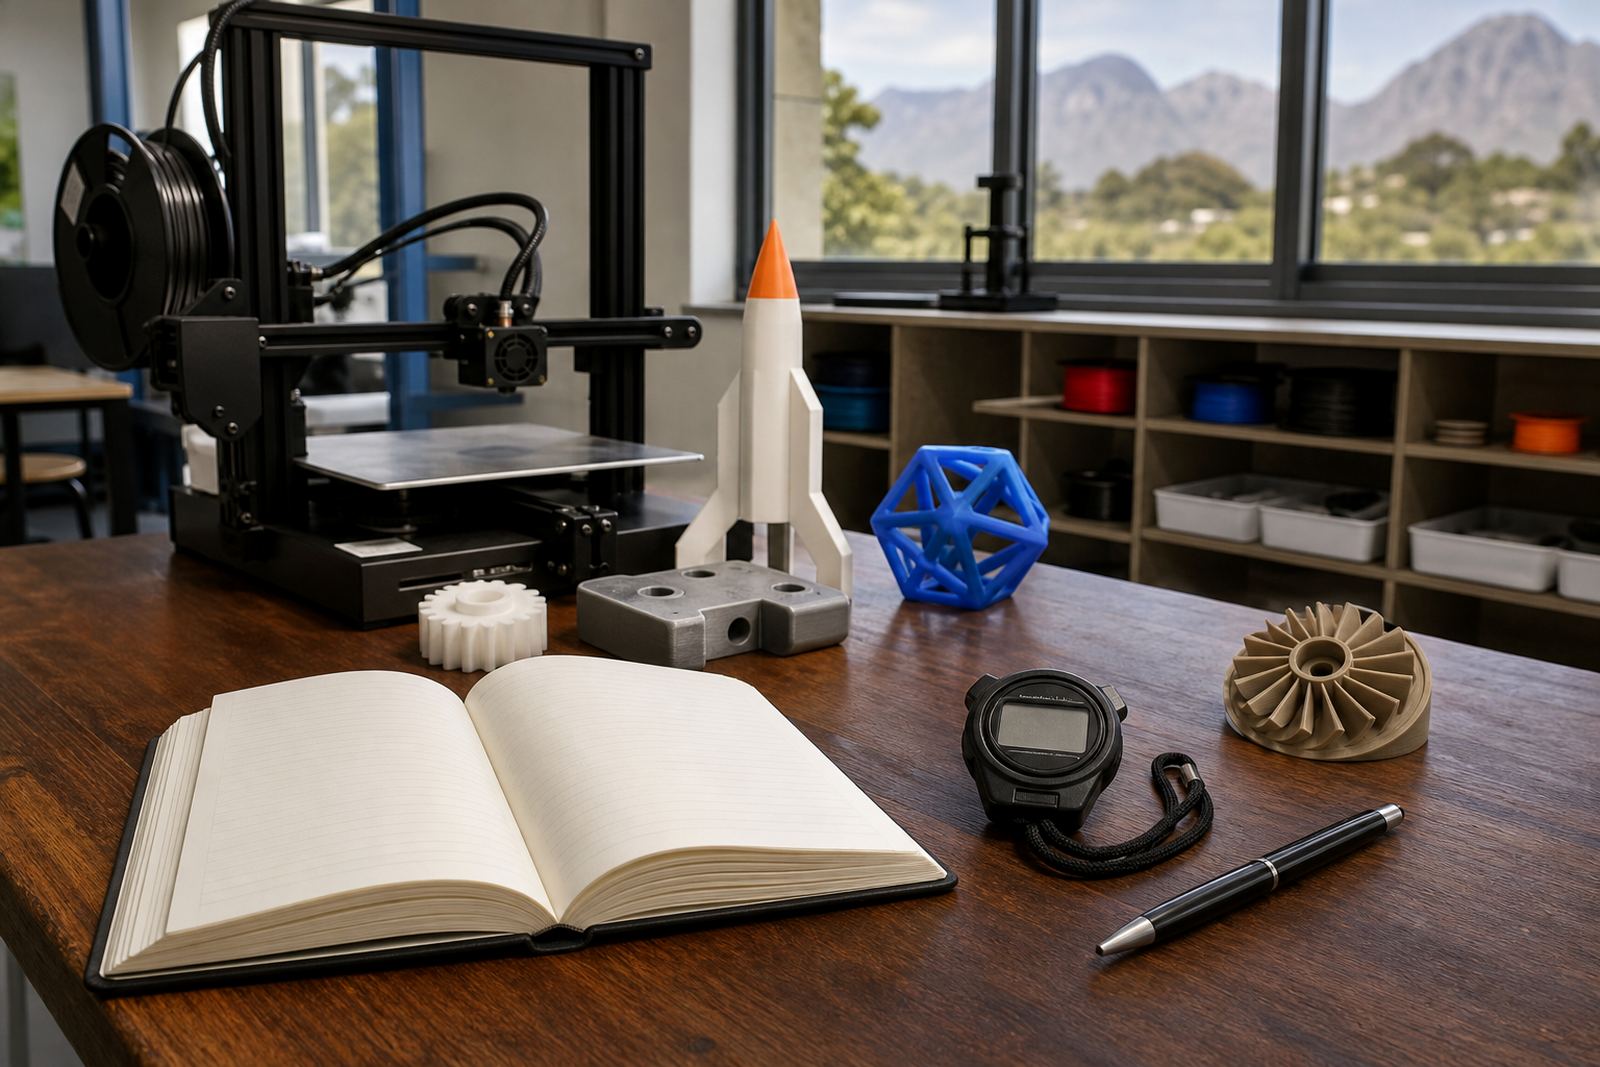
Printing takes time, and the print time is often longer than the lesson itself. That is why a good classroom plan separates design time from printer time. Learners can prepare files in one lesson, then return later to see the finished items, check for errors and make adjustments. This keeps the class from feeling rushed and gives the teacher more control over the workflow.
For schools dealing with load-shedding or limited lab access, it is sensible to queue prints in batches. Small items can be grouped together, while larger parts are printed overnight or during off-peak hours if the school policy allows. In coastal areas, moisture can also affect storage of filament and finished parts, so keep materials sealed and the print area dry where possible.
When planning a week, it helps to reserve at least one follow-up period for printing feedback. If a print comes off the bed with warped edges or a weak top layer, learners should see what happened and learn how to fix it. That practical correction is part of the lesson, not a failure.
- Group similar print sizes together to reduce changeovers
- Keep a log of print settings for repeat classes
- Leave space for cooling time before removal
- Store unused material in closed containers away from humidity
Build review time into every session
Review does not need to be long, but it should happen every time. A five-minute check at the end of class gives learners a chance to explain what they changed, what worked and where they got stuck. That reflection helps teachers spot common problems such as thin walls, oversized holes or files that were not saved correctly.
Review is also the right moment to connect the lesson to real use. A learner in Gqeberha might design a small clip for a classroom folder, while a group in Johannesburg may be working on a science project part. The point is not just to print something. It is to show how design decisions affect the final object. That is where the learning sticks.
Keep the review simple:
- What was the goal today?
- What change did you make and why?
- What would you improve next time?
- What should be saved for the next session?
Separate learner tasks by stage, not by speed
One of the easiest ways to manage classroom time is to divide the lesson into stages. Some learners can be sketching while others are already adjusting measurements. A smaller group can be checking printer readiness, cleaning a build plate or watching a test print. This keeps everyone involved without forcing the whole class to do the same task at once.
In a teacher training session, this approach helps staff see how to run a lab even when time is tight. It also suits schools that only have one practical block a week. Instead of trying to finish everything in one sitting, the class moves through the stages over several lessons. The printer then becomes part of a process, not the centre of the whole period.
A useful class pattern is:
- Lesson 1: idea, sketch and basic design
- Lesson 2: final file checks and print setup
- Lesson 3: print review, measurement and improvement
Use a local school example to set realistic timing
A practical example helps teachers see how the timing works. Imagine a Grade 8 class in Somerset West with one computer room and a shared printer. The first lesson is spent on shape planning and simple CAD basics. The second lesson is used to check file size, save the models and start a batch of small prints. The third lesson focuses on comparing the finished pieces, looking at layer quality and discussing what could be changed for the next round.
That sort of plan suits busy schools because it respects the timetable and the equipment. It also keeps learners calm. They know that not every task must be finished at once, and they have time to improve their work after seeing the first print. If the class is larger, the teacher can split the learners into pairs so that one learner works on the screen while the other tracks measurements and notes. It saves time and reduces mistakes.
For schools with repeated sessions, a simple wall chart or lesson tracker can be useful. It shows where each group is in the process, which files are ready and which prints still need attention. That small bit of structure makes a big difference when the week gets busy.
Keep safety and housekeeping inside the time plan
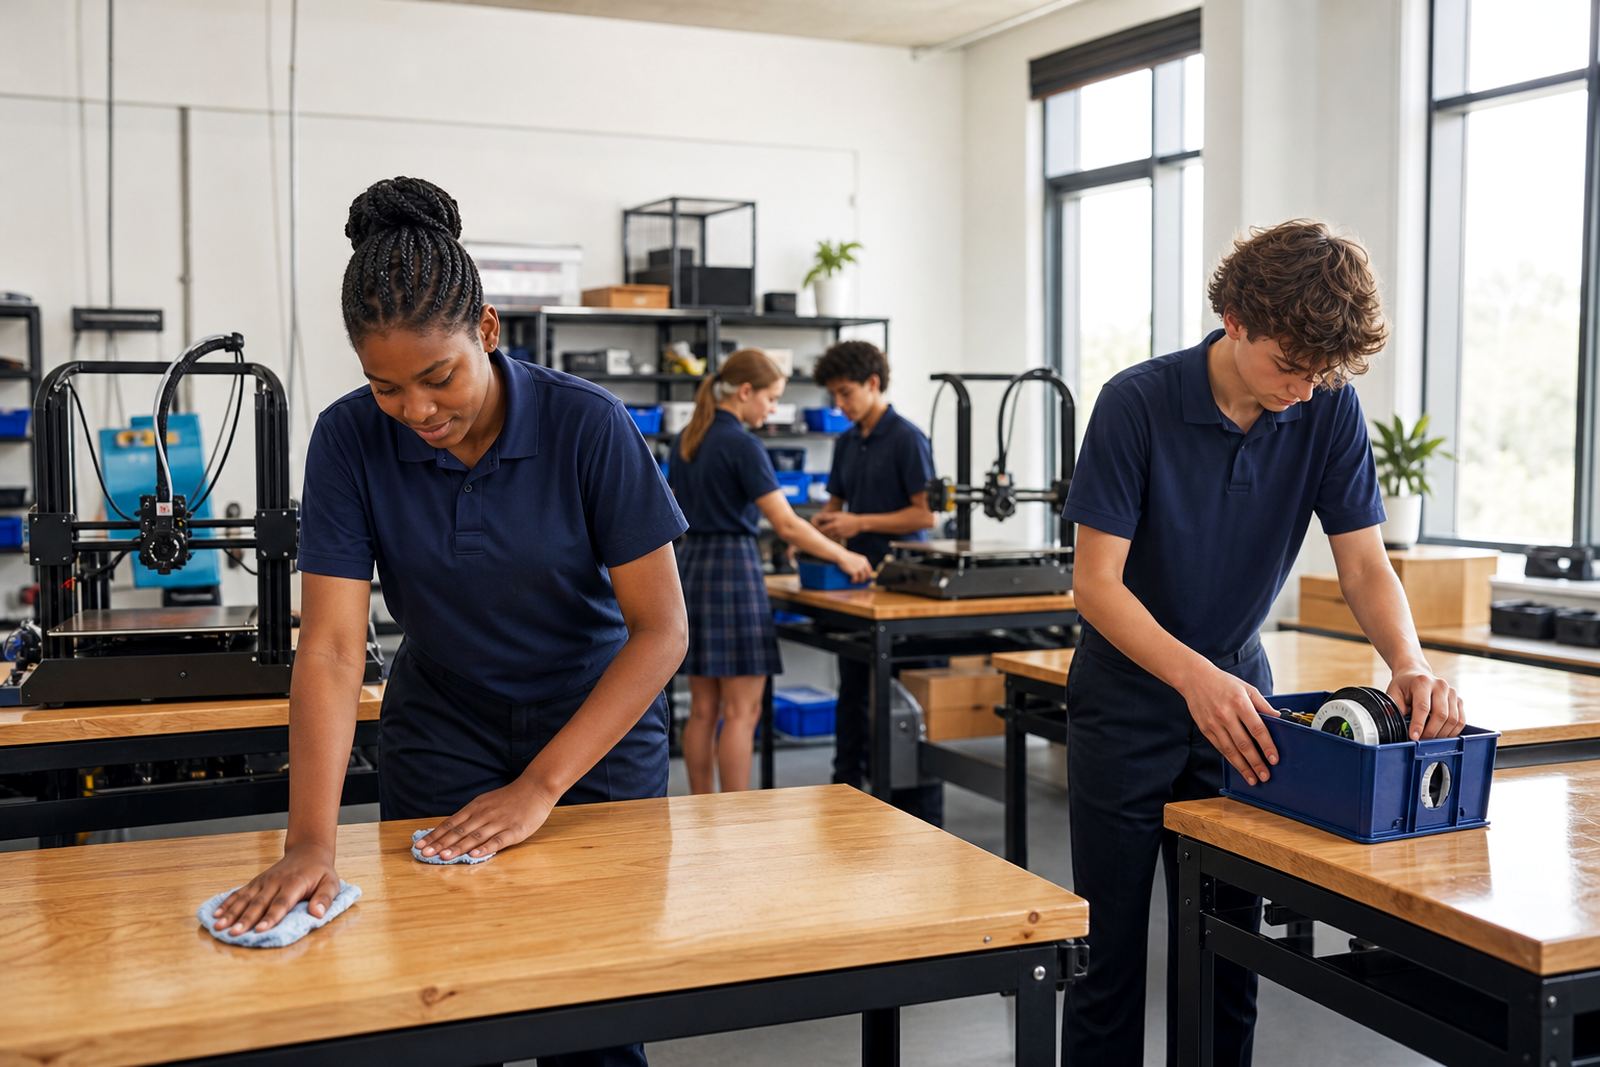
Time planning should include safety, clearing up and storage. Children should know when to stay clear of moving parts, hot surfaces and loose cables. They should also know how to return tools, close software and switch off equipment properly. When this is built into the lesson plan, the room stays safer and the next class can start on time.
Good housekeeping is part of classroom control. A printer bed left dirty or a cable left across a walkway can slow down the next lesson. For that reason, set aside the last few minutes for checking the area, clearing scraps and packing materials away. It sounds small, but it prevents the usual end-of-day scramble.
Simple reminders for the end of each lesson:
- Check that hot parts have cooled before handling prints
- Return cutters, scrapers and measuring tools to one place
- Save files in the correct folder before logging off
- Leave the printer area tidy for the next group