Start with a problem learners can see around them
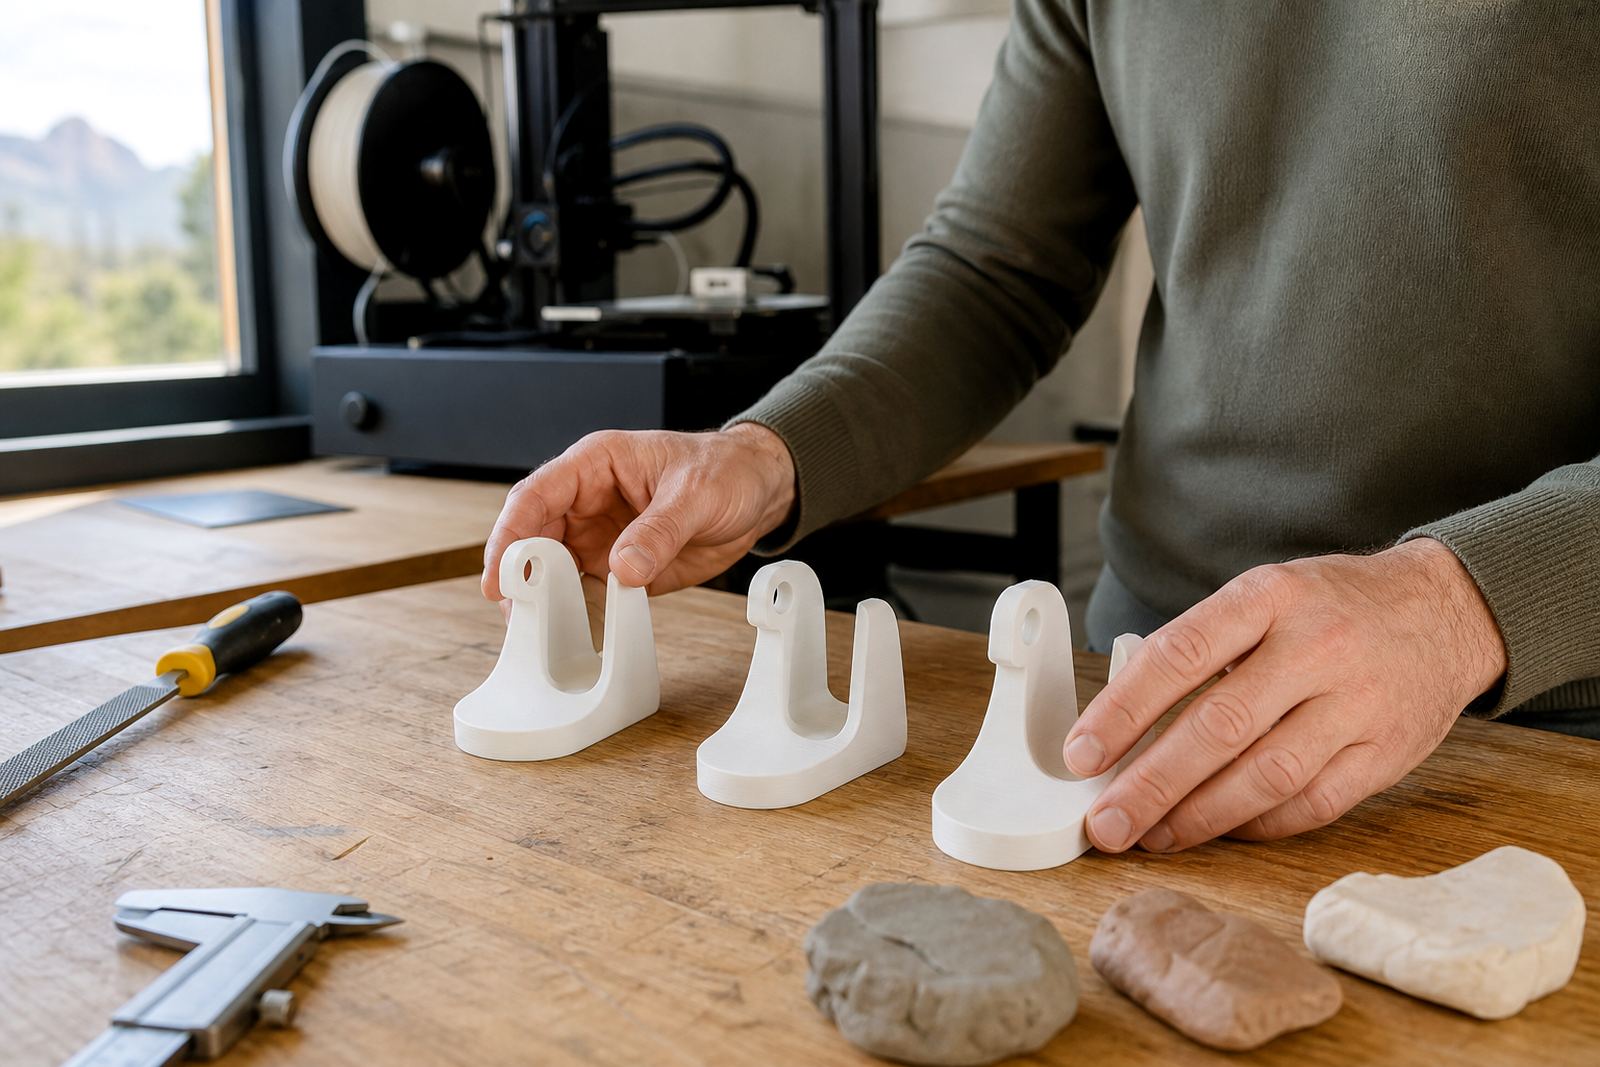
Secondary prototype work goes better when the brief is practical. Ask learners to look at small problems in the school day, at home, or in the community. A broken clip on a science folder, a loose hook for art materials, a stand for a phone used in a group presentation, or a simple holder for lab labels can all become solid starting points for design thinking.
The aim is not to make something flashy. It is to make something that solves a real need and can be explained clearly. That pushes learners to define the user, the size limits, the material choice and the way the object must be handled. A prototype becomes more than a model. It becomes a test of judgement, planning and practical skill.
For teachers, this approach works well because it keeps the task open enough for creativity but structured enough for older learners to manage. A good brief should include what the item must do, where it will be used, how much time the class has, and what type of finish is acceptable for the first version.
Prototype ideas that suit older learners
When a class is ready to move beyond basic shapes, the best ideas are those that need refinement. Learners can measure, sketch, test and improve without needing a huge amount of specialist equipment. In a school setting, that makes the work more realistic and easier to supervise.
- Adjustable phone or tablet stands for group work and presentations
- Cable clips and holders for computer labs or media rooms
- Simple organisers for stationery, tools or science items
- Replacement knobs, grips or latches for classroom equipment
- Display mounts for models, posters or small project cards
- Seedling labels and plant markers for life sciences or agriculture projects
These projects are useful because they show the full cycle of design. Learners must think about strength, balance, print orientation and how the item will be used after printing. They also learn that a first version is rarely the final answer. A stand may be too narrow, a hook may be too short, or a clip may need a wider opening. That is part of the process.
Build for testing, not just for display
Older learners often want a final object that looks polished, but the classroom value sits in the testing. A prototype should be easy to measure, easy to change, and honest about its weaknesses. If the item is meant to support weight, test it with a book, a bottle or another classroom object. If it is meant to fit into a space, ask learners to record the dimensions and compare them against the printed part.
Teachers can guide the process with simple questions: Does it fit the user, does it hold its shape, does it save time, and can it be printed again without wasting material? These questions teach learners to think like designers and not only like makers. They also help them write better project notes, which is useful when they must explain their choices to the class.
- Test one change at a time so learners can see what improved
- Keep version notes with measurements and comments from users
- Use short peer reviews before printing the next revision
- Compare print time against usefulness so learners stay practical
In the Western Cape, especially in schools that manage load-shedding and limited lab time, it helps to keep prototypes simple enough to print in planned slots. A short print that can be checked the same day is often more valuable than a large model that takes too long and is difficult to revise.
Design for South African classroom conditions
Local conditions matter. Coastal humidity, heat, and busy school timetables all affect how a project runs. In a Stellenbosch classroom, for example, a learner project may need to survive transport between rooms, storage in a shared cabinet, or use in a lab where several classes rotate through during the week. That means the shape, wall thickness and base support should be chosen with care.
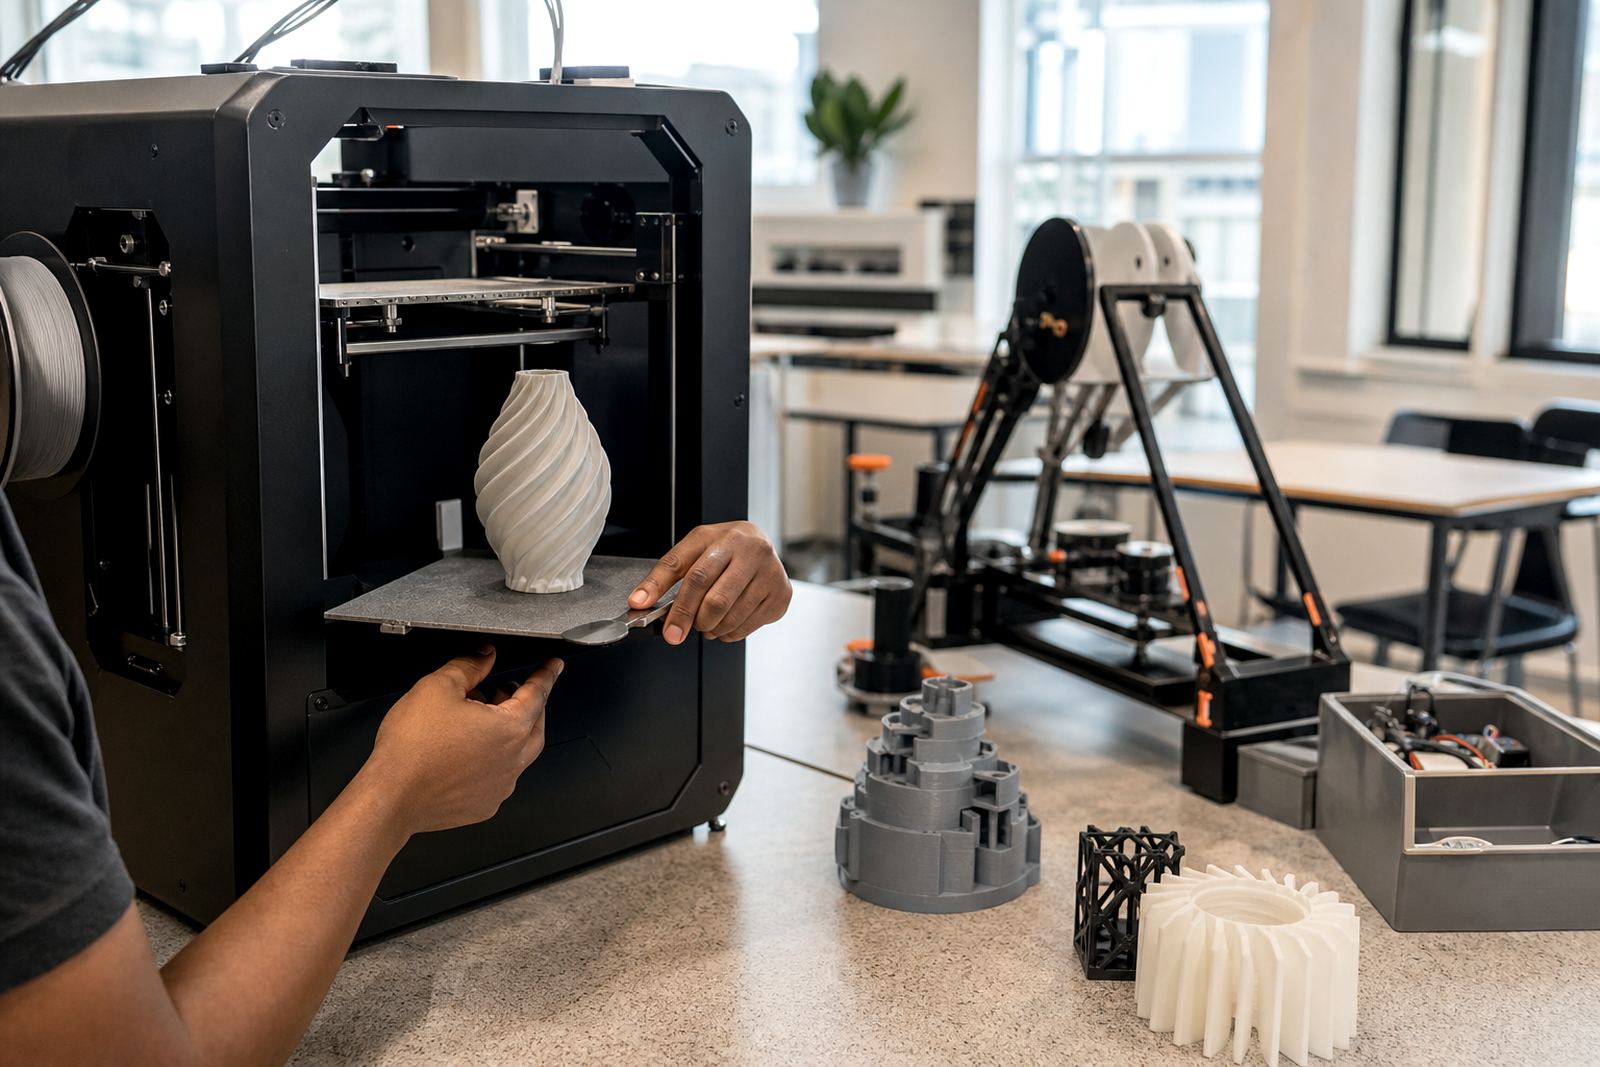
It also makes sense to think about municipal and school safety expectations. Keep moving parts limited where younger helpers may be nearby, and make sure tools are used under supervision. Filament spools, cables and heated surfaces should be handled with clear rules. Learners should know where to stand, when to wait, and who may operate the printer. These habits matter just as much as the model itself.
For older learners, a local example can be a prototype for a classroom notice clip designed to hold printed work on a wire board without slipping in the wind during an open day. It sounds small, but it teaches fit, grip, material choice and the need to revise after testing. That is the kind of real-world problem that brings better thinking into the room.
Use the project to teach teamwork and ownership
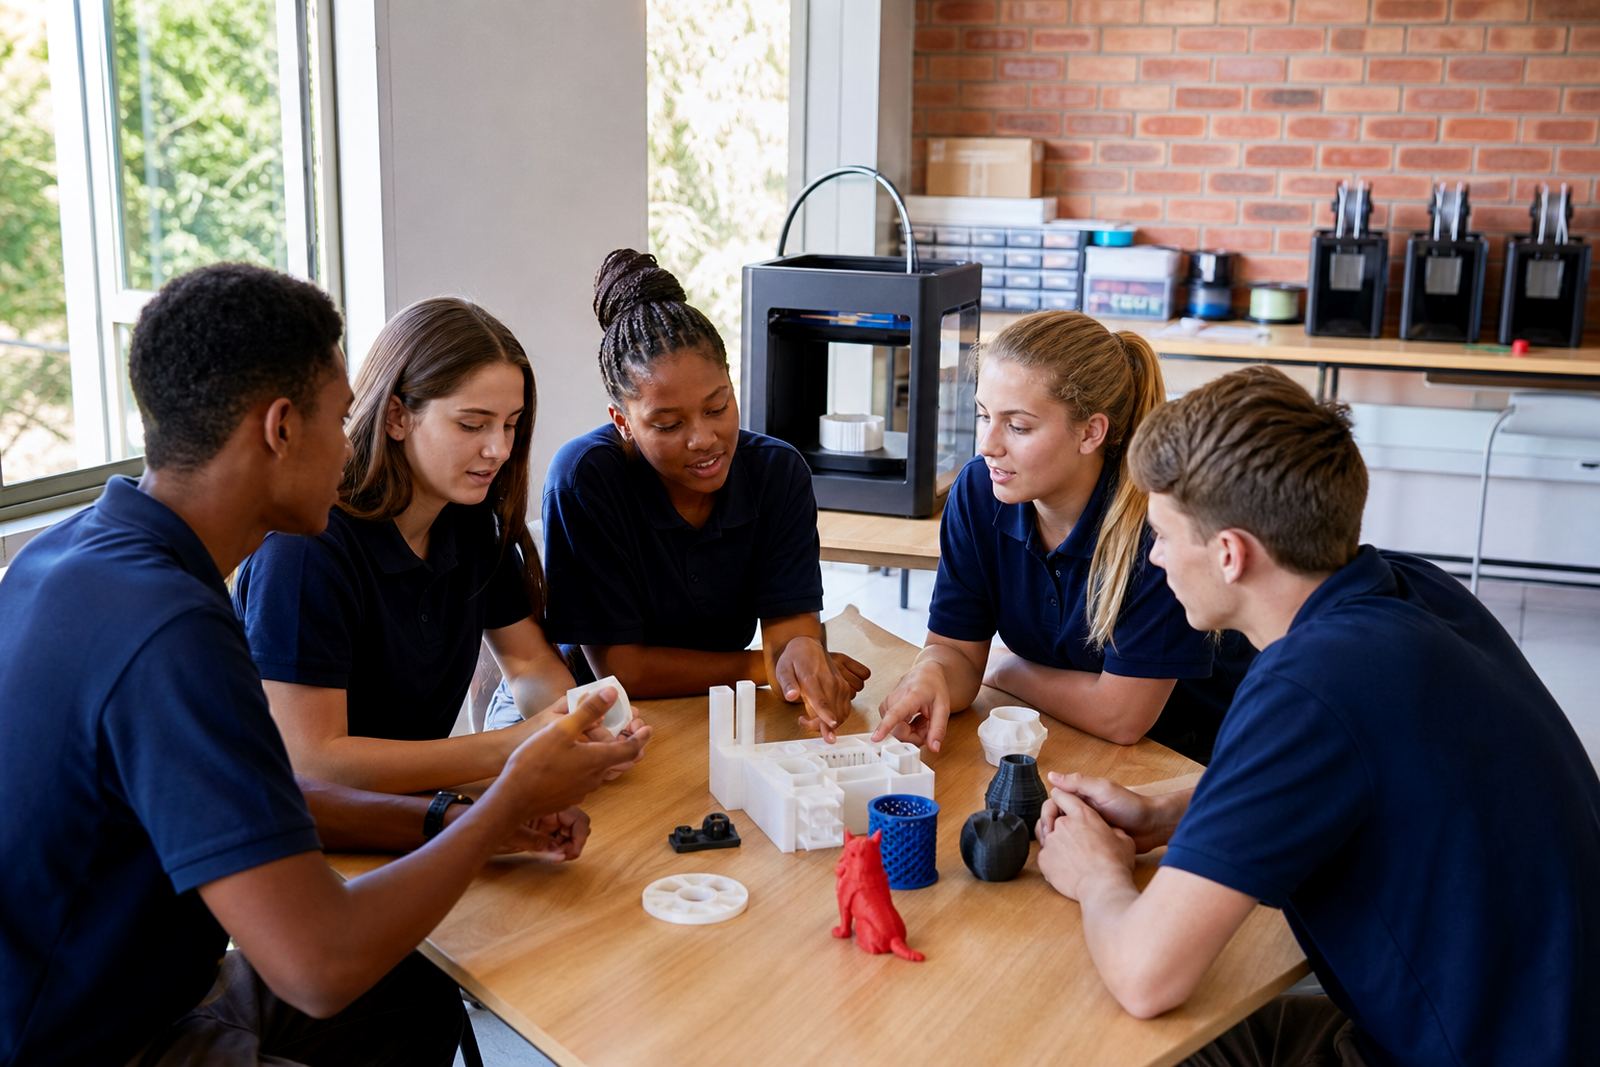
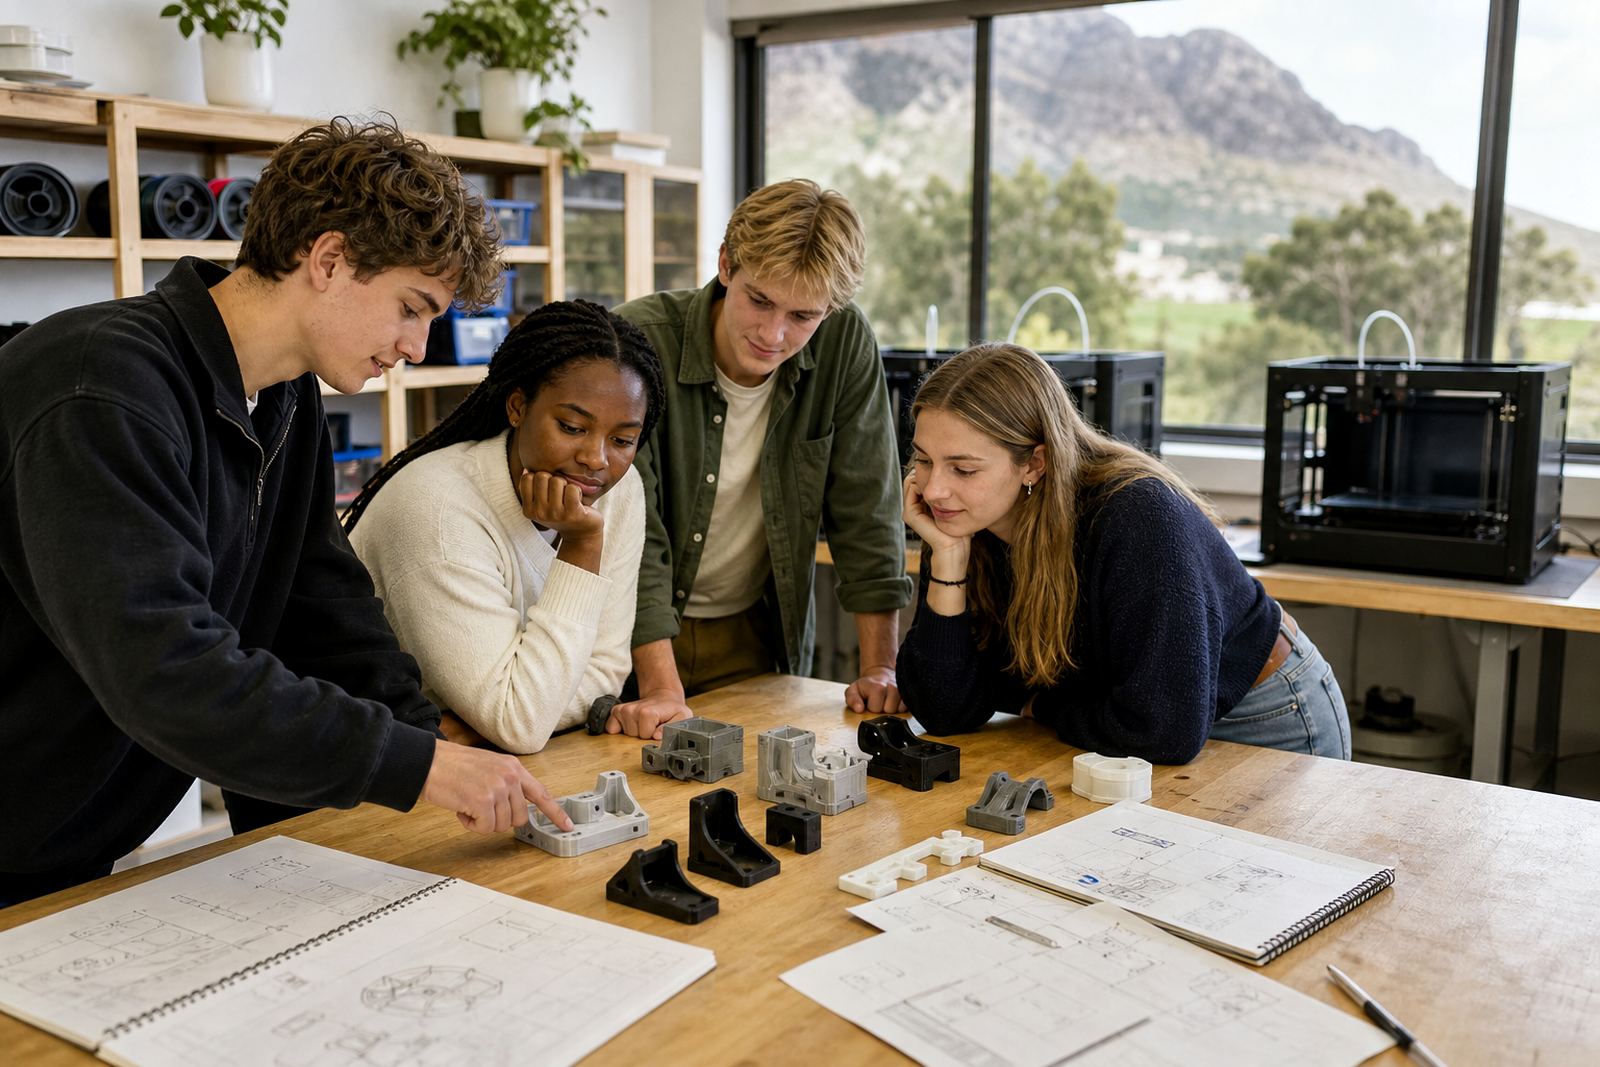
Prototype work is easier to manage when each learner has a role. One can measure, one can sketch, one can prepare the model file, and one can record feedback. This spreads the load and keeps the process moving. It also helps quieter learners contribute in a practical way, while more confident learners learn to listen and adjust their ideas.
A group project should have clear milestones. A simple sequence works well: identify the problem, agree on the user, draw the first concept, check the measurements, print the first version, test it, then improve it. Older learners respond well to structure when the project still leaves room for their own ideas.
Teachers can also ask each group to present one decision they changed after testing. That keeps the focus on learning rather than just appearance. A prototype that got better because the class noticed a weakness is a stronger project than one that looked neat but was never challenged.
What schools should prepare before starting
A good prototype lesson begins before the printer runs. Schools should have a clean work area, a place to store printed parts, basic measuring tools, and a clear routine for printer use. If the class is new to this work, start with one small item per group rather than several large pieces. That keeps waiting time down and gives every learner a chance to take part.
- Short written brief with a problem statement and success criteria
- Basic safety rules for heat, moving parts and supervision
- Measuring tools, paper for sketches and a space for notes
- A plan for testing, revision and final feedback
For schools across Cape Town, Johannesburg, Pretoria, Durban and Gqeberha, this type of project can be adapted to the age group and available time. The important part is that learners see how design moves from idea to use. Once they understand that cycle, they begin to ask better questions and make better choices.