Start with objects learners already know
The easiest way to introduce CAD is to begin with familiar classroom objects. A name tag, keyring, phone stand or ruler holder gives learners a clear target and keeps the lesson grounded. Instead of asking them to design something abstract, ask them to measure a real item, sketch it on paper and then turn that sketch into a digital model.
In Stellenbosch classrooms we often find that younger learners relax once they realise CAD is just another way of drawing, only with measurements. The mouse and screen may feel new at first, but the thinking is simple: length, width, height and shape. That is often enough to get a first draft done before the end of the lesson, even if the result still needs a few corrections.
For staff, this approach lowers the pressure too. Teachers do not need to know every tool in the software on day one. They only need a clear task, a sample model and a few checking questions. Which parts need to be hollow, which need support, and what size will fit on the printer bed?
Use short design wins in the first lesson
Long theory sessions can make CAD feel difficult before anyone has touched the screen. A better start is a short cycle: show, copy, test, improve. When learners complete a small shape quickly, they begin to trust the process. That confidence matters in a busy school day where attention is shared between classes, sports and transport home.
For a first introduction, keep the class on one task and one set of tools. Too many buttons at once can slow everybody down. A teacher in Cape Town may have 30 minutes before the bell, while a school in Gqeberha might be working around a shared computer lab and load-shedding. In both cases, small tasks work better than a full design project on the first attempt.
- Begin with 2D shapes before moving to 3D forms.
- Use one simple measurement set, such as 50 mm, 100 mm and 150 mm.
- Let learners name each part so they understand what they are building.
- Save each file with a clear title and date for easy retrieval.
- Print one sample model so learners can compare screen and finished object.
Show staff the printing path before the design work starts
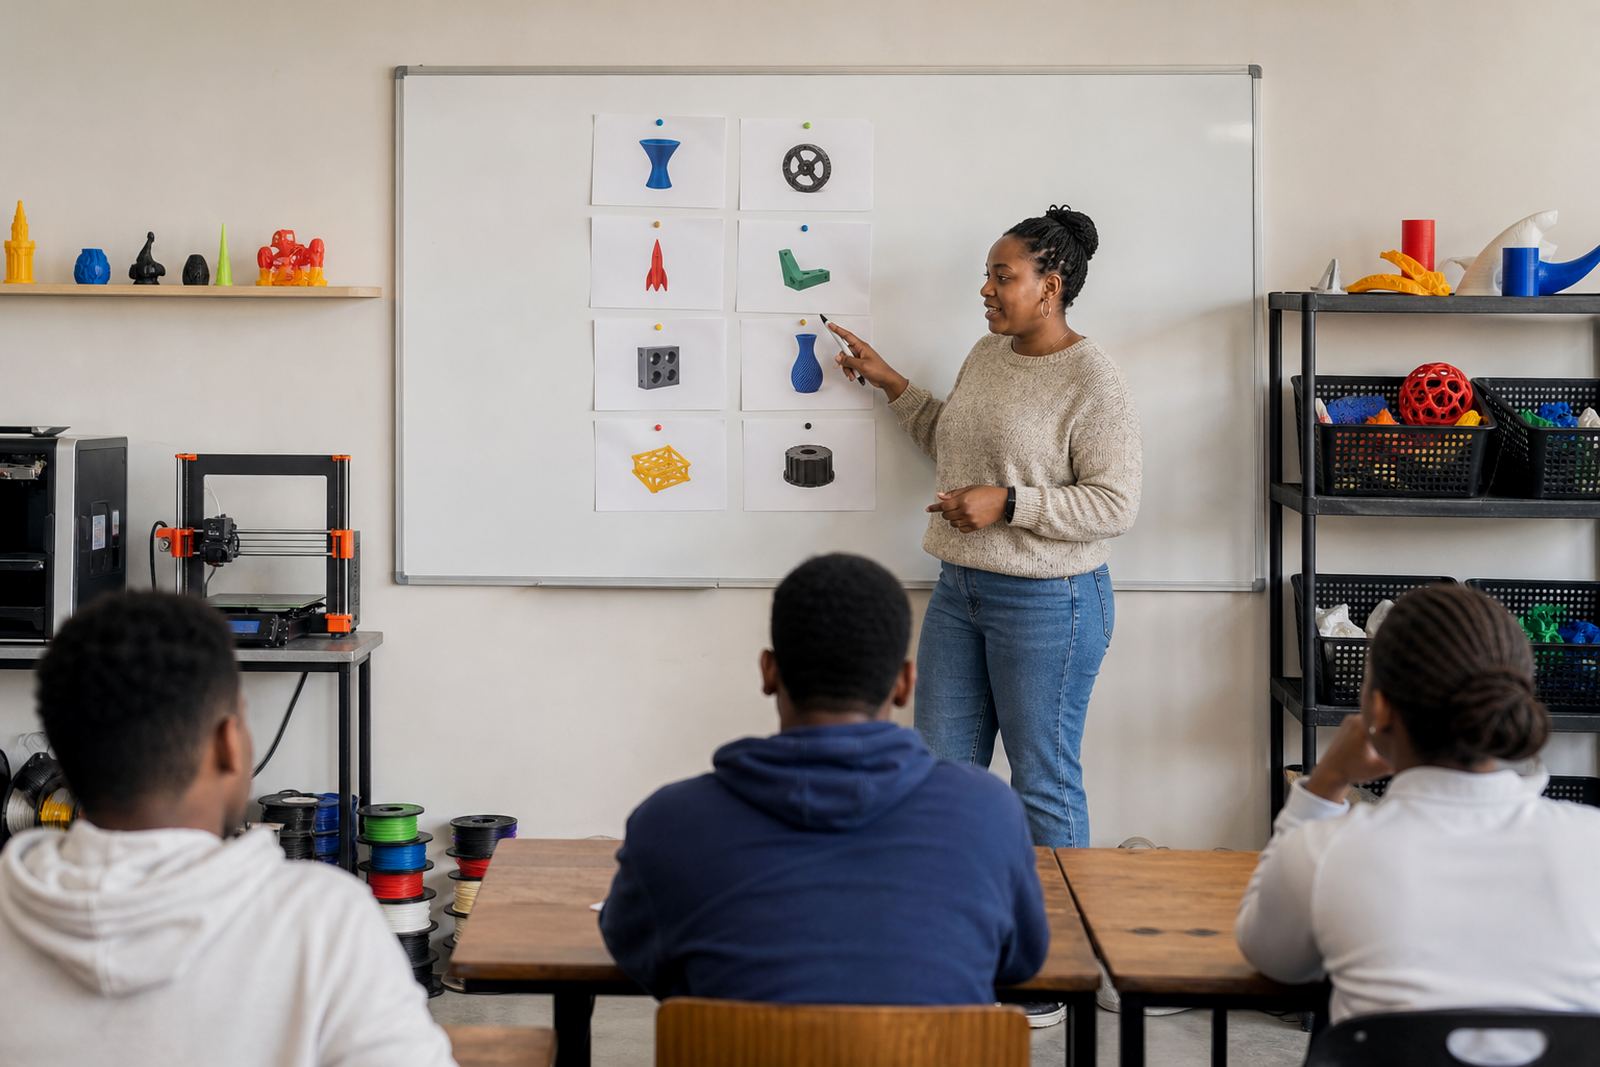
Many schools do better when staff see the whole journey before learners start designing. CAD makes more sense when teachers understand how a file moves from screen to printer to finished part. That way, they can help a learner fix a model that is too thin, too tall or too large for the build plate.
A brief practical demo also helps with safety and classroom control. Staff should know where the printer sits, how hot the nozzle gets, and why children should not reach into the machine while it is moving. In a school environment, clear routines matter more than fancy equipment. A neat table, labelled tools and a clean floor reduce mistakes and keep the room manageable.
In coastal areas like Durban and Gqeberha, humidity can affect filament storage and print quality, so a sealed container for materials is worth the effort. In inland schools around Pretoria or Johannesburg, dust and power interruptions can also interrupt a lesson. These are small issues, but they become easier to handle once staff understand the full setup.
Make the software feel less like a test
New users often worry they will break something. The best way around that fear is to turn the lesson into guided play with a clear outcome. Give learners templates, example dimensions and a simple checklist. They can still make choices, but within a safe frame that keeps the class moving.
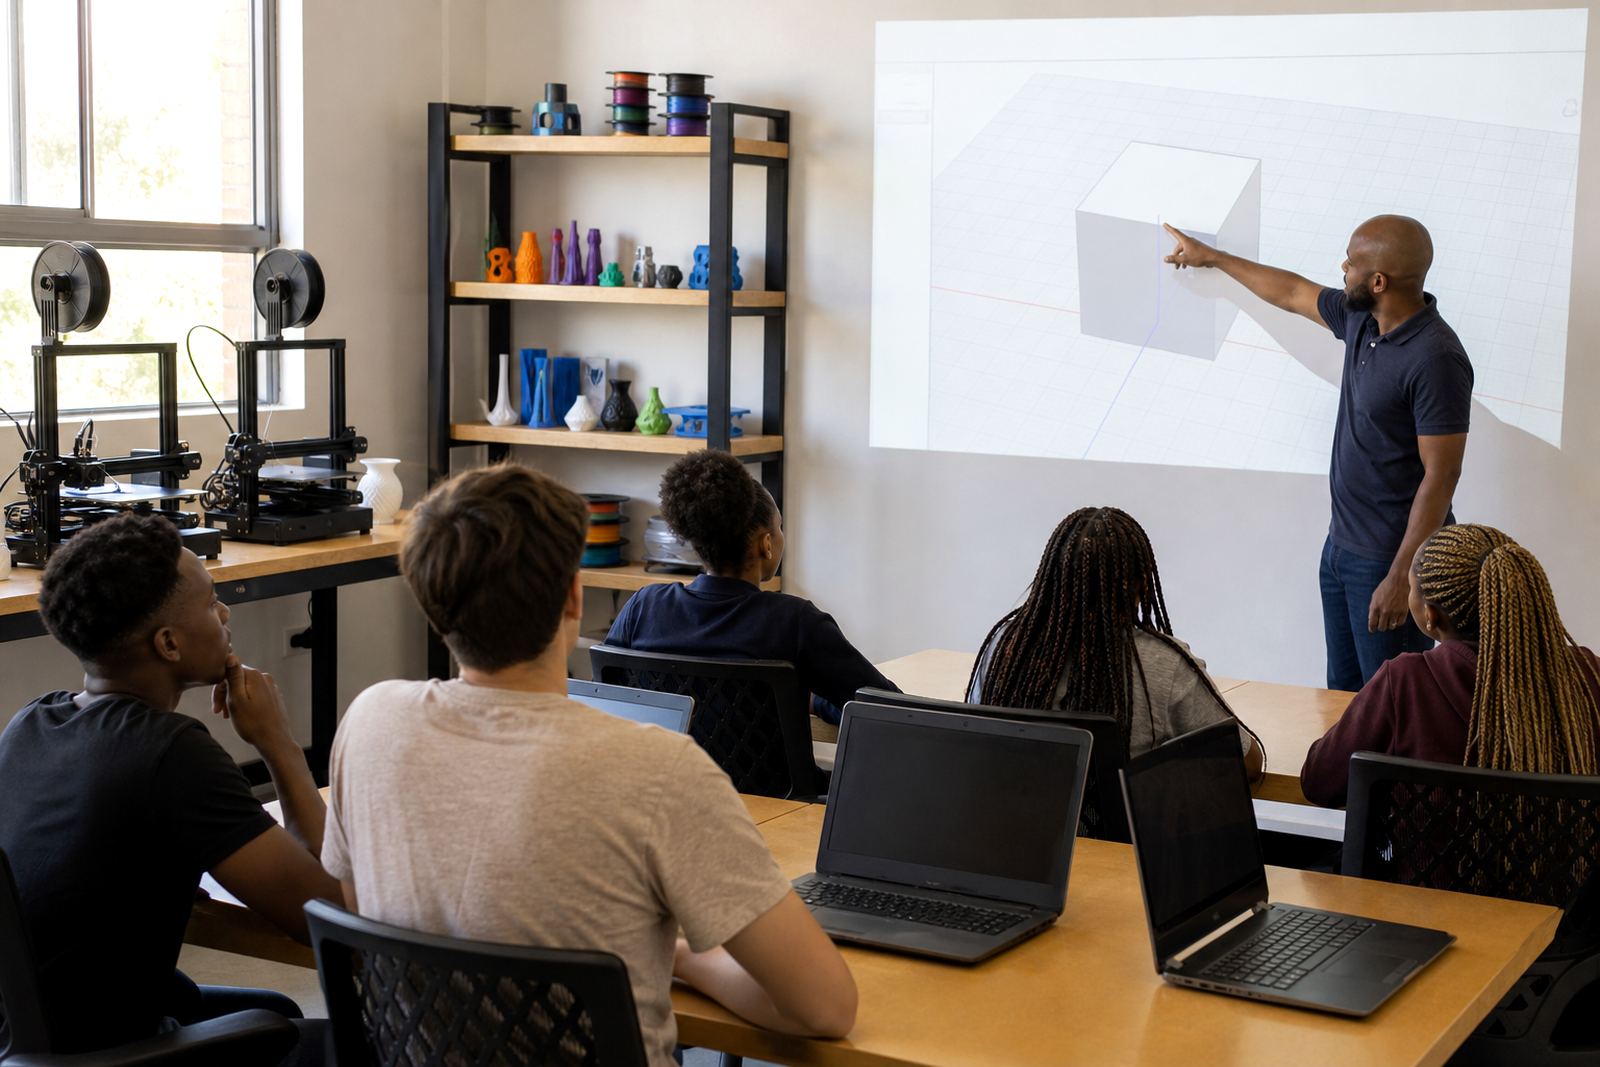
CAD learning works well when the teacher talks through each step while learners follow on their own screens. A pause after each action gives time for questions before the group moves ahead. This is especially useful in mixed-ability classes where one learner may already have tried 3D modelling while another is using a mouse properly for the first time.
- Use a basic project sheet with three tasks only.
- Keep the same view and tool set for the first session.
- Encourage learners to save versions as they go.
- Let them spot and fix one mistake instead of starting over.
- Set a final check for size, wall thickness and printability.
Plan lessons around the printer, not just the screen
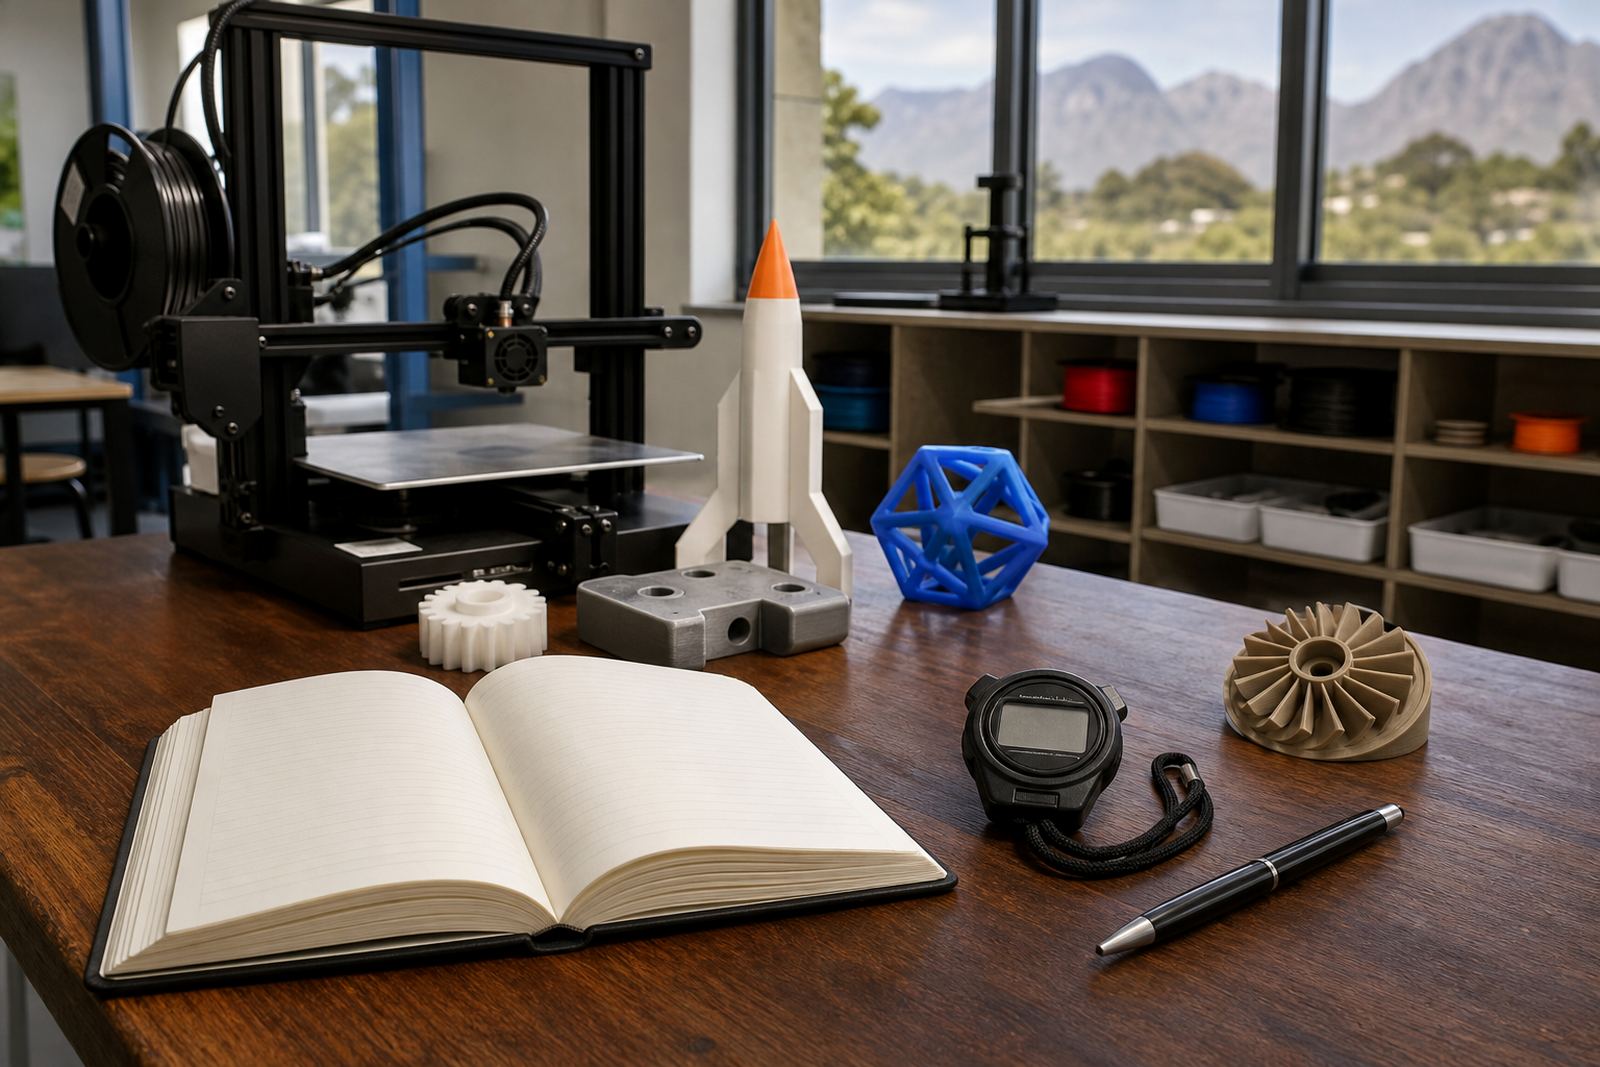
Good CAD teaching links design to making. If learners know their model will be printed, they pay attention to corners, overhangs and fit. The lesson becomes more practical and less like computer work for its own sake. That connection is what often keeps Maker Club learners interested after the first session.
Schools should also think about timing. A design lesson followed by a print in the same week gives learners better feedback than a design task left hanging for a month. Even a small project can teach patience: the model is drawn, checked, printed and then tested in hand. If it does not work, the next version improves it. That is real problem-solving, not just screen time.
For teachers in Stellenbosch and Paarl, where lab times may be shared between classes, it helps to keep a folder of repeatable exercises. A simple badge, tool clip or classroom label can be used again and again with new learners. Once the process is familiar, the fear drops away and the lesson becomes a normal part of the programme.
What a first CAD module should leave behind
A good introductory CAD module should not end with a perfect model. It should end with learners knowing how to measure, sketch, draw, correct and prepare a file for printing. Staff should leave with enough confidence to run the next lesson without feeling stuck. That is usually the real goal in a school setting.
After one or two sessions, most groups are ready for a slightly more ambitious task such as a custom name plate, simple bracket or project label. The important part is that the next step still feels achievable. When learners see their own design turn into a printed object, the software stops looking intimidating and starts feeling useful.
For schools across South Africa, from Cape Town to Johannesburg, introducing CAD works best when it is tied to practical classroom routines, clear safety rules and short, repeatable wins. That approach saves time, supports teachers and gives learners a proper start in digital making.