Start with a theme learners can recognise
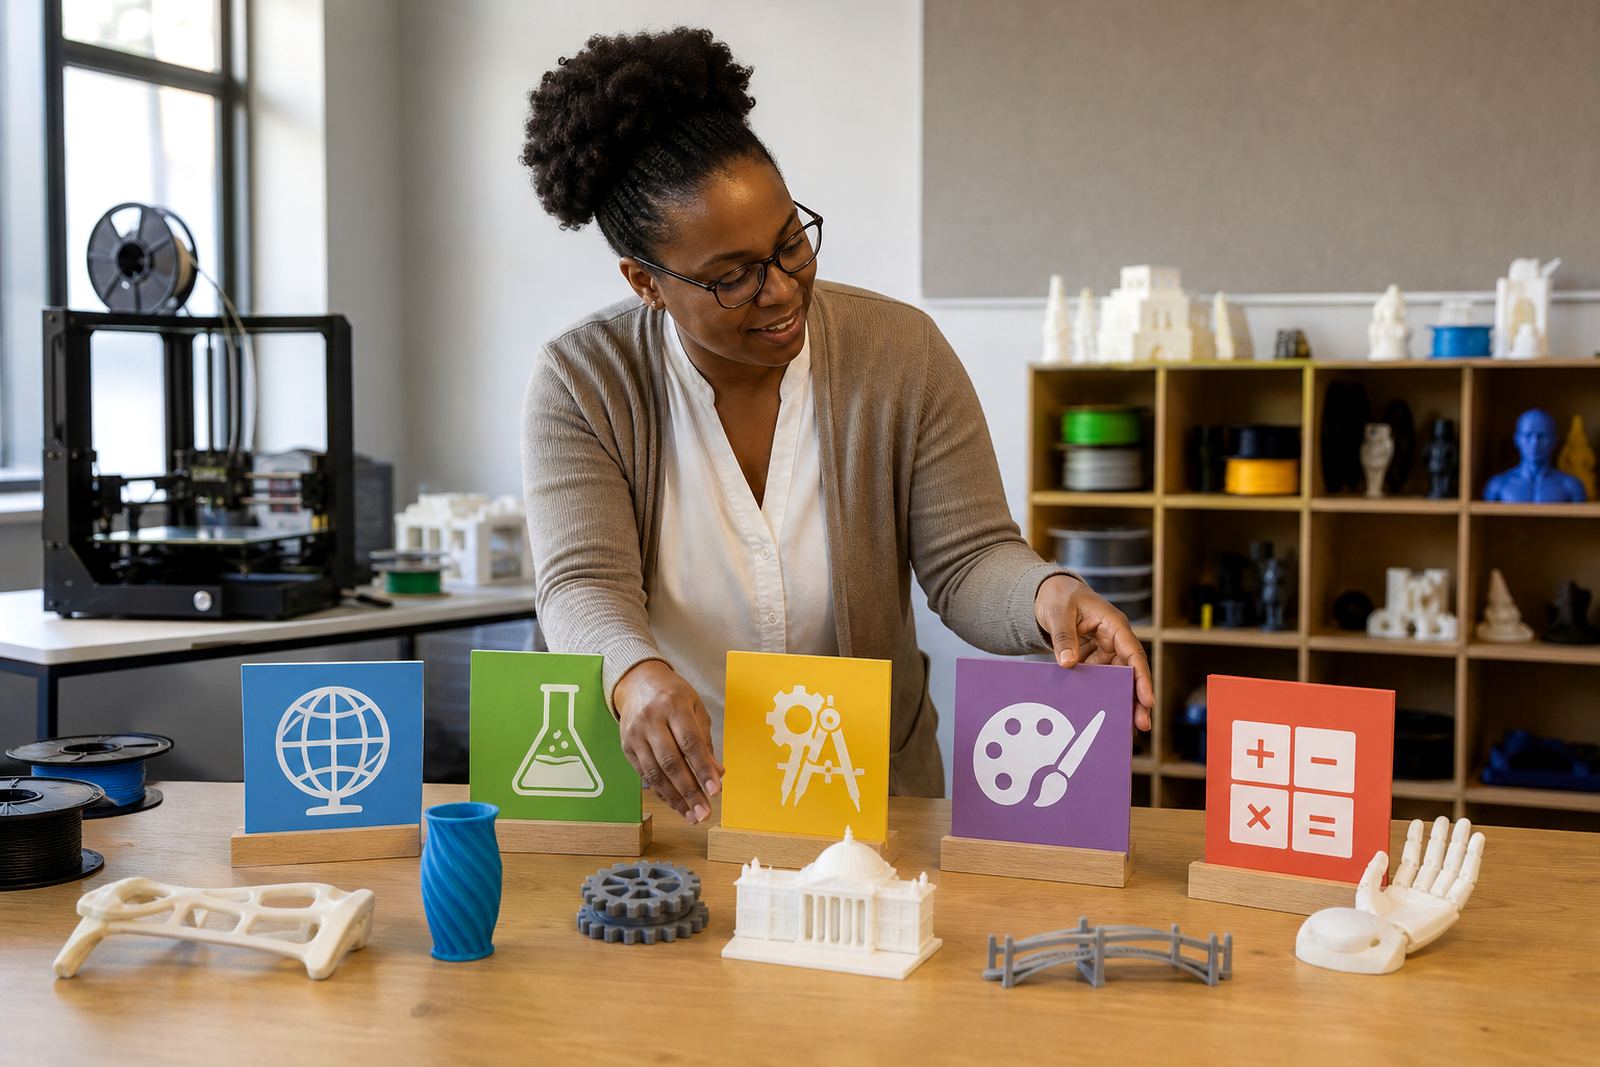
Age level should shape both the object and the software skills involved. In Foundation Phase or early Intermediate Phase, keep the theme broad and visual. Large shapes, simple joins and one or two moving parts are enough. In Senior Phase, learners can work with measurements, tolerances and useful functions such as clips, stands or modular pieces. By high school, they can compare versions, test fit and revise a design after feedback.
A useful rule is to match the theme to the attention span of the group. A Grade 4 class may manage a name badge with a simple icon and clean edges, while a Grade 10 class can design a small storage solution for tech equipment. If the model is too complex, learners get stuck before they reach the printer. If it is too simple, the lesson feels flat and the value drops.
- Choose one main learning goal per project, such as measuring, sketching or printing.
- Keep the first theme to one colour and one print at a time.
- Let older learners add a function, not just decoration.
- Use a test piece before printing the full class set.
Balance creativity with printability
A good theme gives space for ideas, but still respects the limits of the printer. Overhangs, thin walls and large flat surfaces can create trouble, especially when classrooms are running on tight timetables or during load-shedding when print planning gets squeezed. Teachers do not need to remove creativity, only guide it into shapes that can actually be made with confidence.
Practical themes work well because they make constraints part of the lesson. Learners can be asked to design within a set size, use a fixed amount of material, or include a slot, hole or hinge that serves a purpose. This teaches planning, not just drawing. It also helps schools in coastal areas like Cape Town or Gqeberha where humidity and storage conditions can affect filament and finished parts if they are left unpacked for too long.
When choosing the theme, ask three questions: can it be printed in a reasonable time, can it be handled safely by the age group, and will it still be useful after the lesson? If all three answers are yes, the theme will usually work well in a school print project.
Use local context to make the brief feel real
Local examples help learners connect the task to everyday life in South Africa. A school in Johannesburg may need a theme around safe transport of small parts between classrooms. A school in Durban might focus on storage for humid conditions. A Paarl or Somerset West school could design items for a garden club, while a Gqeberha school might look at labels or holders for shared equipment that moves between rooms. The theme does not need to be fancy, just relevant.
The most effective briefs are often plain and practical. “Make a clip that keeps papers together in the wind” is easier to understand than a vague design challenge. “Create a holder for markers that can be cleaned easily” gives learners a real target. Clear wording leads to better models and fewer wasted prints, which matters when resources are limited and class time is short.
In the end, choosing project themes is about fit. Fit for the age group, fit for the equipment and fit for the school’s real needs. When those three line up, learners stay interested and the printed result has a proper use, not just a display value.