Why a failed print is often the best teaching moment
When a print comes off the bed looking mangled, learners usually see loss of time and wasted filament. A teacher who treats the result as data rather than disappointment can turn that same print into a lesson about observation, patience and improvement. That approach works well in schools because it makes the process visible. Learners can compare the file on screen, the settings on the machine and the object that actually came out, then ask what changed along the way.
In our 3D-printing courses, we often find that the strongest classroom gains come after a few misfires. A printer that under-extrudes, lifts at the corners or leaves gaps is telling you something. The trick is to slow the class down enough to ask the right questions: was the bed level, was the material dry, was the model prepared with enough support, and were the room conditions stable? In a place like Stellenbosch, where a school might start the morning cool and dry and end the afternoon warmer, those small shifts can matter more than people expect.
Common failure points worth discussing in class
Teachers do not need every technical detail to make a print failure useful. A simple checklist helps learners see patterns and build habits. It is also a practical way to keep a class calm when a project goes wrong. Instead of guessing, they can inspect each stage in order.
- First layer issues: poor bed adhesion, uneven levelling or a dirty build surface.
- Stringing or blobs: excess heat, travel settings or material that has picked up moisture.
- Warping: drafts, poor bed contact or a model with sharp corners.
- Layer shifts: loose belts, movement during the job or a machine knocked by mistake.
- Blocked flow: damaged filament, dust in the feed path or a nozzle needing cleaning.
These are all ordinary problems in a school lab. They also make strong lessons because learners can see the link between a small setting change and a very different result. That connection is often clearer than any textbook explanation, and it sticks. A class that learns to spot faults early is less likely to panic when something fails again.
What schools should test before starting a new project
A good classroom habit is to test before committing to a long print. That saves material, reduces frustration and gives teachers a chance to catch problems before the full class gets involved. It also fits neatly into project planning, because learners can be asked to justify each test and record what changed after each run. For teacher groups and maker club sessions, this is where the real value sits: learning to improve by evidence, not by guesswork.
Before starting a larger object, it helps to run short checks that confirm the machine and material are ready. A school in Pretoria once brought a batch of learners to a holiday programme session with models prepared for a badge holder project. The first attempts curled at the corners because the room was warm and the build plate had been handled with oily fingers. After a quick clean, a smaller test piece and a reminder about airflow near the machine, the next print completed properly. The class did not just get a usable part, they learned why the earlier prints failed and how to prevent it next time.
- Check the build plate and clean it before every new class block.
- Print a small sample first, especially when changing material or design.
- Keep models simple for beginner groups and add detail later.
- Record machine settings beside the job name for easy comparison.
- Store filament in sealed containers in coastal areas where humidity is higher.
How to turn a mistake into a proper classroom discussion
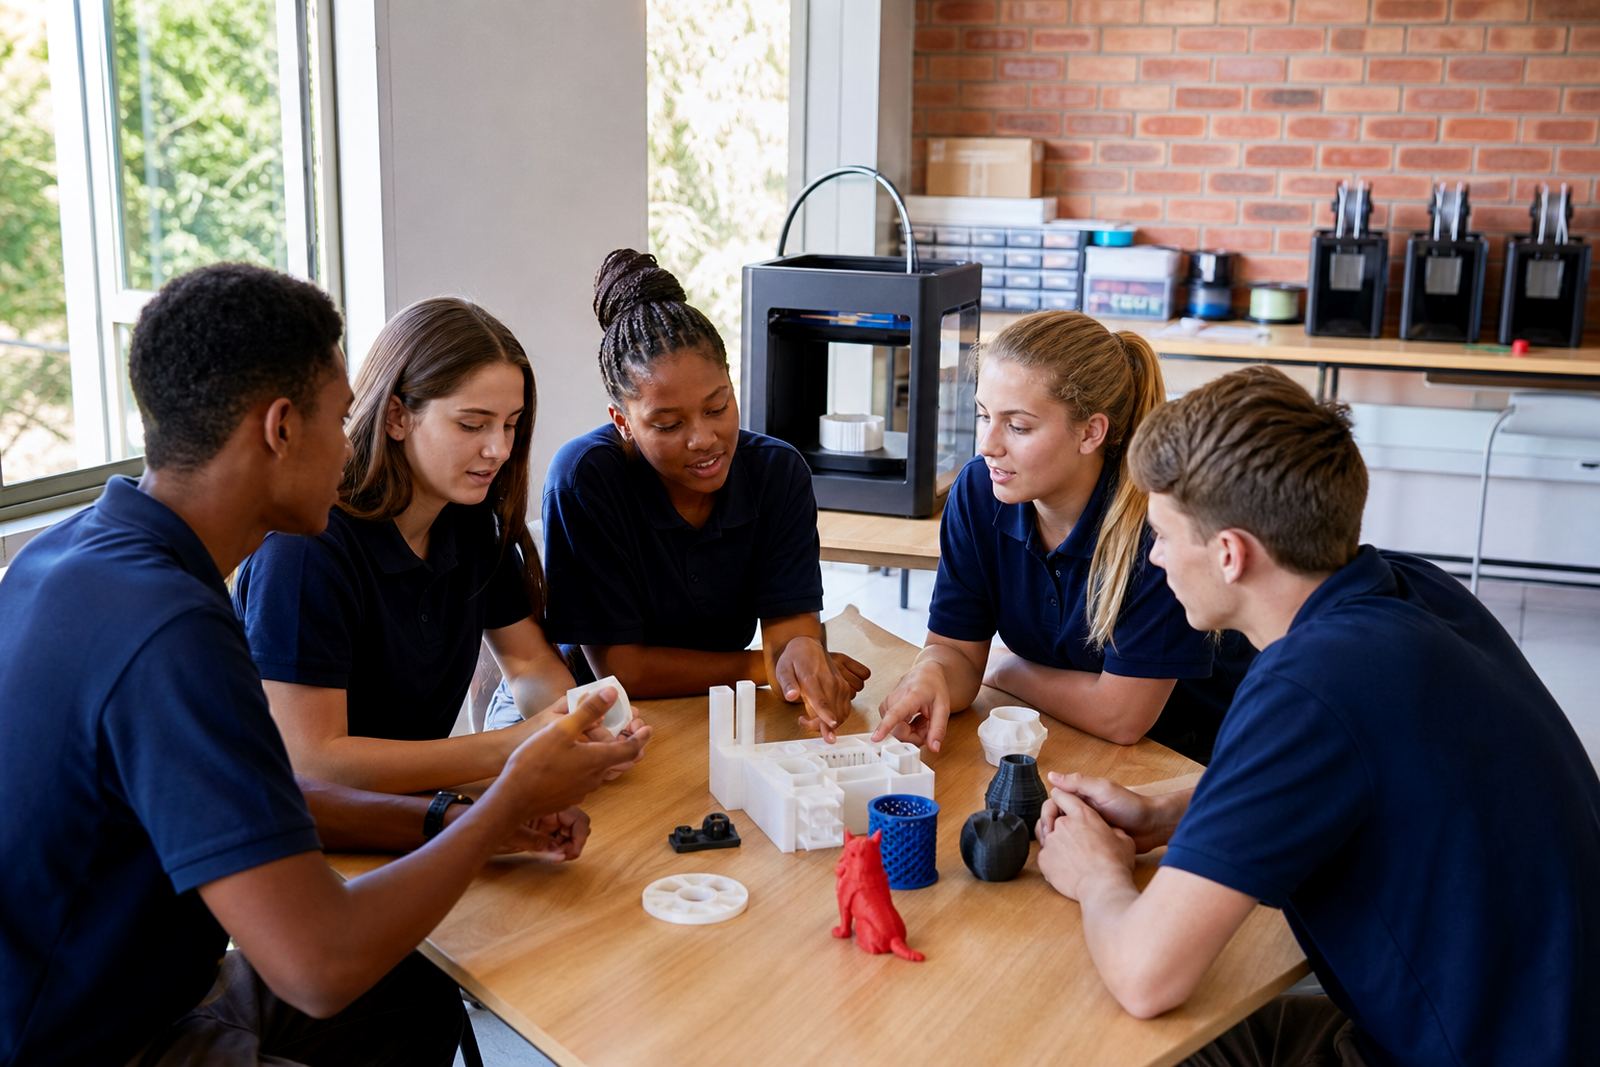
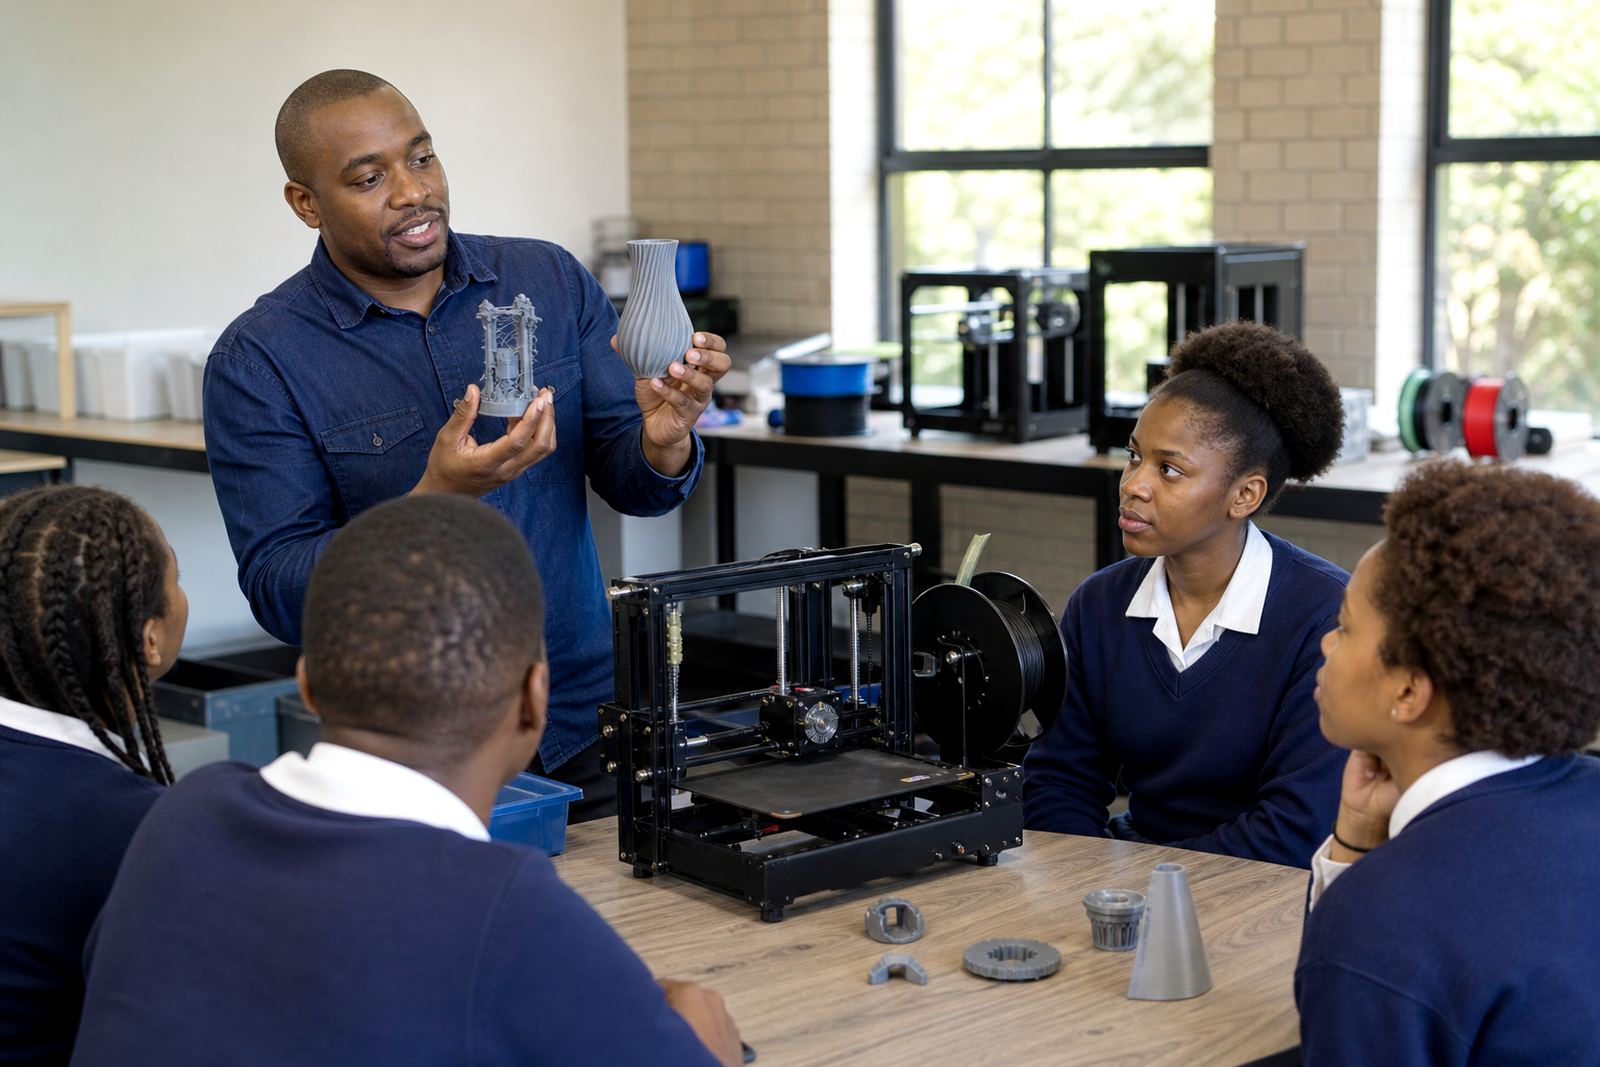
The best follow-up after a failed print is not blame, it is a short review. Ask learners what they noticed, what they think caused the issue and what they would change. This keeps the discussion practical and lets quieter learners take part too. It also gives the teacher a clear view of how much the group understands about the process.
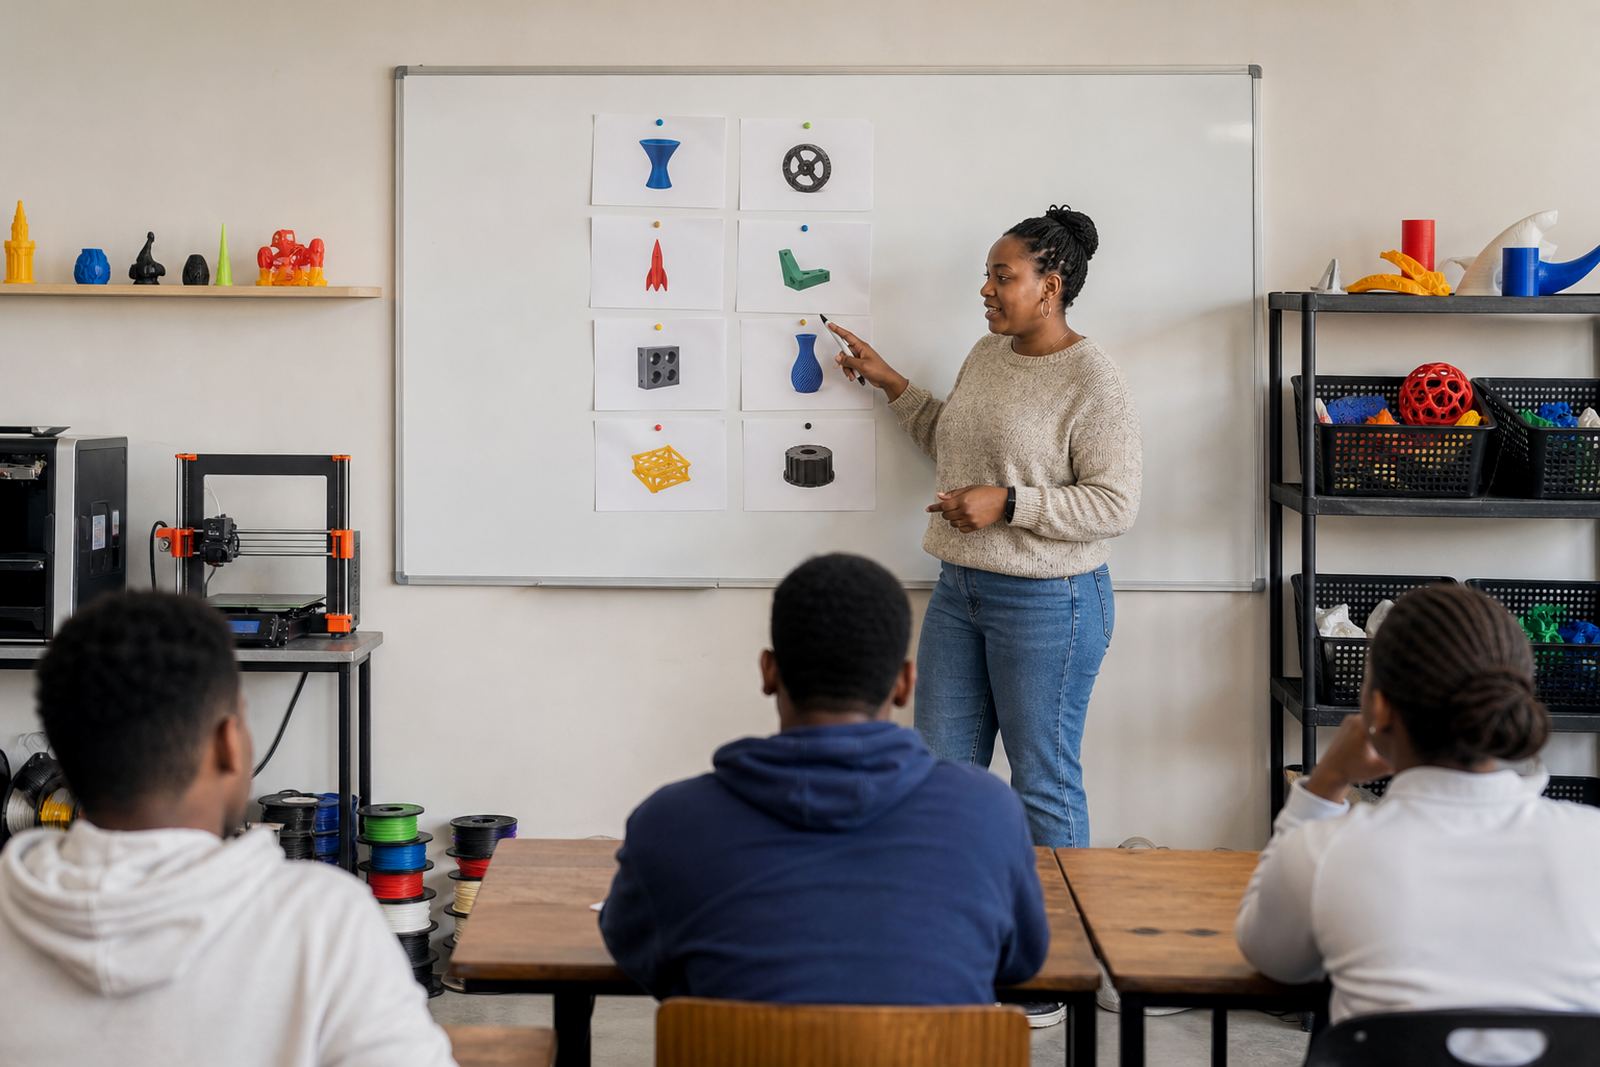
A review can be kept brief and still be effective. Write the fault on the board, identify the likely cause, and then decide on one change only. Changing too many settings at once makes it hard to know what helped. This is especially useful in mixed-ability classes, where some learners are still new to CAD Basics while others are ready to help with printer operations. The room stays focused because the failure becomes part of the lesson, not a break in it.
For schools that run holiday clubs or maker sessions, this method also supports confidence. Learners start to see that an error is not a sign of failure, it is part of the testing cycle. That is a valuable idea in technical education, and it is one they will use later in design, engineering and even entrepreneurship. A clean improvement after a bad print can be more memorable than a perfect first attempt.
Safety and housekeeping after a bad print
After a failed job, it is tempting to move straight to the next one. Schools should pause and clear the machine properly first. Small scraps of plastic can build up around the bed, tools and feed path. If they are left there, they can affect the next print and create a slip or burn risk. That matters in classrooms where several learners may be moving around the same workstation.
General safety reminders are simple but worth repeating. Keep fingers clear of heated parts, switch off equipment before removing debris, and allow time for the machine to cool before handling the nozzle or build surface. Where there is load-shedding, it helps to save work often and plan for safe shutdowns so a power cut does not leave a print half-finished and the class unsettled. Teachers should also remind learners not to crowd the machine while a print is running, even when everyone wants to see what went wrong. A little space prevents accidents.
In a school lab, neat habits are part of the learning outcome. A tidy station helps learners focus, and it makes faults easier to spot next time. That simple routine can save a lot of time later on, especialy when a busy timetable leaves only a short slot for practical work.
What schools in South Africa can learn from one bad print
South African schools often work with limited time, mixed room conditions and different levels of learner experience. That means failure is not unusual, it is expected. The real question is whether the school uses each setback to build a better process. In Gqeberha, for example, a coastal school may need extra care with filament storage, while an inland school may deal more with heat, dust or power interruptions. The same basic print can behave differently from one site to another.
This is why classroom lab kits and course support should go together. A teacher who knows how to introduce a test print, explain the cause of a fault and adjust one setting at a time will get more value from the equipment than a room full of expensive tools with no method behind them. The lesson is simple: print failures are useful when they are observed, discussed and recorded. Over time, those notes become a local reference for the school, which is far more helpful than starting from scratch every term.
When students see improvement come from small changes, they begin to think like makers. That is the real win. Not perfection on the first try, but a classroom where testing is normal and every failed print moves the group one step forward.