Why simple projects work best for primary learners
In the early grades, a 3D-printing activity should feel like a hands-on lesson, not a technical exercise. Children need a project they can understand in a few minutes, sketch on paper, and finish with guided help. That keeps attention steady and gives teachers room to manage the class safely.
Simple projects also reduce waste and frustration. A small print uses less material, finishes sooner and is easier to reprint if something shifts on the bed. That matters in South African schools where power interruptions, crowded timetables and shared computer rooms can interrupt a session. If the class only has 45 to 60 minutes, choose a model that can be prepared before the lesson and collected later when it is complete.
- Keep the shape basic: flat, rounded or box-like forms are easiest.
- Use one clear learning goal per lesson, such as measuring, naming parts or following steps.
- Let learners decorate the item afterwards with paint, labels or colour pencils.
- Avoid tiny moving parts for younger groups.
Good starter projects that suit short guided sessions
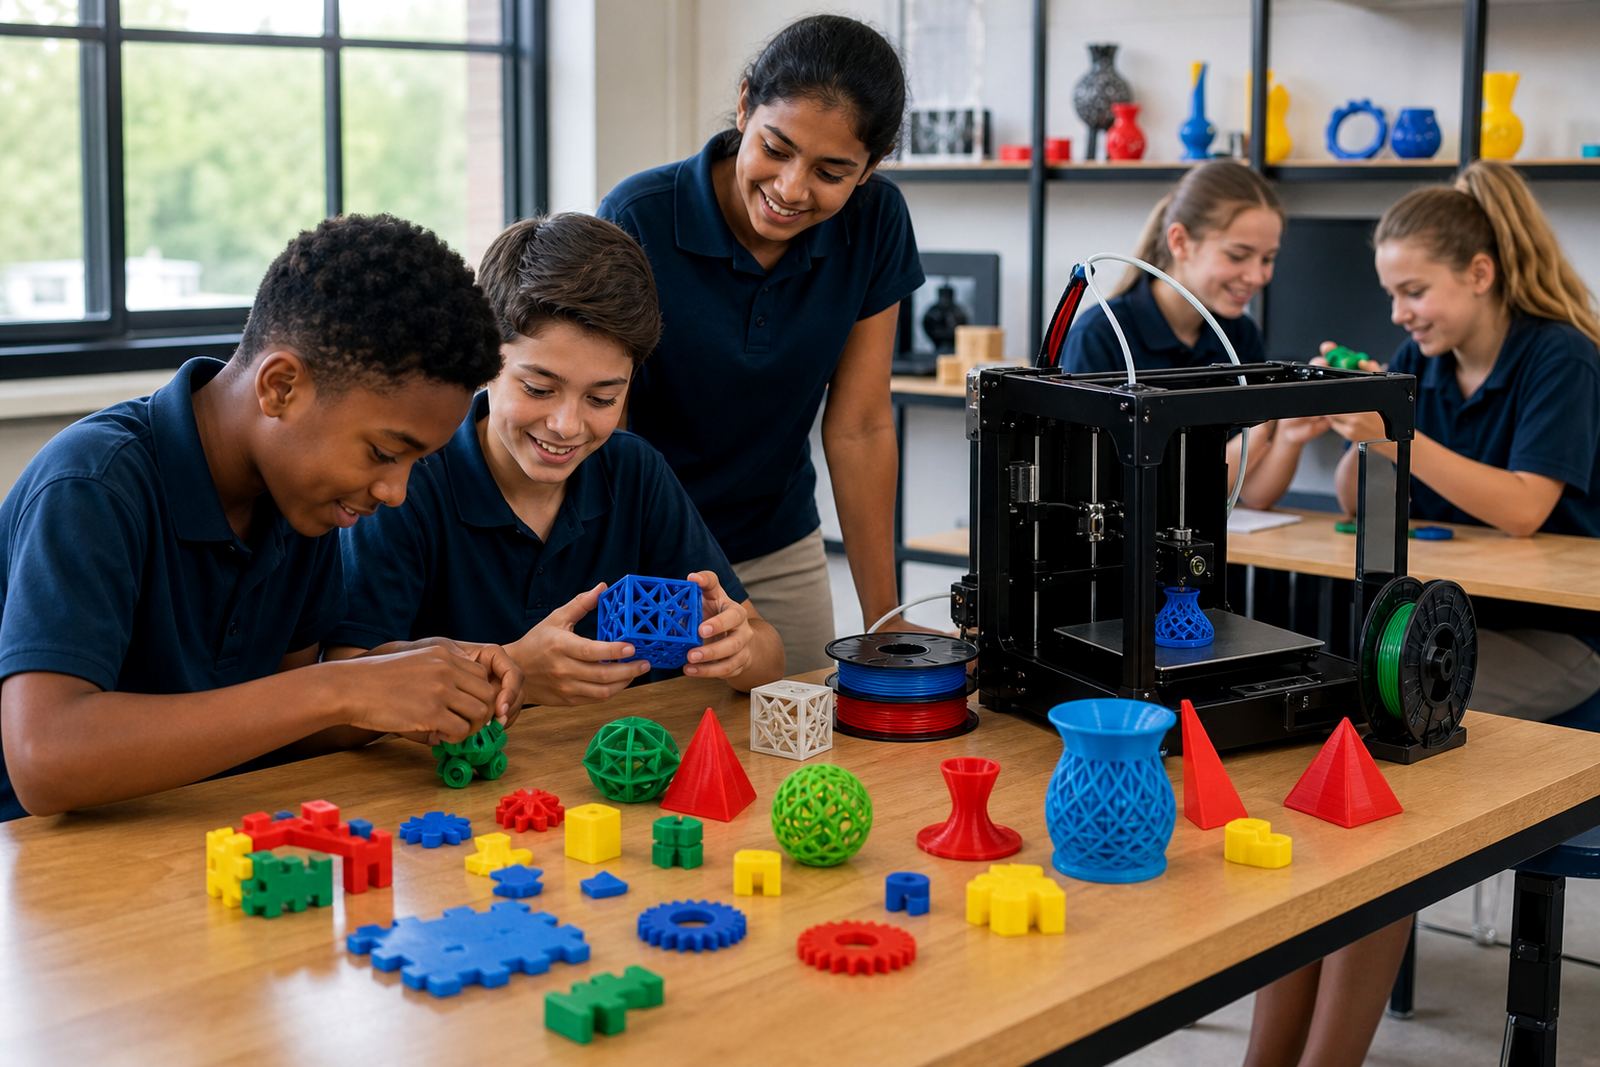
The best starter tasks are useful, familiar and small enough for a young learner to recognise straight away. A keyring tag, name badge, ruler holder, pencil top or simple shape puzzle gives children a sense of ownership without needing advanced design work. When a learner can hold the finished item and say what it is for, the lesson lands well.
Teachers can also link the project to literacy, maths or natural science. A name tag supports spelling. A shape puzzle supports counting corners and sides. A seed marker for a class garden can be tied to plant care. In a Stellenbosch primary school, a Grade 3 group might design simple leaf labels for a vegetable patch, while a Grade 5 class could print a small hook for hanging art aprons. Both are manageable and practical.
- Name tag or keyring label
- Geometric shape set
- Plant marker for classroom gardens
- Pencil topper or eraser holder
- Bookmark with a simple cut-out pattern
Keeping the lesson safe and calm
Young learners do not need to handle hot tools or moving parts on their own. The printer area should be treated like a guided work zone, with a clear boundary and one adult in charge of operation. Teachers can explain that the machine is not for touching while it is heating or printing, and that finished parts must cool before they are collected. That one habit prevents most classroom issues.
For primary groups, it helps to assign jobs. One learner can read instructions, another can check measurements, and another can help with naming the final design. That keeps everyone involved without crowding around the machine. If the room is warm or humid, as often happens on the coast, keep filament sealed in a dry container between sessions. In schools where load-shedding is common, it is sensible to save the file, print early in the session and have a backup activity ready while the machine finishes.
- Keep hands away from the nozzle, bed and moving frame.
- Use short lines of instruction and repeat them before the print starts.
- Store material in a dry box or bag between uses.
- Have a non-printer task ready in case of a delay or power cut.
How to plan a lesson around one small print
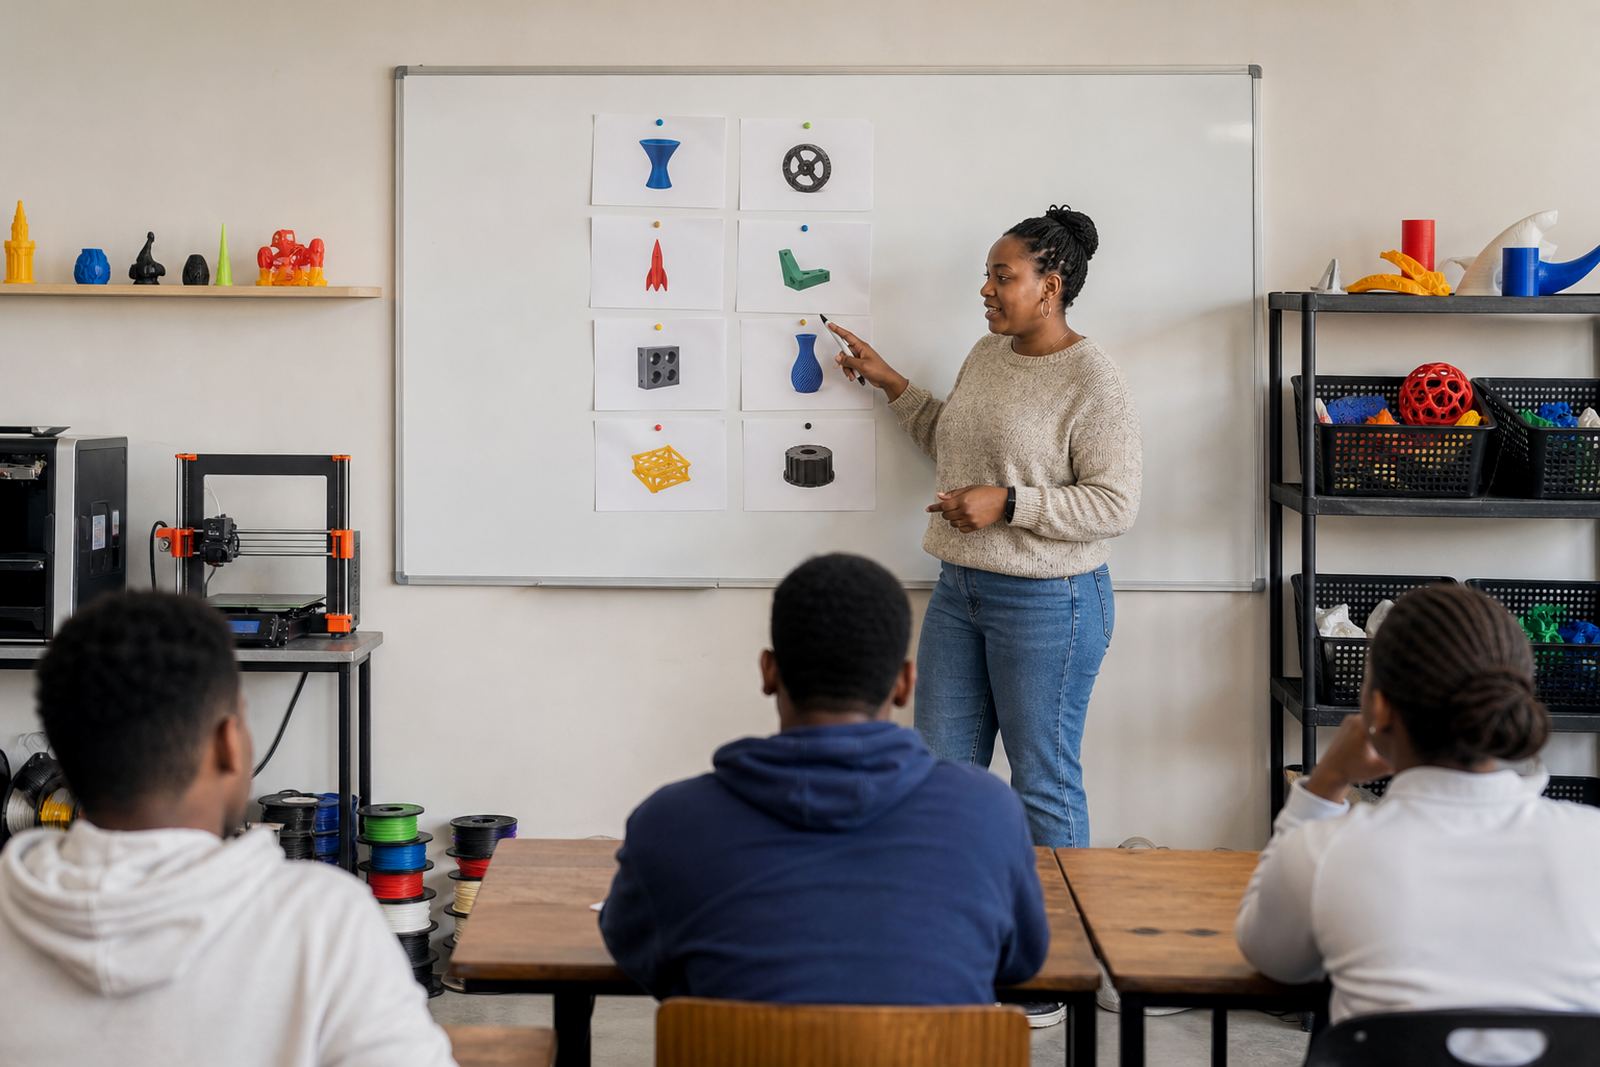
A simple project runs best when the lesson is broken into clear stages. Start with a quick look at the object, then a sketch on paper, then a basic design or teacher-prepared file, and finally a short review after printing. Children learn more when the steps are visible and repeated. They also settle faster when they know what comes next.
For a 45-minute session, the design should already be prepared or built from a very small template. For a longer workshop, learners can change one feature only, such as size, name or pattern. That way they see how design choices affect the result without getting lost in menus. In classrooms across Cape Town and Paarl, teachers often find that a simple worksheet helps keep the activity on track. A learner can tick off each stage as they move from idea to finished print.
Useful planning questions include:
- Can the project be explained in one minute?
- Will it print in a short time without support?
- Can younger learners identify the finished item easily?
- Is there a follow-up task if the print is not ready before the bell?
What schools should include in a basic primary lab kit
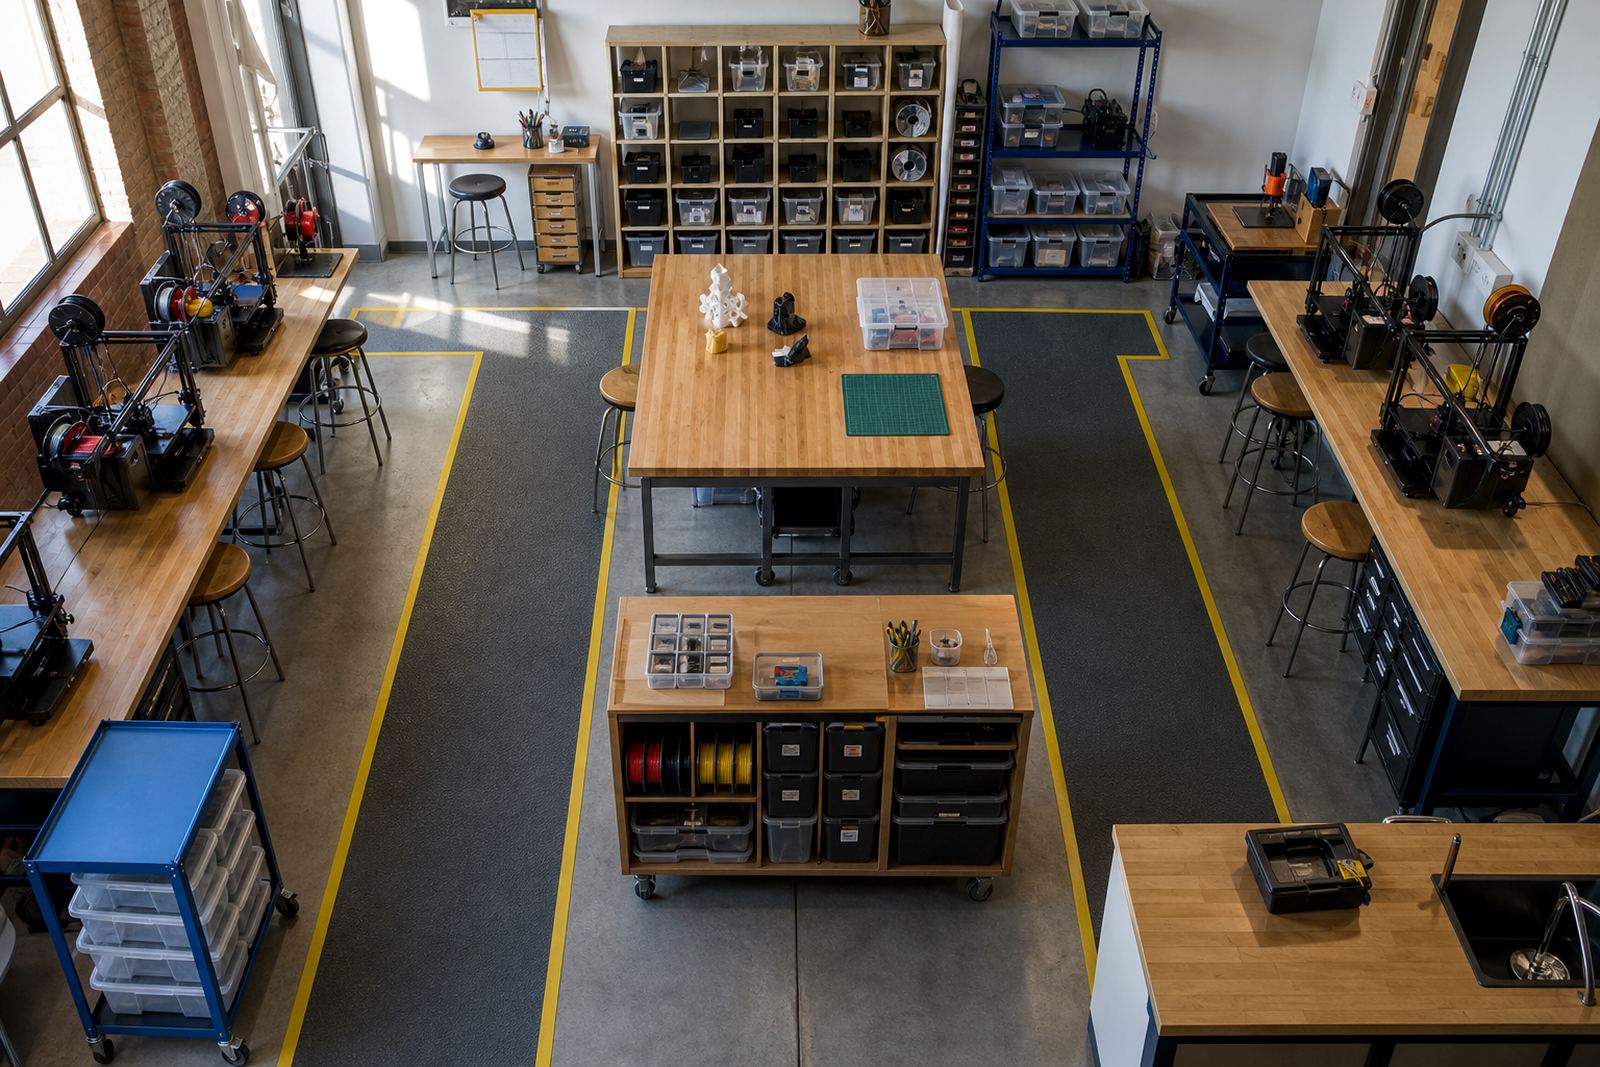
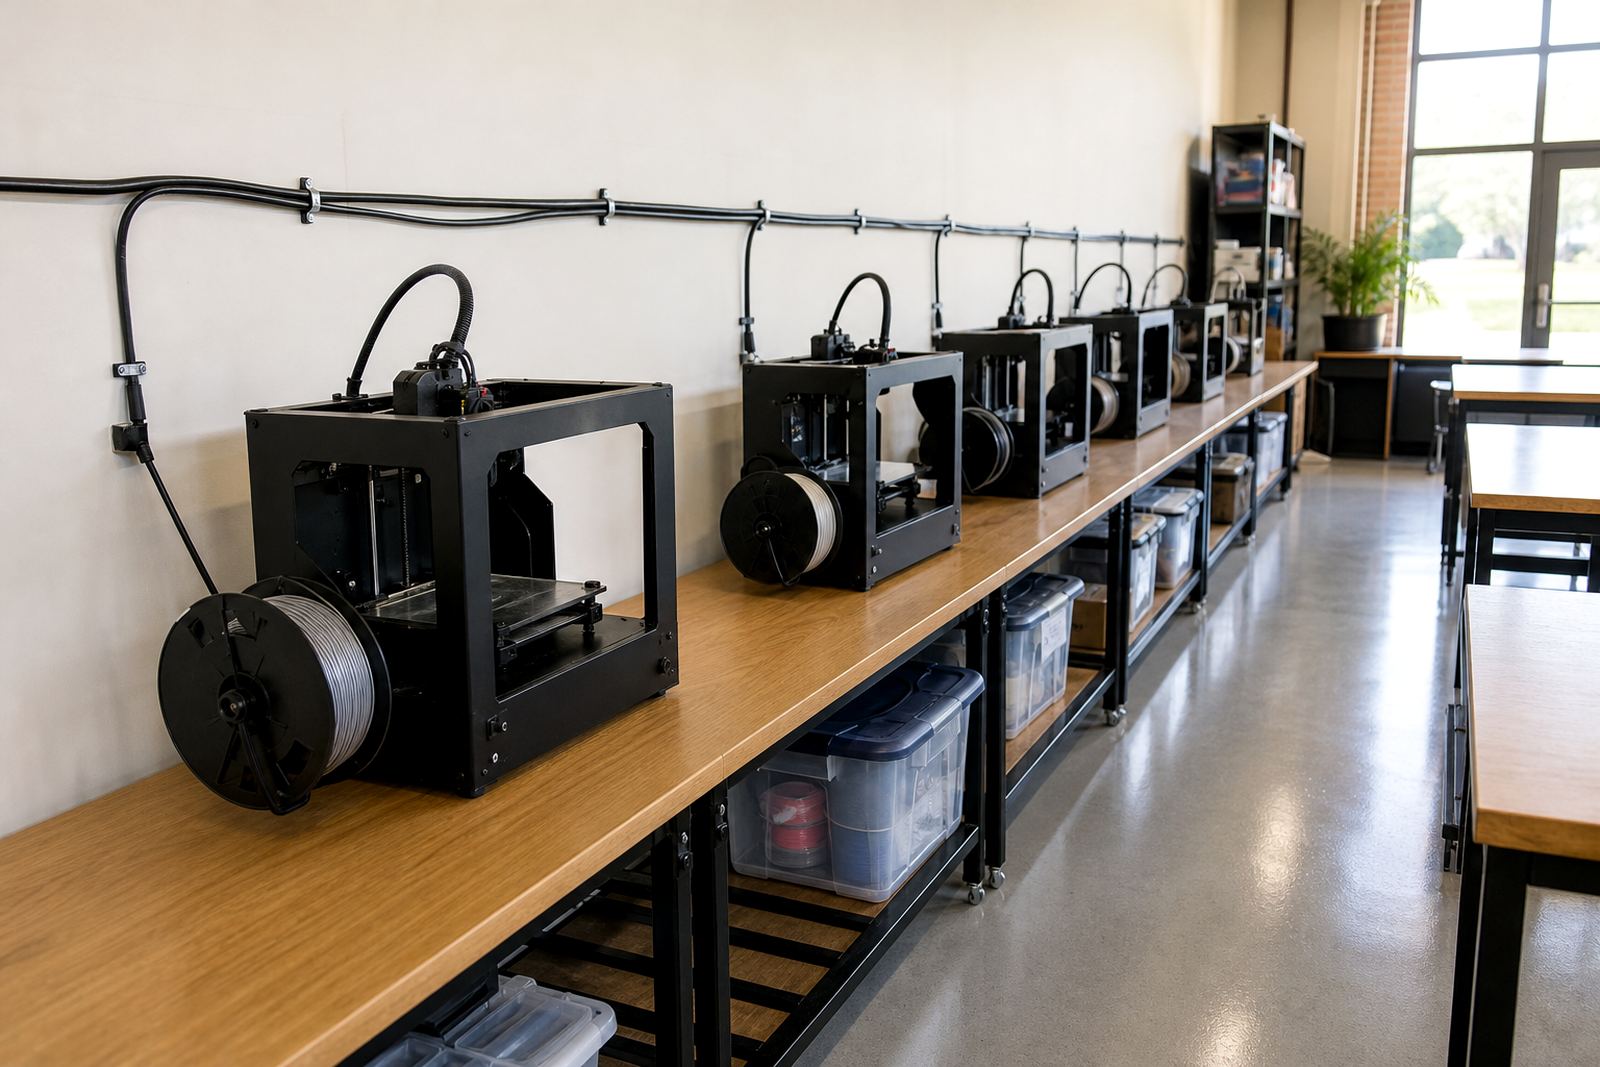
A school lab kit for younger learners should be practical, tidy and easy to supervise. The aim is not a complicated setup, but a classroom environment that lets teachers move from lesson to lesson without hunting for parts. A good kit keeps the printer area organised and the learning activity simple.
For a primary classroom, the core items usually include a printer, starter material, a cooling or storage area for finished parts, basic hand tools for safe removal and a set of simple lesson files. Schools also need a clear place for spare material, labels and project sheets. If the kit is going into a multi-purpose room, choose storage that can be locked away after school hours. That helps in busy school settings and in shared venues where equipment may be moved between classes.
When planning a lab setup, think about the room itself. Does it have enough plug points, stable tables and a clean surface away from dust? Is there enough space for learners to queue and collect work one at a time? In areas with coastal humidity, storage matters just as much as the printer. Dry storage protects the material and avoids wasted time on failed prints.
A practical example from a Western Cape primary school
A Grade 4 group in the Cape Winelands might spend one lesson designing a simple counter-free classroom item, such as a plant marker for the school garden or a bookmark for the reading corner. The teacher introduces the object, shows a sample, and then asks learners to measure the space for a name or number. The print is started during the lesson, while the rest of the class completes a drawing task linked to the same theme.
By the end of the period, the learners can compare the printed result with their sketches and discuss what changed. Some notice that the letters need to be larger. Others see that rounded corners print more cleanly. That kind of reflection is valuable because it links making with observation. It also suits schools that want practical learning without a long technical session. The teacher gets a clear classroom activity, and the learners go home with something they made themselves.
That is the strength of simple primary projects. They are short, visible and easy to repeat. Once learners understand the process, the teacher can build up to slightly more detailed work in the next term.