Start with the support plan before the print begins
Support removal is easier when it is planned at the CAD stage, not after the print has already finished. When a model has overhangs, narrow gaps or raised features, note which areas will need support and which surfaces must stay clean for the final assembly or paint work. In a school lab, this helps the facilitator explain why one model needs more cleanup than another.
A useful habit is to write short support notes on the job sheet before sending the file to the printer. Keep the note practical: where the support sits, whether it can be snapped off by hand, and whether a blade, pliers or light sanding will be needed. That small step makes the workshop calmer, especially when several learners are sharing printers and working in turns.
- Mark any hidden surfaces that must stay smooth for fitting parts together
- Note thin sections that could crack if support is pulled too hard
- Record the material type, since some supports release more easily than others
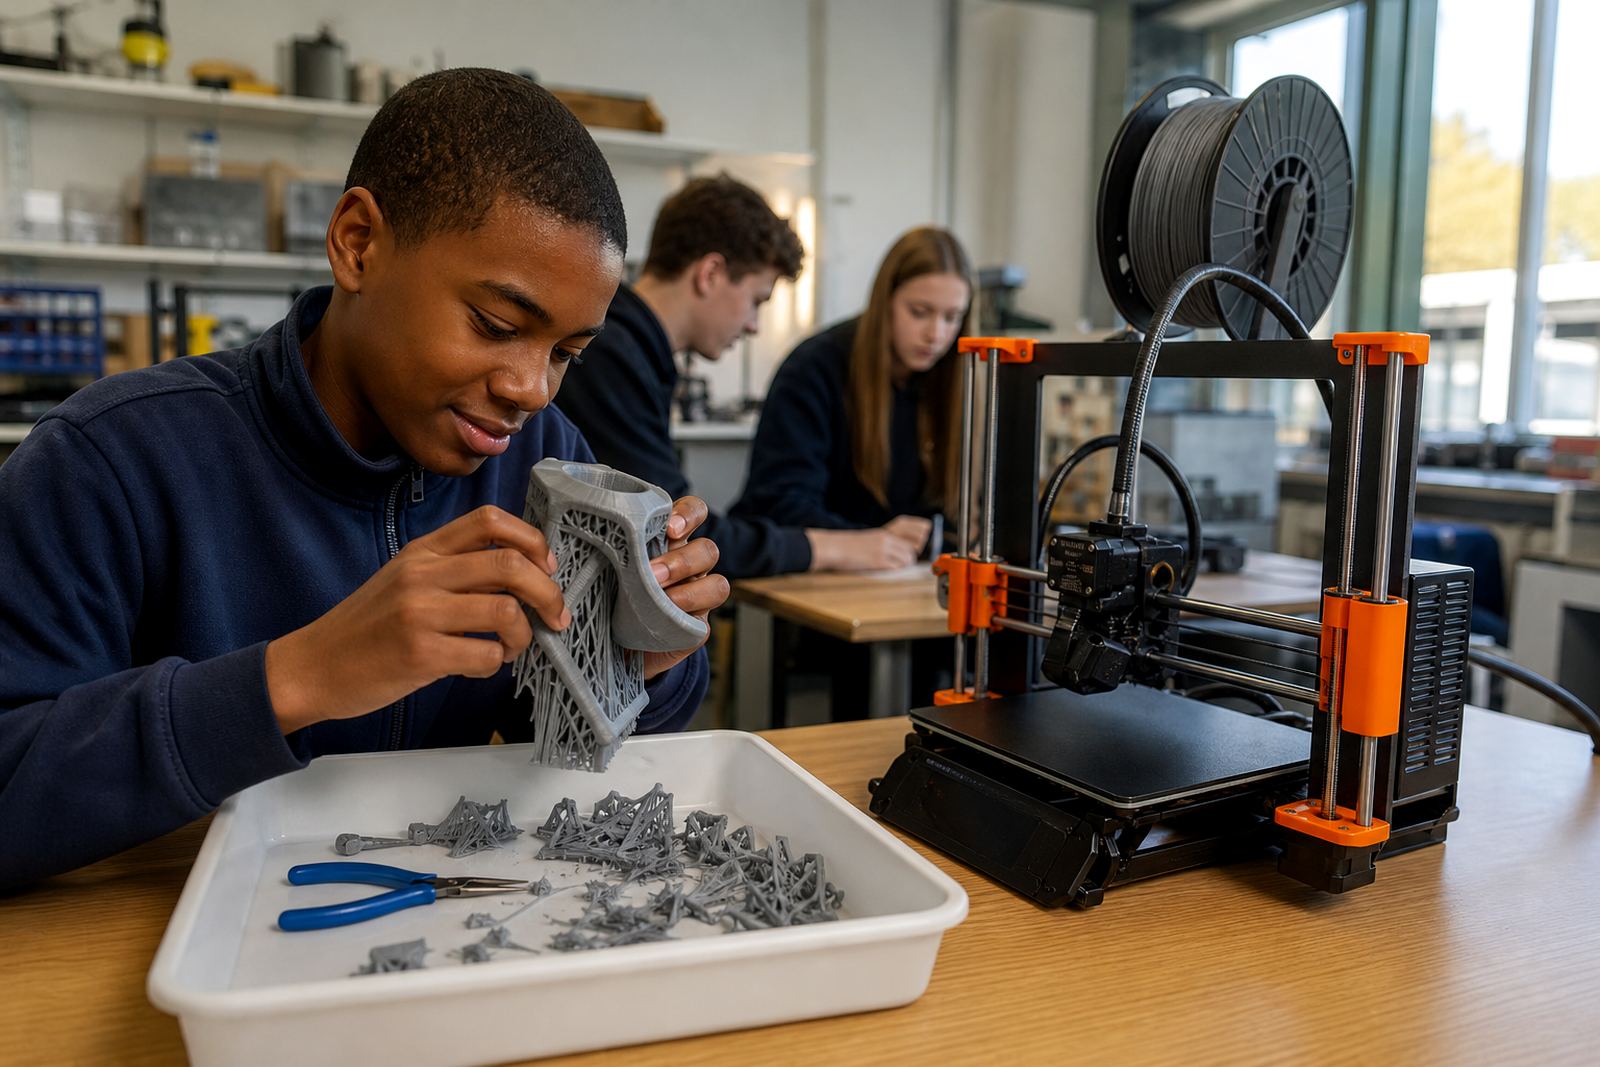
- Set aside a cleaning tray so offcuts do not end up across the bench
Choose support settings that match the classroom task
Not every project needs dense support. For learner work, the aim is to balance print reliability with easy removal. If the job is a small bracket, a classroom model or a simple prototype, lighter support settings often reduce cleanup time and save filament. For larger pieces, a more careful structure may be needed to stop sagging, but it should still be placed where tools can reach it safely.
On a windy afternoon in Stellenbosch, a school may have open windows and a bit of dust in the room, so it helps to keep printed parts covered while they cool. Let the model reach room temperature before removing support. Rushing this step can tear the surface and leave marks that are hard to fix later.
It also helps to keep support notes tied to the learning outcome. If the class is practising design for manufacturing, show learners why support is placed under one edge and not another. If the lesson is about presentation models, explain how support position affects the visible finish. That keeps the cleaning stage connected to the design stage, not treated like extra admin.
Use the right removal sequence to protect the part
The safest way to remove support is usually from the outside in, starting with the loosest sections first. Never force a tight piece off in one pull. Work slowly, flex the support slightly and listen for the point where it starts to release. If a support branch is attached to a thin wall, hold the wall with one hand while you break away the support with the other.
For classrooms, the best rule is simple: if the part resists, stop and inspect it. A small line of support left behind is better than a cracked model that has to be reprinted. After the main pieces are off, use a light scrape or sanding block for the remaining marks. Keep tools supervised and store them properly after use, especially in mixed-age groups where younger learners are part of the session.
- Remove large support sections first, then the smaller contact points
- Support the printed part in your hand while breaking away the support
- Use light pressure around corners and thin bridges
- Check for leftover bits in holes, slots and screw openings
Keep a clean finishing bench and a clear notes system
A tidy finishing station is a big help when several projects are being cleaned at once. Label containers for loose support, finished parts and parts that still need sanding. Keep the bench free of food and drink, and make sure learners know where to put sharp tools once they are done. In a school lab, this is not just neatness it reduces mix-ups and keeps the room safe.
Support removal notes should be short enough to read at a glance. A simple format works well: job name, printer used, support type, trouble spots and finish required. If the same learner group prints again next week, the notes become a useful record of what worked and what caused damage. Over time, this builds better habits without adding paperwork that nobody reads.
Where there are power interruptions or load-shedding schedules, it helps to note whether a print was paused during the build. A paused job may cool unevenly and the support can bond differently. That detail matters when a teacher or technician is deciding whether to remove the support immediately or leave the part to rest for a while longer.
Match removal advice to the material and the room conditions
Different printing materials behave differently during cleanup. Some snap cleanly, while others flex and leave small tags that need trimming. If the room is warm, the part may feel softer; if it is cool, the support may become more brittle. In coastal towns such as Durban or Gqeberha, humidity can also affect storage, so printed parts should not be left in damp boxes for long periods before finishing.
Teachers and facilitators should make a habit of adding a short finishing note for each material used. This helps in the next lesson when the class repeats a similar project. A quick reminder like “allow extra cooling” or “use side cutters carefully” can save a lot of trouble later, and it means learners spend more time understanding the print and less time fixing avoidable damage.
- Wait longer before cleanup if the part still feels warm
- Store finished parts in a dry box when humidity is high
- Keep sandpaper and trimming tools suited to the material type
- Record any warping or sticking so the next print can be adjusted
A school example from the Western Cape
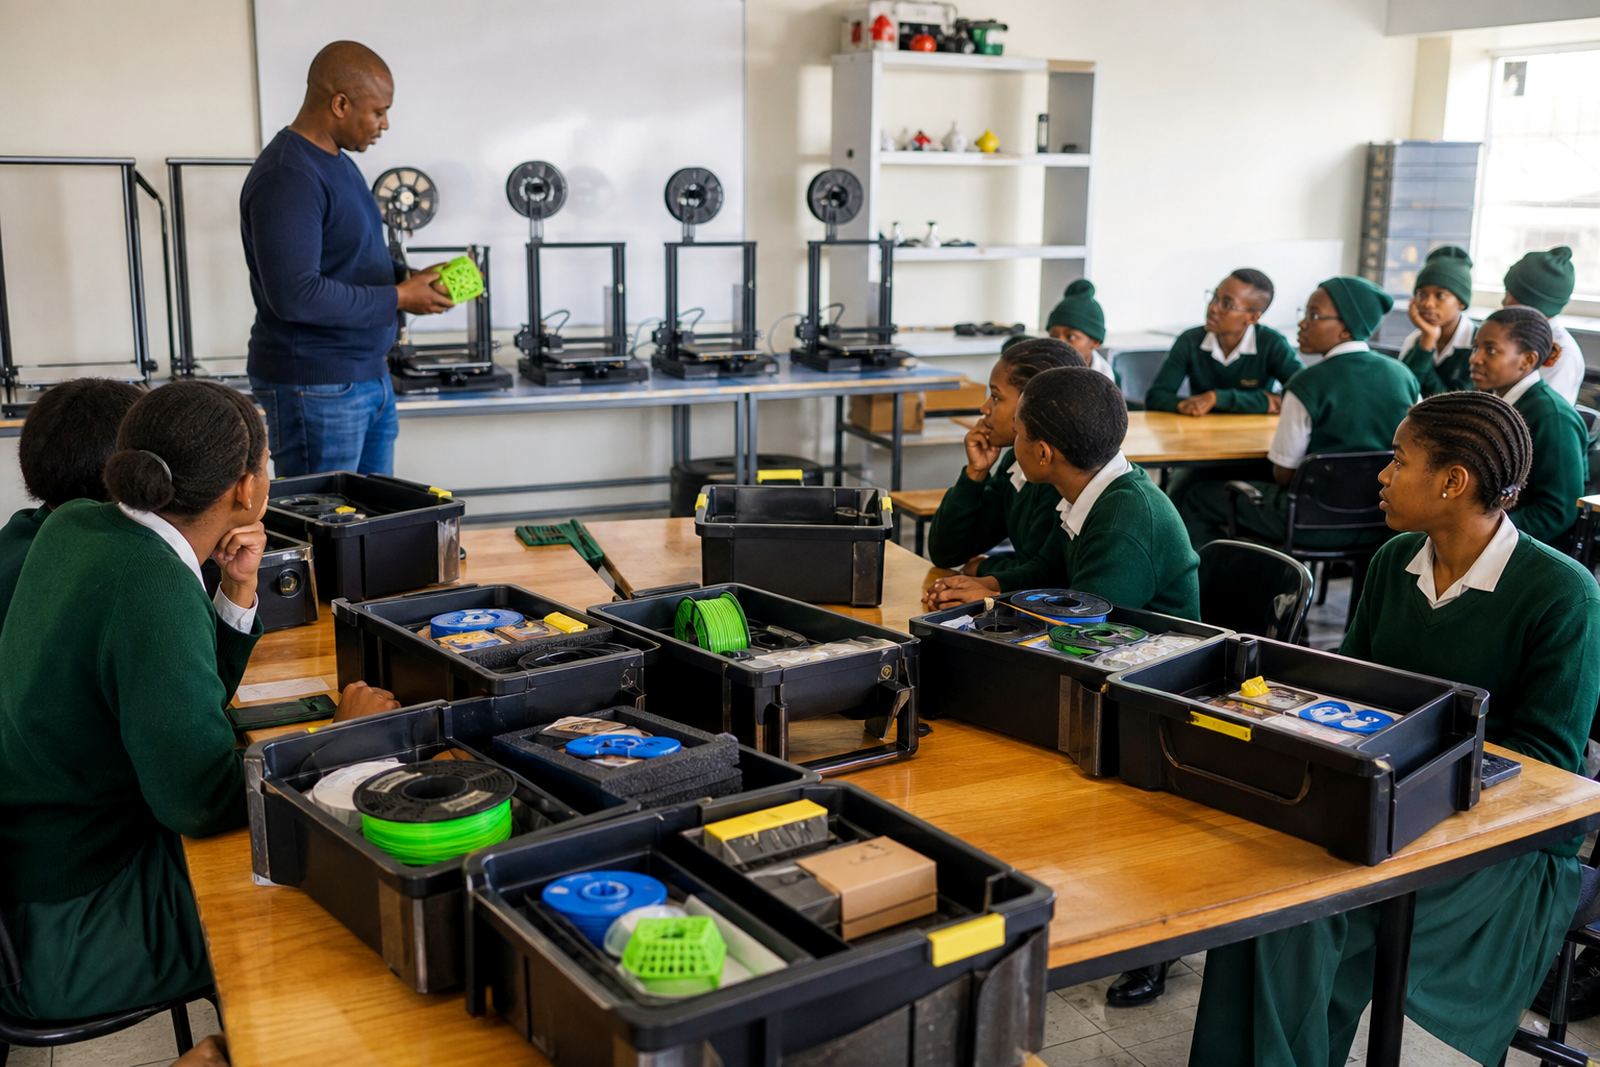
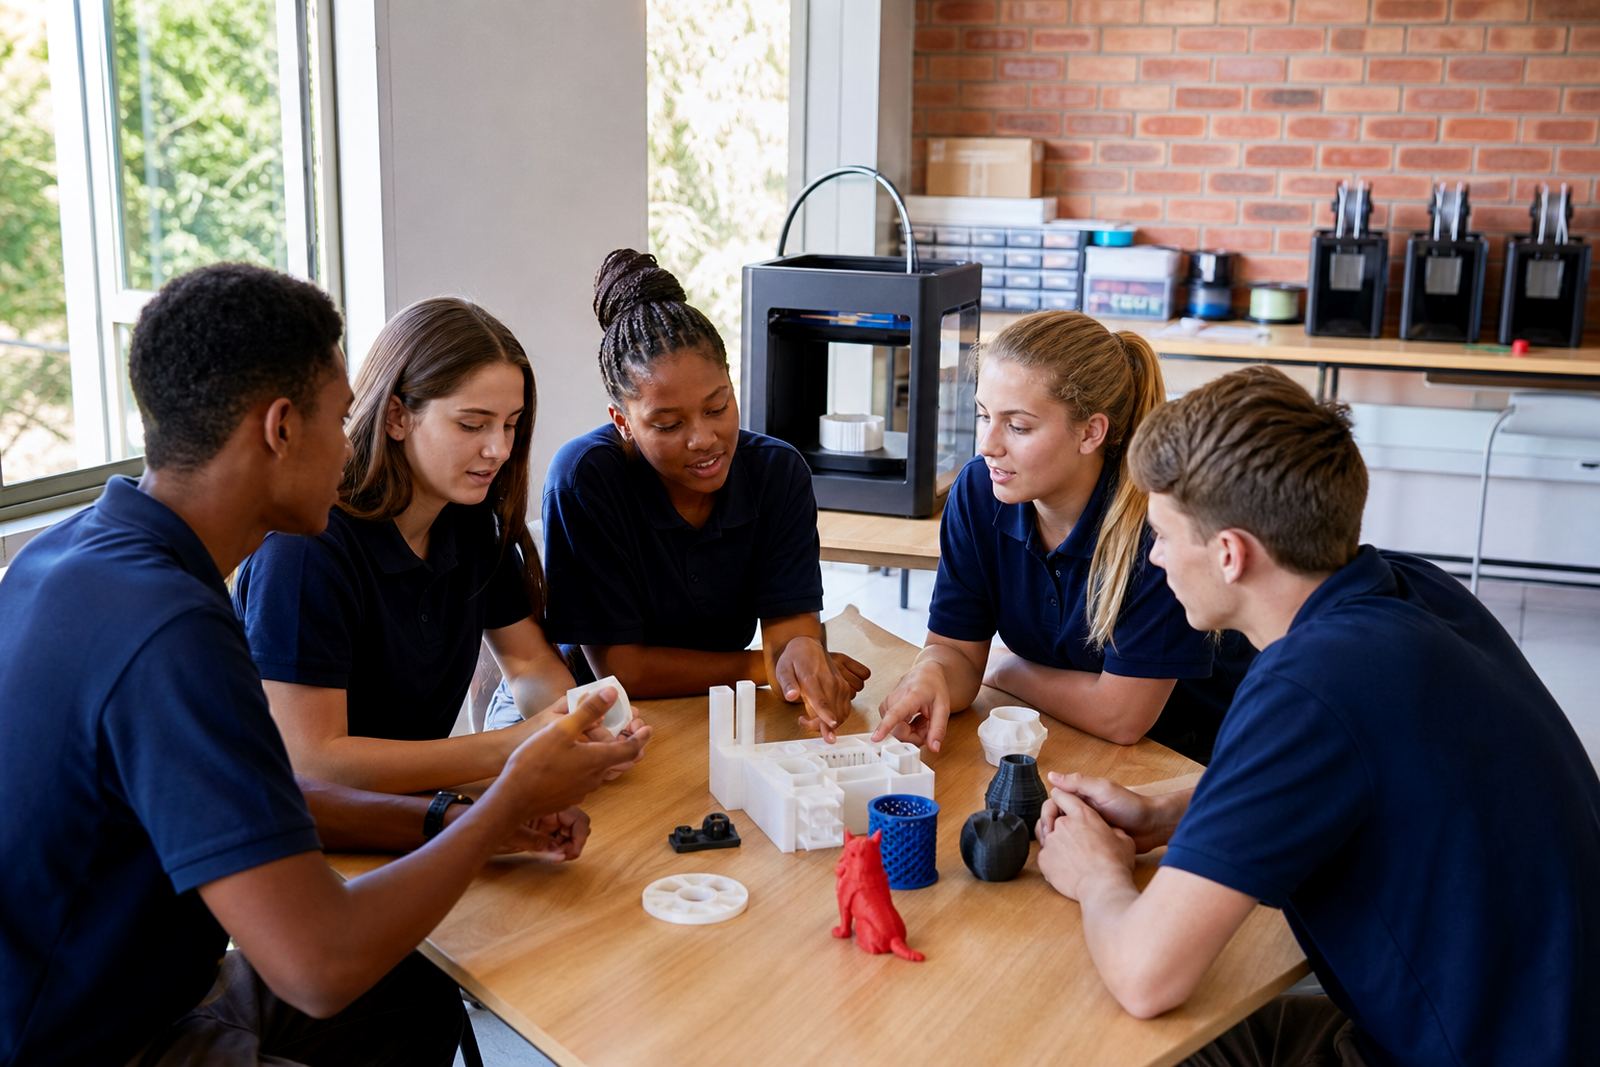
A secondary school outside Stellenbosch recently used a class project to print small bridge sections for a design exercise. The learners were excited to remove the support themselves, but the first group pulled too hard and chipped two corners. After that, the facilitator changed the process: each team wrote a short support note before printing, then used pliers and a simple check-list during cleanup.
The difference was noticeable. The parts came off more cleanly, the finishing table stayed organised, and the learners could explain why one overhang needed support while another did not. They also began to spot which design changes would reduce support in the next version. That is the real value of support removal notes, they turn a cleanup job into part of the lesson.
For schools that run repeated practical sessions, these notes also help new staff members take over a class without starting from zero. The record shows what was printed, what had to be trimmed and where the trouble points were. That saves time and keeps the standard of work steady across terms.
Turn finishing notes into a repeatable classroom habit
The best support removal routine is the one that can be repeated by different learners, in different rooms, with the same good result. Keep the process simple enough for a class to follow and specific enough to prevent guesswork. If everyone knows where to look for the note, which tools to use and how to handle fragile parts, the finishing stage becomes calmer and much more effective.
For schools planning 3D-printing lessons, it is worth building the notes into every project rather than treating them as an optional extra. A clean print is easier to present, easier to assess and easier to use in the next stage of the lesson. And when the job is done right, the support should feel like temporary help, not a permanent problem.