Start With the Room You Already Have
Before choosing printers or tools, look closely at the room that will hold the lab. A small classroom, library corner or converted computer room can all work, as long as there is enough table space, power points and safe movement between stations. In many Western Cape schools, the room also needs to cope with load-shedding, summer heat and a bit of coastal humidity, so ventilation and secure storage matter from day one.
It helps to measure the space and note where learners will queue, where finished prints will cool and where materials will be kept. That simple plan often tells you more than a long equipment list. If the room is shared with other subjects, think about lockable cupboards and a setup that can be packed away neatly after class.
Match the Kit to the Age Group and Class Size
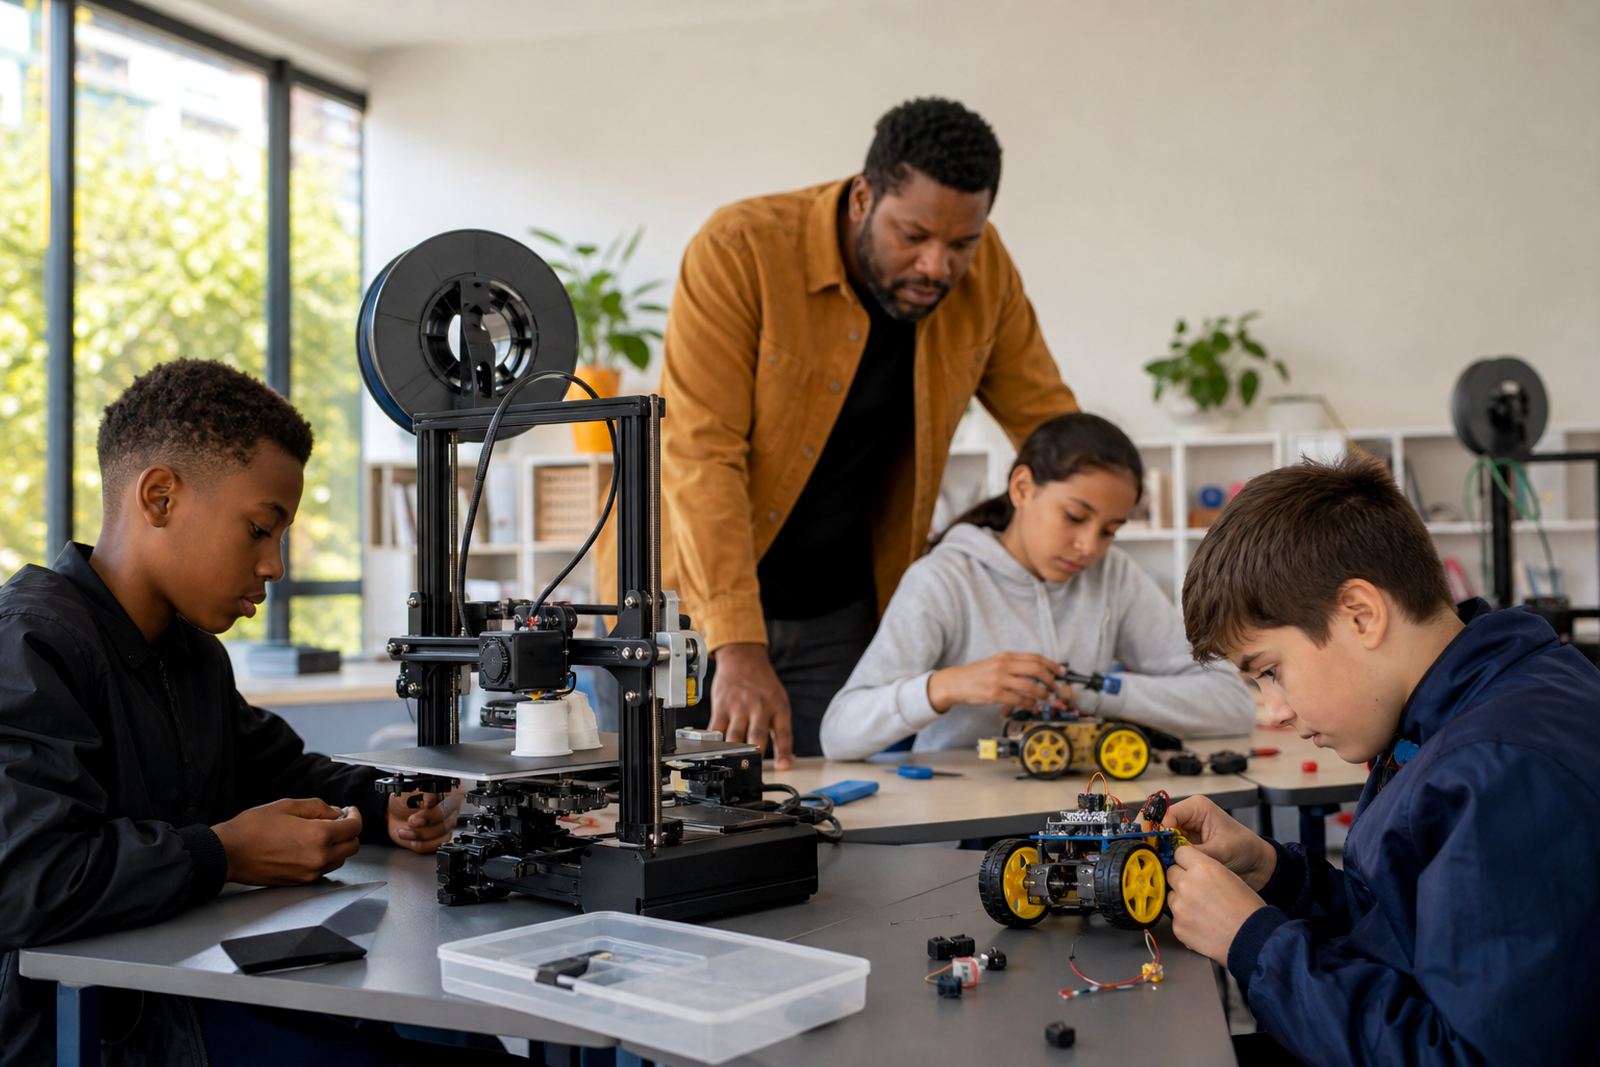
A lab kit for younger learners is not the same as one for an educator workshop or a technical subject room. For primary school use, the setup should be straightforward, with clear controls and enough structure for guided lessons. For older learners, you may want more room for design work, troubleshooting and group projects.
- How many learners will use the lab in one session?
- Will learners work in pairs, small groups or individually?
- Do you need a basic classroom setup or a more advanced maker space?
- Will the same room be used for teacher training as well as learner activities?
Once those questions are answered, the right kit becomes much easier to define. A school in Stellenbosch may need a different workflow from a larger campus in Pretoria or Durban, but the planning method stays the same.
Choose Printers, Tools and Supplies That Keep Lessons Moving
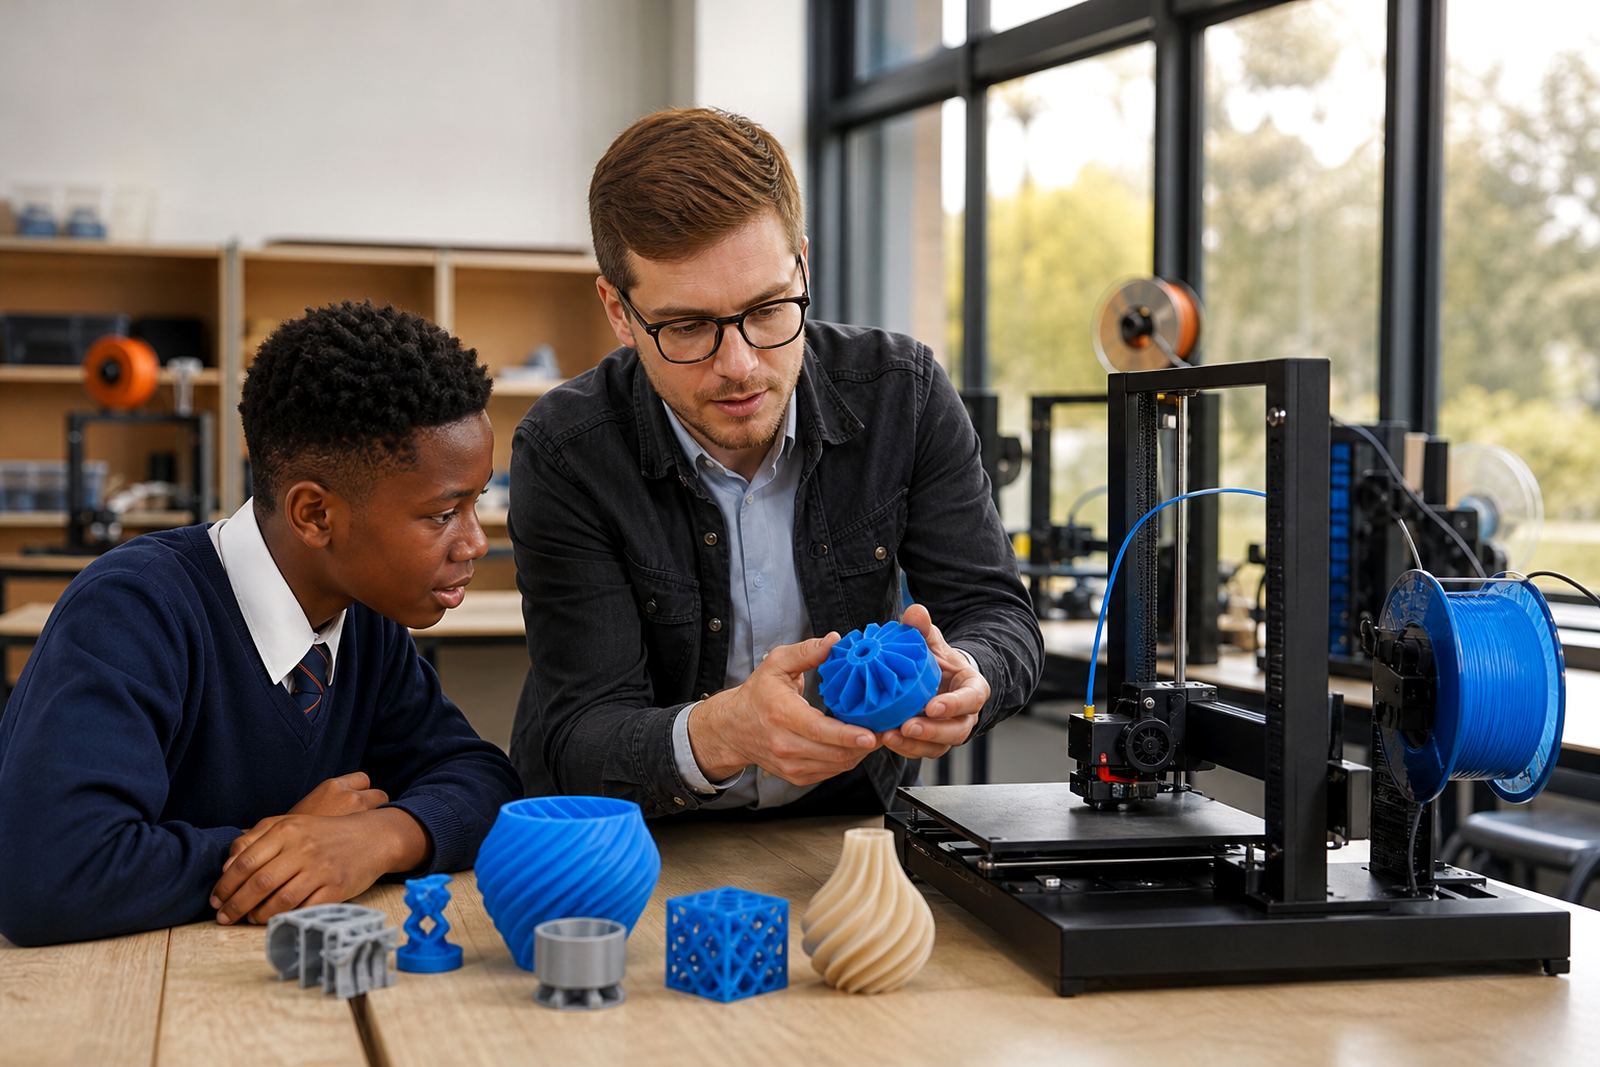
A practical school lab is built around reliability and simple maintenance. You do not need an oversized machine pool to start with, but you do need a balanced mix of printers, filaments, basic tools and storage. The aim is to keep learners active while waiting for prints, not standing around for the whole lesson.
Good planning also means thinking about consumables. If the room will be used regularly, check that you have enough print material, spare nozzles, cleaning tools and replacement parts to avoid long interruptions. It is also wise to include a clear storage plan for filament so it stays dry and ready to use, especially in humid coastal areas.
- Benchtop 3D printers suited to education use
- Starter tools for print removal and cleanup
- Measured consumables for classroom projects
- Storage containers or cupboards for safe keeping
- Basic spares for routine upkeep
Build Safety and Supervision Into the Plan
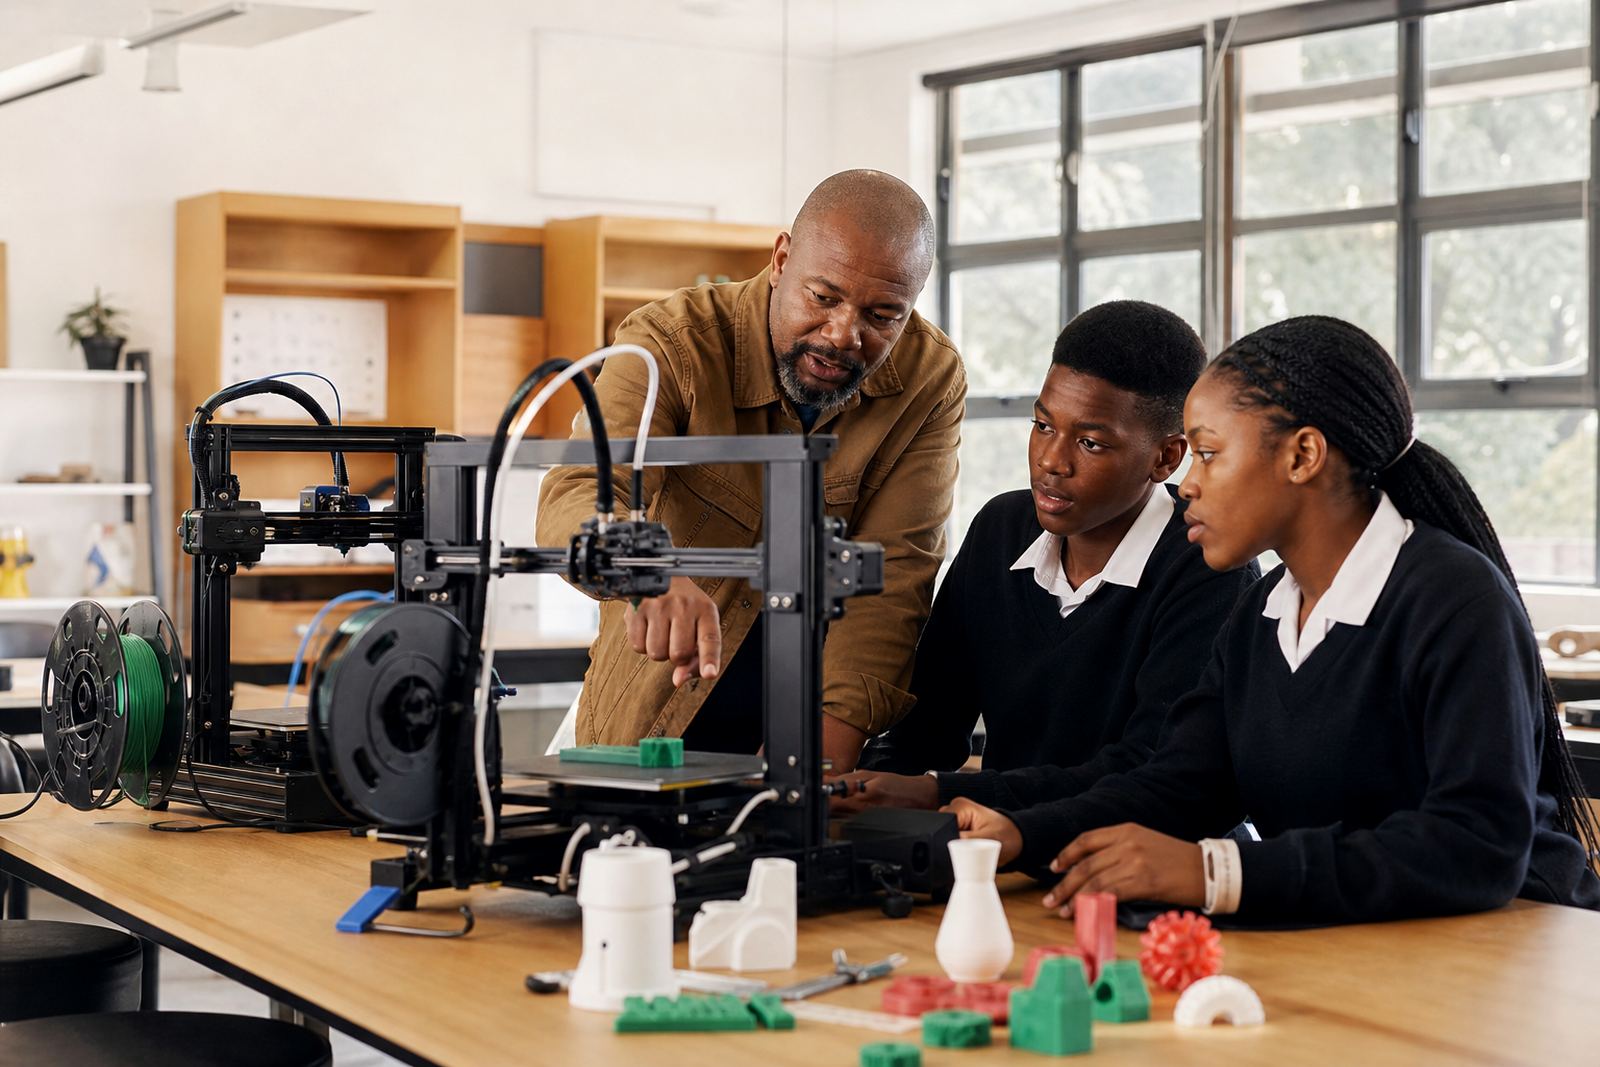
Safety should be part of the room layout, the lesson plan and the day to day routine. Learners need clear rules for hot surfaces, moving parts and general handling of equipment. Teachers should always control the start-up, printing and shutdown process, especially with younger groups.
Keep the lab simple to supervise. Cables should be tidy, walkways should stay clear and printers should have enough space around them for airflow and access. A short safety briefing at the beginning of every session saves time later and helps learners understand why the rules exist.
General classroom reminders are usually enough for most schools: no touching heated parts, no leaning over moving printers, keep liquids away from equipment and report faults straight away. That kind of routine makes the room easier to manage, even during busy project weeks.
Plan for Staff Readiness and Lesson Flow
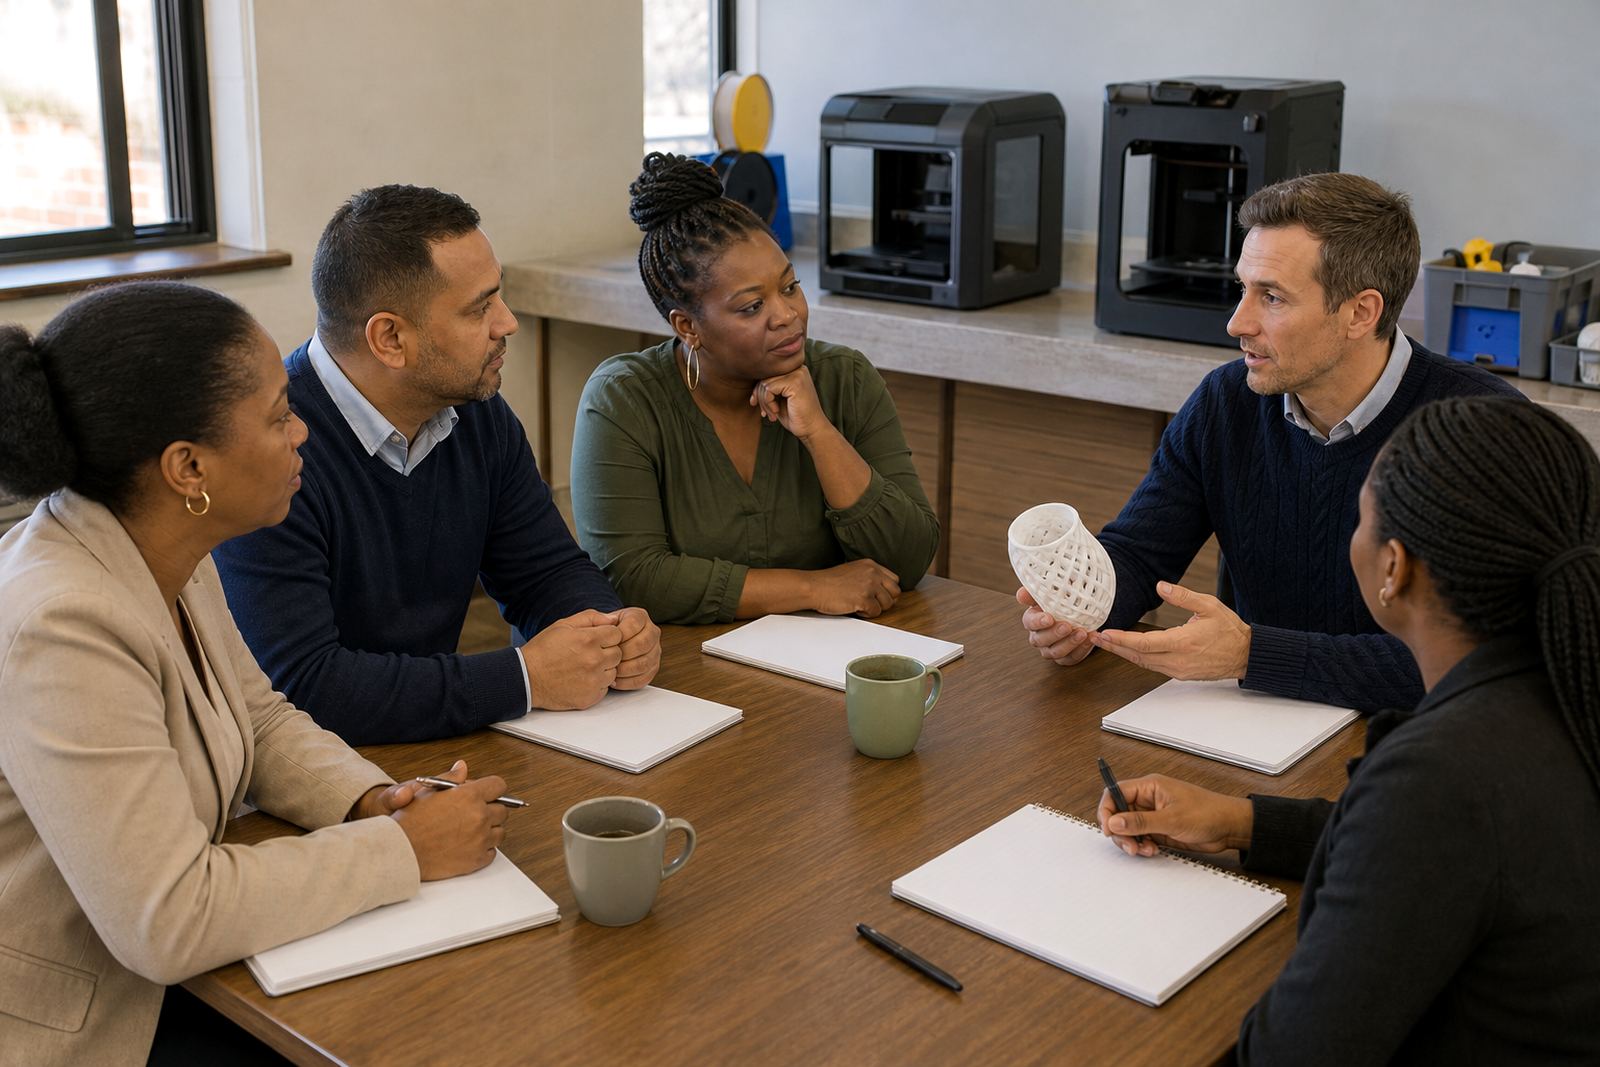
A strong lab kit works best when staff know how to use it confidently. Some schools need a simple introduction for new teachers, while others want a more detailed plan that covers printer operation, maintenance basics and project planning. The right support should fit the teaching team, not only the equipment list.
It also helps to map out a normal lesson cycle. Learners may begin with CAD basics, move into printer setup, then finish with post-processing and reflection. If your programme includes a maker club, holiday programme or group workshop, the same lab can be used for different levels without changing the whole room.
- Who will open and close the room each day?
- Who handles filament changes and print checks?
- Which lessons can run while a print is in progress?
- What should teachers do when a machine stops mid-print?
How We Help Schools Narrow the Right Setup
PrintAcademy 3D works with schools across South Africa from our Stellenbosch base, including Cape Town, Johannesburg, Pretoria, Durban and Gqeberha. Our support covers lab setup guidance, teacher introduction sessions, maintenance basics and custom group workshops, so schools can choose a setup that suits their room and their timetable. Our team understands the practical side of getting a learning space ready for regular school use.
When a school asks for lab kit planning, we look at the space, the number of users, the type of projects and the staff support needed. Lwazi Molapo coordinates training, Lizanne Rossouw helps with school lab planning, Lwandle Msiza handles technical support, Hlengiwe Mabunda prepares curriculum content, Rivaaz Nair facilitates workshops and Amahle Mkhwanazi manages operations. MD Ettienne Truter oversees the service direction. If you want help choosing a practical setup, send an enquiry through the contact page and we can guide the next step.