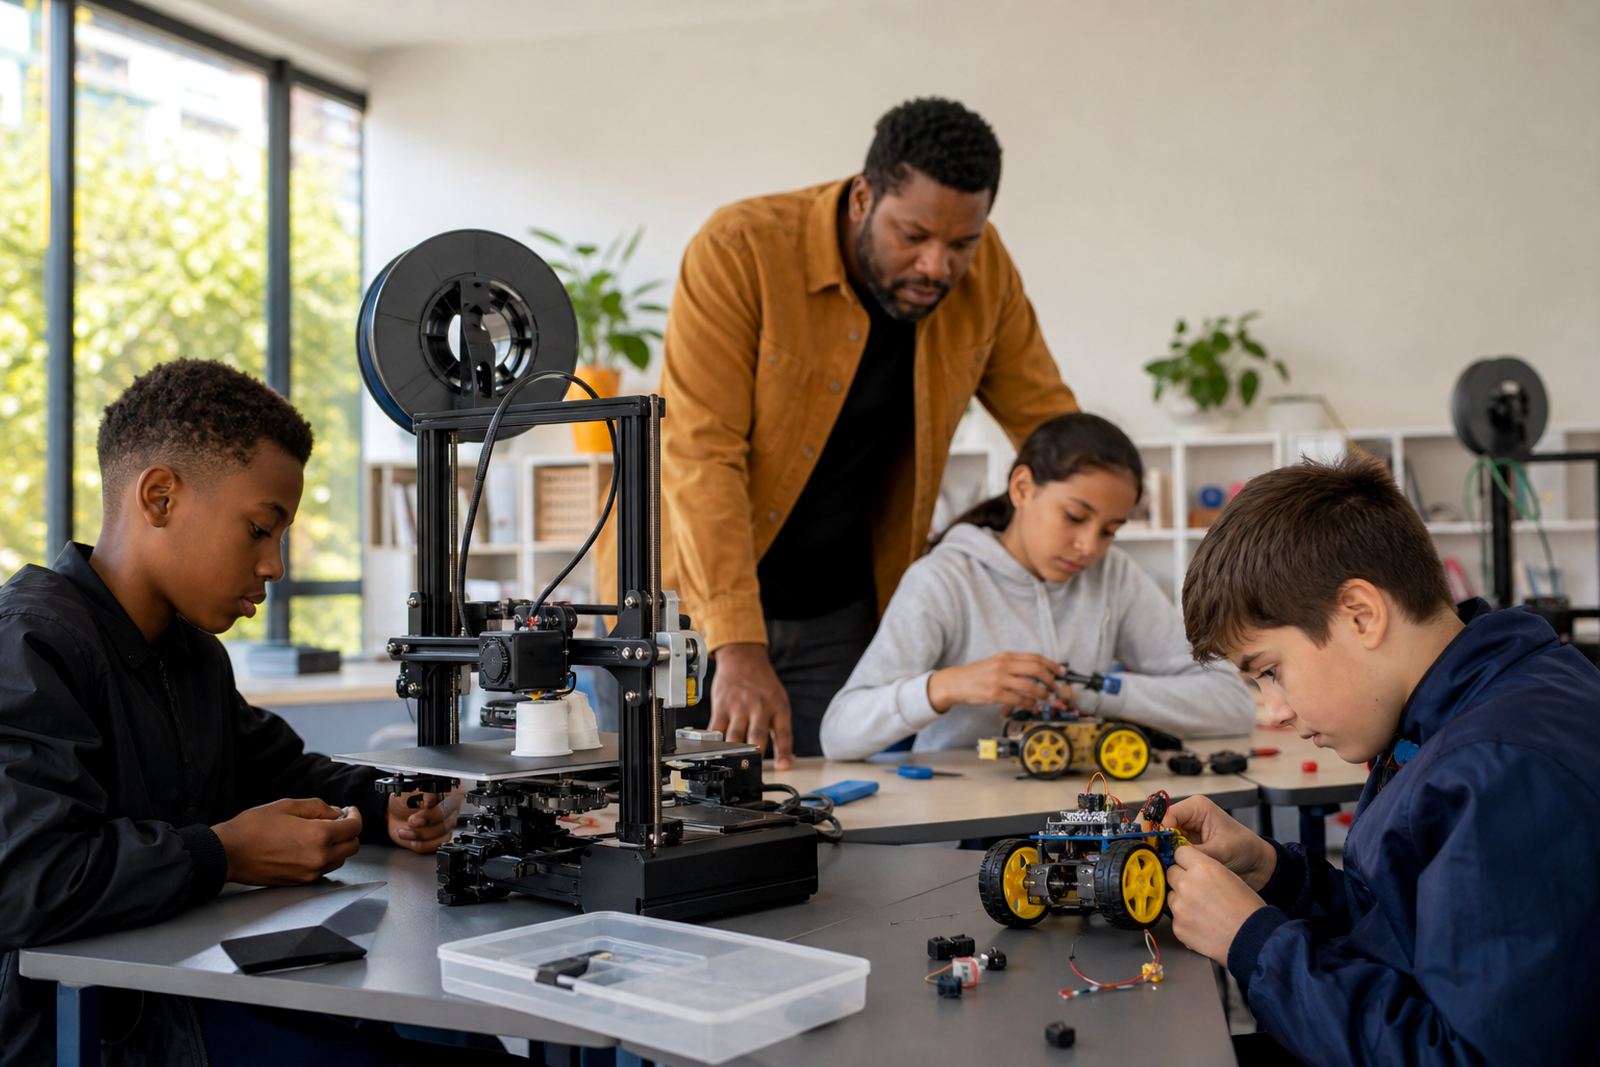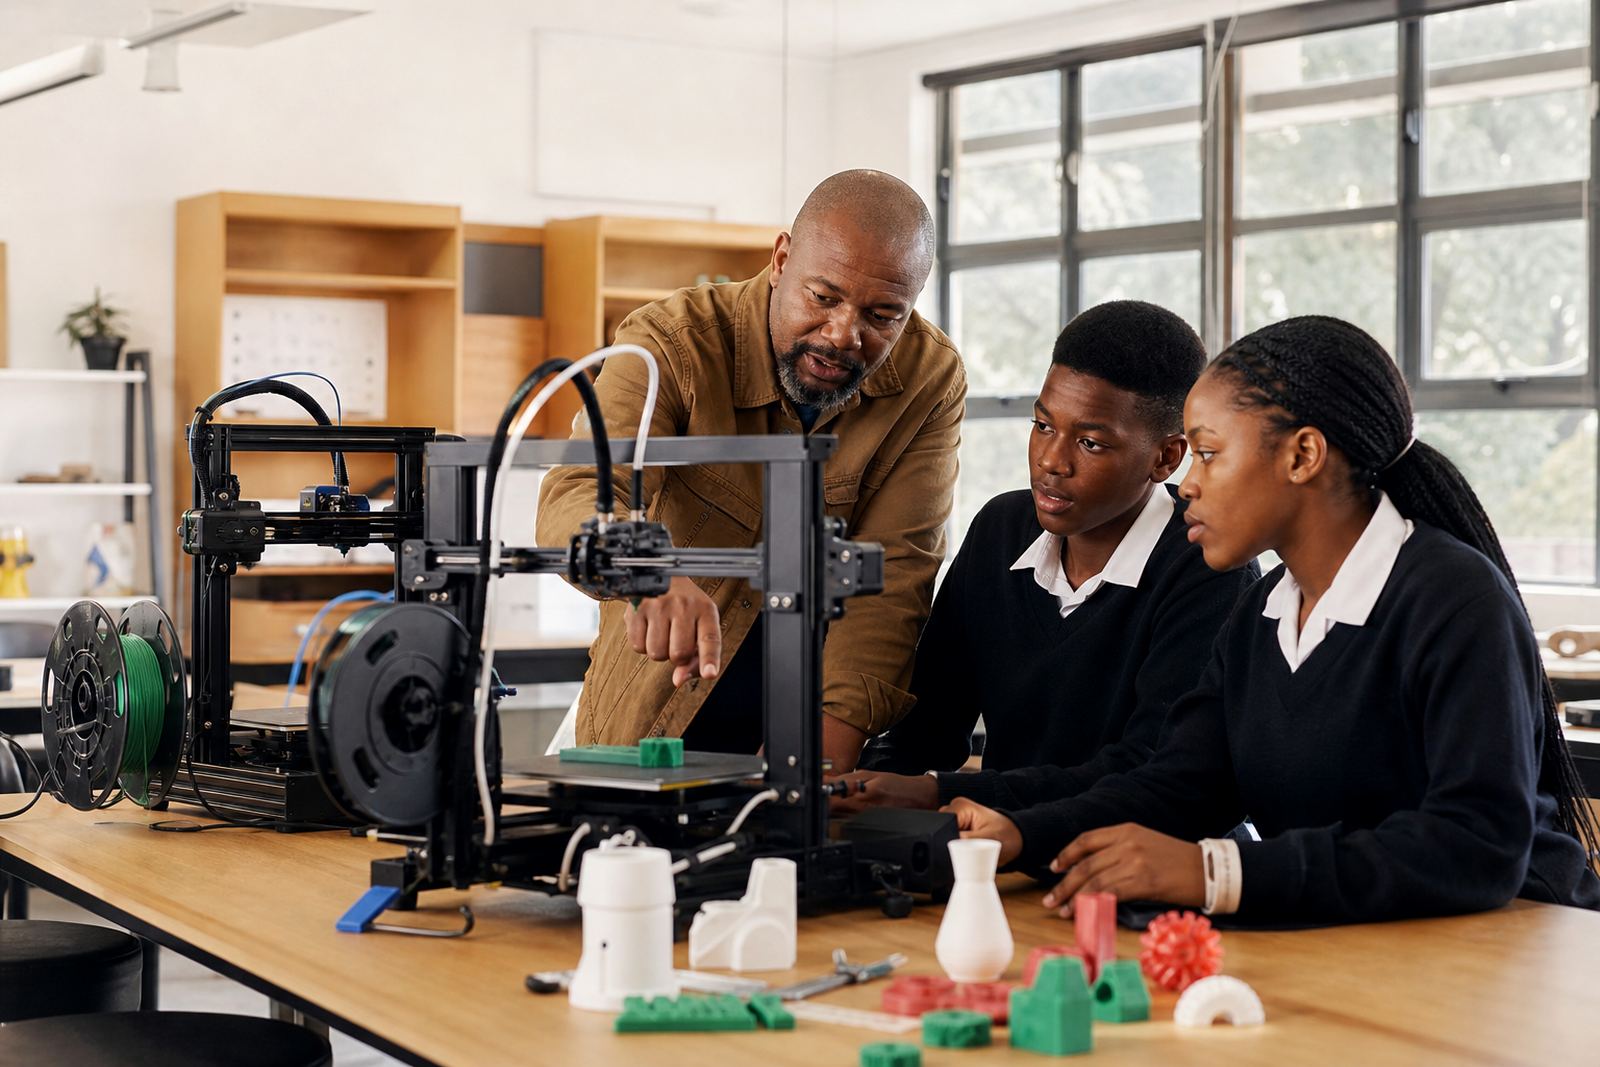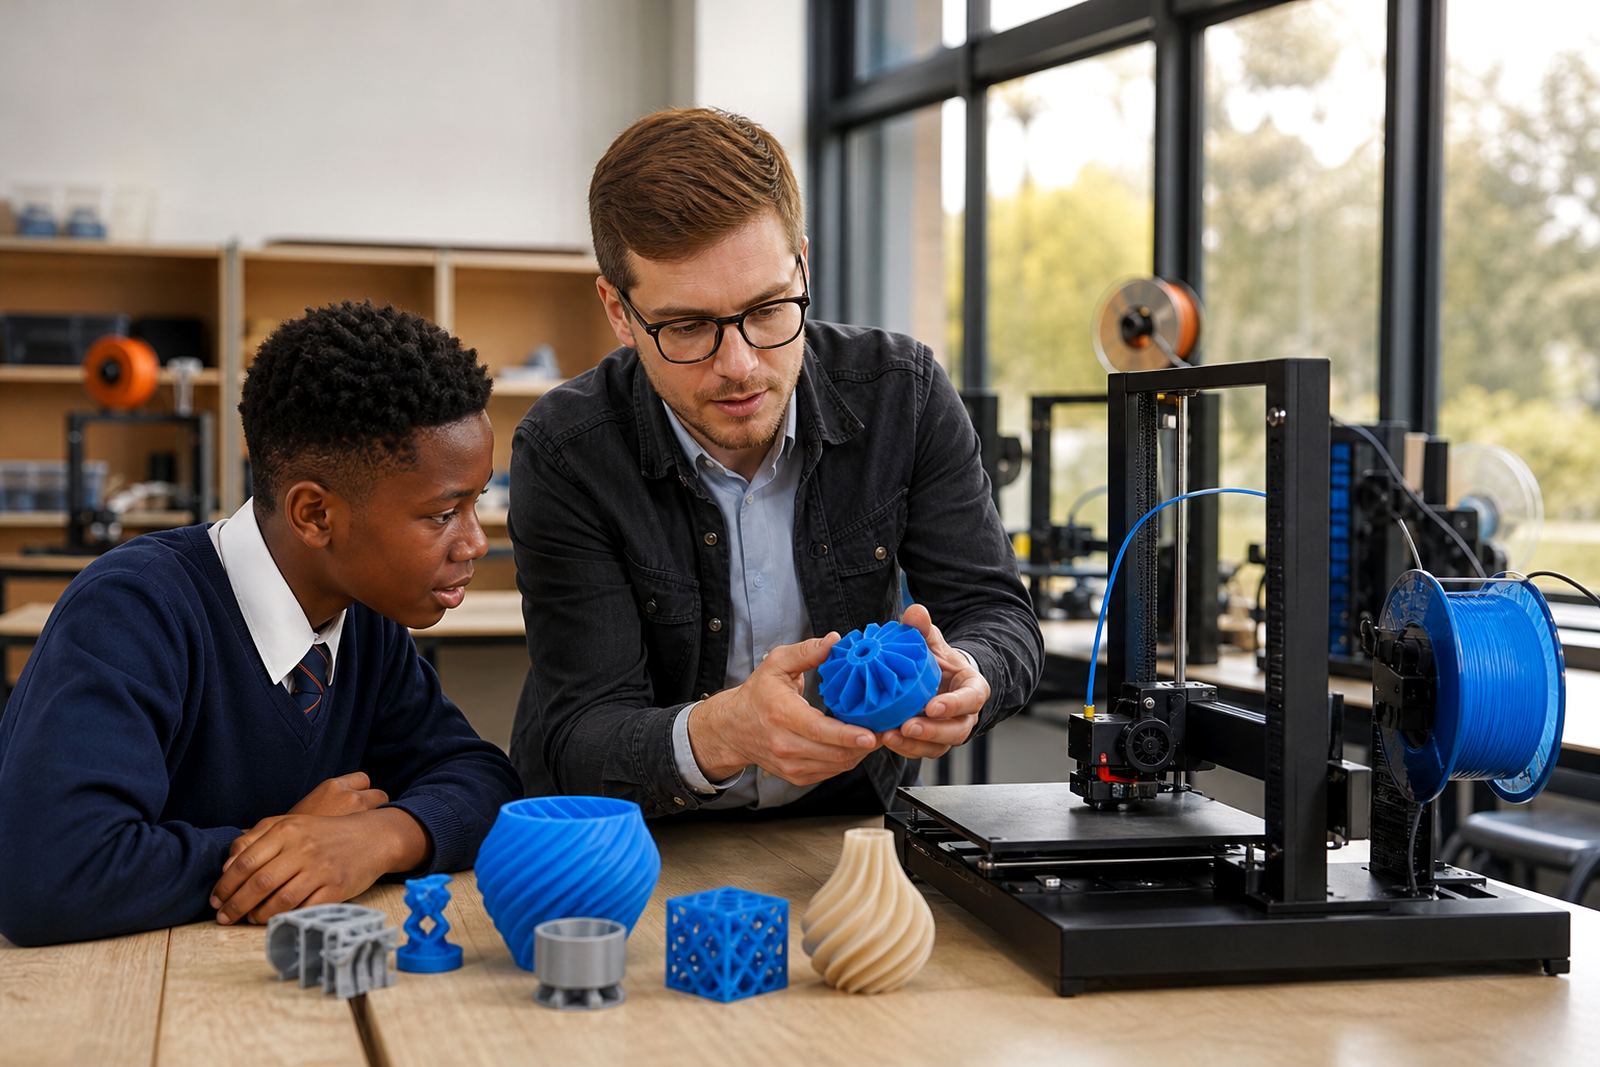
Start with the basics before class begins
If a printer is not behaving as expected, begin with a simple check before changing settings. Confirm the machine is on a stable table, the build plate is clean, the filament is loaded correctly and the file has transferred fully. In many classrooms, small issues come from loose cables, uneven surfaces or a model that was prepared with the wrong layer height.
For schools in Stellenbosch, Cape Town, Johannesburg, Pretoria, Durban and Gqeberha, we always recommend a short pre class routine. It saves time and helps learners see what good machine care looks like in practice.
- Check power, cables and plug points before warming the nozzle.
- Make sure the build surface is free of dust and fingerprints.
- Confirm the correct material type is being used for the lesson.
- Review the model size so it fits the build area without clipping.
Common printing faults and what they usually mean
Most classroom faults fall into a handful of groups. Poor first layers often point to bed levelling or an unclean surface. Stringing can mean the temperature is too high, while weak adhesion may come from a drafty room or a plate that needs cleaning. If a print stops midway, check the file, memory card, power supply and whether the machine paused after a load shedding event.
Humidity along the coast can also affect filament storage. If material has absorbed moisture, prints may sound crackly or show rough surfaces. Keep rolls sealed when not in use and store them off the floor in a dry cupboard.
- First layer not sticking: clean the plate and recheck levelling.
- Stringy surfaces: lower heat a little and inspect retraction settings.
- Gaps in the model: check filament feed and nozzle blockage.
- Random stops: test the file again and inspect the power path.
Routine care that keeps machines classroom-ready
Regular care is the easiest way to avoid downtime. A short weekly routine can keep printers ready for lessons and reduce the chance of larger faults later on. Clean dust from vents, check moving parts for debris and look for filament scraps around the feeder and nozzle area. Wipe the build plate with a suitable cleaner and let it dry fully before the next print.
It also helps to assign one learner or teacher as the daily check person. That role should not replace proper supervision, but it does build responsibility and keep the room tidy. If a machine is used every day, make the routine part of the closing process, not an afterthought.
- Inspect belts and wheels for wear every week.
- Remove stray filament after each session.
- Keep spare nozzles, tape and tools in one labelled container.
- Update lesson logs so faults can be traced more easily.
Safe classroom use for learners and staff
3D printing is best taught with clear rules. Hot ends, moving parts and heated surfaces need adult supervision, especially in lower grades. Learners should not reach into the printer while it is running, and they should know where to stand when a job is being started or removed. Good ventilation is useful, and the room should stay free of clutter around the machine area.
We also recommend simple handling rules for materials and tools. Keep cutters, scrapers and maintenance items in a locked or supervised place. Use the right gloves when removing parts that are still warm, and make sure cables are not a trip hazard near the workbench.
- No touching the nozzle, bed or moving gantry during printing.
- Keep drinks and food away from the machines.
- Only staff should change settings or open machine covers.
- Have a clear shut down procedure at the end of each day.
When to call for technical support
Some issues can be handled in the room, but others need more careful attention. If a printer repeatedly fails to heat, loses steps, shows electrical smell, or makes unusual grinding noises, stop the job and keep learners away from the unit. Do not keep restarting a machine that is clearly struggling, because small faults can turn into bigger repairs.
When you request help, send a clear description of the fault and what happened just before it started. Mention the printer model if you have it, the material in use, the lesson task and whether there was a recent power cut. That information helps us narrow down the cause quickly, which saves time for busy school staff.
- Note the exact error message, if one appears.
- List the last successful print and what changed since then.
- Take a clear photo of the issue from the front and side if possible.
- Record whether the fault happens on every print or only one file.
Support for school labs, workshops and after-hours use
Schools often need support that fits around lessons, holiday programmes and extra afternoon sessions. We can assist with setup questions, lab room layout, basic maintenance guidance and practical troubleshooting for classroom use. For larger groups, it helps to review workflow too, from file preparation to print removal and post-processing.
Our support approach is practical and direct. We focus on what a teacher or lab lead needs to do next, not on long-winded theory. If a room is used for maker clubs, holiday programmes or staff training, we can also help you organise a routine that suits the number of users and the time available. Small typo can happen in a busy lab, so a written checklist is worth keeping near the printer.
- Match room routines to class size and available supervision.
- Keep spare filament, tools and cleaning supplies in one place.
- Use a printed checklist for start-up, shutdown and daily care.
- Review the room layout if learners are crowding the printer area.