Start With a Simple Lesson Flow
A good 3D-printing lesson works best when it follows a clear flow. Begin with the problem or project brief, then move to sketching, basic CAD work, file checking and finally the print itself. For younger learners, keep the design brief short and concrete, such as a keyring, name tag or simple classroom tool. For older groups, add measurement, tolerance and material choice so they can make practical decisions before they print.
In many schools, the biggest challenge is time. A small class can do a full design-and-print cycle across two or three lessons, while larger groups may need rotation stations. One group can work on design, another on slicing and machine prep, and another on post-print cleanup. This helps you keep the class active while the printer runs in the background.
Classroom Rules That Keep Printing Safe
3D printers are suitable for school use when learners understand the rules from the start. Keep machines on a stable surface, away from loose cables and heavy foot traffic. Make sure learners know that moving parts, hot parts and sharp tools must only be handled by the teacher or trained supervisor. A clear sign-in system also helps, especially when different classes use the same lab during the week.
- Keep hair tied back and sleeves clear of moving parts.
- Do not touch the nozzle or bed during or after a print until it has cooled.
- Use supervision for knives, scrapers and cutters.
- Store filament in sealed containers where possible, especially in coastal areas with humidity.
- Switch off equipment properly during load-shedding to protect prints and electronics.
It also helps to set one simple rule for the room: if a learner is unsure, they stop and ask. That small habit prevents most avoidable mistakes.
What Teachers Should Prepare Before a Lesson
Preparation saves a lot of stress once the class starts. Check that the file is suitable for the printer size, that the model has a flat base and that wall thickness is practical for the material used. A few minutes spent checking the file can prevent wasted plastic and a half-finished print. It is also worth keeping a printed checklist near the machine, so any teacher stepping in can follow the same process.
- Confirm the lesson outcome and what learners must hand in.
- Load the correct filament and note the material type.
- Test the printer bed level and nozzle condition.
- Keep spare tools, tape and cleaning cloths ready.
- Save the print file in a named folder for easy reuse.
For schools in Stellenbosch, Cape Town or Gqeberha, the room temperature and humidity can affect print quality. On damp days, filament should stay sealed when not in use. That small step can reduce brittle prints and ugly surface flaws.
Ideas for Practical Learner Activities
Teachers do not need a full engineering lab to make lessons useful. The best activities are often the ones that connect to everyday school life. A learner can design a pencil holder, a maths manipulative, a label tag for storage boxes or a simple plant marker for the school garden. These projects are easy to explain and they give learners a visible result they can take pride in.
If you want a stronger technology link, ask learners to redesign an object that already exists in the classroom. They can measure it, improve it and justify the changes. That makes the lesson more than just a print job, it becomes a small design process with a real outcome.
- Design a classroom name tag or badge.
- Create a revision tool for maths or science.
- Make a storage label for the lab or library.
- Build a simple part for a school project.
Managing a School Lab in Daily Use
A school lab works best when someone is assigned to the routine tasks. That includes checking the machine before the first class, cleaning the bed after use and logging any faults. Teachers should also keep a simple print record, noting which class used the machine, what material was loaded and whether the print completed. This makes it easier to spot patterns if the same issue keeps happening.
Municipal power interruptions can interrupt prints without warning, so planning matters. Short prints are easier to manage during uncertain power times, while longer builds should be scheduled when the school can monitor the machine. In wetter coastal areas, a covered storage area for filament and tools is very useful too.
Using Support Resources Across Subjects
3D printing does not have to sit in one subject only. Teachers can use it in natural sciences, technology, art and even entrepreneurship. A science class may print models of structures or systems, while an art class can focus on shape, pattern and finish. In senior grades, learners can also discuss costing, material waste and production time, which brings in useful business thinking.
Cross-curricular use works best when the task is simple and the assessment is clear. Keep the brief focused, then let the learners show understanding through a model, a short explanation and a reflection on what they changed after testing. That mix gives them a proper learning process, not just a finished object.
When Teachers Need Extra Help
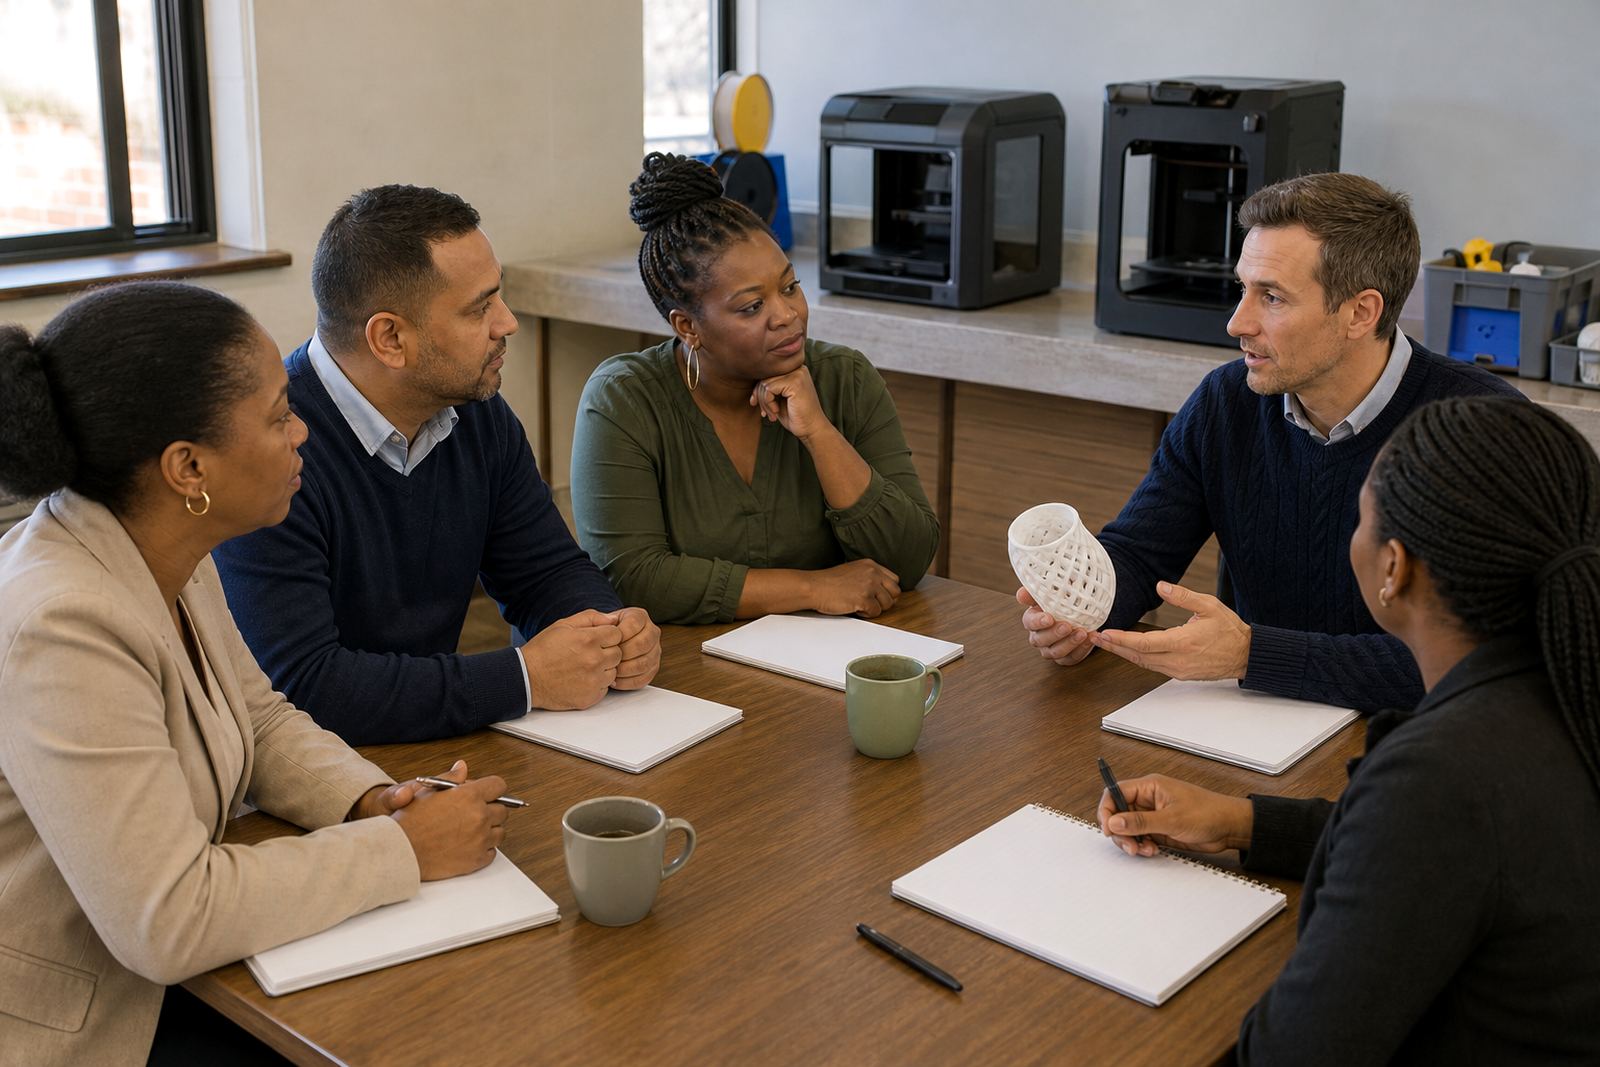
Some lessons need more support than a single teacher can manage on their own. That is common when a school is setting up a new lab, running a maker club or introducing printing to a large class for the first time. A short briefing can help the team agree on responsibilities, safety steps and lesson timing before the first print starts. It also helps if one person handles setup while another manages learner movement in the room.
If your school is planning a new term of 3D-printing lessons, start with the basics and build from there. Good teaching resources are practical, reusable and easy to adapt for different grades. Keep the brief clear, keep the room organised and focus on projects learners can complete successfully.