When 3D printing fits an art lesson
Art teachers often need a process that keeps learners engaged while still leaving room for personal expression. 3D printing helps with that because it supports repeated testing, accurate shapes and clean finishing for pattern-based work, small sculptures and object design. It is useful in both urban schools and smaller campuses where one shared lab must serve several classes, after school clubs or holiday programmes.
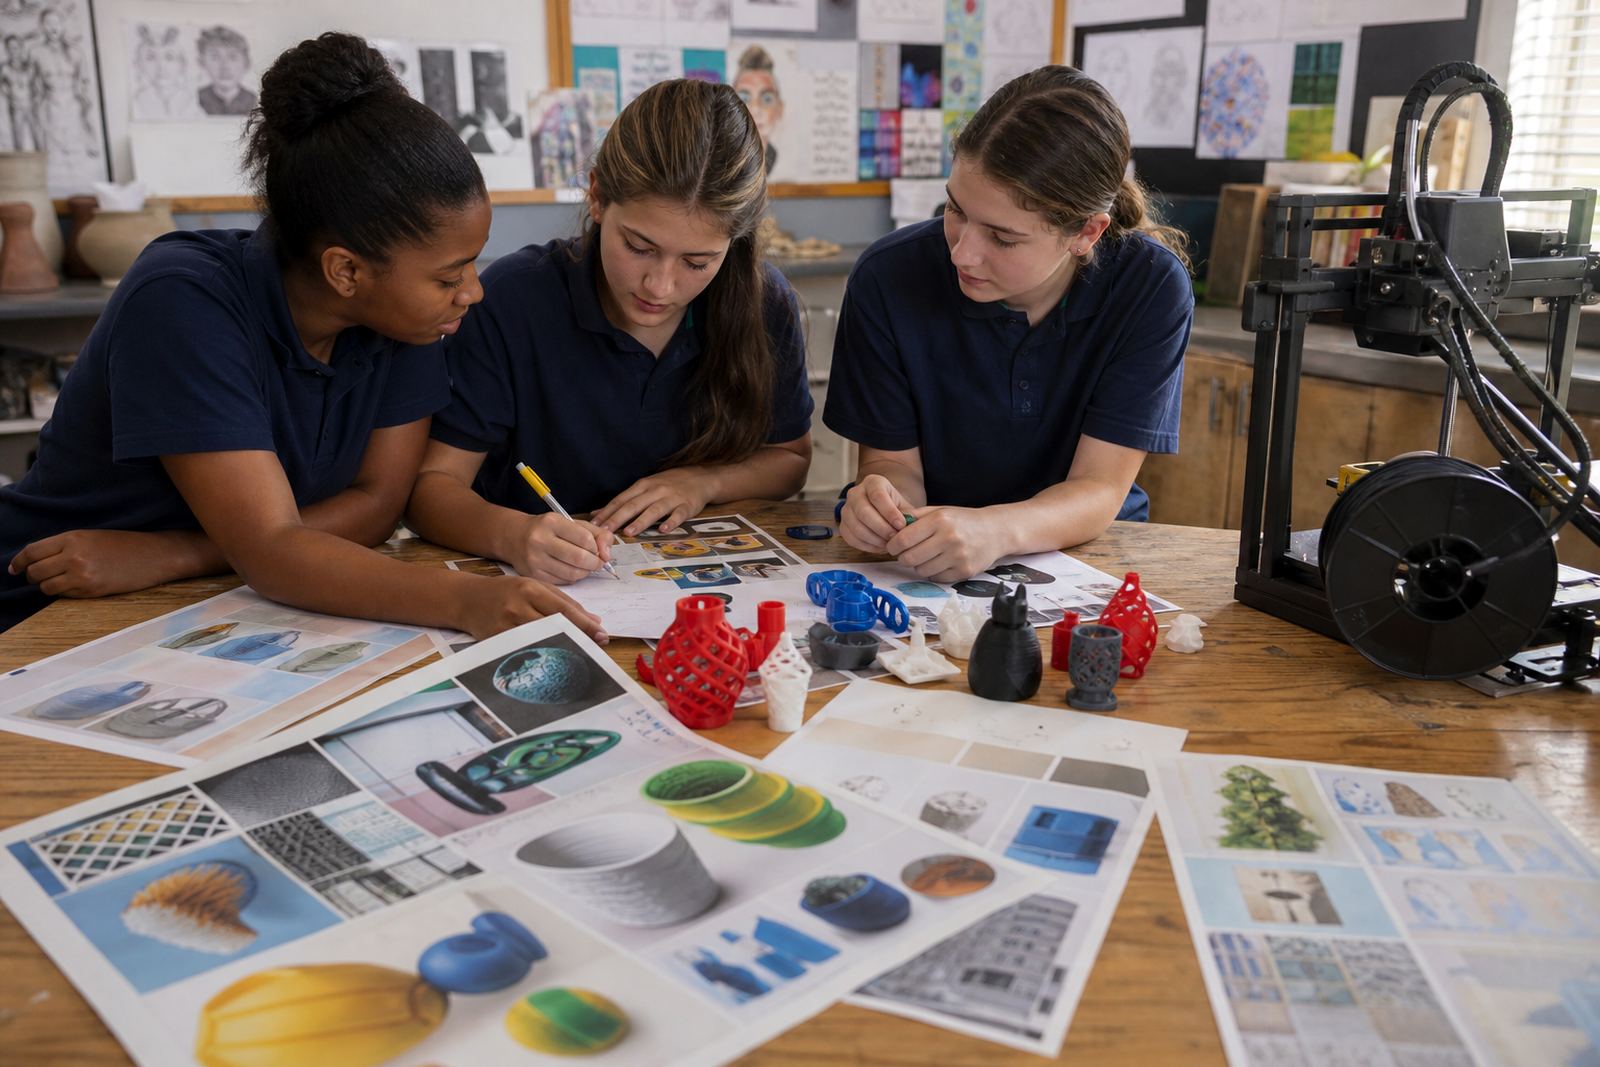
This use-case is strongest when the task asks learners to interpret a theme rather than copy a fixed object. A class might design decorative tiles inspired by local plants, relief panels for heritage studies, masks, modular forms or simple vessels with repeating geometry. Learners can work from hand sketches, then build the shape in basic CAD software before printing, sanding and painting the final piece.
In schools around Stellenbosch, Cape Town, Johannesburg and Durban, the art room often carries the whole project from idea to display. That means the workflow must be practical. Teachers need a setup that can handle short print runs, occasional power interruptions and enough table space for glue, cutters and drying trays. In a coastal school, humidity also affects filament storage and print quality, so sealed containers matter more than people expect.
Typical equipment for an art-focused lab
A small classroom lab for art projects does not need a large industrial setup. What it does need is reliable equipment that is easy to manage in a school environment. The mix below is usually enough for introductory and intermediate art tasks.
- 2 to 4 benchtop 3D printers for regular class use
- A basic computer or laptop for each design station, or shared pairs
- Simple CAD software for modelling shapes, patterns and textures
- PLA filament for general classroom use and safer handling
- Spare build surfaces, nozzles and maintenance tools
- Side cutters, small scrapers, sanding blocks and measuring tools
- Storage tubs or sealed bags for filament in humid areas
- Heat-safe gloves, eye protection and a clear cooling area
For art tasks, the printer build volume should match the type of work. Small decorative pieces, stamps and geometric modules print quickly and are easy to manage. If the school plans larger sculpture pieces, the lab needs more room for assemblies, which means fewer very large prints and more modular design. That approach is often better for class control anyway, especially where one teacher is managing 25 to 40 learners.
Teachers also benefit from a separate finishing area. Even a narrow counter in a lockable store room can work if it has enough ventilation and a washable surface. Paint, glue and printed parts should not be mixed with food or general stationery. In schools with load-shedding, a backup plan for print pauses and safe shutdowns is essential, otherwise a half-finished object can distort if power cuts happen mid-print.
Planning the room for clean, safe art making
Good planning makes art printing easier to teach. Start by separating the space into three parts: design, printing and finishing. The design area should be quiet and uncluttered, with enough seating for learners to sketch or model. The printing area should be visible to the teacher but not crowded, because learners tend to touch hot parts when they are curious. The finishing area can sit near a sink or cleaning point for sanding dust and paint cleanup.
If the school uses a standard classroom rather than a dedicated lab, choose a corner with stable tables and limited traffic. In a school in Paarl or Somerset West, where many rooms are shared, a lockable trolley can help move equipment between lessons. Keep filament off the floor and away from windows with direct sun. In hotter rooms, warped filament and curled prints become common fast.
A simple wall plan works well for learners too. Post the print steps, safety reminders and the class rules for handling objects after printing. A short list helps more than long notices. It is also worth marking where each learner can place a model while it cools, because a crowded tray leads to broken parts and missing names.
- Keep hot nozzles and moving parts out of reach during printing
- Store cutters and sharp tools in a teacher-controlled container
- Label each learner’s design before slicing and printing
- Set aside drying time for paint and glue before display
- Use a clear rule for who may remove finished prints from the bed
Common mistakes in art project printing
The most common mistake is asking learners to design something too complex for the time available. Curved sculpture work with thin walls and many small details looks impressive on screen, but it often fails on the printer and wastes classroom time. For schools, the better choice is a simple form with one or two strong design features, such as texture, symmetry or pattern repetition.
Another mistake is treating the printer like a magic box rather than a tool that needs preparation. If the bed is not level, if the first layer is rushed or if the filament is damp, the print can fail before the learners even begin finishing work. That can be discouraging in a lesson, especially for younger learners who are ready to paint and present their work on the same day.
Teachers also sometimes forget that art projects need the same planning discipline as technical subjects. Measure the time for design, print, cool down and cleanup. If the class has a 60 minute period, do not promise a full model from scratch unless the shapes are very small. In practice, the best classroom results come from a staged project over several lessons, with one lesson for concept sketches, one for modelling and one for printing or finishing.
- Do not start with large models before learners understand supports and overhangs
- Avoid mixing too many filament colours in the first term
- Do not leave finished prints loose in a box where corners chip
- Keep lesson goals simple enough for the class period
Budget ranges in Rand for schools
Budgeting for art projects depends on the size of the group, the number of printers and how much finishing work the school wants to do. A small starter setup for demonstration and basic learner projects may begin around R35 000 to R60 000. That usually covers one or two printers, starter filament, a few tools and initial training for staff.
A more practical shared lab for regular art, design and maker activities can sit in the R75 000 to R180 000 range, depending on equipment count and room preparation. This type of budget suits schools that want to use the space for art classes, clubs and holiday workshops. A larger school lab with more printers, better storage, stronger work tables and wider curriculum use can move beyond R200 000.
For ongoing use, schools should also keep a monthly consumables budget for filament, tools and replacement parts. The amount varies with usage, but it is wise to plan for wear and tear from sanding, test prints and learner handling. If the school is close to the coast, sealed storage and desiccant should be treated as part of the normal budget, not an extra.
How our art project training supports teachers
For art projects, teachers usually need practical confidence more than technical theory. Our training covers the classroom side of the workflow: planning a lesson, choosing simple shapes, setting print expectations and guiding learners through finishing steps. We also help schools think through the room layout, shared equipment and the best way to keep the process manageable when several groups use the same lab.
That support can be arranged for a single department or for a broader school team. Some schools want a short management briefing before they buy equipment, while others want a hands-on workshop for art and technology staff together. The outcome in both setups is the same: make sure the lab is easy to run, safe for learners and suited to the kind of creative work the school actually wants to do.
If your school is in Stellenbosch, Cape Town, Johannesburg, Pretoria, Durban or Gqeberha, this kind of setup can be adapted to the room you already have. The goal is not a fancy lab, but one that lets learners design, print and complete art pieces without unnecessary delays.