When Geography Becomes a Model Learners Can Hold
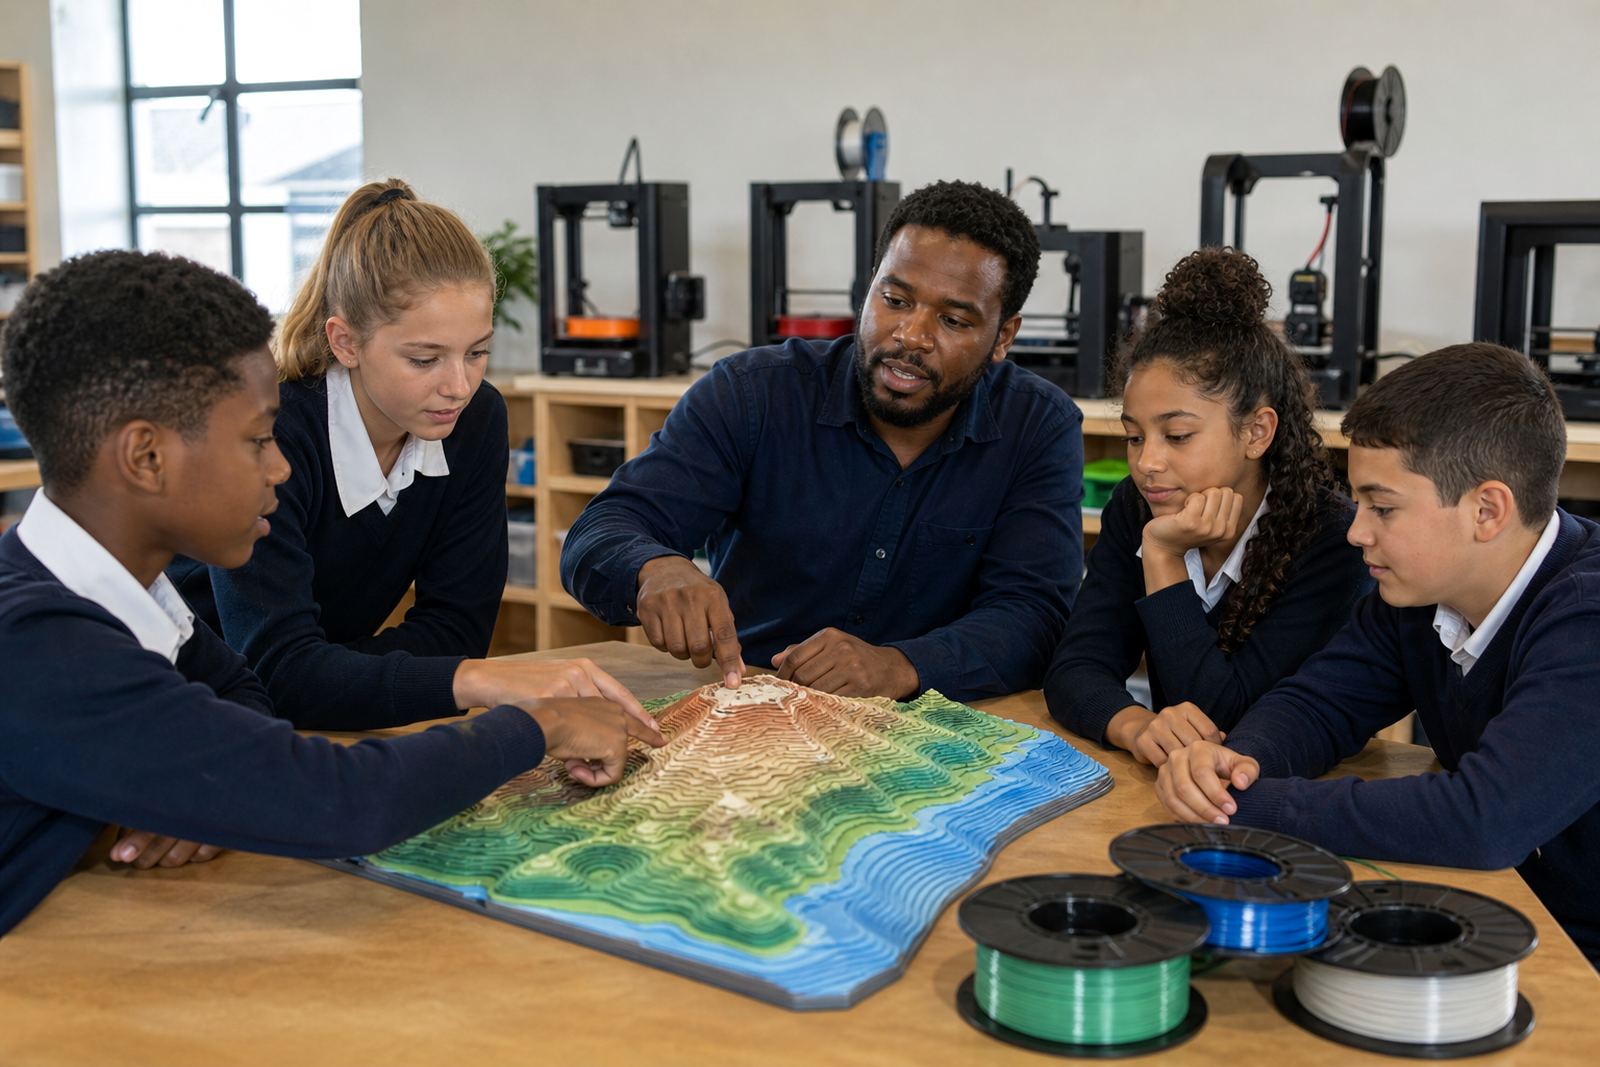
Relief models are useful when a class needs to move from textbook diagrams to a physical view of terrain. A printed model makes it easier to explain contour lines, slope, drainage patterns, watershed divides and why settlement often follows flatter ground. In many South African schools, this works well in mixed-ability classes because the model supports visual learning and group discussion at the same time.
For schools in Stellenbosch, Cape Town, Johannesburg, Pretoria, Durban and Gqeberha, the main benefit is flexibility. One model can be used for a single grade, shared across departments, or built as part of a broader maker and geography programme. Teachers can use local examples too, from Cape Winelands slopes to coastal escarpments and inland plateau forms.
- Ideal for Grade 7 to Grade 12 geography support
- Useful for physical geography, map work and classroom discussion
- Can be used with printed labels, arrows and layered colour coding
Typical Equipment for a School Relief Model Setup
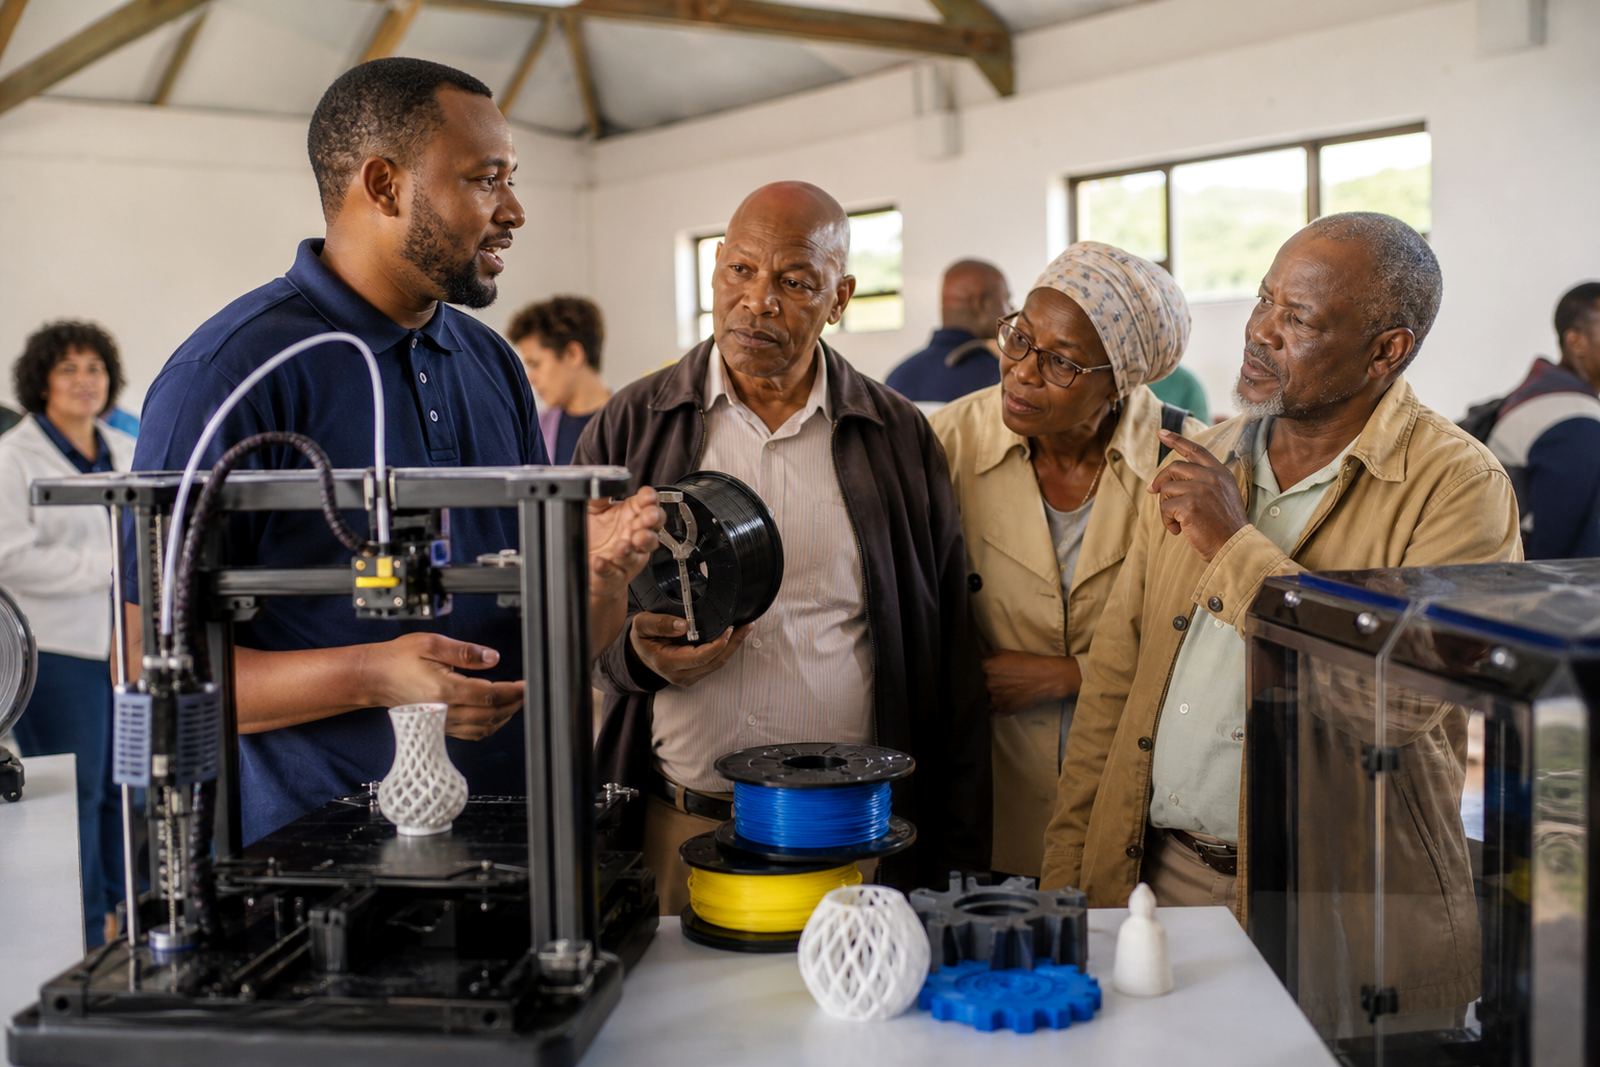
A practical classroom setup does not need a large workshop. Most schools start with a reliable benchtop printer, slicing software, a basic design computer and a small stock of printing material. For relief models, a printer with a steady build area and good first-layer consistency is more important than speed. Teachers and learners also need a safe place to cool prints, store spools and keep tools out of reach when not in use.
The usual equipment set depends on how far the school wants to go. Some only need one demonstration model. Others want learners to design their own terrain sections, compare print methods and build a display board for open day or examination revision.
- Benchtop 3D printer suitable for classroom use
- Design computer or laptop with modelling software
- Material spools for terrain shells and support pieces
- Removal tools, cutters, scrapers and basic measuring tools
- Storage tubs for labels, sample parts and finished models
Planning the Terrain: Scale, Height and Lesson Flow
Good planning saves time and material. Start by deciding whether the model is for one feature, such as a river valley, or a broader area showing hills, ridges and plains. Keep the scale simple enough for the class to understand. If the terrain is too detailed, learners can lose the main geography point. If it is too flat, the model becomes little more than a shape outline.
It helps to match the relief model to the lesson sequence. First explain the map or contour sketch, then show the 3D form, then ask learners to compare both. This builds spatial understanding. For larger schools, a teacher can use one model for demo work while smaller groups complete labelled tasks on printed sections. That approach works well in towns with busy timetables and limited lab access.
- Choose a clear scale before printing starts
- Keep labels simple: ridge, saddle, valley, river, slope
- Use the model alongside a topographic map or worksheet
- Plan enough drying and cooling time before class use
Common Mistakes Schools Make with Relief Prints
One common mistake is trying to print too much detail in a single model. Fine surface texture can look impressive on screen but it often adds print time and makes the lesson harder to read. Another issue is ignoring orientation. If north, the river course and key height changes are not marked clearly, learners can misread the terrain. A third problem is not checking the print on the first attempt, which wastes material and delays the lesson.
Schools also sometimes place the printer in a space with poor ventilation, unstable power or heavy foot traffic. In coastal areas, humidity can affect storage and adhesion, while load-shedding means the class should not depend on a last minute print. It is better to keep a few sample models ready and store materials in sealed containers. Safe handling matters too, especially with hot parts and moving components around younger learners.
Classroom Layout and Safety for a Small Lab
A small lab setup should support supervision and simple movement. Place the printer where the teacher can see it easily, but away from hands reaching in during operation. Keep cables tidy, keep a clear work surface and make sure there is space for finished models to cool before handling. If the school is using a shared lab, label the storage shelf and make it clear which tools may be used by learners and which stay with the facilitator.
General safety reminders are enough for most school settings: no touching hot surfaces, no running near the equipment, no loose items near moving parts and no unattended printing during busy periods. For schools working in municipal buildings or shared classrooms, it also helps to align the setup with fire exits and normal room access rules.
- Keep the printer on a stable, level surface
- Use clear supervision rules for learners
- Store tools, filament and prints in marked containers
- Allow cooling time before demonstration or assembly
Budget Ranges for a Geography Relief Model Project
Budget depends on whether the school needs a single classroom model or a fuller lab kit. A small entry project for one teacher and a single terrain model will usually sit at the lower end, while a shared school setup with extras for labels, spares and group work will cost more. Schools often plan in stages, starting with one printer and one or two teaching models, then adding more terrain forms later.
As a broad guide, schools can expect a starter relief-model project to begin around Rand 15 000 to Rand 30 000 for a modest setup, depending on the equipment selected and the amount of printing material included. A more complete classroom or lab package can move into the Rand 35 000 to Rand 80 000 range, especially if training, planning support and extra classroom resources are added. The best approach is to match the budget to how many grades will use the models and how often they will be replaced or updated.
How Training Supports Better Geography Results
When teachers and learners understand the process, the model becomes more than a display item. Training helps staff plan the lesson, choose the right file, check print settings and manage the classroom flow around the finished model. Learners benefit when they can see how a digital terrain shape becomes a physical object. That is where practical work supports real geography teaching.
For schools that want a full introduction, a course can cover CAD basics, printer operation, project planning and lab setup. For departments that only need help with one unit, a shorter briefing or custom group workshop may be enough. The key is to keep the project simple, useful and aligned to normal classroom time. That way, geography relief models stay in regular use, not packed away after the first term.