Why history reconstructions work in class
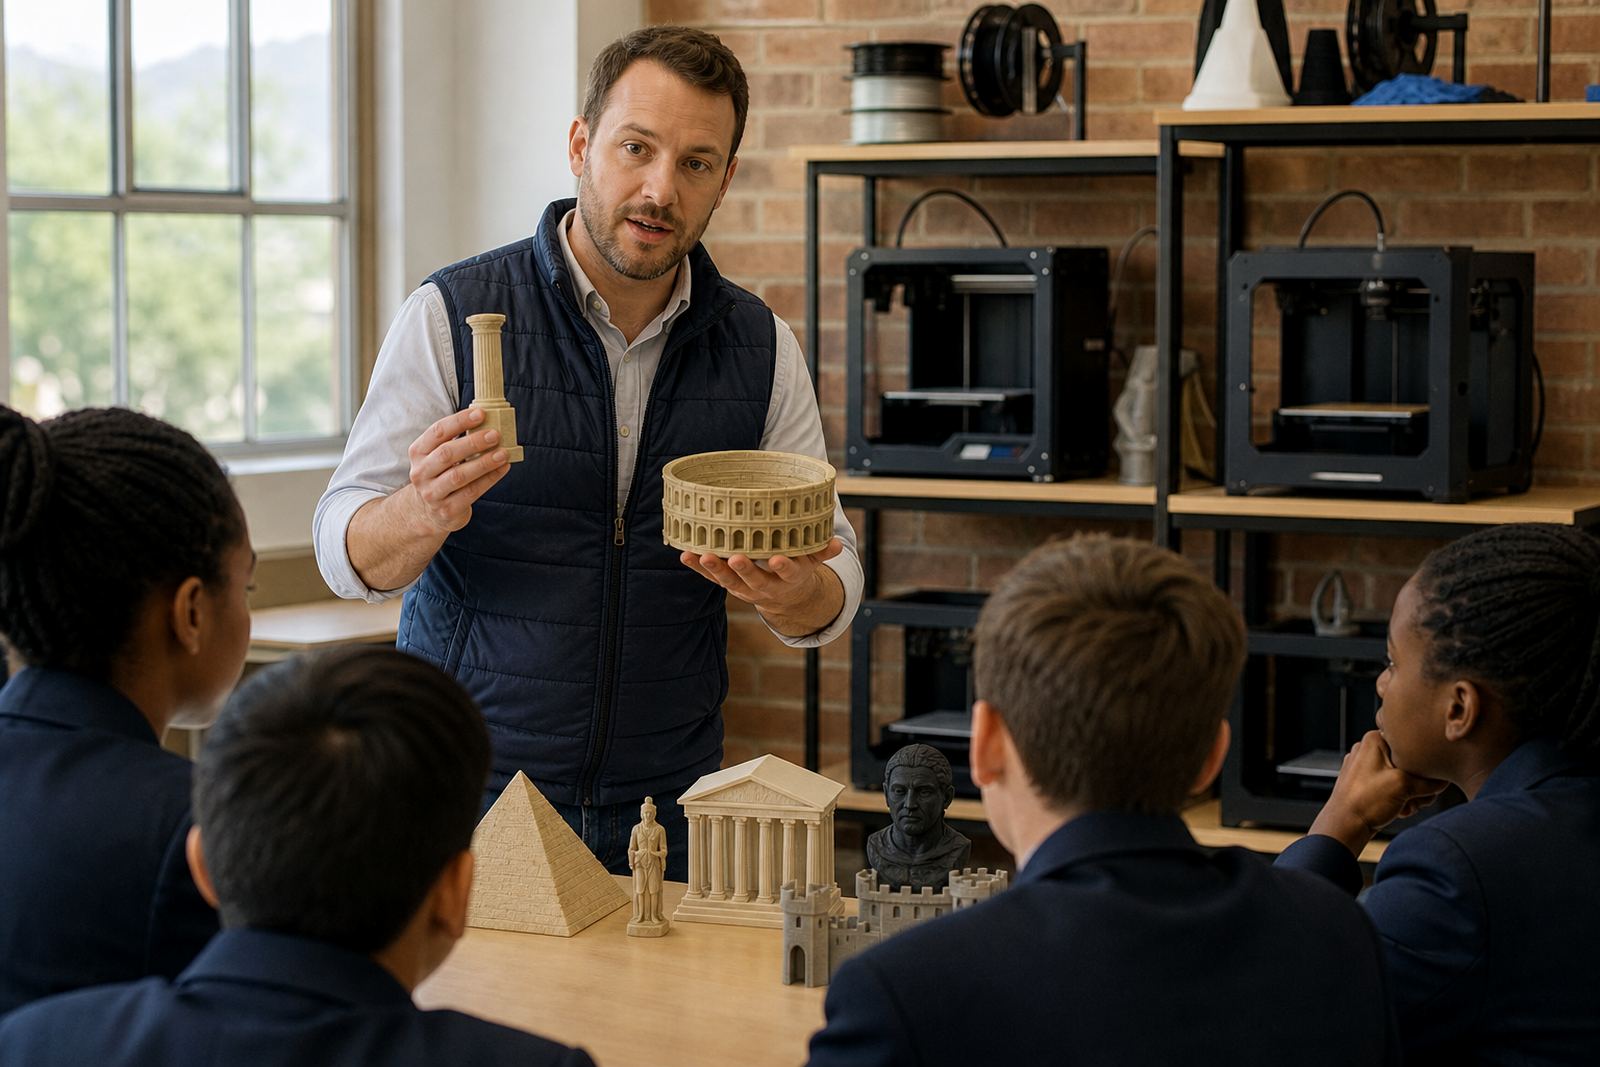
In history lessons, learners often work from text, pictures and maps. A small 3D model makes the same topic easier to picture. A rounded roof, a doorway, a courtyard or a wall line suddenly becomes something you can see from every side. That helps with object form, scale and the relationship between a building and the people who used it.
This approach suits primary and secondary schools that want more hands-on learning without setting up a full technology lab. A teacher can use a model of a homestead, trading post, fort, old street block or settlement layout to show how climate, materials and daily use shaped the built environment. In Stellenbosch and other Western Cape towns, we also see interest in heritage buildings and local streetscapes, which learners connect to straight away.
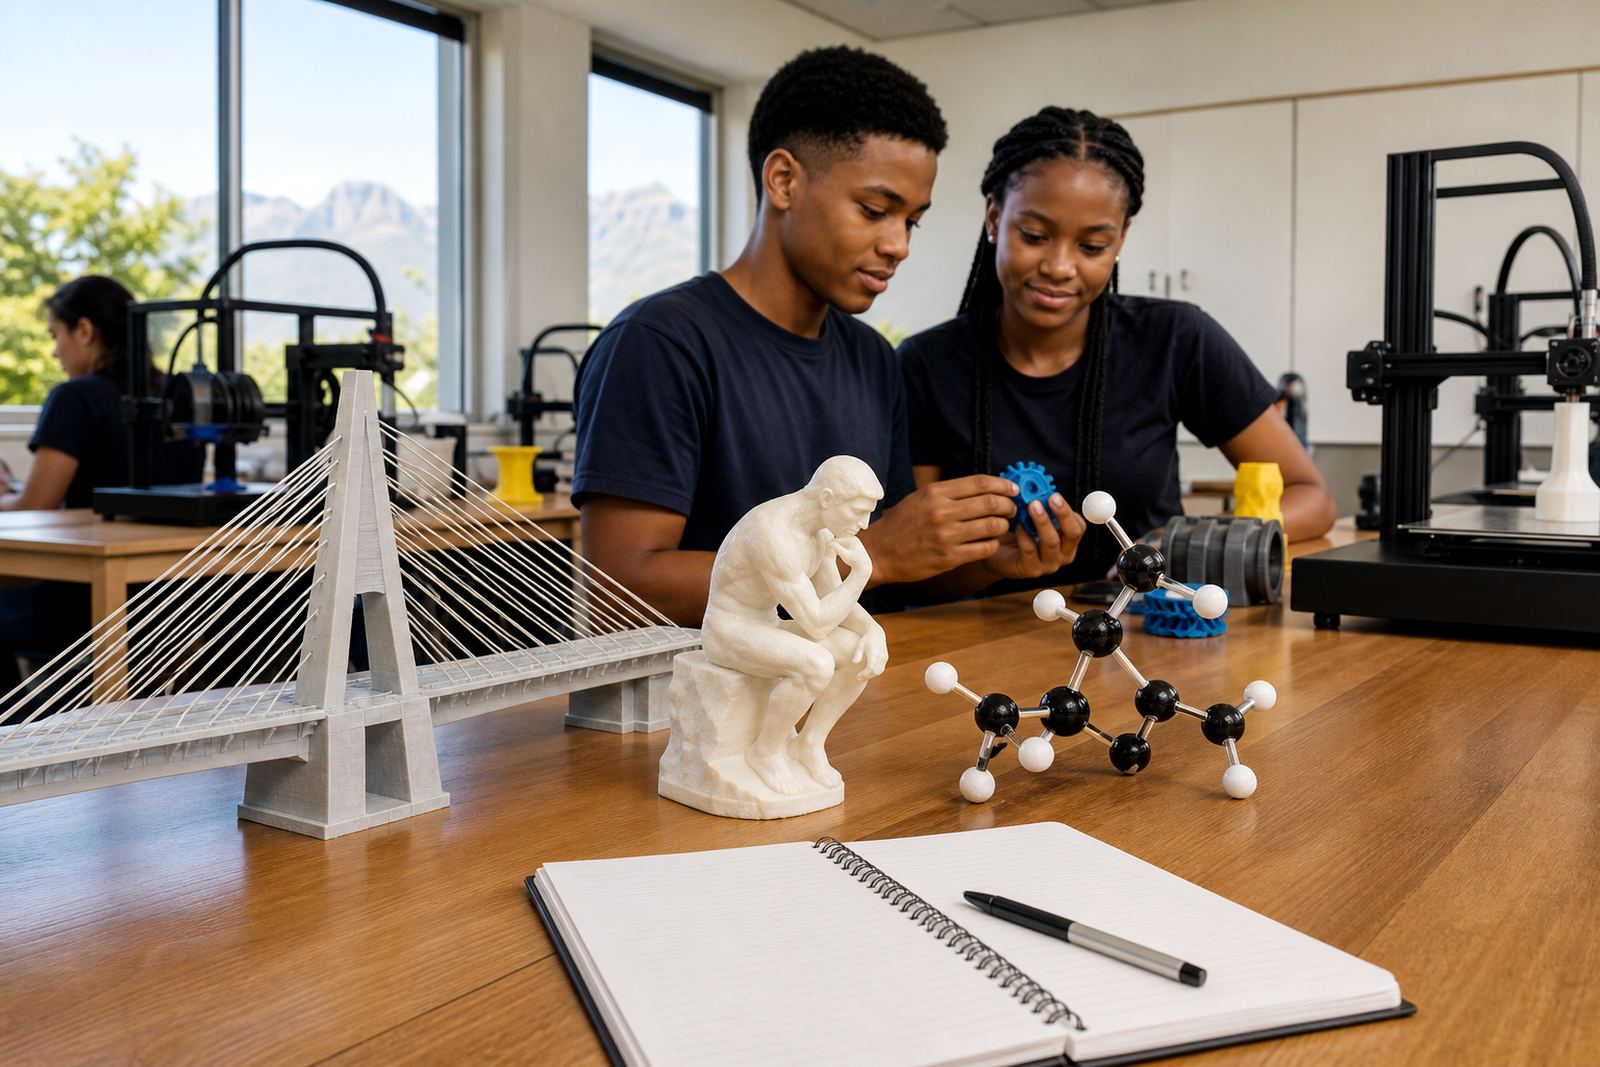
Simple reconstructions are especially useful when a class needs a concrete task. Learners can compare old and new forms, label sections, or discuss why a structure changed over time. It also gives quieter learners something practical to work with, which often leads to better participation.
Typical equipment for a school reconstruction lab
A history reconstruction setup does not need a large print farm. Most schools start with one or two benchtop printers, a computer for design work, slicer software, basic tools and safe storage for filament. For schools near the coast, dry storage matters because humidity can affect print quality and cause brittle filament. In Durban or Gqeberha that is worth planning for from day one.
A simple lab kit usually includes entry-level CAD access, sample files for classroom use, measuring tools, side cutters, spatulas, glue stick for selected builds, spare nozzles and a small stock of filament. If a school wants to produce larger models, a printer with a slightly bigger build area helps, but the key is reliability, not fancy extras. Power backup is also worth considering because load-shedding can interrupt long prints and waste time.
- Benchtop 3D printer or printers with enclosed storage nearby
- Teacher computer with design and slicing software
- PLA filament for classroom-friendly models
- Basic hand tools and safe cooling space
- Label cards, measuring tape and reference photos
For smaller schools, a shared cart setup can work well. A teacher brings the printer out for scheduled sessions and stores the rest of the kit in a lockable cupboard. That keeps the room tidy and reduces the chance of parts going missing.
Planning the layout around teaching and safety
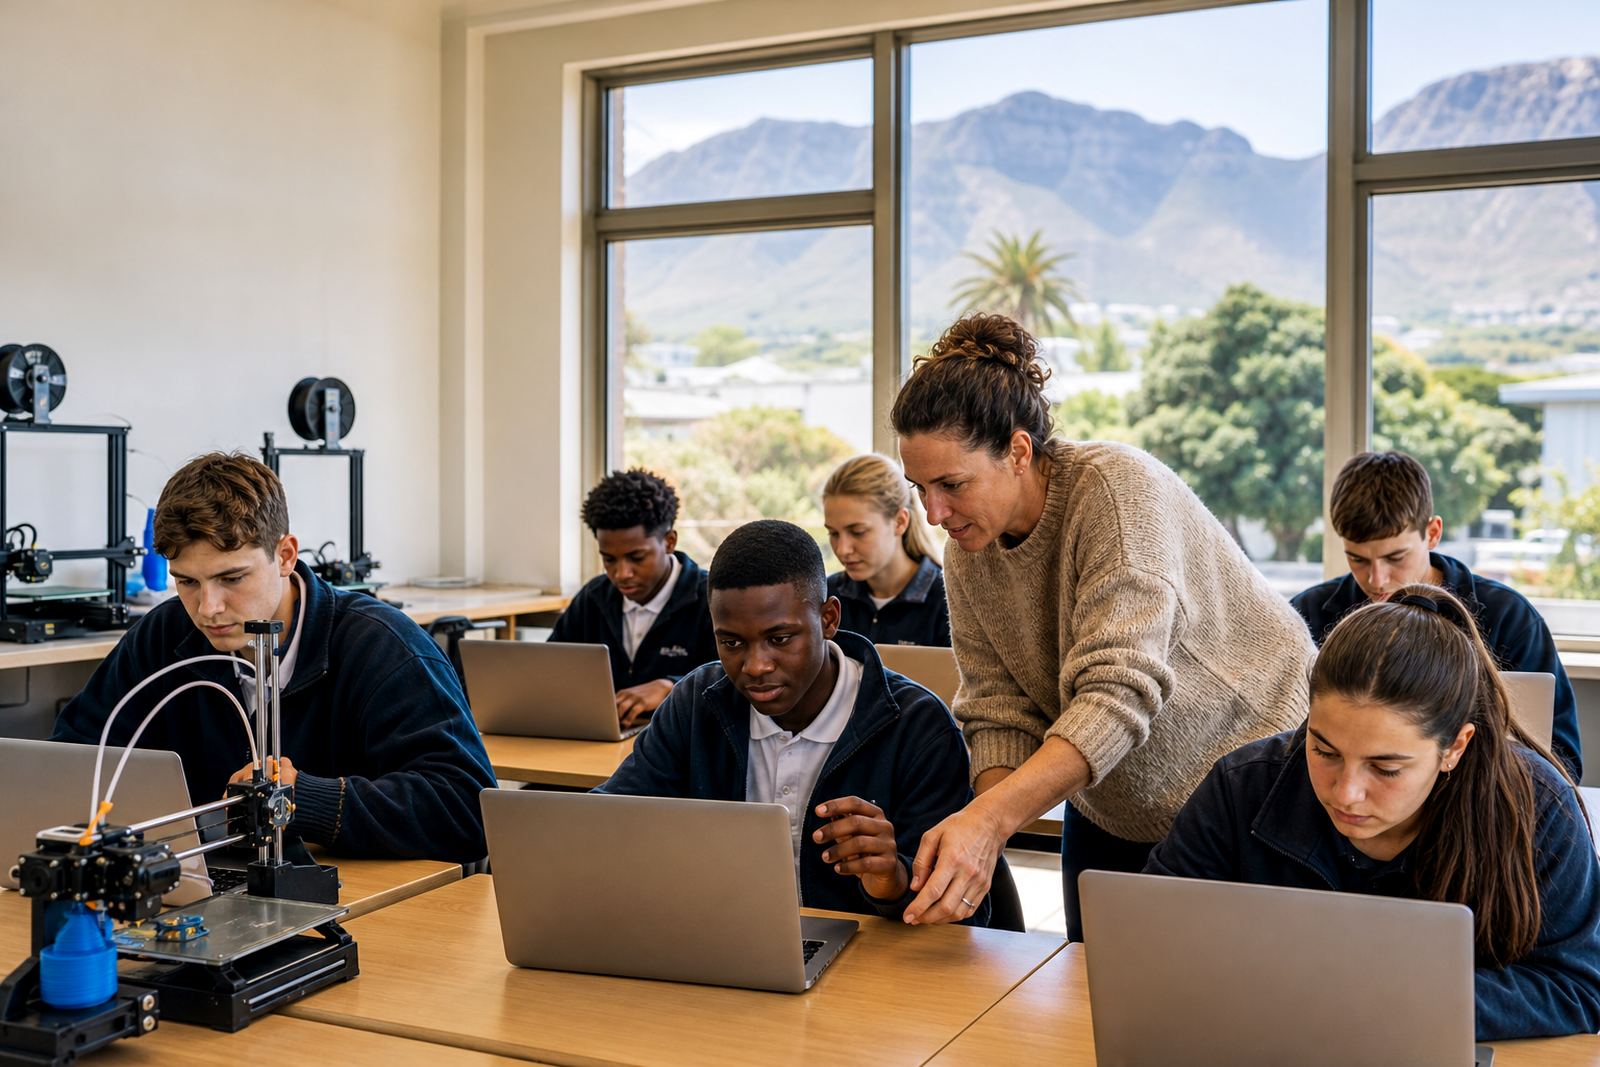
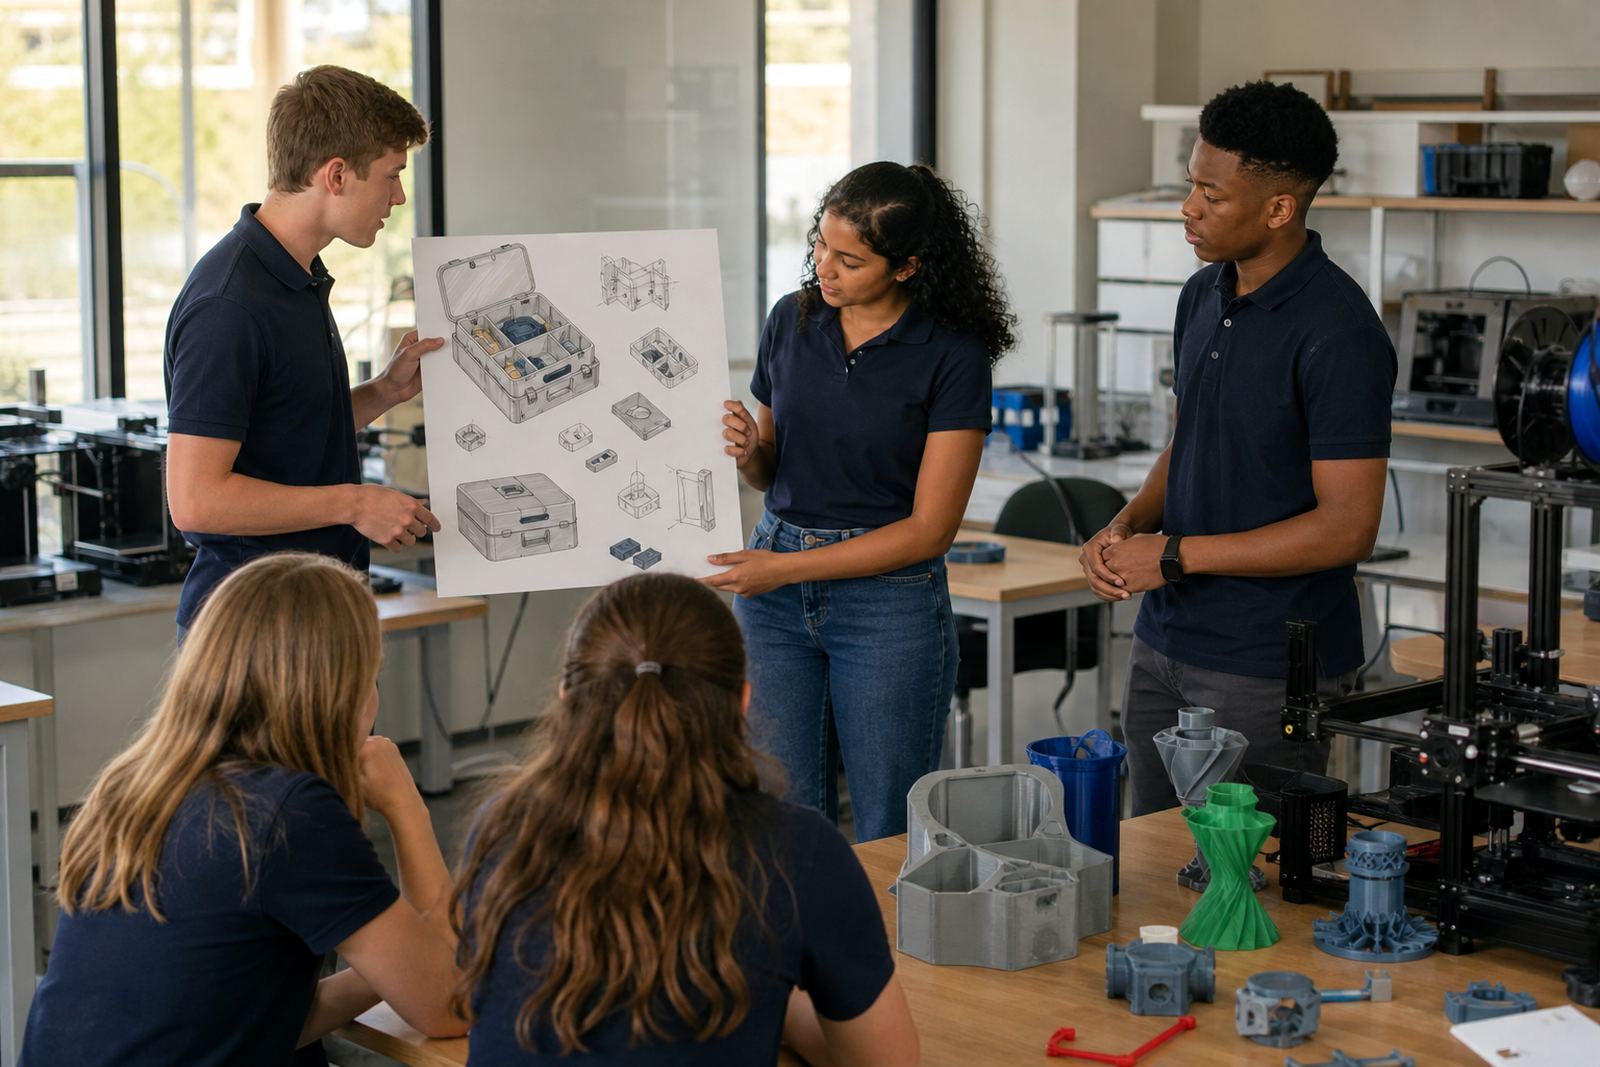
A good layout starts with the lesson flow. Learners need a place to watch a demo, a place to design, and a safe place to collect finished parts. If the room is crowded, split the class into groups and rotate them. One group can work on drawing or measurement while another watches the printer or cleans up a previous job.
Keep printers on a stable table away from direct sun, damp windows and busy walkways. You want enough air movement to deal with heat from the machine, but not dust blowing onto the build area. In a classroom, cables must be tucked away and hot parts should be out of reach of younger learners. Basic safety reminders are enough: no touching the nozzle, no leaning over moving parts, and no leaving a printer unattended for long periods.
- Place printers where the teacher can see the full room
- Use labelled trays for each learner group
- Keep reference images and notes at eye level
- Allow a cooling zone for printed objects before handling
- Store filament in sealed containers when not in use
For schools in busy municipal areas, check local rules for electrical safety and storage if you are setting up in a multi-purpose room. It is also sensible to make a short room routine, so learners know where to stand, who may open the printer cover and how to hand over finished pieces.
Common mistakes that slow down history projects
One common mistake is trying to print a whole building in one piece. That usually wastes material and makes the model hard to fit on a standard printer bed. Split larger reconstructions into walls, roof sections, bases and detail pieces. You get cleaner results and easier classroom discussion about how buildings are assembled.
Another mistake is skipping the research stage. If learners rush straight to design, the model may look interesting but not match the period or place being studied. Encourage them to compare maps, photographs, museum images and teacher notes before they start modelling. Even a small measurement error can make doors, windows or rooms look wrong.
Teachers also sometimes forget that a classroom model must survive handling. Fine details are lovely, but if a child breaks a chimney or railing every time they pick it up, the lesson becomes frustrating. Keep the first version simple. Once the class has the shape and layout right, then add details in a second pass.
- Printing models too large for the available machine
- Using too many tiny details for a beginner class
- Ignoring print time when planning lessons
- Leaving filament open to coastal moisture
- Not assigning one learner to each task
Budget ranges in Rand for schools
Budget depends on whether the school wants a single demo printer, a small classroom kit or a fuller lab for multiple groups. For a basic start, many schools plan from about R15 000 to R35 000 for one printer, essential tools and first materials. A more prepared classroom setup with a second printer, storage, spare parts and teacher training can sit from around R40 000 to R85 000.
If a school wants a broader programme with several printers, a dedicated design computer, improved storage and planned maintenance supplies, the range can go higher. It is often better to build in a little extra for ongoing filament, nozzle replacements and power backup than to spend everything on the machines themselves. That way the lab keeps running through term time, and not only for the first few weeks.
For schools that are testing the idea, a phased approach makes sense. Start with a teacher introduction, then add one learner group and one project theme. Once the staff are comfortable, expand to maker club sessions or holiday programmes. That keeps spending manageable and gives the school time to see what the room actually needs.
What schools usually ask for before they begin
Most schools want a clear answer to three things: what can learners make, how much space is needed, and who will run the room. A short planning session usually covers those points. We often help schools decide whether they need a lab setup course, maintenance basics, or a custom group workshop for teachers and support staff.
It also helps to match the project to the age group. Younger learners may do simpler object reconstructions with basic shapes and labels, while older learners can work from plans, scale drawings and historical references. The learning focus in both age groups is the same: learners should see how object form and built environments tell a story about people, time and place.
For enquiries, schools can send details through the contact page enquiry form. From there, the team can discuss the space available, the number of learners, and the type of history reconstruction projects that fit the term plan. A well-planned start saves time later and keeps the classroom calm, even when a deadline is close.