Why entrepreneurship projects work well in the classroom
When learners are asked to make something useful, they start thinking about function, cost, and who will use the item. That shift is valuable in Grade 5 through to senior phases because it connects design thinking with basic business skills, not just making for the sake of it.
In a South African school context, entrepreneurship projects can also fit well into maker clubs, holiday programmes and cross-curricular activities. A learner might design a phone stand, planter tag, cable clip, nameplate, game piece or storage aid. These are simple items, but they open the door to product planning, testing, feedback and presentation.
Typical equipment for a school making and selling project
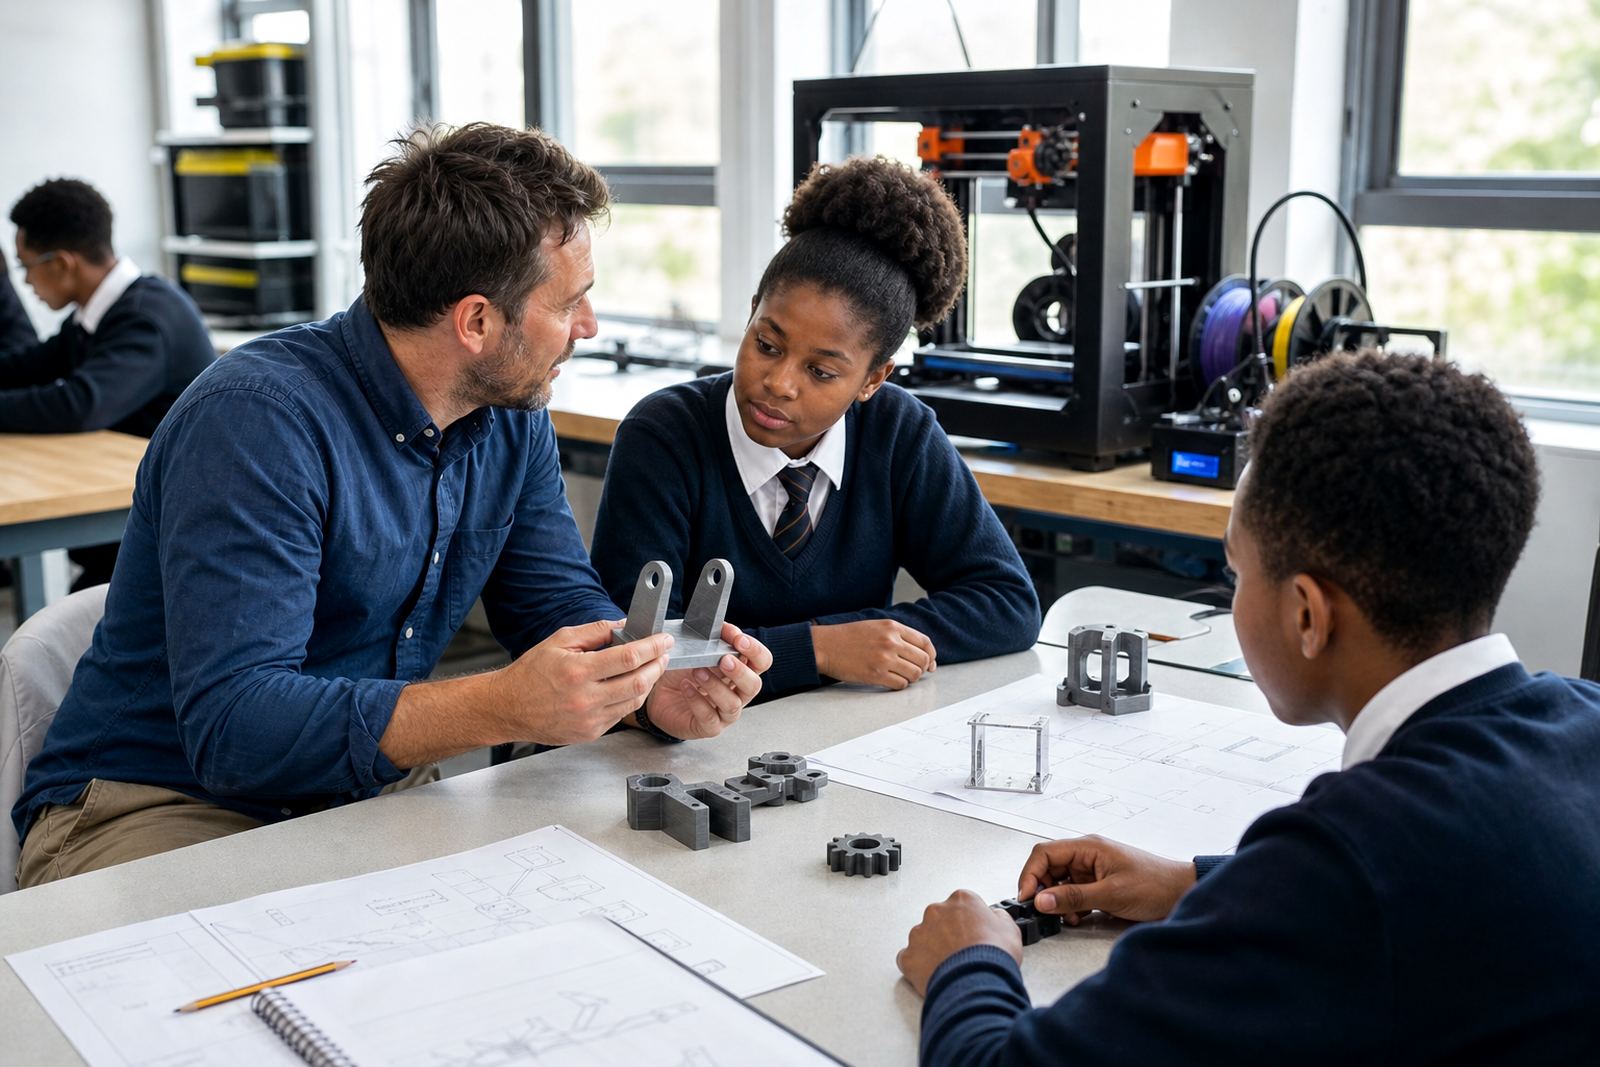
A practical classroom set-up does not need to be complicated. For most entrepreneurship projects, schools usually start with one or two benchtop 3D printers, a basic design laptop per small group, slicing software, filament, calipers, side cutters, spatulas and a safe storage cabinet for materials. A few simple hand tools for cleanup and finishing are useful as well.
- 1 to 2 benchtop 3D printers for small-group work
- PLA filament in a few standard colours for low-risk classroom use
- Design computers with simple CAD access
- Measuring tools, snips and sanding sticks
- Labelled storage for filament, prints and tools
- A clear drying or cool storage area for materials in humid coastal towns
In places like Cape Town, Durban and Gqeberha, teachers should also think about dust, sea air and moisture. A sealed cupboard and regular nozzle checks help keep the printers in better condition, especially during load-shedding cycles where machines may be switched off and on often.
How to plan the layout before learners start printing
A good classroom layout makes the project easier to manage. Keep design work, printing and finishing in separate spots if possible. That reduces congestion and helps learners stay focused on the stage they are working on. A small table for design sketches, a supervised print station and a clean finishing area is usually enough for a starter lab.
Teachers also need a simple workflow. Learners should first identify a problem, then sketch ideas, choose one concept, measure it, model it and only then print a prototype. This approach keeps the project practical and stops the class from jumping straight to printing without proper planning. It also teaches patience, which is useful when a first print needs to be adjusted or learnt from.
- Use a one-way workflow from idea to prototype to presentation
- Keep prints off the floor and away from direct sunlight
- Assign a sign-in system for tools and printers
- Display basic safety rules near the work area
- Have a lockable storage point for unused filament and sharp tools
Common mistakes schools make with entrepreneurship projects
One common mistake is choosing a project that is too complex for the time available. If a learner cannot finish the design, print and presentation within the project window, the activity becomes frustrating rather than useful. Another issue is selecting items that are decorative only. For strong learning outcomes, the product should solve a small problem or serve a clear purpose.
Schools also sometimes underestimate maintenance. Printers need regular bed cleaning, nozzle checks and sensible shutdown routines, especially when power supply is inconsistent. A short maintenance routine after each session prevents avoidable downtime and keeps the lab usable for the next class. Teachers should also be careful not to overcrowd one machine with too many learners at once.
Safety matters as well. Learners should never touch hot parts, move a printer while it is running, or leave loose cables across walkways. Basic supervision and clear rules are usually enough for a calm and productive room.
Budget ranges for starter and expanded school kits
Budgets vary depending on how many learners will use the space and whether the school wants a single classroom station or a fuller lab. A modest starter set for a small group project can begin in the lower tens of thousands of Rand, especially where the school already has computers and only needs a printer plus basic tools. A more complete setup for regular class use can move into a wider range once extra printers, storage and training are included.
As a guide, schools often plan around three broad bands: a starter level for pilot work, a mid-level kit for weekly lessons, and a larger setup for multiple groups or after-school activity. The main cost drivers are printer count, support equipment, learning materials and how much teacher training is included. It is usually better to begin with a manageable kit and add equipment once the school knows how the programme will run in practice.
For schools in Stellenbosch, Paarl and Somerset West, it also helps to factor in room preparation. A stable table, proper power points and secure storage are part of the real cost, even when the equipment itself is modest.
Support for teachers running product-based learner projects
Teachers do not need to be expert makers to run a strong entrepreneurship module. What they need is a clear structure, simple project ideas and enough confidence to manage the room. Our school training covers the basics of design, printer operation, project flow and maintenance so educators can guide learners without feeling overwhelmed.
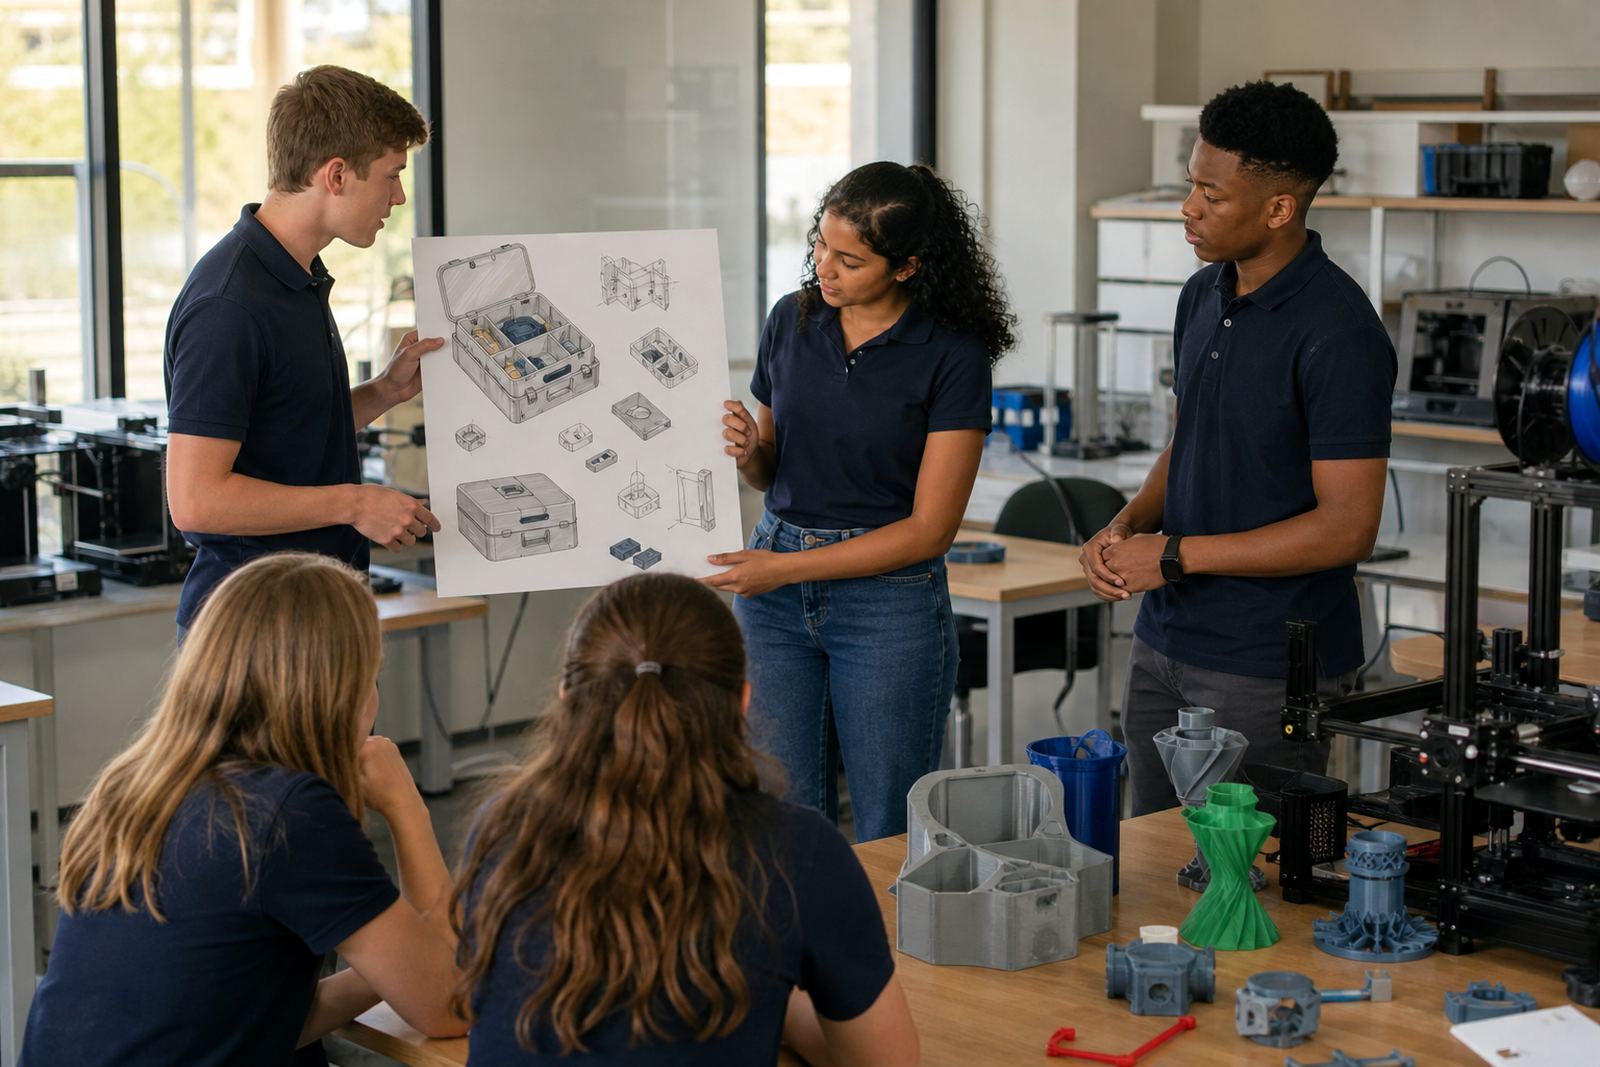
For entrepreneurship projects, we often suggest a short sequence: introduction, idea selection, prototype planning, print testing and presentation practice. Learners then prepare a short pitch explaining what the item does, who would use it and why it matters. That presentation stage is important because it links making with communication and practical problem solving.
When schools want support for multiple classes or mixed age groups, a custom workshop can help with planning. It gives staff a clear process for managing supplies, supervising learners and keeping the printers in use for a full term without unnecessary downtime.
What learners gain from a simple making and pitching project
Entrepreneurship projects help learners build more than a printed object. They learn how to notice a need, refine an idea, work within limits and explain their thinking clearly. That process supports creativity, confidence and teamwork in a way that feels real and achievable. It also gives teachers a practical activity that can be repeated each term with different themes and different levels of difficulty.
For schools across South Africa, from Johannesburg and Pretoria to Cape Town, Durban and Gqeberha, this type of project fits well into a modern maker environment. The equipment is manageable, the learning is hands-on, and the results are easy for learners to understand and present. With the right planning, a small classroom can become a place where ideas are tested, improved and shared in a very practical way.