When 3D printing fits into technology lessons
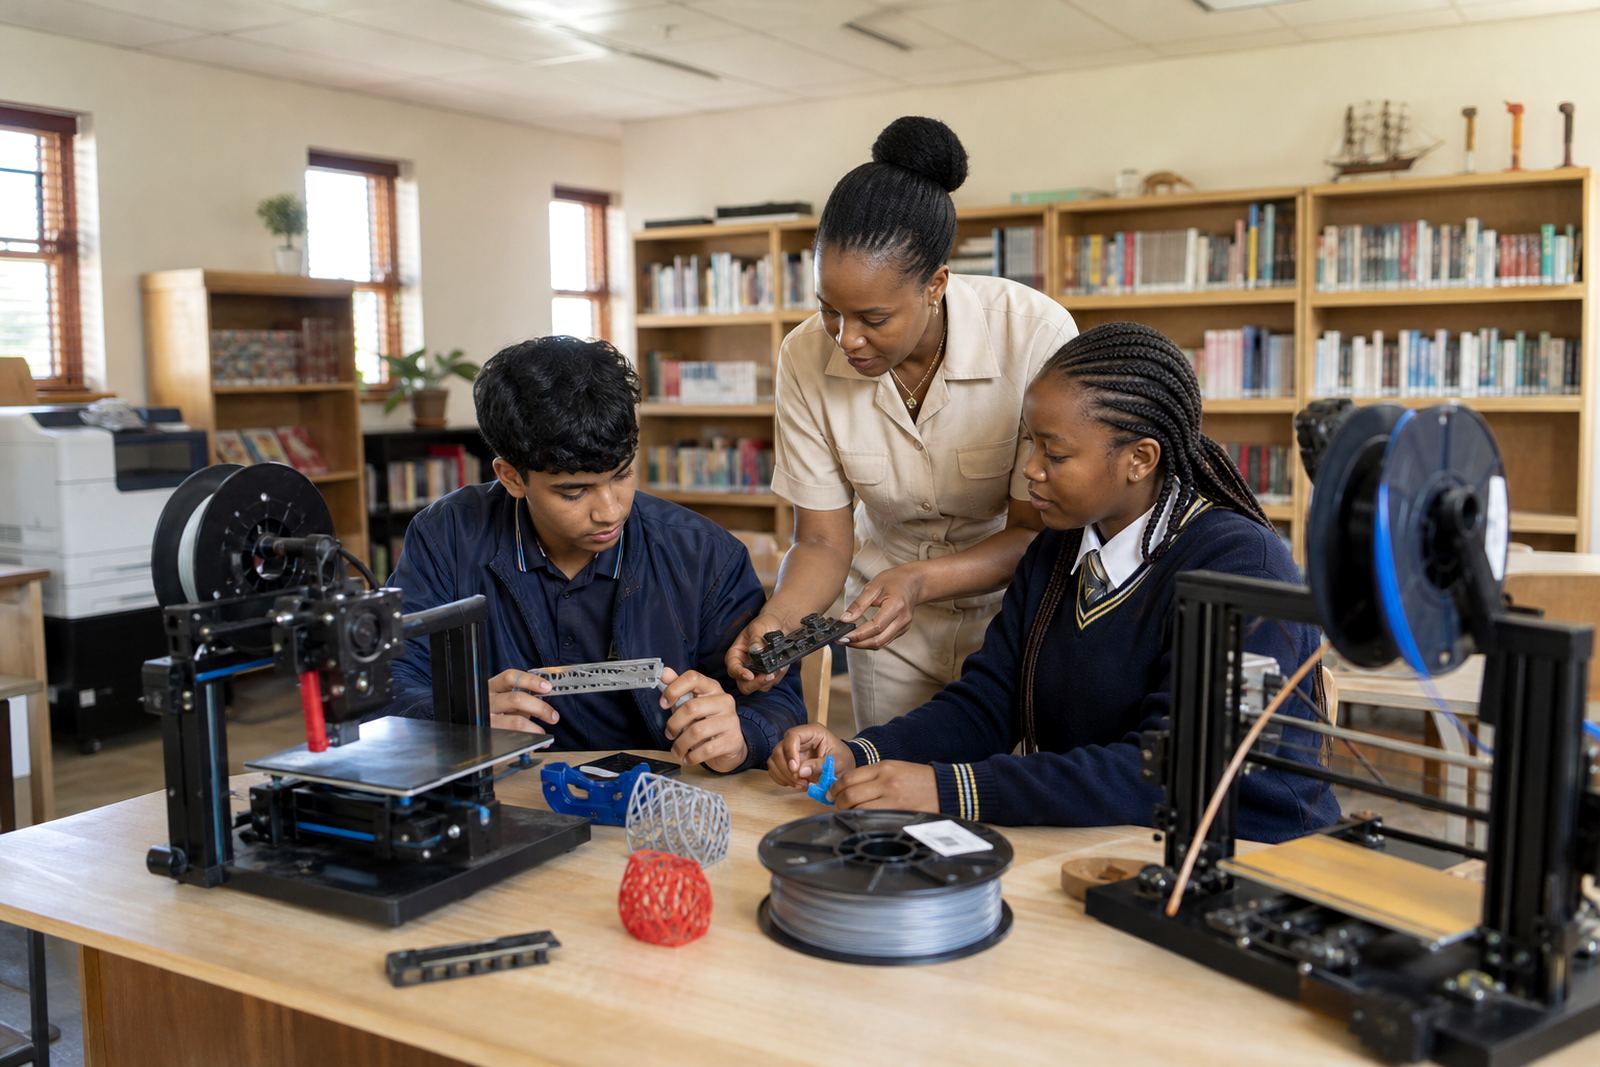
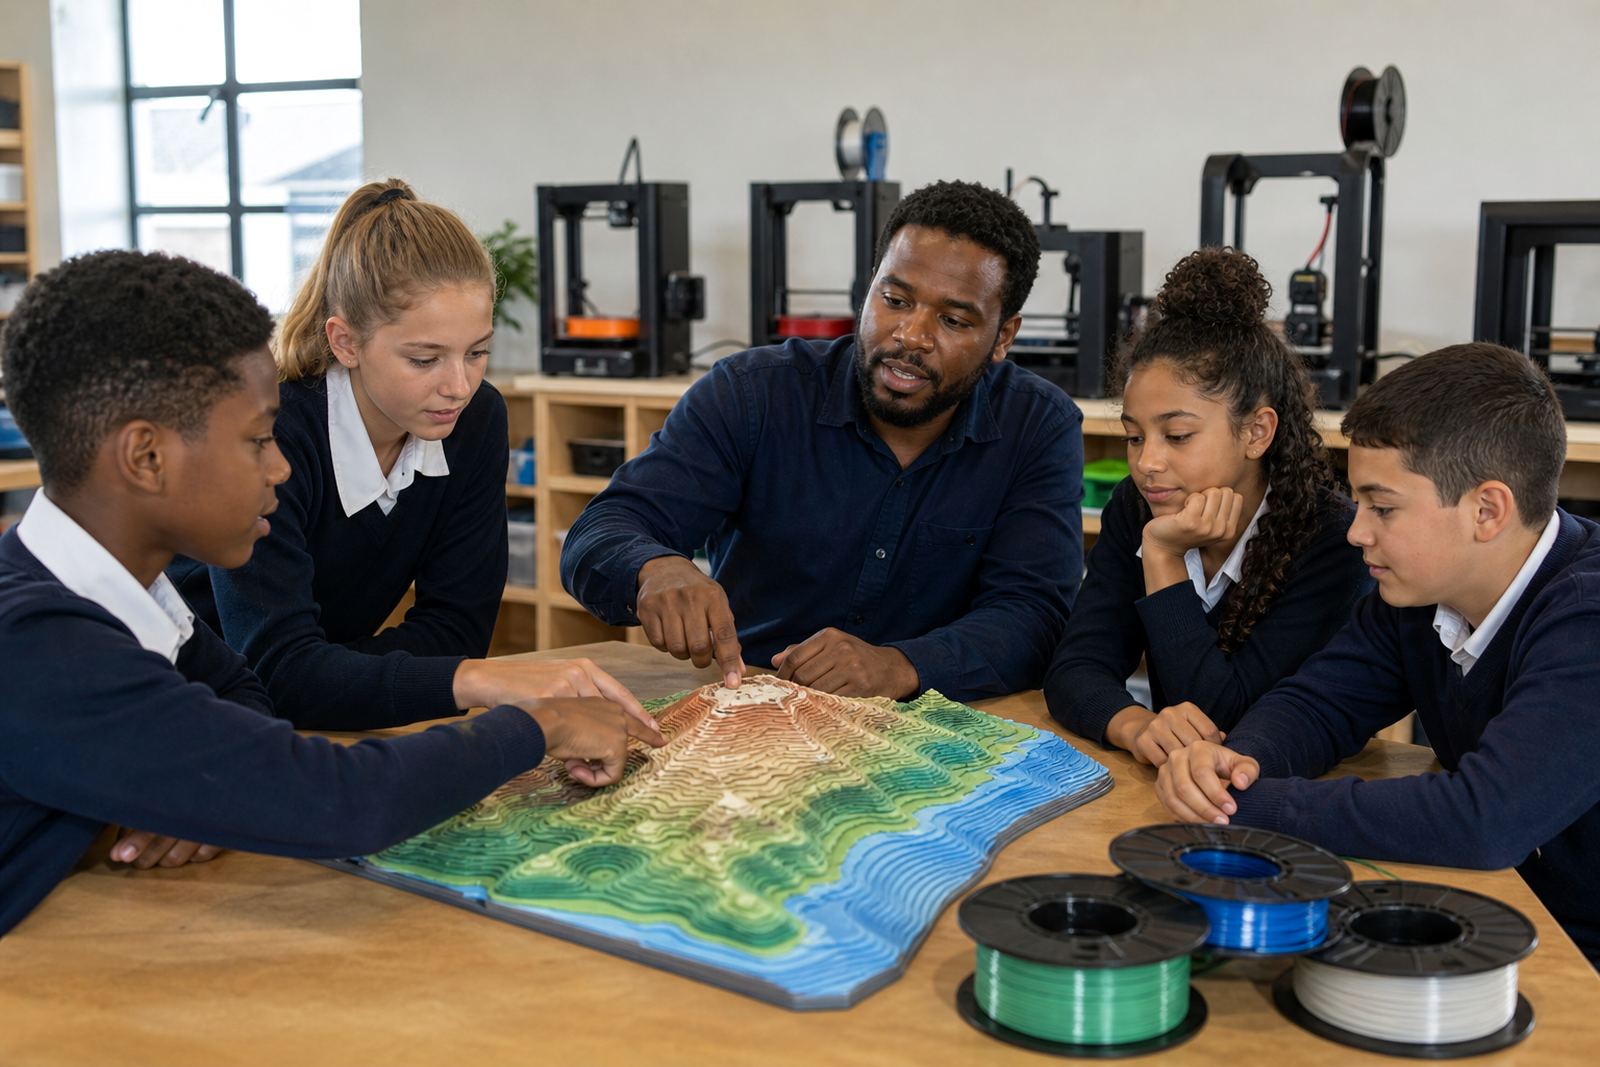
3D printing works well in technology classes where learners need to move from an idea on paper to a working object they can hold, test and improve. It suits tasks like design briefs, model making, problem solving and simple product development. In schools across Stellenbosch, Cape Town, Johannesburg, Pretoria, Durban and Gqeberha, teachers often use it for projects that need steady progress over a few lessons rather than a quick one-off demonstration.
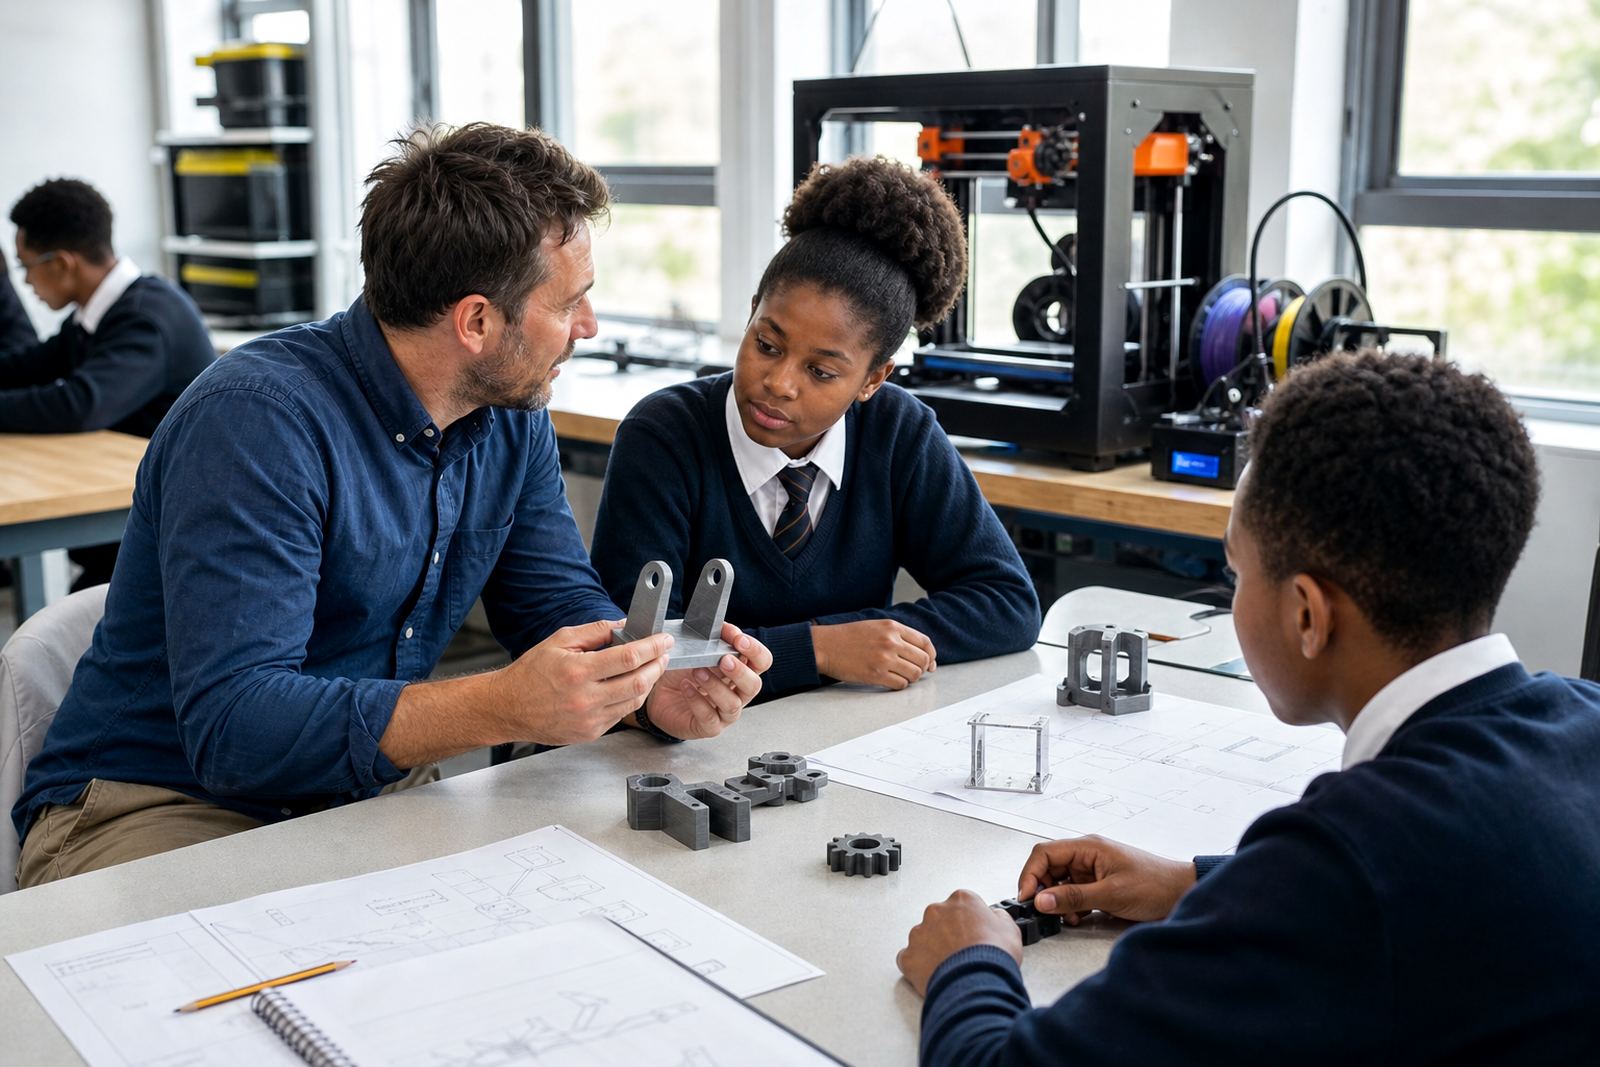
The best results come when 3D printing is treated as part of the full design process, not as a machine lesson on its own. Learners sketch, measure, model, print, check fit and make changes. That approach helps them understand tolerance, scale, material use and why a print may need to be adjusted before it becomes a final classroom project.
- Suitable for design and technology, engineering basics and maker activities
- Useful for individual tasks, small group work and holiday programmes
- Works well for schools that want practical lessons with clear steps and outcomes
Typical classroom equipment for a school 3D-printing setup
A practical school setup does not need a full lab filled with specialist items. Most classrooms start with one or two printers, a computer for design work, slicer software, filaments, storage tubs, calipers, basic hand tools and a safe work surface. If the room is hot or dusty, especially inland or near open workshop areas, it helps to keep the printer covered when not in use and away from direct sunlight.
For lessons in coastal towns such as Gqeberha or Durban, humidity can affect filament storage. Keeping material sealed and dry makes a real difference to print quality. Schools also need a reliable plug point, a stable table and enough space around the machine for learners to observe without leaning over moving parts. During load-shedding, a simple lesson plan should include offline design work so the class can continue even if printing has to pause.
- Benchtop 3D printer or two, depending on class size
- Laptop or computer for CAD and slicing
- PLA or similar classroom filament in sealed containers
- Calipers, side cutters, tweezers and a scraper for removal
- Storage for printed parts, spare nozzles and maintenance items
How to plan the room, timetable and lesson flow
Good planning makes the difference between a lesson that runs smoothly and one that becomes noisy and rushed. A teacher should decide where learners design, where they wait, and where they collect finished parts. If the printer is in the same room as the counters, it helps to create a clear boundary so only a few learners stand near the machine at a time. This keeps movement controlled and reduces the risk of touching hot parts.
For a standard school lesson, the flow can be simple: introduce the brief, show the design idea, create or revise the model, prepare the file for printing, then review the printed item. In longer periods, one group can design while another group monitors a print. That keeps everyone active. Teachers also benefit from naming a learner helper for each session, especially when there are multiple classes using the same equipment.
When schools ask for lab setup advice, we usually look at room size, power access, class numbers and how the equipment will be stored after hours. In many cases, a compact corner setup works better than a large open area because it is easier to manage and easier to keep clean.
What usually goes wrong and how to avoid it
Most classroom printing problems come from rushing the preparation stage. A model may be too thin, too large for the build area, or set to print with settings that make the job fail halfway. Learners often forget that a design must be checked before printing, and this leads to wasted material and disappointment. Another common issue is sending too many learners to the machine at once, which creates crowding and distracts from the lesson.
Teachers also need to watch for poor filament handling. Spools left open over a damp weekend can absorb moisture, which affects the finish and strength of the part. If the printer is not cleaned regularly, old material can block the nozzle and cause repeated stoppages. Small maintenance habits save time and keep the class moving.
- Check size and fit before slicing the file
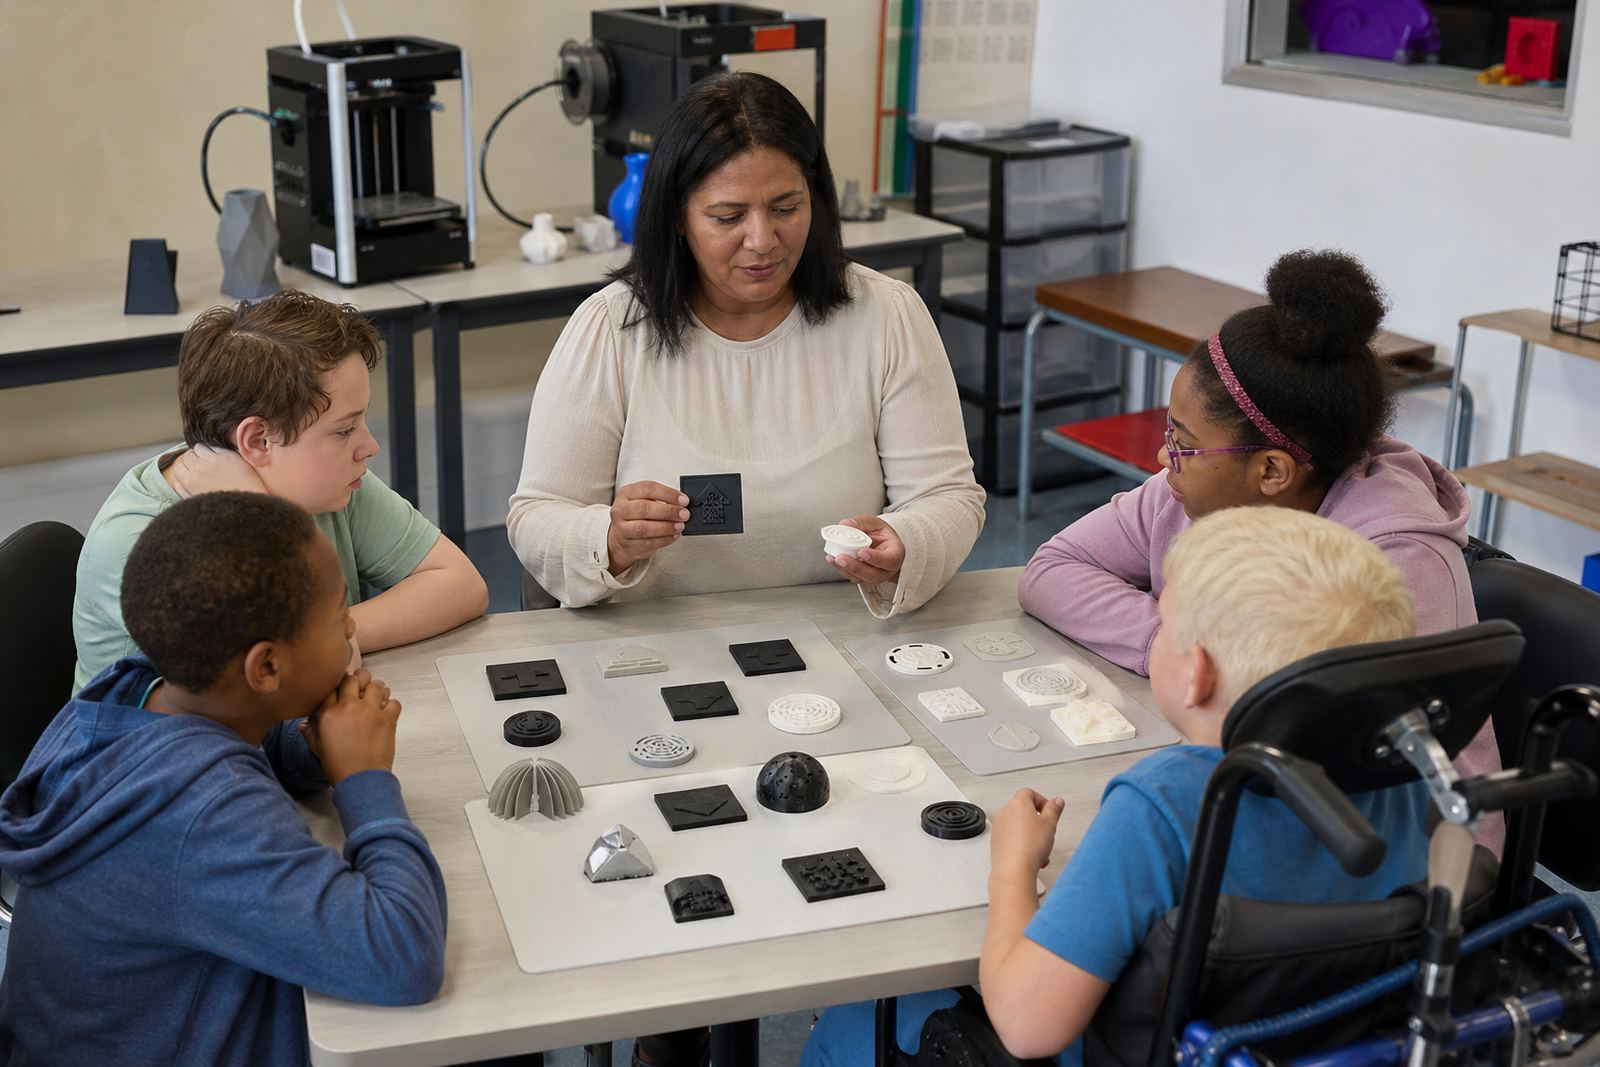
- Use lesson samples to show wall thickness and support needs
- Keep filament sealed and labelled by colour and type
- Do a quick clean after each printing session
- Set clear rules around hot surfaces and moving parts
Budget ranges for schools in Rand
Budget depends on the size of the setup and how much teaching support is needed. A small classroom starter setup with one printer, basic tools and a few rolls of filament can suit schools that want to test the subject before scaling up. A larger lab kit for several classes needs more storage, more consumables and usually a stronger planning system for bookings and maintenance.
As a broad guide, schools often look at a lower entry option for a single room and a more complete option for a dedicated lab or shared technology centre. The real cost depends on printer count, training level, spare parts and whether the school wants support with room layout and teacher preparation. It is also wise to keep a small annual allowance for consumables, since printed parts, failed prints and class use will draw on stock faster than many schools expect.
For procurement, it helps to separate once-off equipment from ongoing material costs. That makes budgeting easier for governing bodies, principals and departmental approvals.
Training options that suit teachers and learners
Schools use these sessions in different ways. Some want a short teacher introduction so staff can understand the basics before starting classroom use. Others need a full learner foundation programme with CAD Basics, Printer Operations and Project Planning built into the schedule. Where a school wants broader support, a management briefing or custom group workshop can help align the equipment with the technology timetable.
Our team in Stellenbosch works with schools and educators across the country, including Paarl and Somerset West, to set up lessons that are practical and realistic for the school day. A good programme should leave teachers confident enough to run simple activities on their own, while still giving them a clear process for maintenance, storage and class supervision. The aim is steady classroom use, not a complicated system that sits unused in a corner.
If the goal is a holiday programme or maker club, the lesson structure can be more open ended. For regular technology classes, it should stay tied to the curriculum topic, the time available and the age of the learners.