What a library maker corner is used for
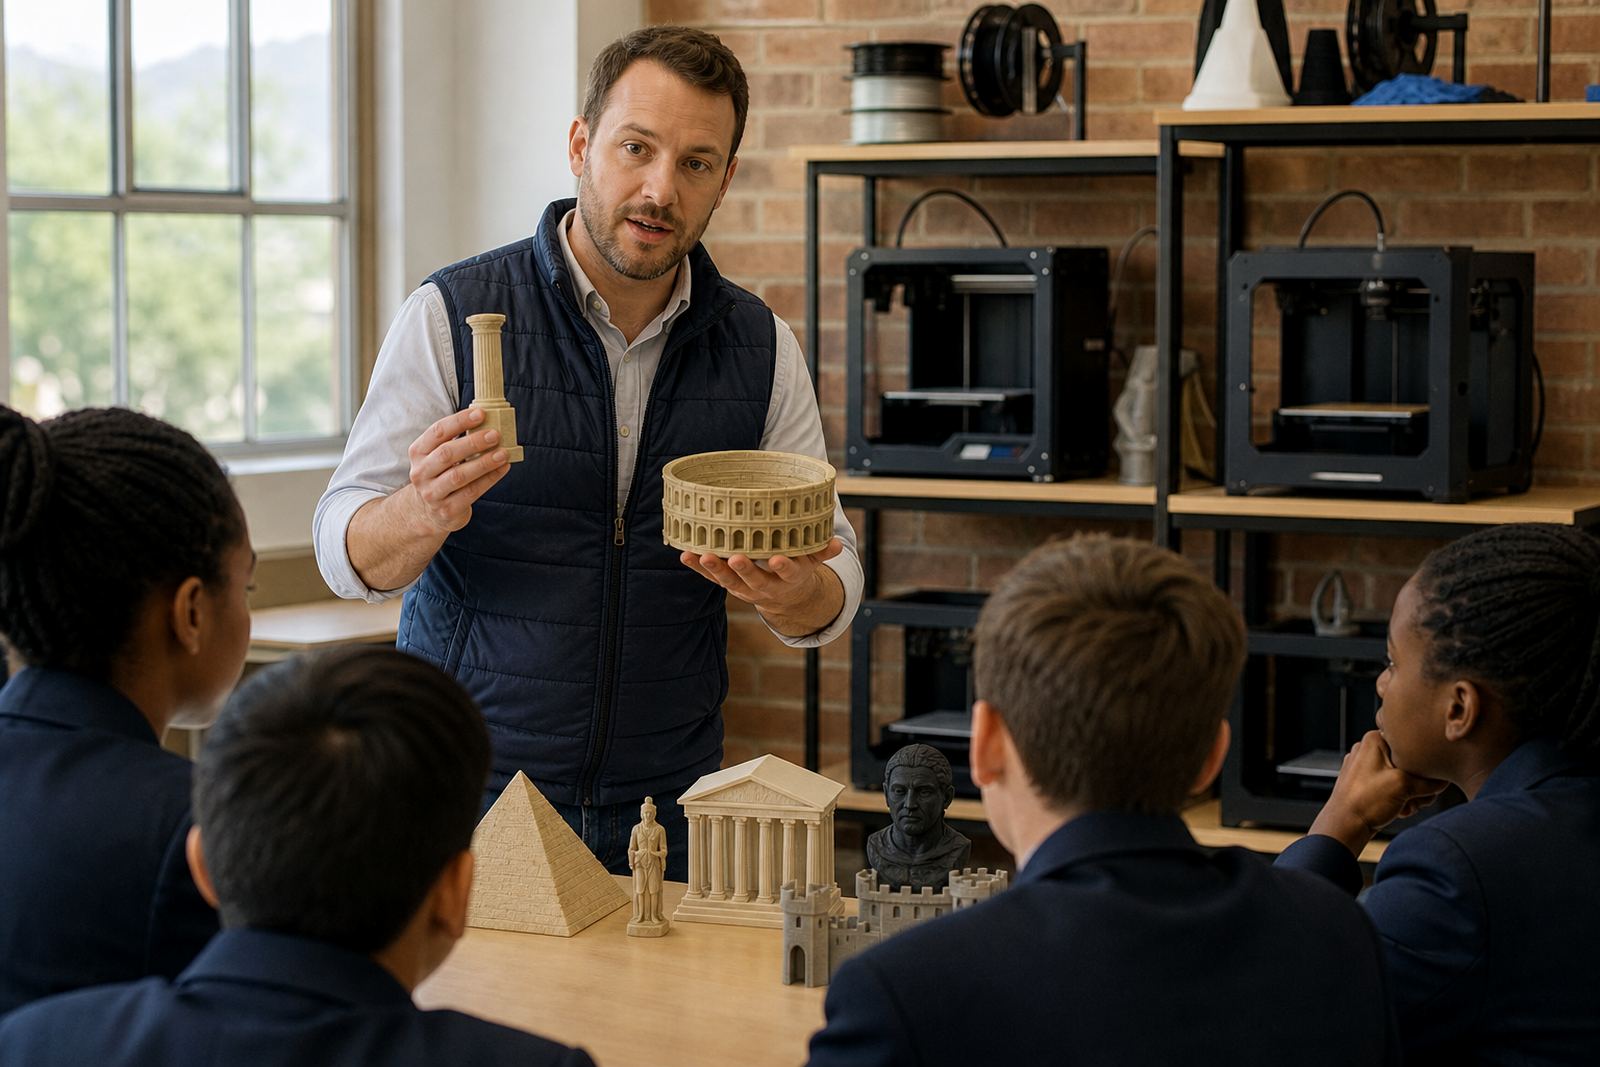
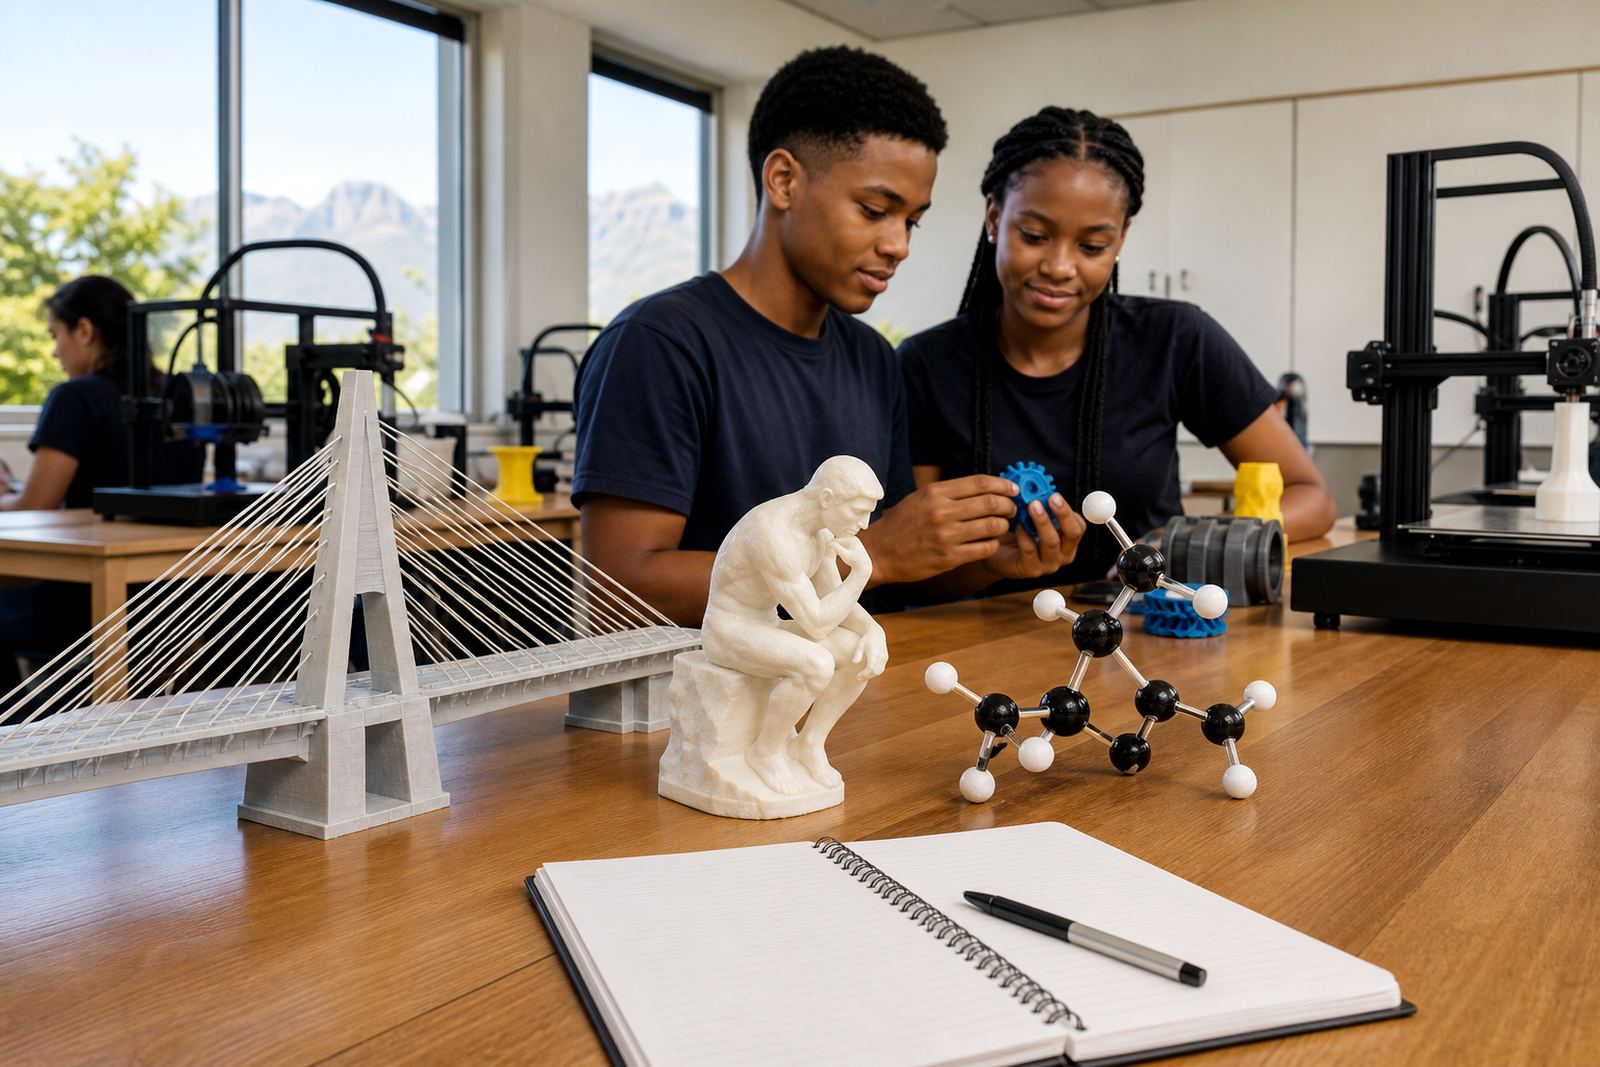
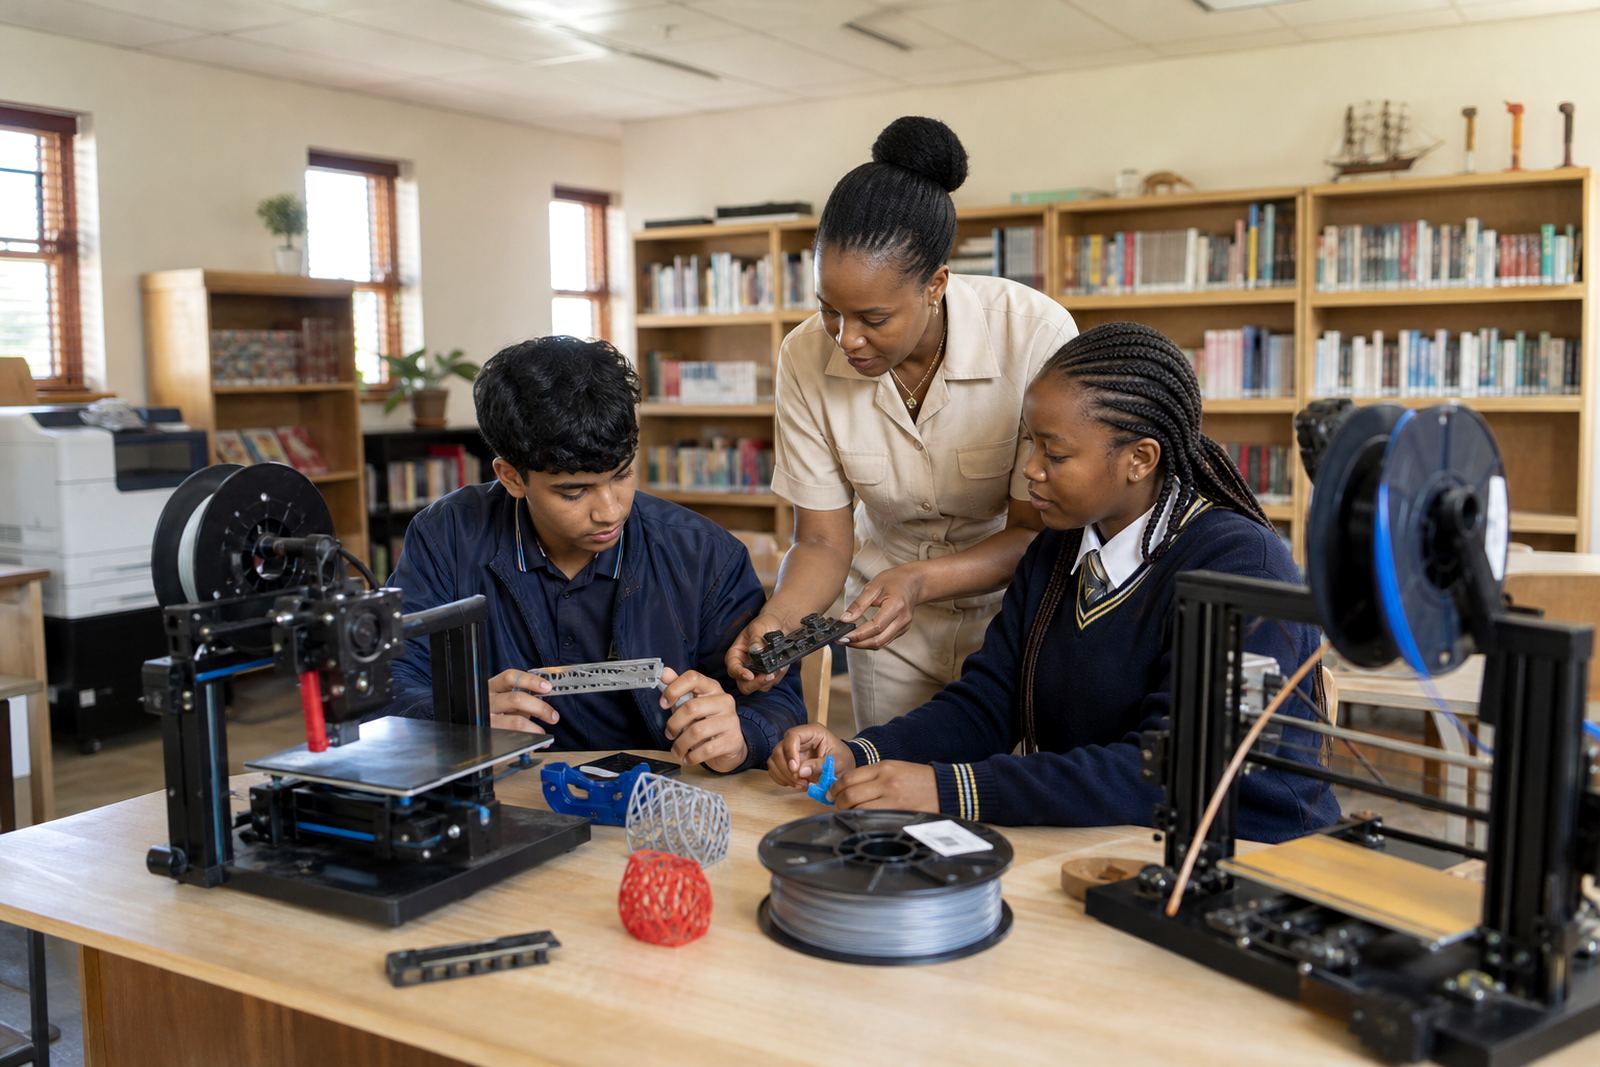
A library maker corner gives learners a place to move from reading and planning into making. In many schools it starts with a single 3D printer, a laptop or two, simple design software and a small storage area for filament, tools and printed parts. It suits libraries that already serve as quiet study spaces but also want a practical section for coding, design, robotics support and project work.
For resource centres, the value is in access. Learners can explore design thinking without needing a full lab. Teachers can use the corner for short sessions, lunchtime clubs or small-group work. In towns like Stellenbosch, Cape Town, Durban and Gqeberha, we often see schools using a library corner as a first step before they commit to a larger classroom setup.
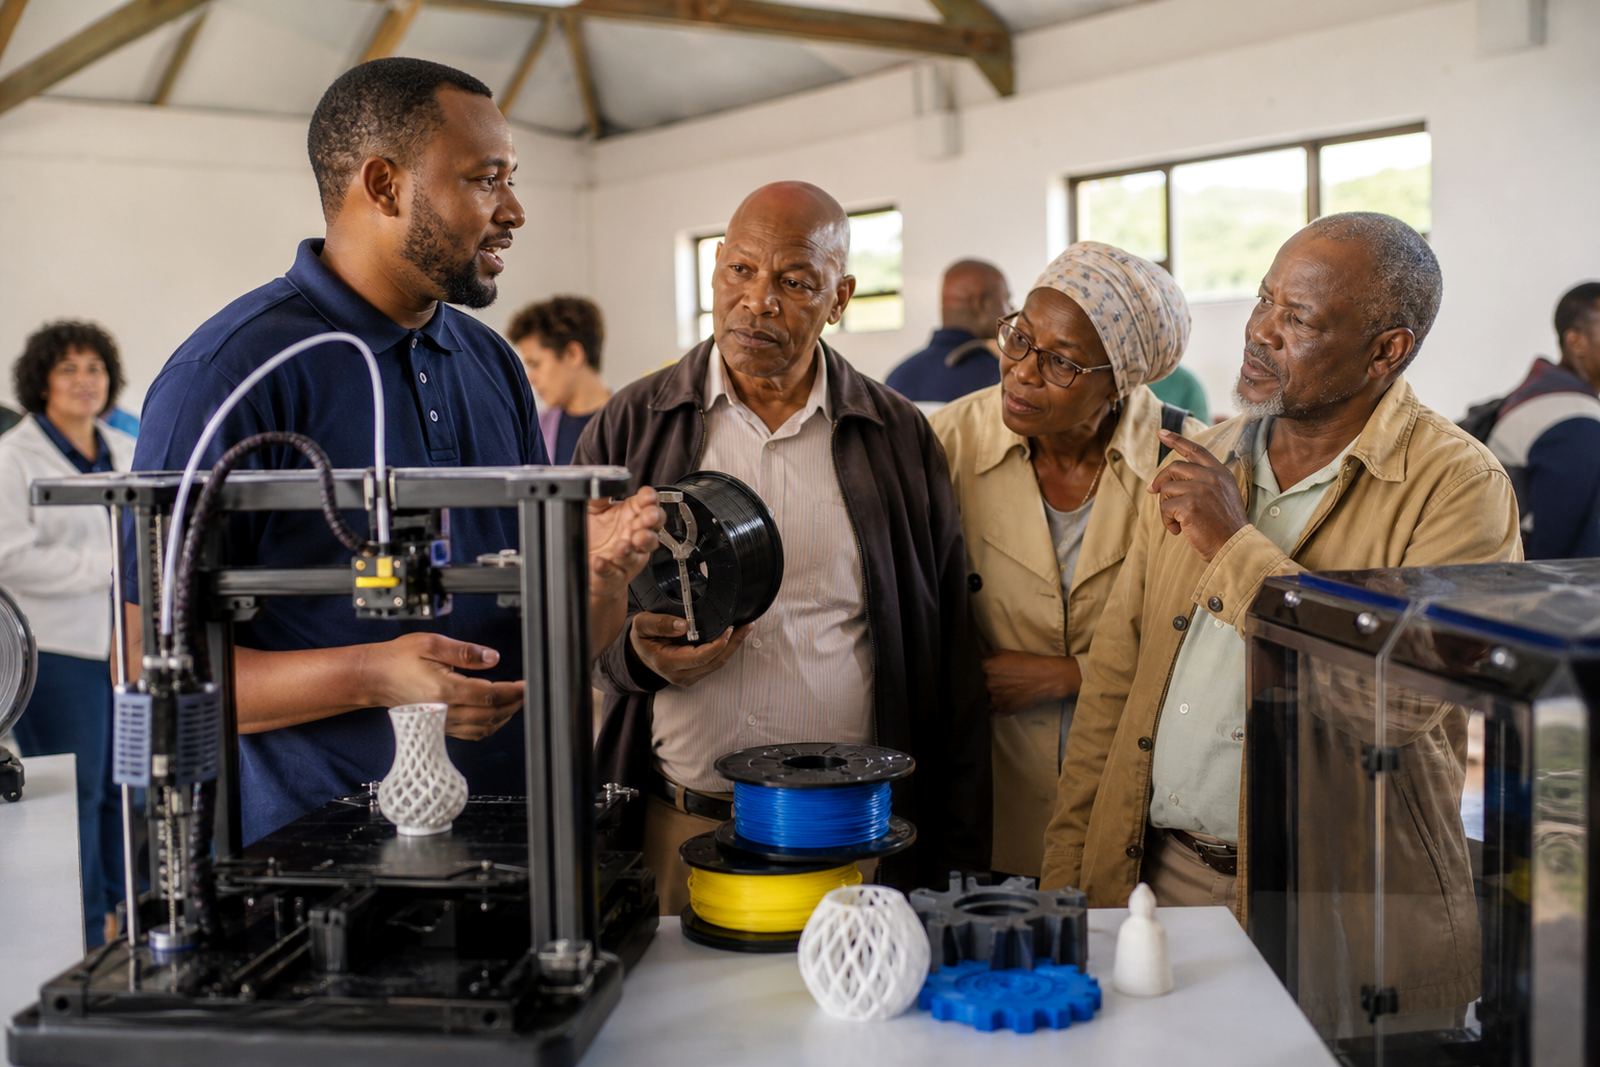
Typical equipment for a small school setup
A good starter setup should be simple to run and easy to supervise. It should also hold up in a school setting where learners may use the area before school, during breaks or after lessons. The aim is not to pack in every machine available, but to choose equipment that fits the space and the age group.
- 1 or 2 benchtop 3D printers with enclosed or partially enclosed frames
- Filament spools in common colours for everyday classroom use
- A laptop or PC for basic 3D design and slicer work
- Small tool set for removing prints, cleaning nozzles and trimming support material
- Heat resistant surface, lockable storage and labelled containers
- Ventilation plan, power point access and a surge protected supply
- Clear safety signage for hot parts, moving parts and supervised use only
In coastal areas, humidity can affect filament storage and print consistency, so sealed containers or dry storage help. In areas where load-shedding is a regular problem, it helps to plan print jobs around school hours and use uninterruptible power only where needed, not across the whole room.
How to plan the layout in a library or resource centre
The biggest challenge is usually space. A library maker corner must not block shelves, walkways or study tables. It should be visible enough for supervision but separated enough so that machine noise does not disrupt reading time. A corner by a wall, near power points and away from direct sunlight is often the most practical starting point.
Think in zones. One zone for printing, one for design and one for storage makes the room easier to manage. Keep the printer off soft surfaces and away from loose paper. Leave space for opening doors, removing prints and showing learners the process. If the library serves multiple grades, use simple signs and a booking system so the area does not become crowded or messy.
- Place printers where the teacher can see the control panel and print bed easily
- Keep filament and tools in labelled, lockable storage
- Use a small table for design work and printing prep
- Set aside a clean area for finished prints to cool before handling
- Keep cables short, tidy and protected from foot traffic
Common mistakes schools make when starting
Many schools buy the machine first and only then think about the room. That often leads to poor placement, power issues or a corner that is too busy to use properly. Another common mistake is treating the maker corner like a display unit instead of a working space. If learners cannot access the equipment in an orderly way, the space will not get used regularly.
It also helps to avoid overcomplicating the first setup. Too many machines, too many material types or too many access rules can make the space hard to manage. Start with one clear use case, such as design club work, project support or library-based learner tasks. Build routines around that before adding more equipment.
- No plan for noise, heat or ventilation
- Ignoring storage for filament and spare parts
- Using the corner without basic supervision rules
- Placing printers on unstable furniture
- Not training staff on daily checks and shutdown steps
Schools in Gauteng and coastal provinces often ask for a setup that can be maintained by non-specialist staff. That usually means choosing reliable equipment, keeping the workflow simple and making sure a few staff members know the basics.
Budget ranges for different starting points
Budget depends on the number of printers, the type of furniture, the level of training and whether the school wants a starter corner or a fuller lab-style section. For a modest library maker corner, many schools begin with a practical package that keeps costs controlled and leaves room for later growth. A more developed setup with extra printers, better storage and training support will cost more, but it can also serve more learners over time.
As a broad guide, schools usually look at starter budgets in the tens of thousands of Rand, then scale up from there based on the number of users and the room available. The real cost drivers are equipment quality, storage, electrical work and whether the school needs setup support, staff training and ongoing maintenance planning. It is better to budget properly from the start than to buy one machine and discover that there is no safe place to run it.
- Starter corner: one printer, basic tools and simple storage
- Mid-range corner: two printers, better work surface and training
- Expanded corner: multiple units, dedicated storage and stronger supervision routines
Where schools share the space between classes or between a library and resource centre, the budget should also include lockable storage and a clean-up process. That keeps the corner usable and reduces wear on the equipment.
Support, training and daily use in the school year
A maker corner works best when staff know who opens it, who checks it and who closes it. Short, practical training sessions for teachers and library staff make a big difference. The focus should be on printer operation, basic maintenance, learner supervision, troubleshooting and how to keep records of use. A clear routine also helps during busy terms when the library is handling many groups at once.
For schools that want to grow gradually, the corner can begin with a limited number of lessons and then expand into clubs, holiday programmes or project support. That keeps the learning active without overwhelming staff. If the school has learners of different ages, it helps to keep the safety rules simple and the activities age-appropriate. Hot parts, moving parts and sharp tools should always be supervised, and printed items should cool before handling.
With the right planning, a library maker corner can become a practical part of school life, not just an occasional extra. It gives learners a place to try ideas, make mistakes and try again, which is often where the real learning happens.