Why career guidance demos work in a school setting
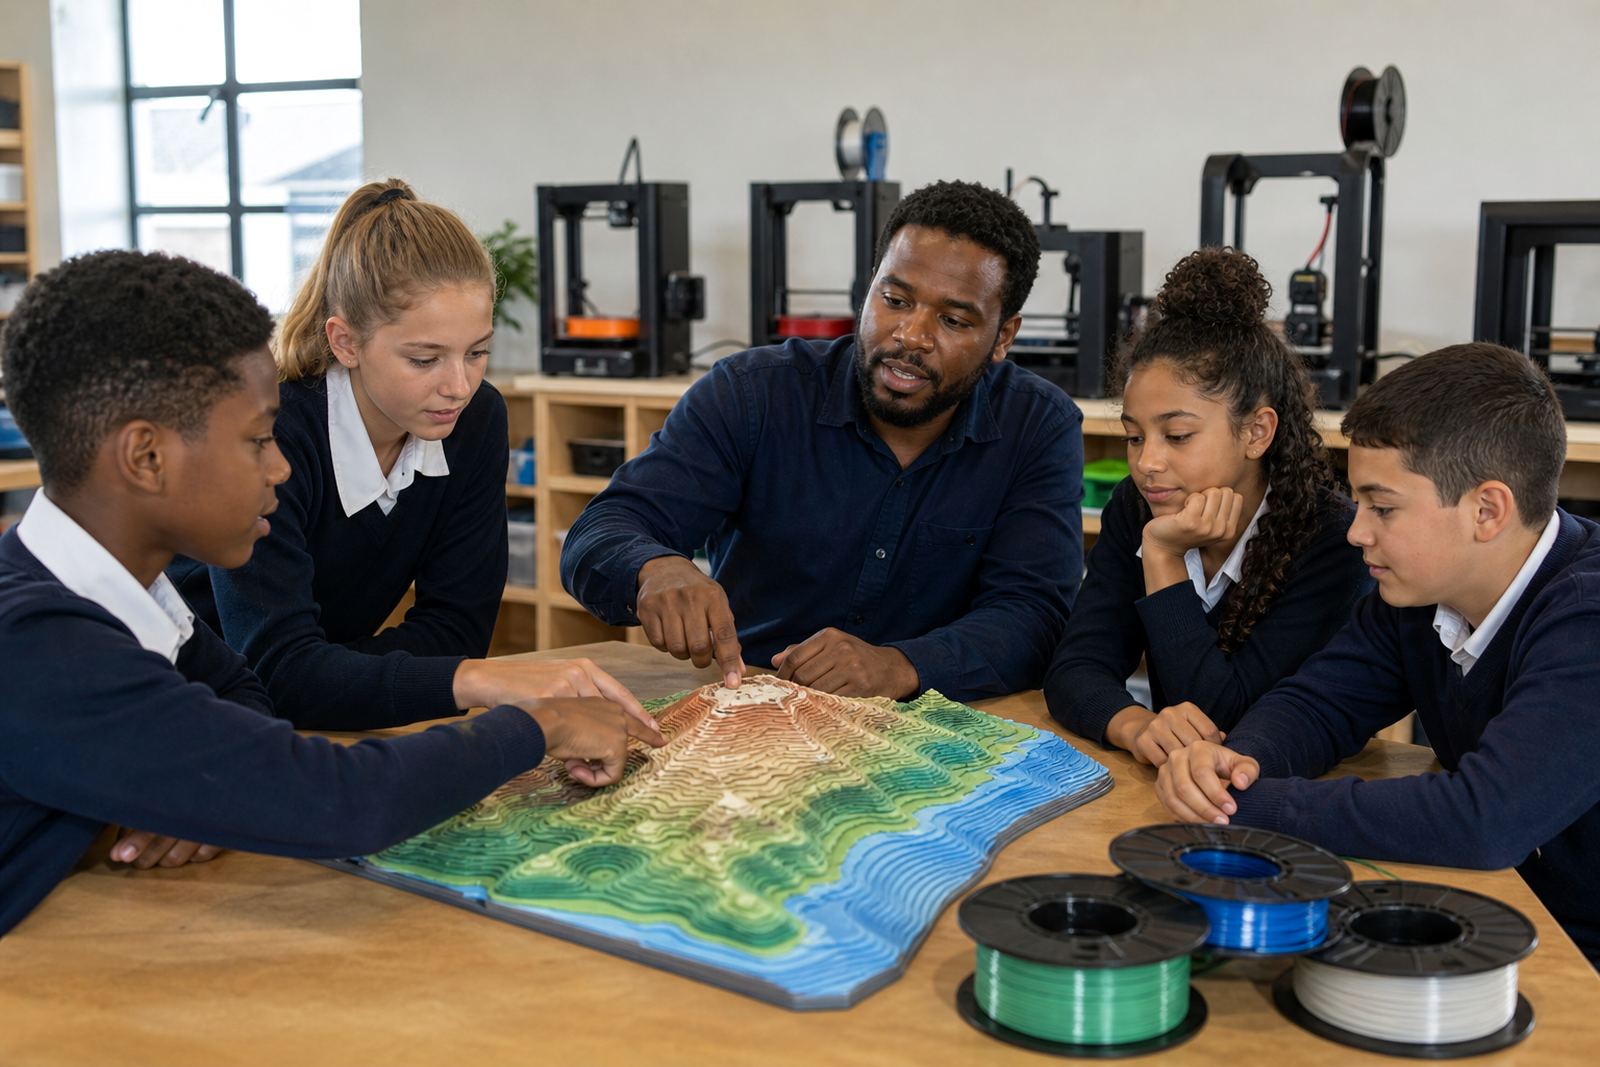
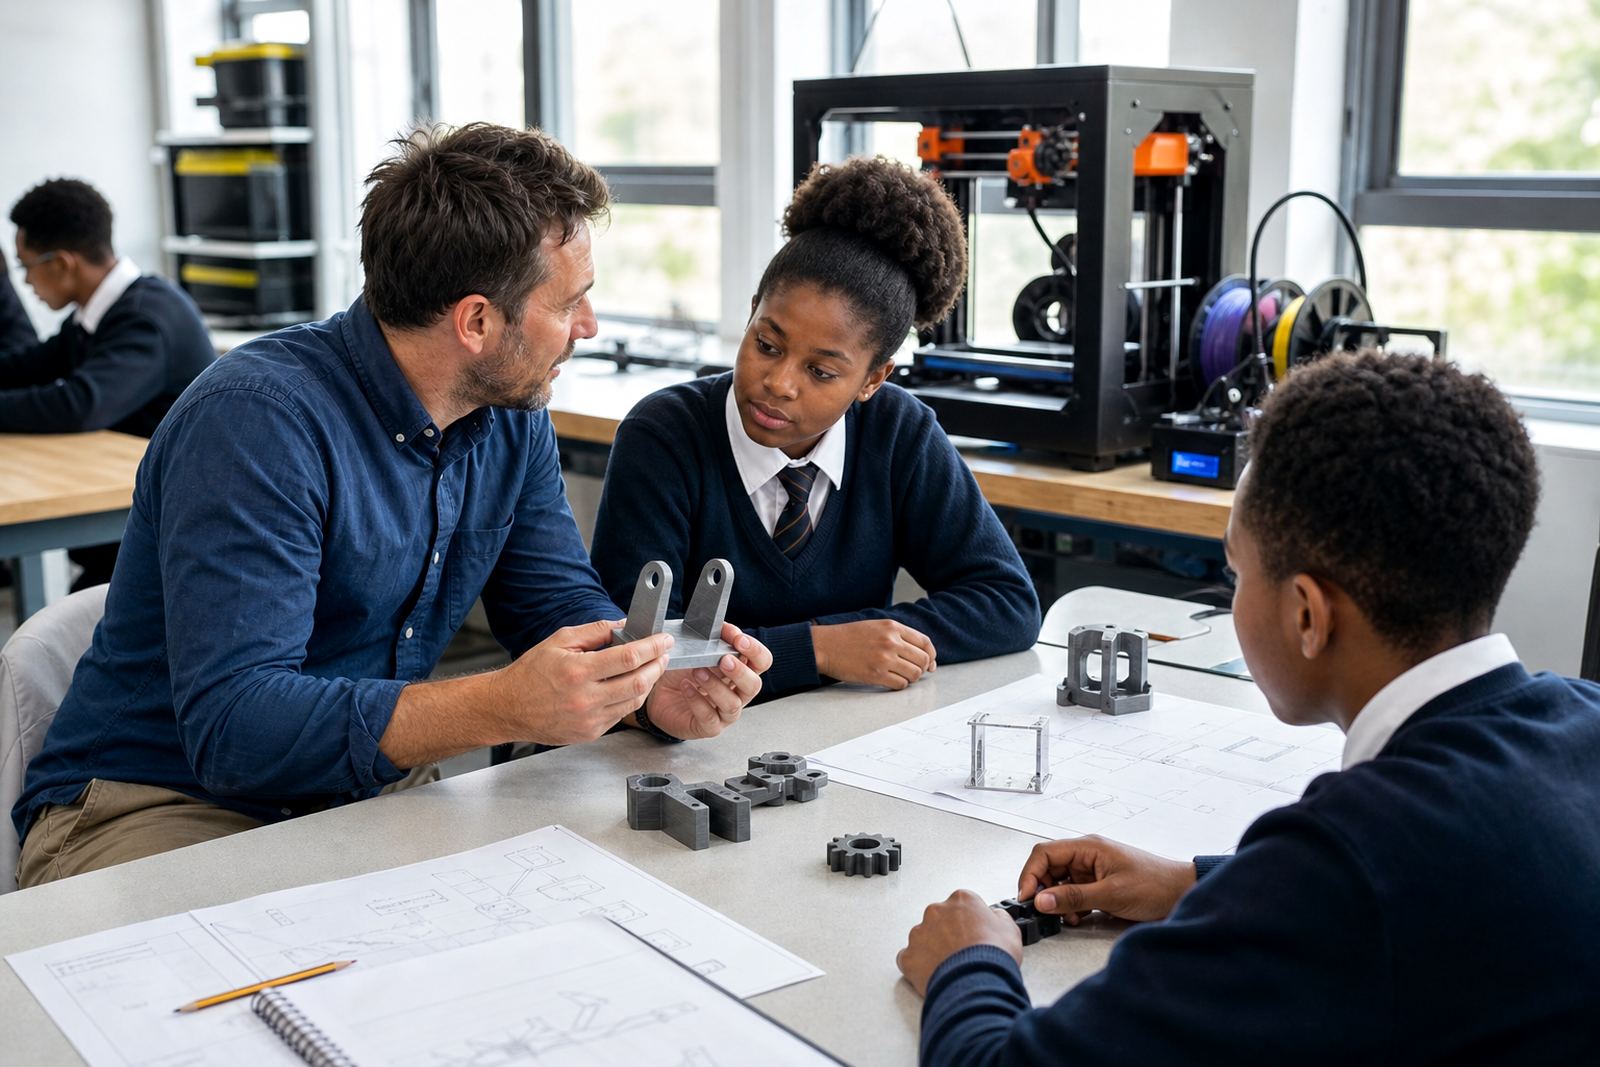
A good demo does more than show a machine printing a plastic object. It gives learners a clear picture of how ideas move from a sketch to a digital model and then into a finished part. That process is useful for career guidance because it connects design, engineering, product development, education, maintenance and small business thinking in a way that feels real to a school audience.
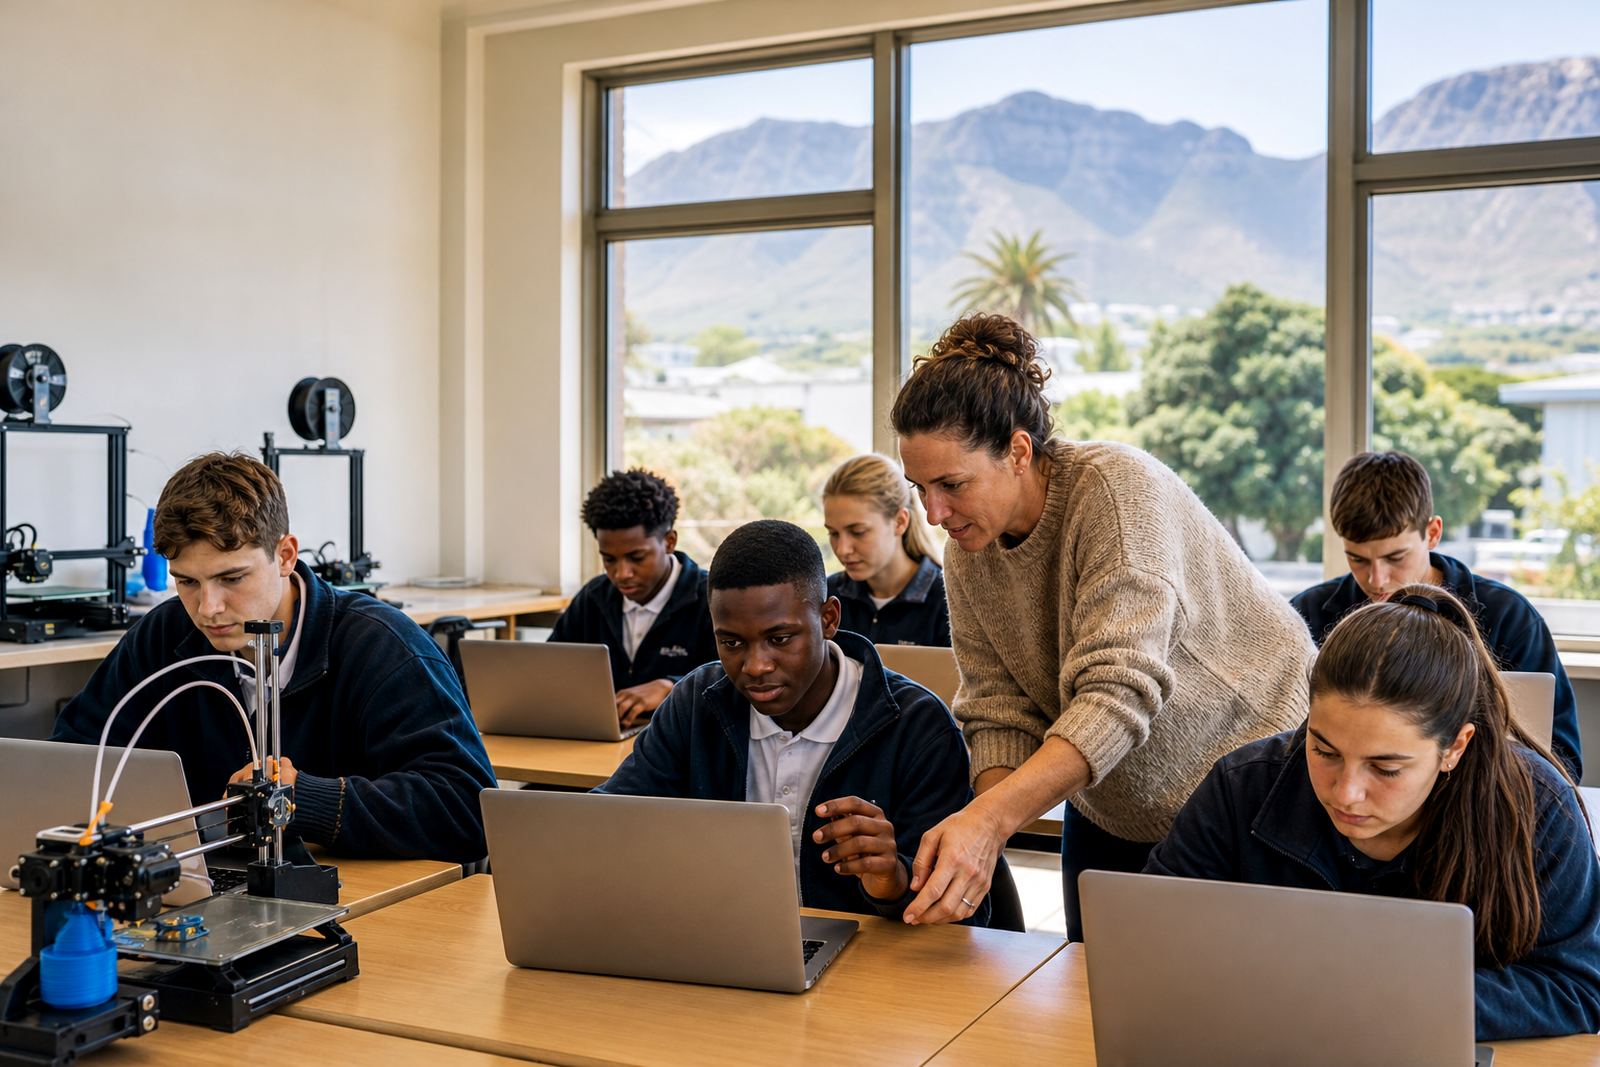
We often help schools in Stellenbosch, Cape Town, Paarl, Somerset West and further afield plan short sessions for Grade 7 to Grade 12 learners. The aim is not to overwhelm them. It is to show what 3D printing can do in a classroom, what skills are needed, and how different subjects can link to future study choices.
Client situation: what schools usually want from a demo
Most schools ask for a session that is simple enough for a hall, library or classroom, but still practical enough for learners to ask useful questions. Some want to support subject choice evenings. Others want a careers day activity that is hands-on and easy to rotate through in smaller groups. A few want a stronger focus on technical subjects and ask for guidance on how 3D printing fits into design technology, CAT, art, natural sciences or entrepreneurship.
The best sessions are usually built around one clear message: learners can create things with the right training, patience and problem-solving approach. We also find that teachers want a realistic view of what is needed later if the school wants to move from a demo into regular use.
- Short learner introduction, usually 30 to 60 minutes
- Teacher questions on classroom use and supervision
- Simple examples of design files, printed parts and failed prints
- Advice on what can fit into a school timetable
Typical equipment set for a career guidance demo
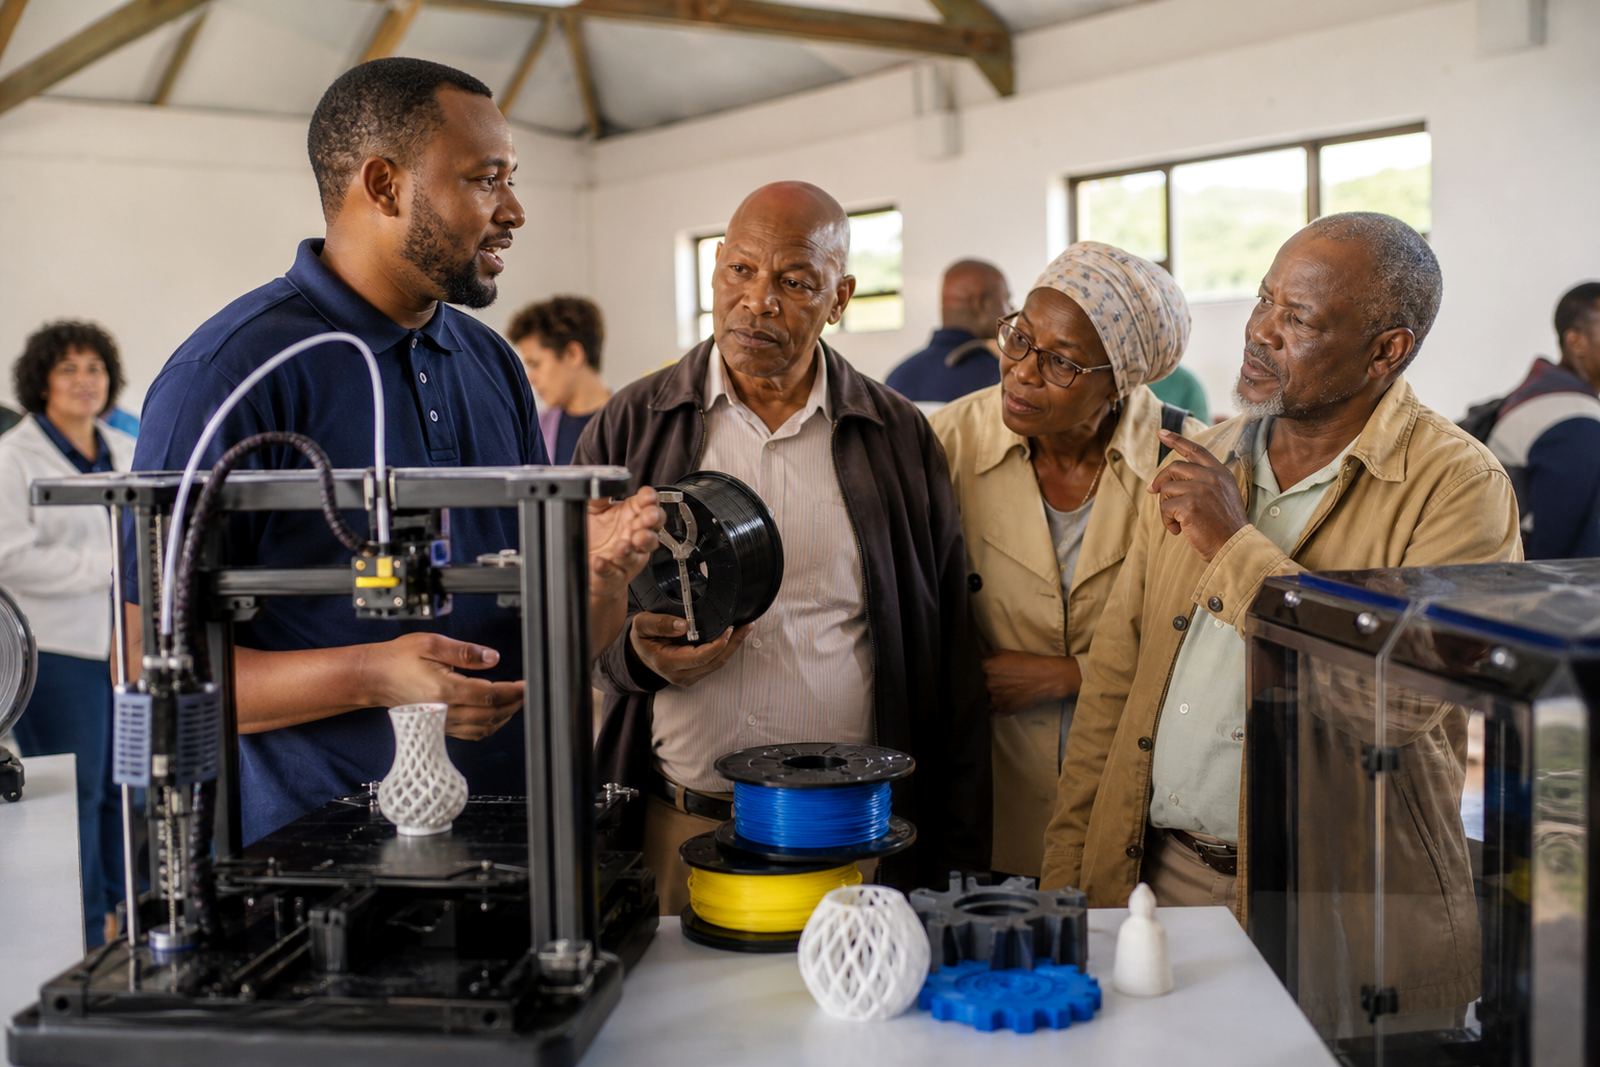
A demo does not need a full workshop. A compact setup is often enough to show the full workflow. That usually includes one or two printers, a laptop or computer for model viewing, sample filaments, a few printed objects, measuring tools and basic post-processing items. For larger school events in Johannesburg, Pretoria or Durban, we may bring extra samples so different groups can handle parts without crowding around one table.
When planning a school session, it helps to include examples that show different stages of the process. Learners often understand the technology better when they can compare a rough prototype with a finished object. If possible, the setup should also include a simple power plan, especially where load-shedding or older wiring could affect the timing of the demo.
- 1 to 2 benchtop printers for live demonstration
- Sample filament spools and finished prints
- Basic laptop or PC for model viewing and slicing
- Scrapers, cutters, calipers and gloves for safe handling
- Table cover, extension leads and surge protection
Layout and planning advice for schools
For most schools, the safest and neatest approach is a U-shape or front-facing table layout where learners can see the screen and printer without standing too close. Keep the printer on a stable surface, away from traffic routes and doors that swing open during the talk. If the event is outdoors or in a hall, try to avoid direct sunlight, dust and wind, which can affect both visibility and print quality.
We usually advise schools to plan the session in blocks. One learner group can listen to the introduction while another group looks at sample prints and materials. This keeps the pace steady and avoids everyone crowding the same machine. It also helps teachers manage noise and movement, which matters when younger learners are involved.
For coastal schools such as Gqeberha and Durban, storage after the event matters too. Moisture can affect filament if it is left open. A sealed container, dry cupboard or simple storage tub helps keep material in good condition for the next session.
Common mistakes to avoid during a demo
The most common mistake is trying to show too much in one session. Learners can lose the thread if the talk moves from careers to software to machine settings too quickly. Another issue is placing the focus only on the printer itself, instead of showing the design and problem-solving steps that come before printing. That can make the technology look more complicated than it is.
Schools also sometimes forget to allow time for questions. A short question period often gives the best insight into what learners are actually curious about. Some ask about engineering, others ask about business ideas, packaging, repair work or how to learn the software later.
- Do not run the session without a visible safety zone around the printer
- Do not leave hot parts where learners can reach them
- Do not rely on one sample only, bring a few different objects
- Do not skip storage and power planning for future use
Budget ranges for school demo planning and next steps
Budget depends on the size of the event and whether the school wants a one-off career talk or a demo that can lead into classroom use. A basic career guidance session with a small equipment set will usually sit in a lower range than a session that includes extra materials, setup time and follow-up discussion with staff. If the school wants to move from a demo to a classroom kit, the budget rises again because of printers, tools, storage and training.
As a rough guide, schools can plan for a small demo package from about R2,500 to R7,500, depending on the visit structure and travel. A fuller guidance session with multiple samples and teacher discussion may sit between R8,000 and R15,000. If a school later wants a classroom-ready lab kit and training support, budgets commonly start higher and should be planned with the school leadership team and procurement process in mind.
The right starting point is often a simple enquiry form submission with the school location, learner group size and event date. From there, the session can be matched to the school’s space, timetable and equipment needs.