When a short workshop makes sense
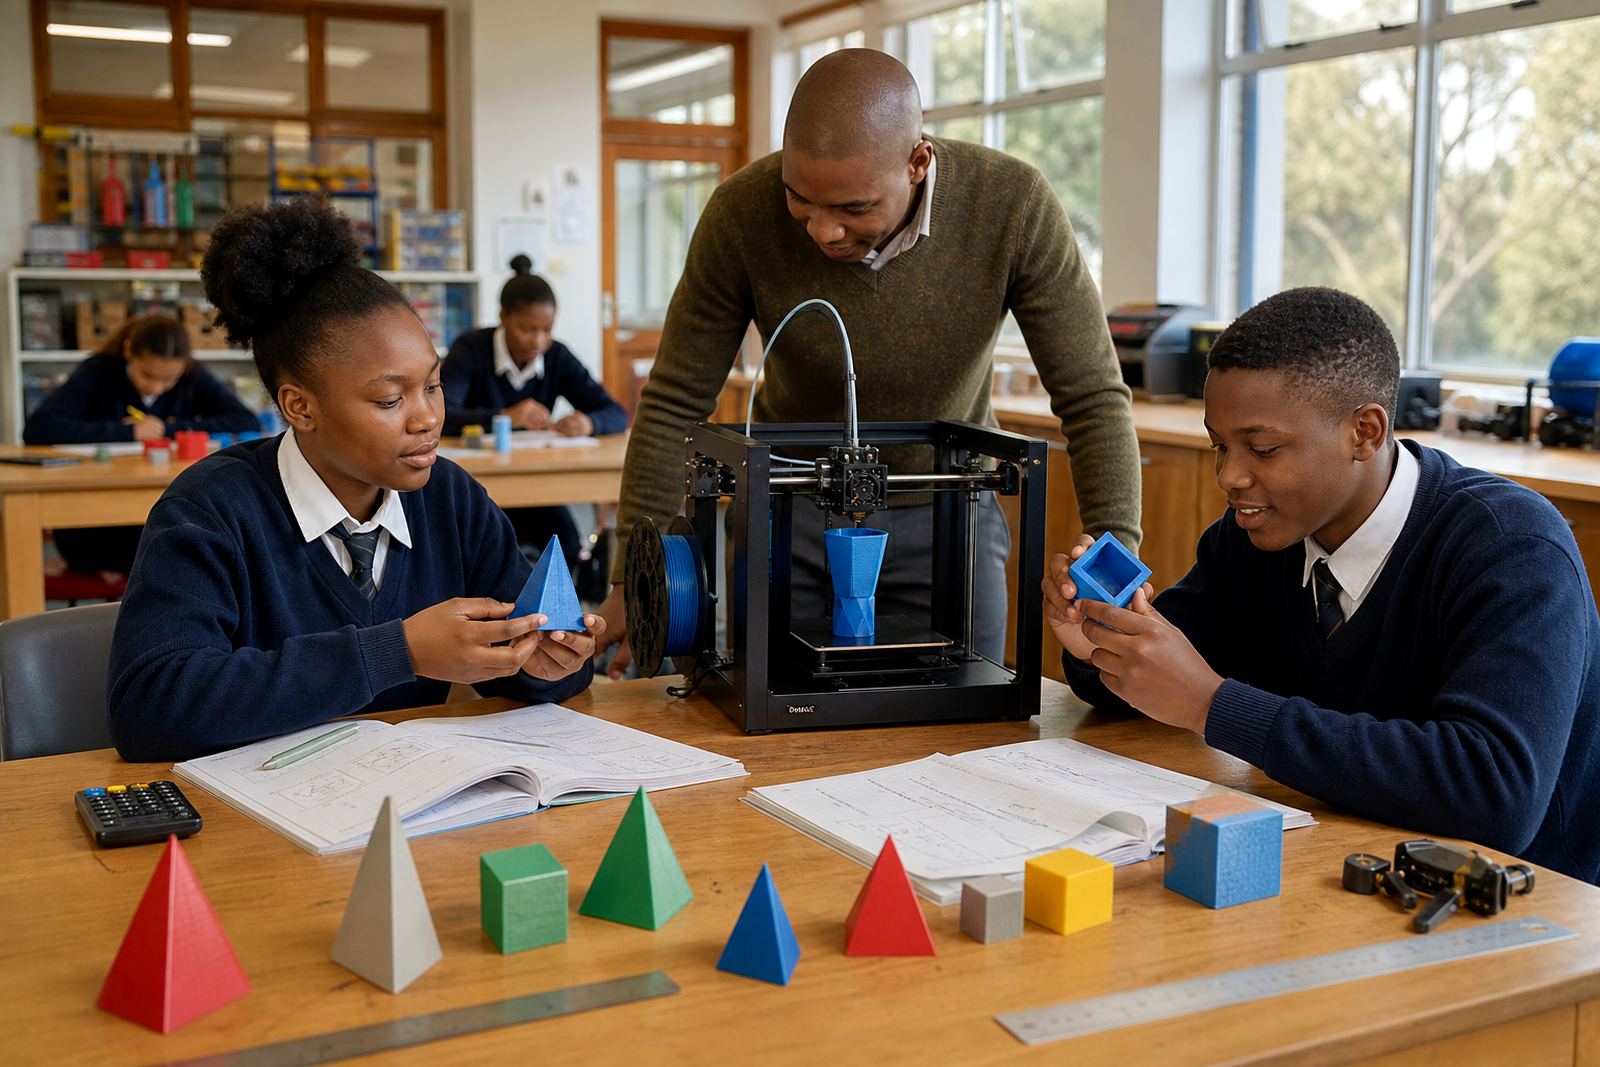
A capsule workshop is the right fit when a school wants to test 3D printing before committing to a full lab programme, or when teachers need a quick confidence boost before term projects begin. It also works well for holiday clubs, small groups, after-school maker sessions and management teams that want to understand what is involved in running a classroom printer safely and sensibly.
In places like Stellenbosch, Cape Town and Paarl, we often see schools using a short session to plan around tight timetables, load-shedding and shared computer rooms. The aim is not to cover everything. It is to give staff and learners a clear first run at design, file preparation and printer operation so they can start with fewer mistakes and less wasted filament.
For schools that are still comparing options, a capsule workshop helps answer practical questions: How many learners can work at once? What needs to happen in the computer room? Who will supervise the printer? Which class projects are realistic in the first term? Those answers usually save time and money later on.
Typical equipment for a capsule workshop
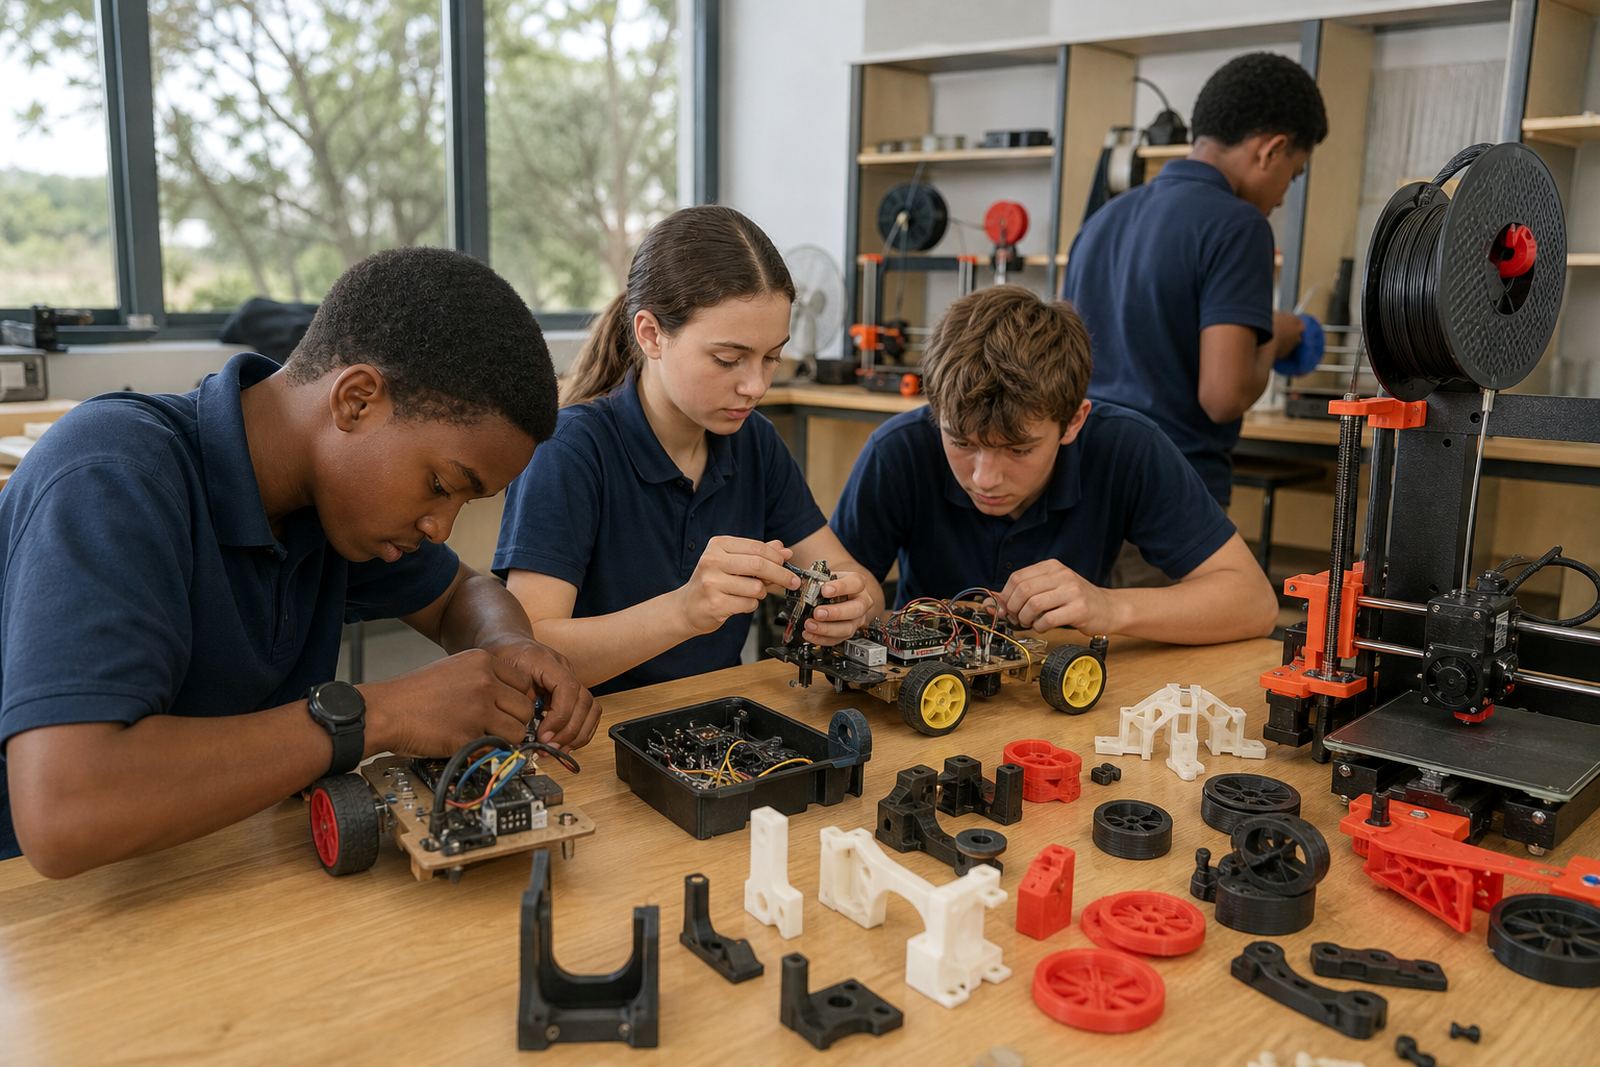
Most short workshops use a simple, reliable set-up rather than a full production lab. The exact mix depends on group size and the age of the learners, but the usual equipment is easy to manage in a classroom or IT room.
- 1 to 2 benchtop 3D printers for demonstrations and supervised printing
- Laptops or PCs with design software installed
- Filament in common classroom colours, usually 1.75 mm material
- Basic hand tools for removing prints and cleaning the build plate
- Sample models for measuring, comparing and discussing design choices
- Power protection and clear cable management for safe use
For schools in coastal areas such as Durban or Gqeberha, storage matters just as much as the machine itself. Humidity can affect filament if it is left open. A closed container or sealed cupboard helps keep material in better condition, especially when the workshop is repeated over several days. Small things like this often make the difference between a smooth session and a frustrating one.
How to plan the room and lesson flow
A good workshop layout keeps movement simple. Learners should be able to see the printer, reach the computers and move between drawing, checking and printing without crowding one another. If the room is shared with other classes, it helps to mark a clear equipment zone and a separate learner working area.
We normally suggest a step-by-step flow that starts with the idea, moves to a simple 2D or 3D shape, then checks dimensions before printing. That order reduces failed prints and gives the facilitator space to explain why support material, layer height and infill change the final result. In a short session, keeping the process tidy matters more than trying to cover every feature of the machine.
For schools with limited time, a 90 minute or half-day format can work well. Longer sessions suit staff groups or holiday programmes where learners need a chance to design, print, inspect and improve their work. The room should also allow for cooling time, because new prints should not be handled too soon. A small waiting area for completed items helps avoid breakage and rushed hands.
Common mistakes that waste time and material
The most common problem is trying to do too much in one session. If a group starts with a complex model, the printer becomes a distraction instead of a teaching tool. Simpler shapes are better at the beginning, because they show the process clearly and finish within the workshop window.
Another mistake is skipping preparation. A printer needs the build plate levelled, the material loaded properly and the file checked before the session starts. If this is left until learners are seated, valuable teaching time disappears. Schools also forget that younger learners need direct supervision around hot parts, moving axes and sharp tools. A clear safety talk at the start saves trouble later on.
- Do not use damaged or damp filament
- Do not leave a running printer unattended in a busy room
- Do not overcrowd the table around the machine
- Do not rush the cooling stage before removing a print
- Do not assume one workshop will solve every setup issue
It also helps to avoid working with too many file types at once. Keep the first workshop simple, then build up confidence over the next few sessions. That approach is easier for teachers to repeat and easier for learners to remember.
Budget ranges schools can plan around
Budget depends on whether the workshop is for a small teacher group, a full class or a mixed staff and learner session. Costs change with group size, travel, equipment count and whether the session includes planning support for a classroom or lab. For schools that want to start cautiously, a short introduction is often the most affordable entry point.
As a general planning guide, a simple introductory workshop may sit in the lower Rand range for a small group, while a more practical half-day session with extra equipment and printed sample materials will sit higher. If the school wants a follow-on lab setup discussion, the budget should allow for planning time as well. It is better to set aside a proper amount at the start than to squeeze the programme and lose value.
For multi-school projects or district-based training, we usually suggest budgeting separately for training and for equipment. That makes it easier to compare options and spread purchases across terms. Schools in Johannesburg, Pretoria and Cape Town often prefer phased spending because it fits procurement cycles better, and it keeps decision-making practical.
What the workshop helps your staff do next
After a capsule workshop, teachers usually leave with a clearer idea of what they can run straight away and what needs more preparation. That may include a learner starter activity, a maker club session, a simple demonstration model or a small assessment task linked to design thinking. The point is to make the next step manageable, not complicated.
Schools often use the session to identify who will handle printer checks, who will manage material storage and who will prepare learner files. That division of tasks helps when the timetable is full and several classes need access to the same room. It also gives management a cleaner view of what support is needed before they order equipment.
When the first workshop goes well, it becomes easier to plan a second one with more design work or a focused maintenance refresher. That is usually how schools build confidence with new technology: one practical session, one clear plan, then steady use through the term.