Why Robotics Clubs Benefit From 3D Printing
In a robotics club, speed matters. A learner sketches a bracket on Monday, prints it on Tuesday and checks whether the motor mount, sensor arm or chassis part actually works by Wednesday. That cycle keeps learners interested because they can see the result of their own measurements and adjustments, not just a finished model on a screen.
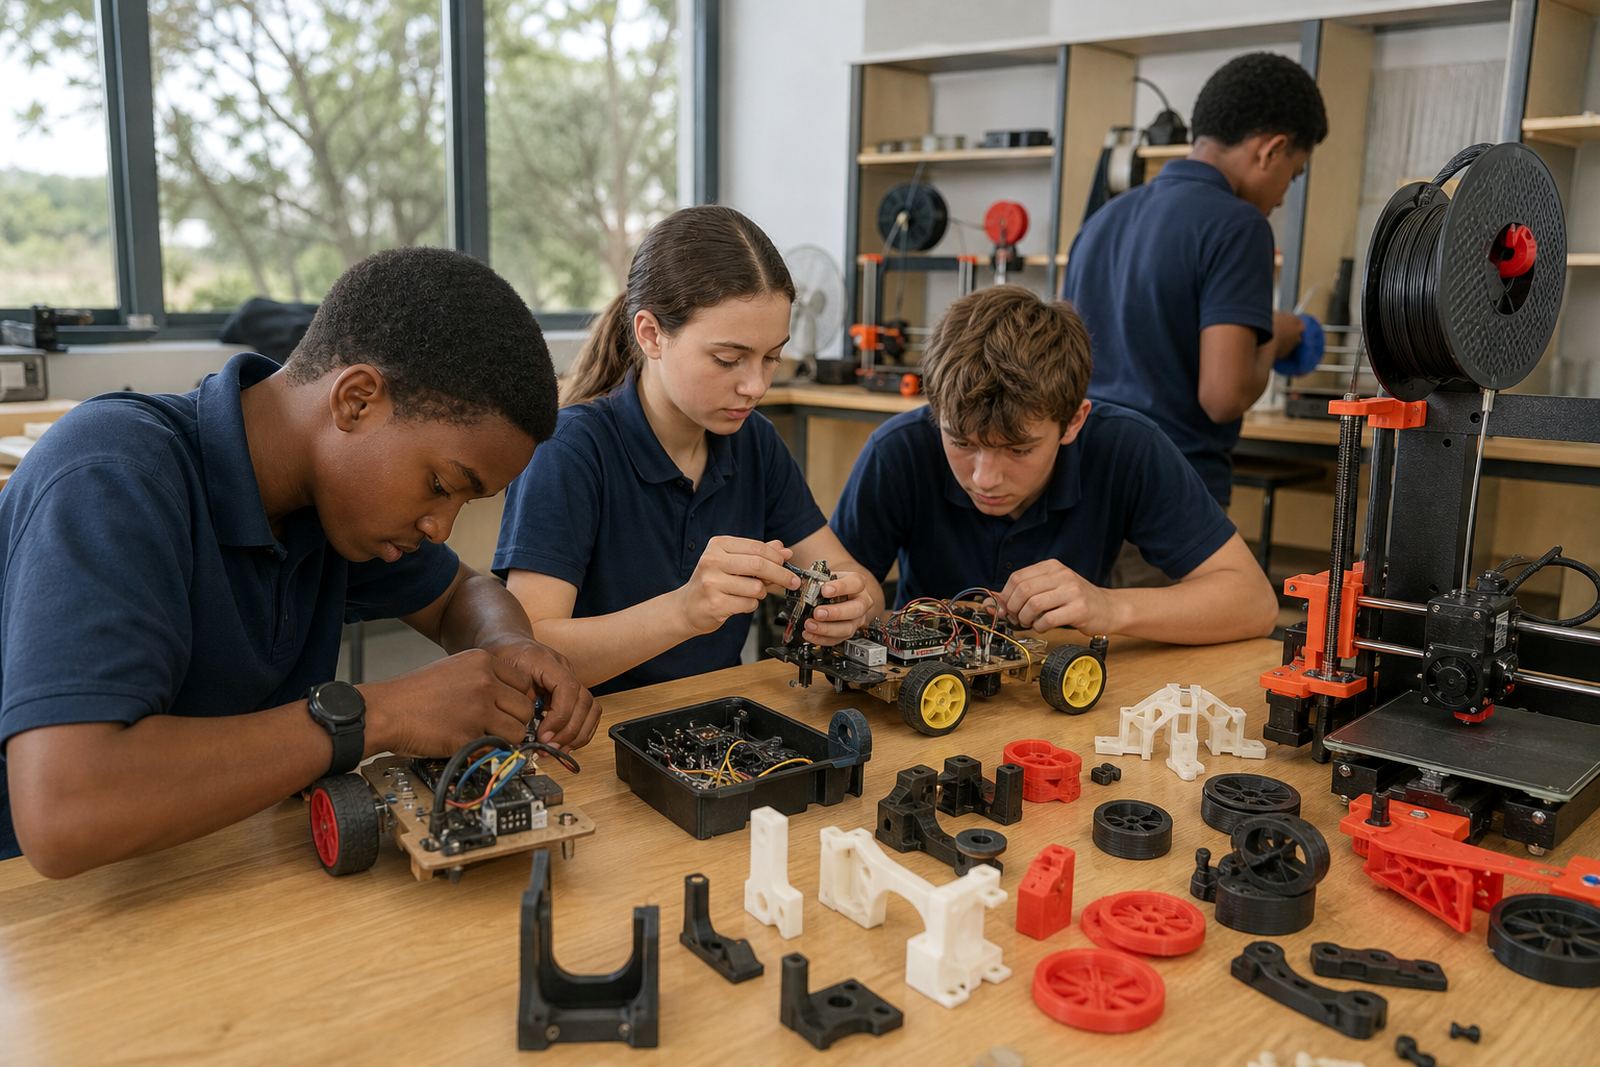
Clubs usually use printing for simple frames, gear covers, sensor holders, cable clips and testing pieces. These parts do not need to be fancy, but they do need to be accurate enough to fit the robot and strong enough for repeated handling. For schools in Stellenbosch, Cape Town, Johannesburg, Pretoria, Durban and Gqeberha, a small printer area can support after-school robotics without taking over an entire room.
The practical value is clear. Learners get used to design thinking, tolerances, tool care and working to a build plan. Teachers also get a better sense of who can manage a project start to finish, which helps when clubs move from simple builds to more advanced competitions or demonstrations.
Typical Equipment For A School Robotics Club
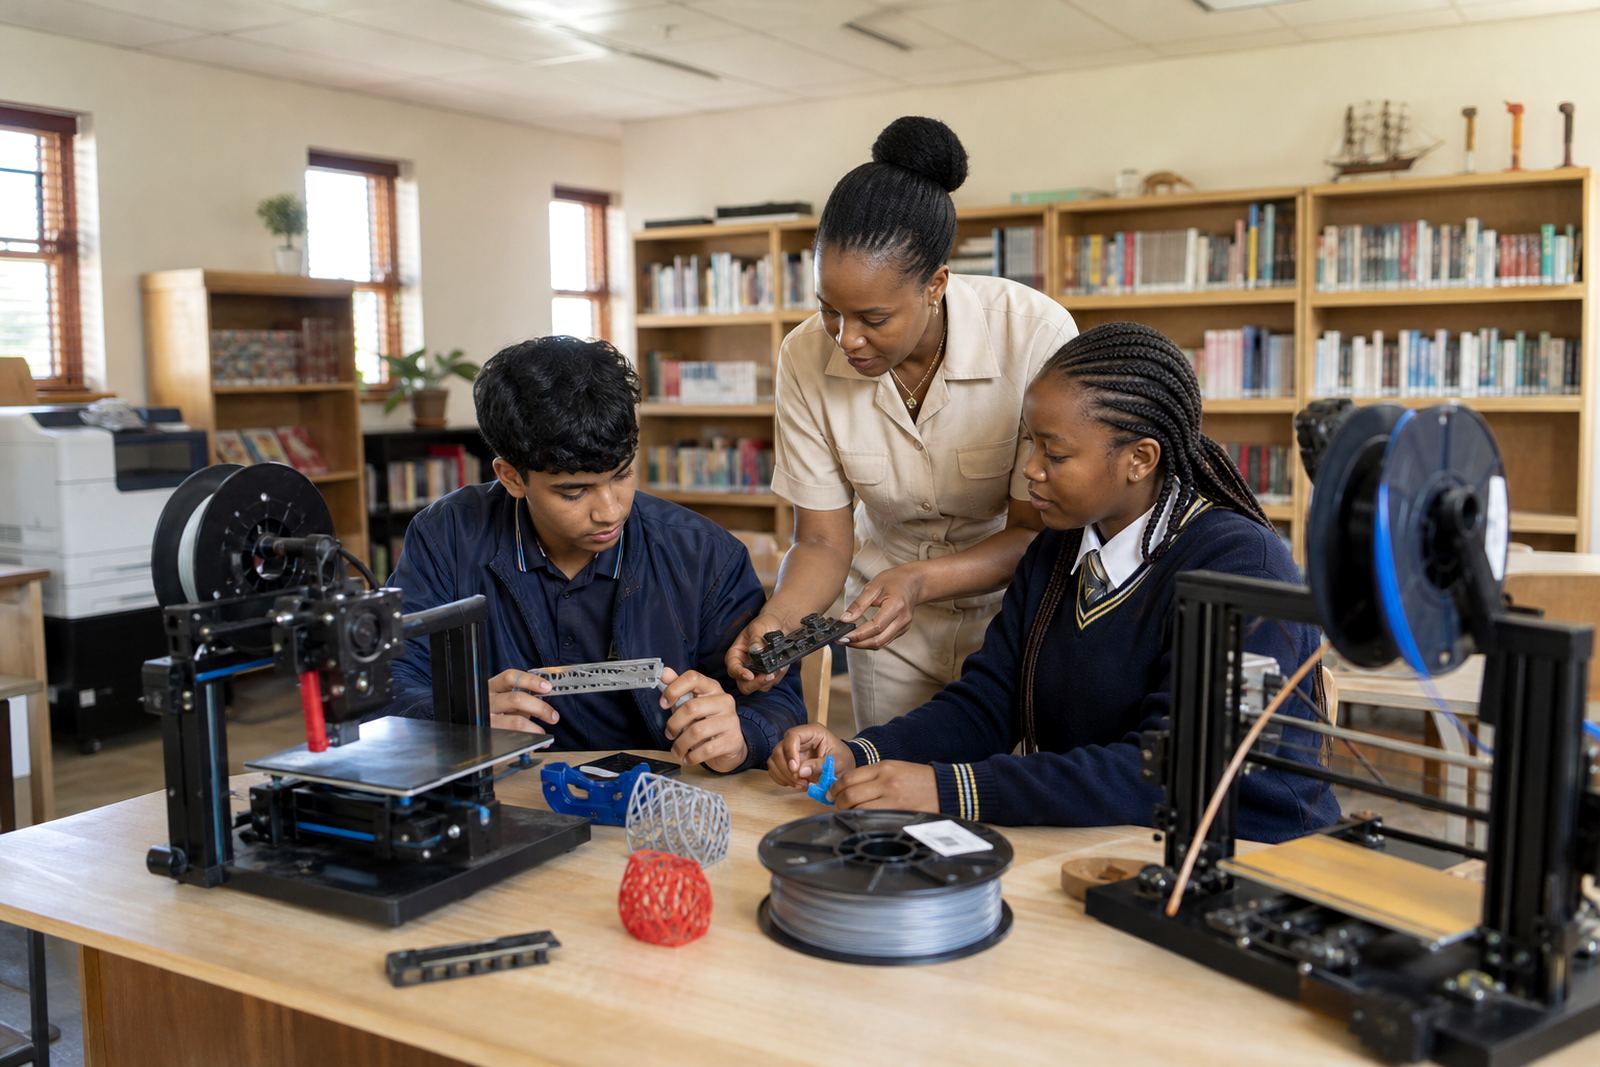
A workable club setup does not need every machine under the sun. Most schools start with one or two reliable printers, a basic design computer, a safe storage area for filament, and a few hand tools for finishing parts. If the club is busy, a second printer is useful so one learner group can print while another is preparing files or testing assembly.
For classroom use, the most practical equipment is simple and easy to supervise. We usually suggest items that support small parts, short print times and clean storage, especially where after-school access is limited. In coastal areas, humidity control matters because moisture can affect filament and print quality, and in high-use rooms it helps to keep consumables sealed when not in use.
- Benchtop 3D printer or small printer pair for club use
- Computer with basic 3D design software
- Spare nozzles, build surface materials and cleaning tools
- Dry, lockable storage for filament and printed parts
- Side cutters, scrapers and basic measuring tools
- Heat-resistant table space and clear cable management
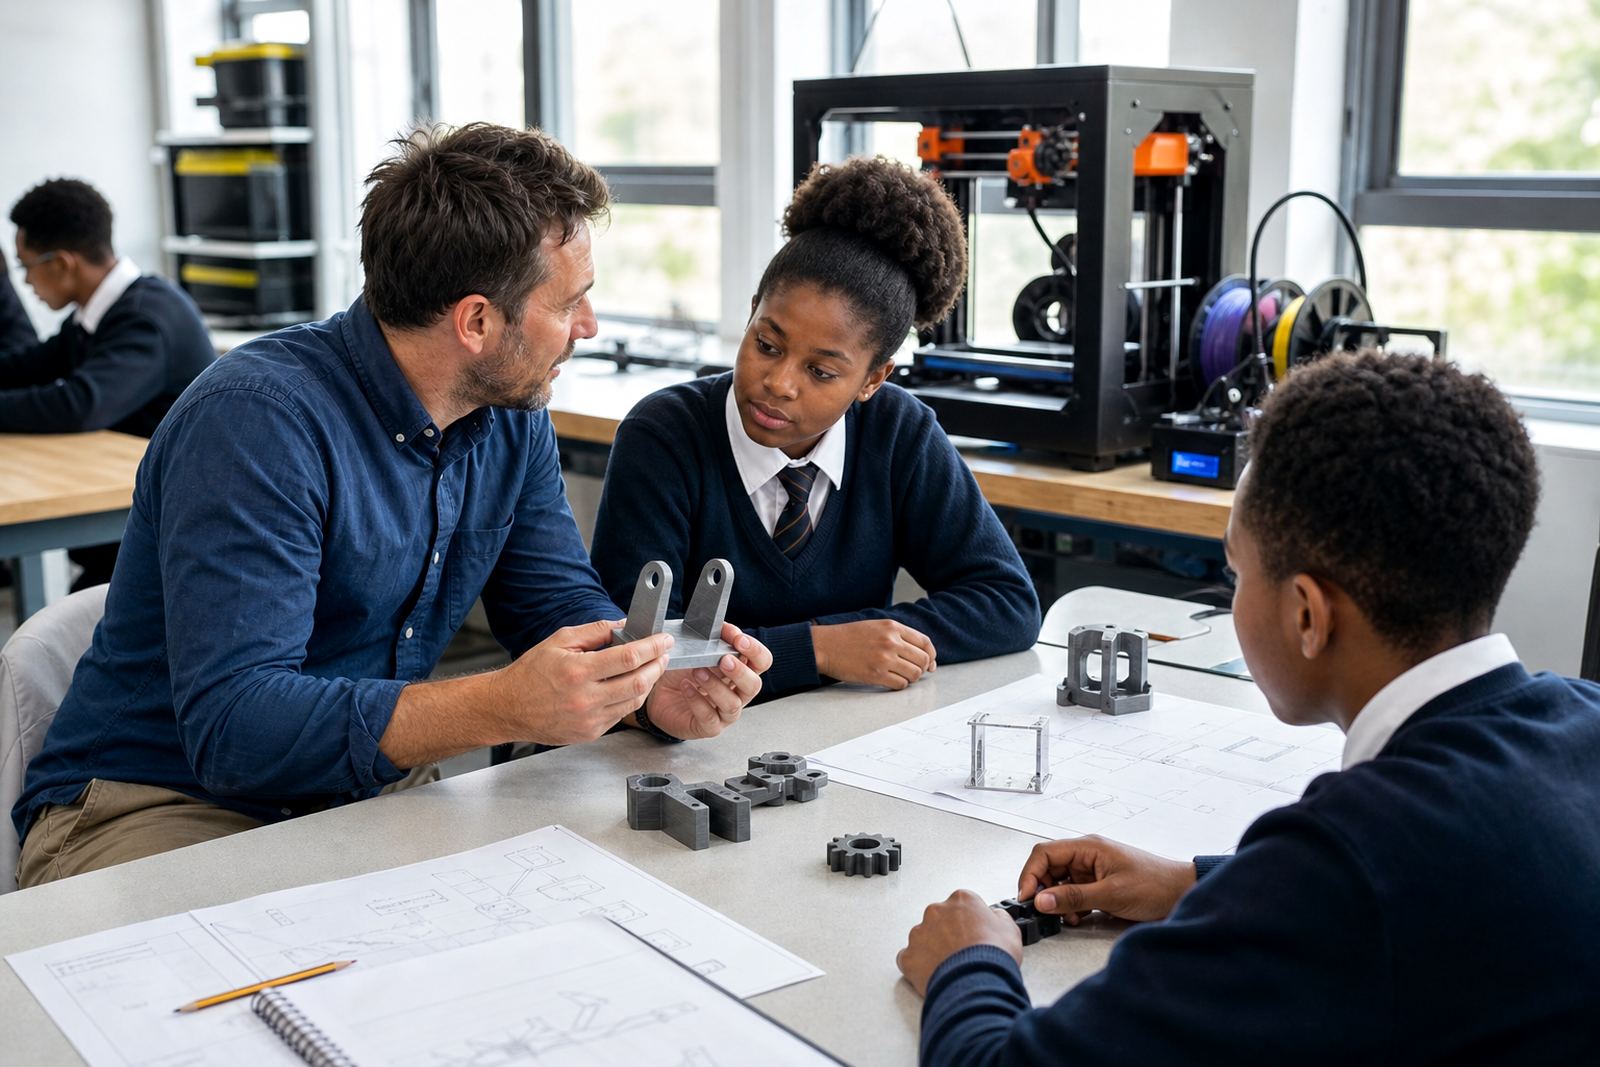
We also advise keeping a few sample parts on hand so learners can compare infill, wall thickness and fit. That makes it easier to explain why one mount bends and another one holds up under load.
Planning The Club Room And Printer Layout
A robotics club room should feel organised, not crowded. Printers need a stable surface, a little space around them and a clear route for learners to approach the machine without leaning over moving parts. If the club runs in a regular classroom, the most useful layout is one printing zone, one design zone and one finishing zone. That separation helps with supervision and keeps tools from being left where they should not be.
It also helps to think about where learners sit during a print. The room should allow a teacher or facilitator to see the printer doors, cable runs and any hot surfaces at a glance. For school sites that share rooms with other subjects, lockable storage is a practical choice, especially if the club meets only once or twice a week.
In load-shedding areas, schools should plan for a safe stop-start routine and make sure nobody resets equipment without checking the print state first. If your school is near the coast, keep printers out of damp corners and away from open windows where salt air can affect electronics over time. Small details like this save time later.
What Learners Can Print For Robotics Projects
Robotics clubs do not need complicated parts to make good progress. Simple printed items can improve a build a great deal and give learners a chance to measure, revise and print again. The best projects are usually small enough to finish in a lesson or two, with clear learning value.
Common parts include sensor brackets, battery spacers, chassis mounts, wheel guards, cable guides and test jigs for checking alignment. Learners can also print mockups before committing to a final build, which is useful when teams are still deciding where motors, switches or sensors should sit. That way they learn to plan before they commit material and time.
- Frame corners and support braces for light robot builds
- Mounts for sensors, batteries and small motors
- Test pieces for fit checking and hole spacing
- Protective covers for exposed components
- Challenge parts for club demonstrations and class tasks
We often encourage clubs to start with one standard part, then adjust the design a bit for each team. That gives learners repeat experience with the same print process while still letting each group solve its own build problem.
Common Mistakes Schools Make With Club Printing
One of the biggest mistakes is treating the printer like a once-off gadget instead of a tool that needs routine care. Clubs run better when someone is assigned to check the machine, clean the bed and confirm that filament is stored properly. Without that, the first few weeks can go fine, then print quality drops and confidence with it.
Another common issue is starting with parts that are too ambitious. If the first project is large, thin-walled or poorly measured, learners spend more time troubleshooting than building. It is better to begin with small brackets and holders, then move to more detailed robot parts once the group understands orientation, supports and tolerances.
Schools also forget the basics of classroom safety. Keep hot surfaces out of reach, teach learners not to touch a moving gantry and make sure no one leaves scrap filament or tools on the floor. A tidy room is not just neat, it prevents damage and reduces avoidable mistakes.
Budget Ranges And What To Expect In Rand
Budgets vary depending on whether the school wants a simple club starter set or a fuller setup with training and support. A lean entry setup usually covers one printer, essential tools and a few reels of filament. A more complete club room can include more than one machine, storage, design workstations and setup guidance for staff.
For many South African schools, the most useful way to budget is in stages. Start with the equipment needed for basic printing and learner access, then add spare parts, consumables and layout improvements after the first term. This approach is especially sensible where school funding arrives in parts or where the club shares resources with robotics, coding or design classes.
As a guide, schools often look at a practical starter range from about R15 000 to R40 000 for a very simple club space, while a more complete school lab or club room can move from around R45 000 to R120 000 or more depending on the number of printers, training needs and room setup. Costs can shift with room conditions, power backup needs and the amount of storage required. A proper plan upfront usually costs less than fixing bad placement or replacing damaged consumables later.