When One Project Can Support Four Subjects
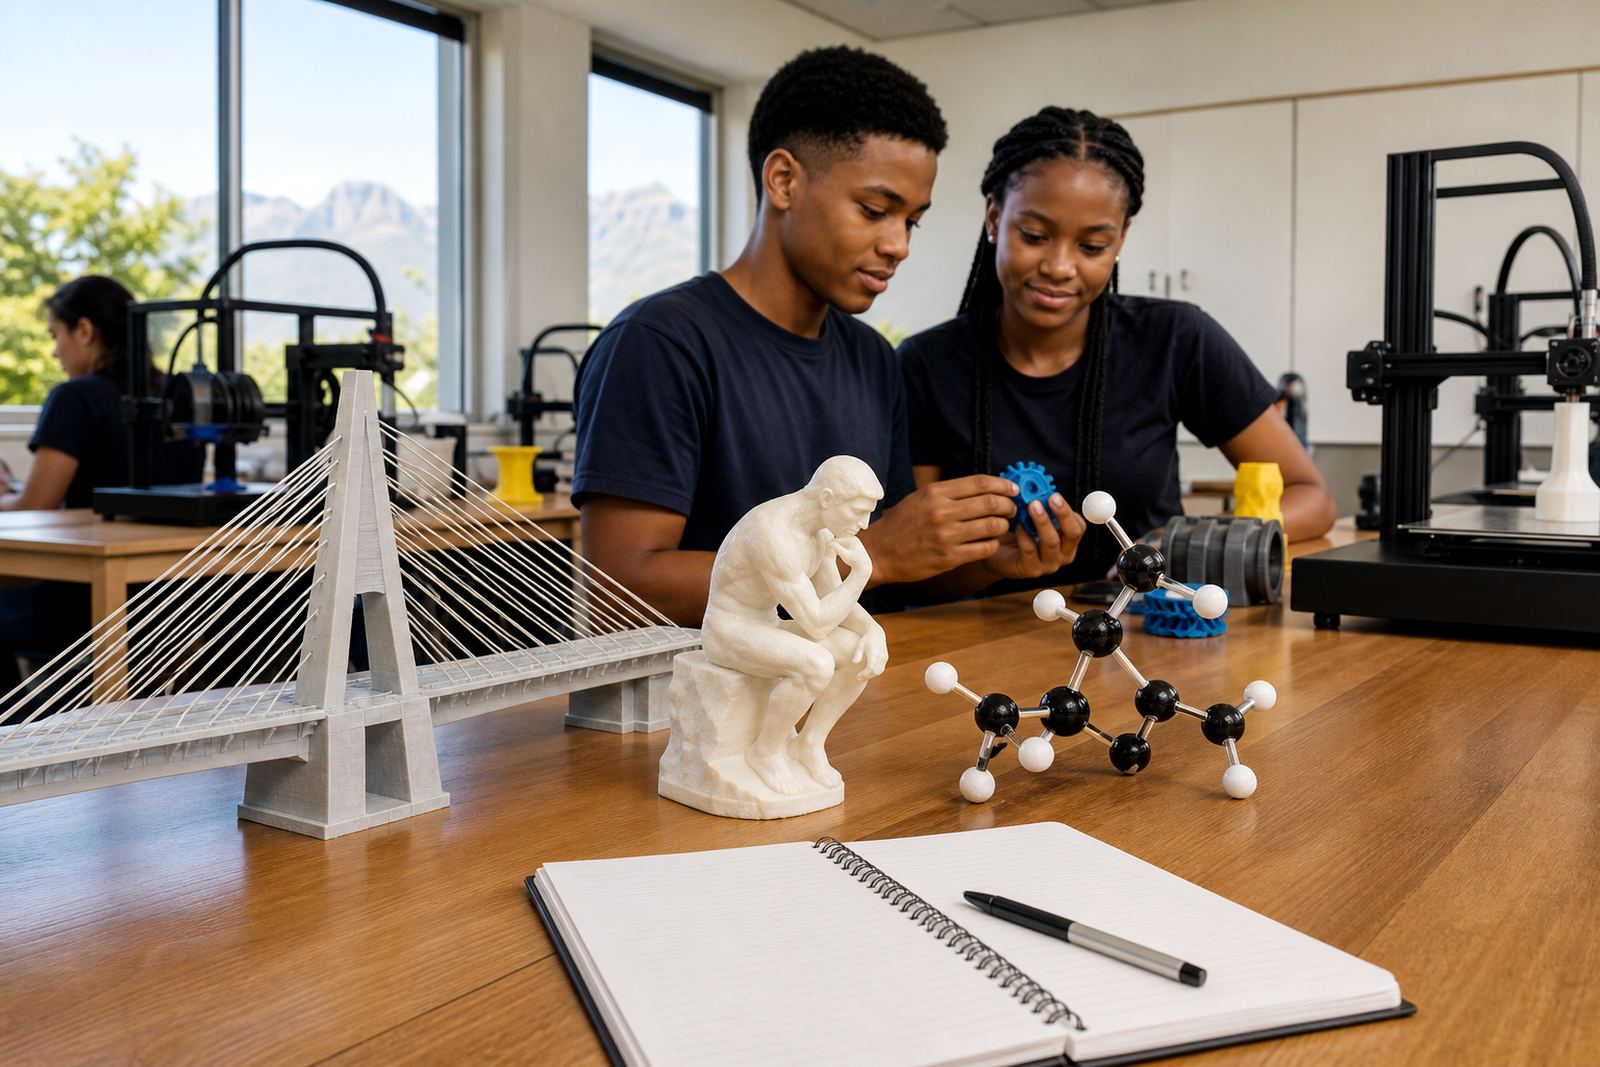
Subject crossover works well when a single classroom project does more than one job. A gear, bridge, planter, model house or simple device can be used to teach measurements in maths, material choices in science, pattern and form in art, and digital design in technology. Learners see the full process from sketch to print, then they handle the result and talk about what worked and what did not.
This approach suits primary and secondary schools that want practical learning without turning the timetable upside down. Teachers can start with short design tasks, then build up to more detailed models once learners understand the workflow. It also helps in mixed-ability groups, because the same project can have different levels of difficulty. One learner may draw the shape, another may measure it, and another may prepare the print file.
Typical Classroom Kit For Cross-Subject Work
A school lab for this kind of work usually includes a small group of benchtop 3D printers, a few design laptops or computers, slicing software, filament, basic tools and a safe finishing area. For many schools, two to four printers is enough to begin with. That setup gives teachers enough capacity for demonstrations and small group printing, while keeping supervision manageable.
- Benchtop 3D printers for PLA and similar classroom materials
- Design computers with simple CAD software
- Filament spools in common colours for class tasks
- Scrapers, side cutters, tweezers and cleaning tools
- Calipers, rulers and basic measuring tools
- Storage tubs for parts, samples and works in progress
- A heat-safe, well ventilated area for operation and cooling
In coastal areas such as Cape Town, Gqeberha and Durban, humidity can affect storage of filament, so sealed containers or dry storage are worth planning for. In schools where load-shedding is common, a backup power plan and a print schedule that avoids interrupted jobs saves time and waste.
How To Lay Out A Small School Lab
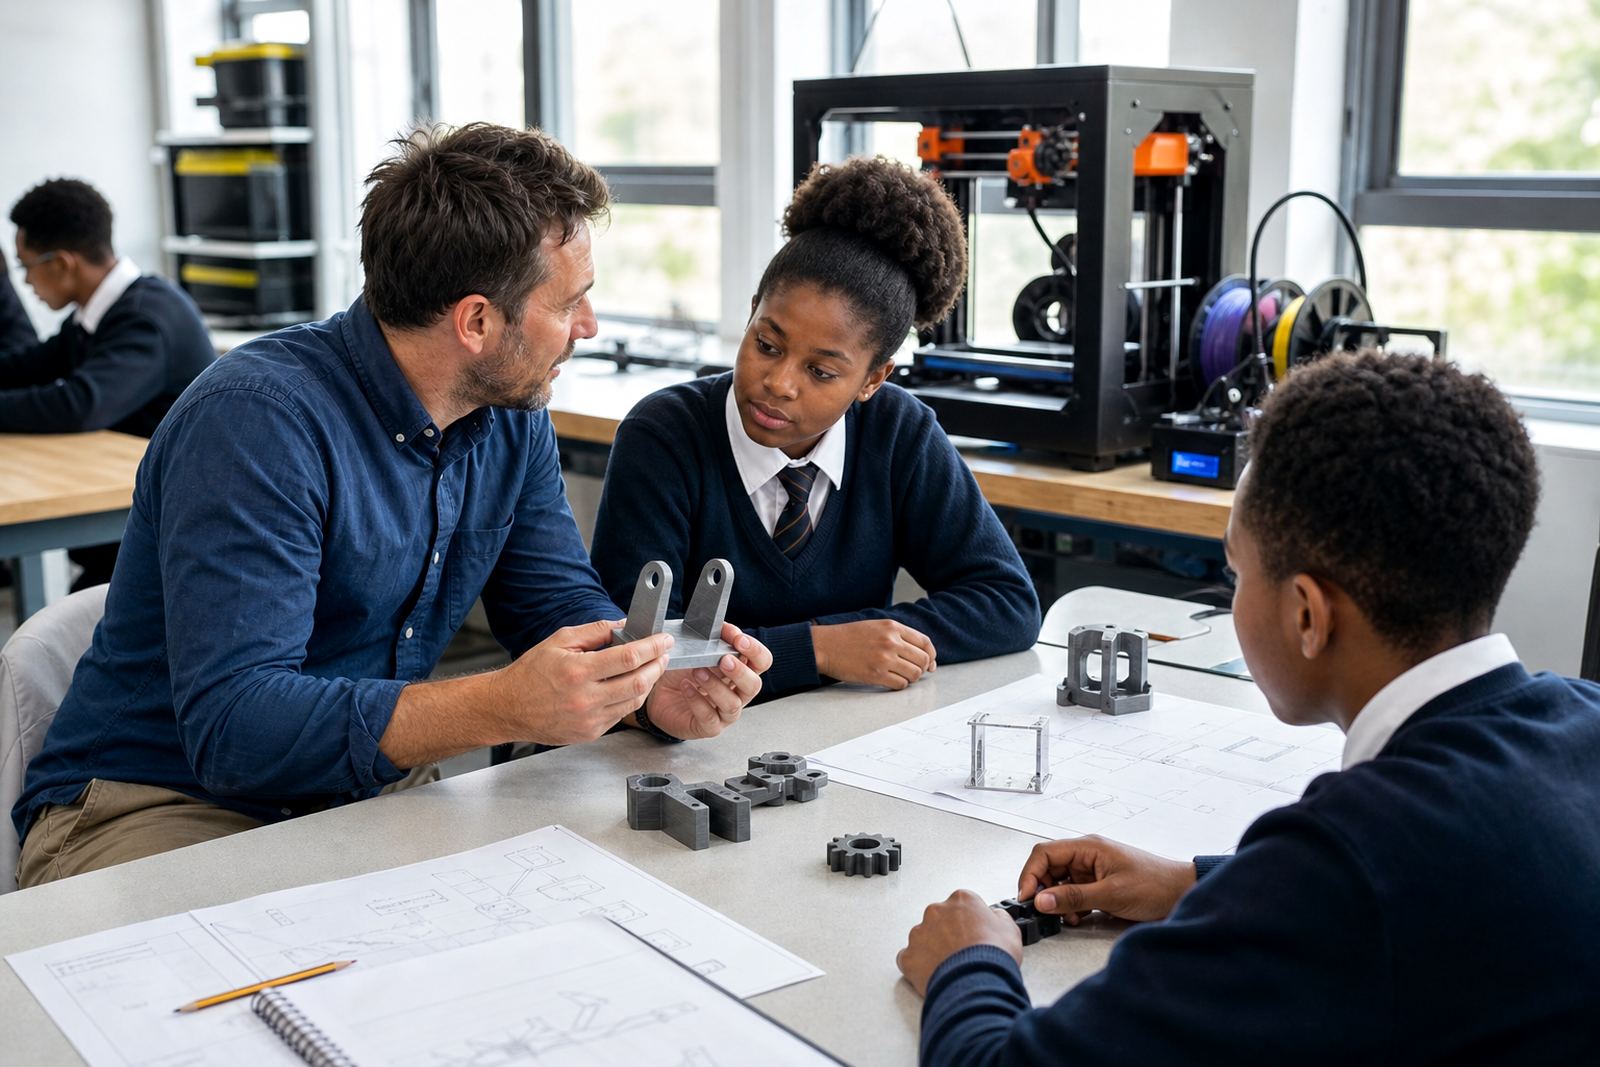
A good lab layout keeps design, printing and finishing in separate zones. The design area should be quiet and clear, with enough space for notebooks, rulers and laptops. Printers should sit on stable tables away from direct sunlight, windows that open onto dust, and busy walkways. A small finishing counter near the printers helps with removing support material and checking dimensions before projects are handed over.
For schools in Stellenbosch, Paarl and Somerset West, a compact room can work well if the workflow is tidy and supervised. In larger schools in Johannesburg or Pretoria, a wider layout may suit higher learner numbers and multiple class groups. The key is to avoid crowding the machines. When printers are packed too closely, learners cannot safely watch the first layer, and teachers spend too much time moving around equipment.
Simple classroom rules help keep the space workable:
- No touching the nozzle or build plate while a print is hot
- No loose bags, drinks or paper near the machines
- Learners sign in before handling tools or moving parts
- Print files are checked before starting, not after the job begins
- Finished pieces cool before being removed from the plate
Course Paths That Fit Subject Crossovers
Teachers and support staff often start with a short introduction, then move into printer operations and basic CAD. Once that foundation is in place, project planning becomes easier. A Teacher Introduction session can show how to manage a class activity, while a Teacher Intermediate session can go further into lesson structure, print settings and troubleshooting. Learner Foundations is useful for younger groups, especially where the aim is to build confidence with simple models and measuring tasks.
For subject crossover work, CAD Basics and Project Planning are especially useful. They help learners turn a science idea or maths shape into a printable model with the right size, wall thickness and orientation. If the school wants longer-term support, a Management Briefing or Custom Group Workshop can help staff decide how many machines are needed, what kind of storage works best, and which room can handle the noise, heat and traffic of a busy term.
Common Mistakes That Slow Down Cross-Subject Projects
Many schools begin with ambitious models and then run into avoidable problems. The most common one is making the first project too large or too detailed. Another is skipping a test print. When dimensions are not checked early, a model that should fit onto a standard build plate may need to be split or resized. Teachers also sometimes forget that a classroom model must be easy to explain, not only clever to look at.
Another issue is poor file preparation. If a model has thin walls, floating parts or unsupported overhangs, the print may fail or take far longer than expected. A second issue is weak filing and storage after the job is done. Loose parts, mixed filament colours and unlabeled project folders waste time in the next lesson. In busy schools, someone needs to keep a simple log of jobs, maintenance and material usage so the room does not drift into confusion.
- Start with a small sample project before term work
- Keep file names simple and consistent
- Measure the final object against the lesson goal
- Do basic maintenance after every few prints
- Store filament in a dry cabinet or sealed container
Budget Ranges In Rand For Starting Well
Budget depends on whether the school needs only a few machines for project work or a fuller lab for regular class use. A modest starter setup for subject crossover teaching may begin with two printers, basic tools and one design station. A more developed lab with several printers, more computers and organised storage will sit higher. Consumables like filament, spare nozzles and cleaning items should always be included in the plan.
As a general guide, schools often look at a starter range from about R35 000 to R90 000 for a small practical setup, depending on the number of printers and computers selected. A larger classroom installation can move beyond R120 000 once you add extra machines, furniture and support equipment. The final amount depends on room size, learner numbers, and how much of the setup must be supplied at once. It also helps to budget for ongoing maintenance and material use, because cross-subject projects work best when the lab is active all term, not only once a year.
Clients across South Africa can enquire through the contact page form to discuss a suitable training path, room layout and equipment mix for their school. The right setup makes it easier for learners to move from concept to object without unnecessary delays.