When a classroom needs more than one way to explain the same idea
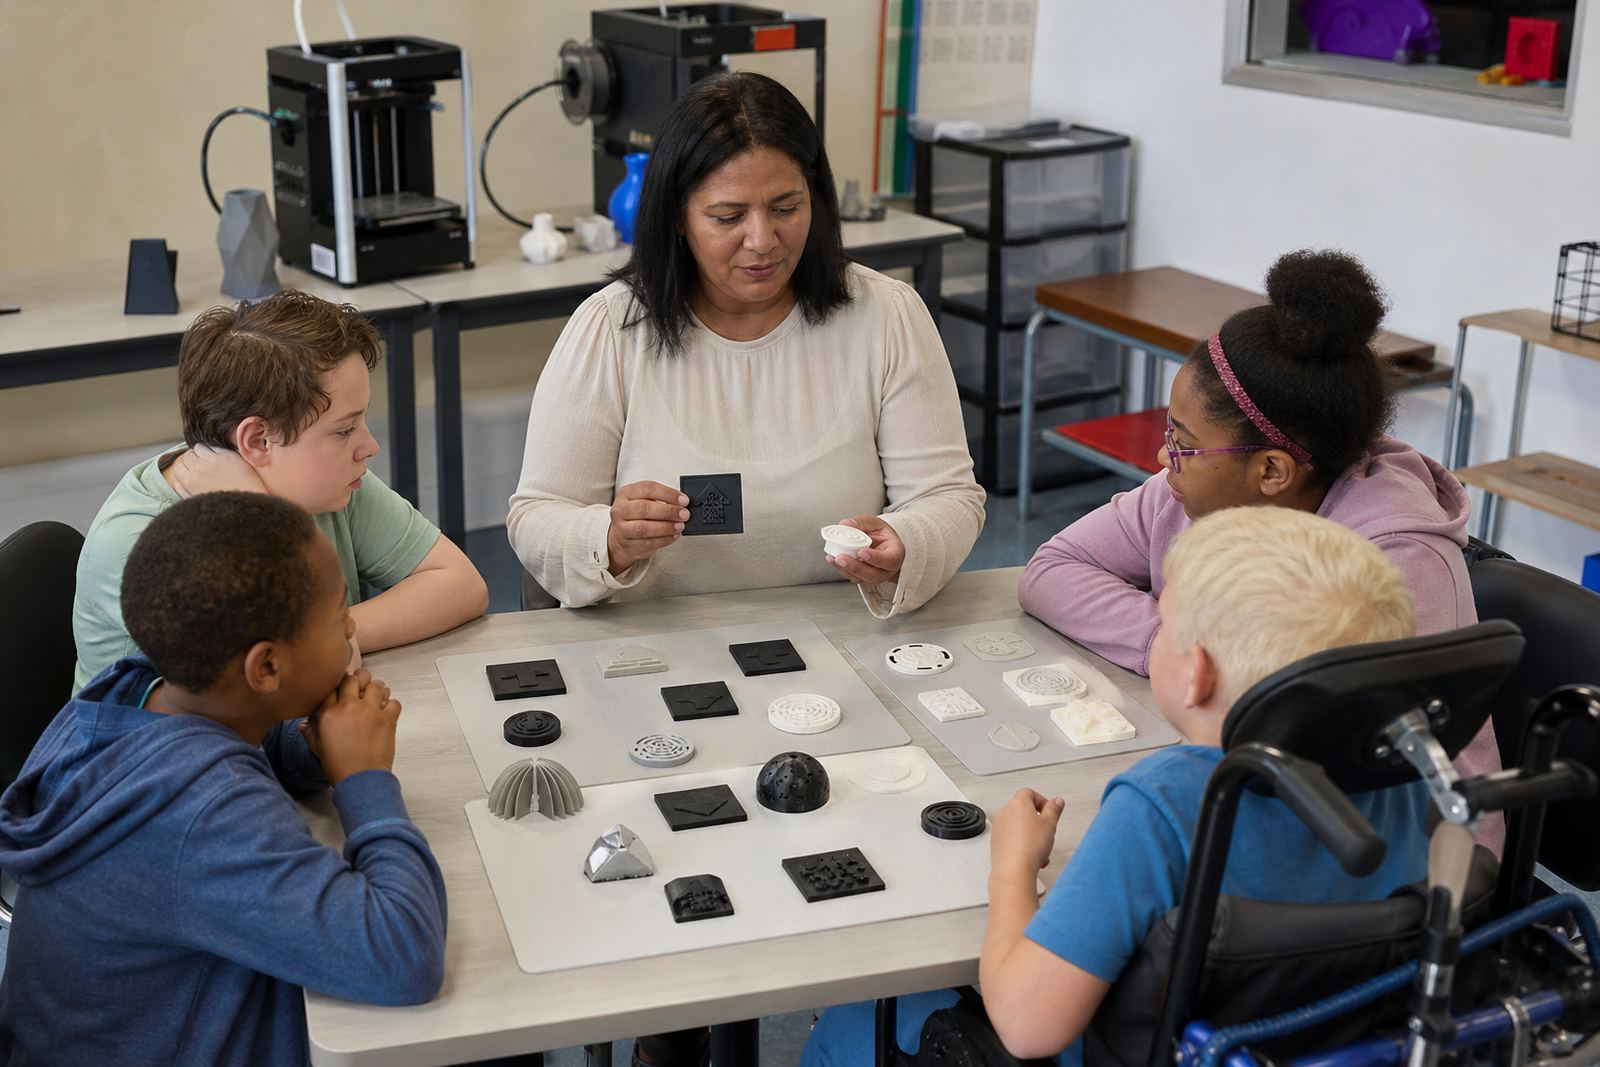
Some learners understand best by seeing a diagram, others by touching a model and some need to build the idea step by step. Inclusive learning aids make that easier. A printed object can show shape, scale, sequence or structure in a way that a flat page cannot always do. In a busy classroom, that can help teachers move faster and keep more learners involved at once.
For schools, the need usually comes from mixed ability groups, support for visual learners, or the need to make abstract topics more concrete. This is common in foundation phase classes, technology rooms, special needs support rooms and maker spaces. In the Western Cape, Gauteng and KZN, many schools also want aids that can survive regular handling and still be easy to replace if one breaks.
- Tactile letters, numbers and symbols for early learning
- Simple geometric solids for maths and spatial concepts
- Raised maps, routes or local landmarks for geography
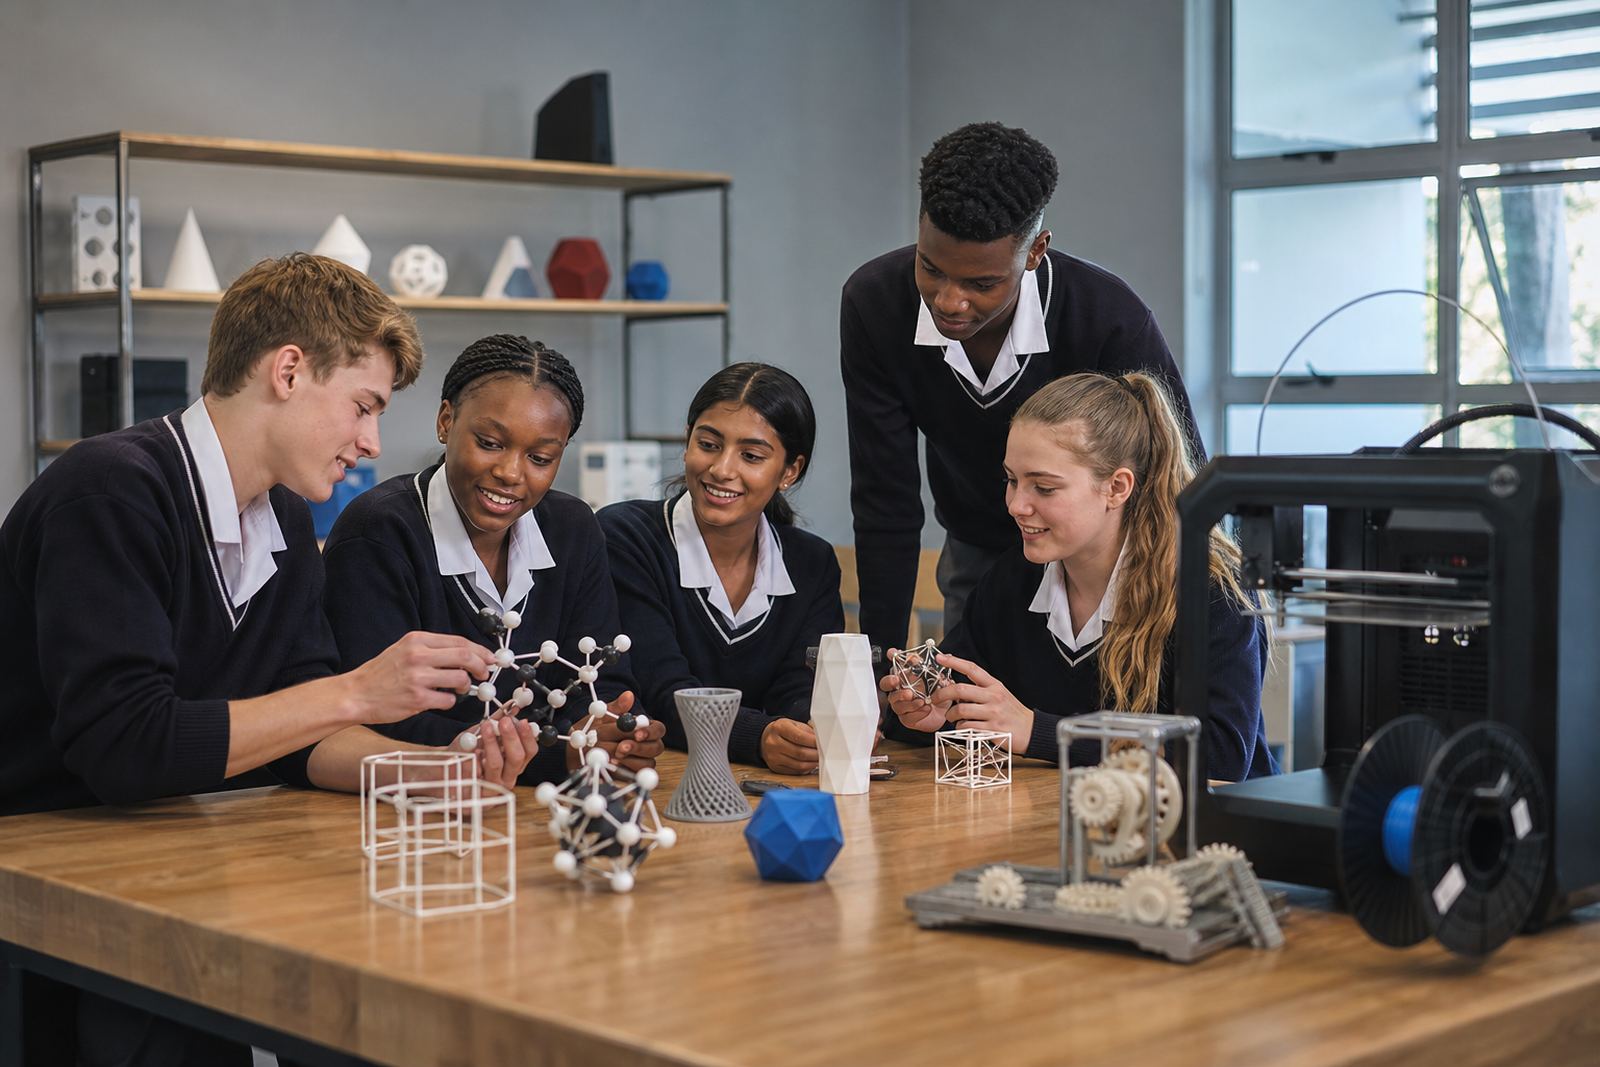
- Science models for organs, plants, circuits and machine parts
- Counting tools, manipulatives and classroom sorting pieces
What a typical school kit includes for inclusive use
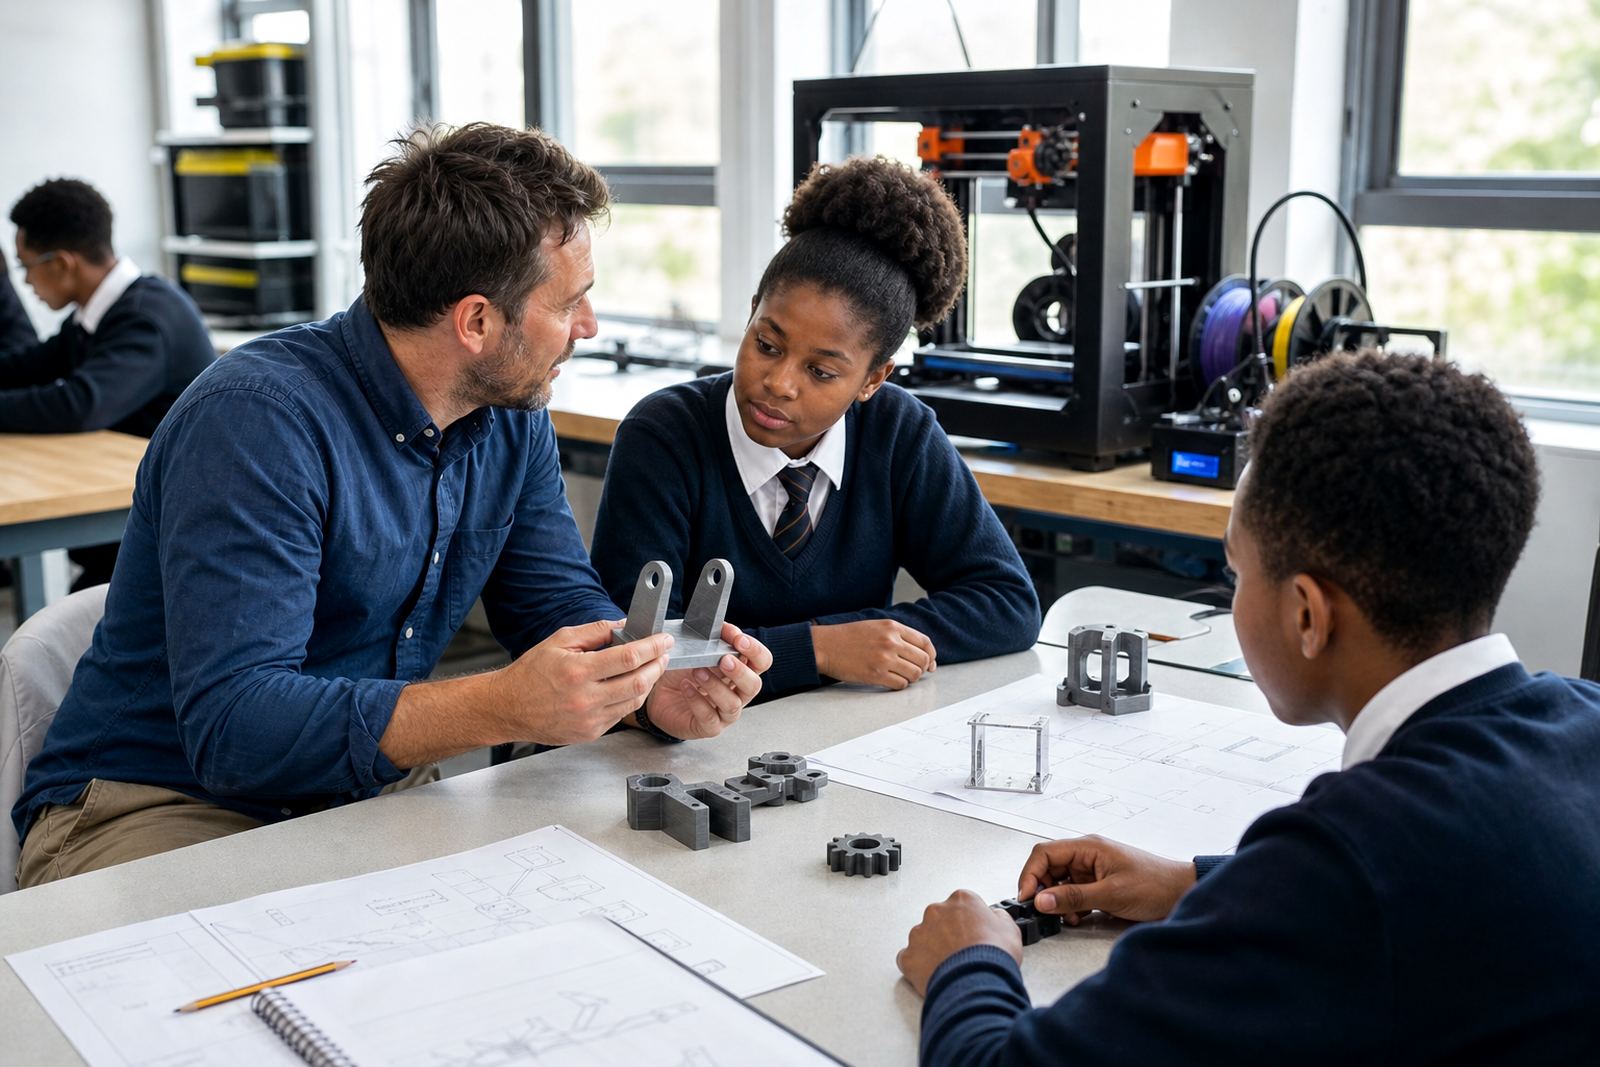
A school lab kit for inclusive learning does not need to be complicated, but it should be planned properly. The right mix depends on age group, subject focus and how many classes will share the equipment. In most cases, the set includes one or more printers, filament, a basic design workstation, starter files, tools for removal and finishing, and a clear storage plan so items do not go missing after the first term.
For tactile classroom items, durability matters. Corners should be rounded, labels should be clear and models should be sized for small hands. Where learners have sensory sensitivities, smoother finishes and fewer loose parts are usually better. A good kit should also take into account load-shedding, heat in a school storeroom and dust, especially in coastal towns where humidity can affect filament if it is not stored correctly.
- Benchtop 3D printer or a small set of printers for shared use
- Filament in common classroom colours and a dry storage tub
- Basic removal tools, brushes and nozzle cleaning items
- Sample tactile learning models and starter project files
- Printed safety guide for learners and staff
- Optional spare parts pack for routine maintenance
Where a school wants multiple classes to use the same room, we usually plan for a rotation system. That keeps lessons orderly and reduces damage. It also helps teachers know exactly what is printed, what is in use and what still needs finishing. A bit of structure saves a lot of time later on.
Planning the room so learners can work safely and clearly
A classroom or lab for inclusive aids needs enough space for the printer, a small prep area and a safe place for finished items to cool. It does not have to be large, but it should be tidy and easy to supervise. Good lighting is useful for seeing small details, while a sturdy table helps reduce vibration during printing. If the school is in a coastal area like Cape Town, Gqeberha or Durban, keeping materials sealed between sessions helps them last longer.
Teachers also need to think about access. Can learners reach the tools without crowding? Is there a clear walkway? Can a learner with mobility limitations use the room comfortably? Can the printer be switched off quickly if there is a power interruption? Small choices like these make a big difference to daily use.
For classroom safety, we keep the guidance practical. Learners should not touch the hot end or moving parts, and adult supervision is important when printers are running or when tools are used for post-processing. Keep cables neat, store cutters and scrapers out of reach, and check that the room is ventilated. That is usually enough for everyday school use.
Common mistakes schools make with tactile learning aids
One of the biggest mistakes is printing too many items before testing one or two in a real lesson. A model may look good on screen but still be too small, too delicate or too detailed for classroom use. Another common issue is choosing materials without thinking about cleaning, handling or storage. If items will be used by younger learners, smooth edges and solid parts are better than thin decorative features.
Some schools also underestimate the time needed for teacher training. A printer in a room does not automatically make useful learning aids. Staff need basic confidence with files, slicing, set-up, print checks and simple maintenance. Without that, the equipment often sits unused or is only used for one subject area. That is a waste of money and space, honestly.
- Printing models that are too small for group use
- Using too much detail for early grades
- Skipping storage and labelling between classes
- Not planning for power cuts or interrupted prints
- Buying equipment before deciding who will manage it
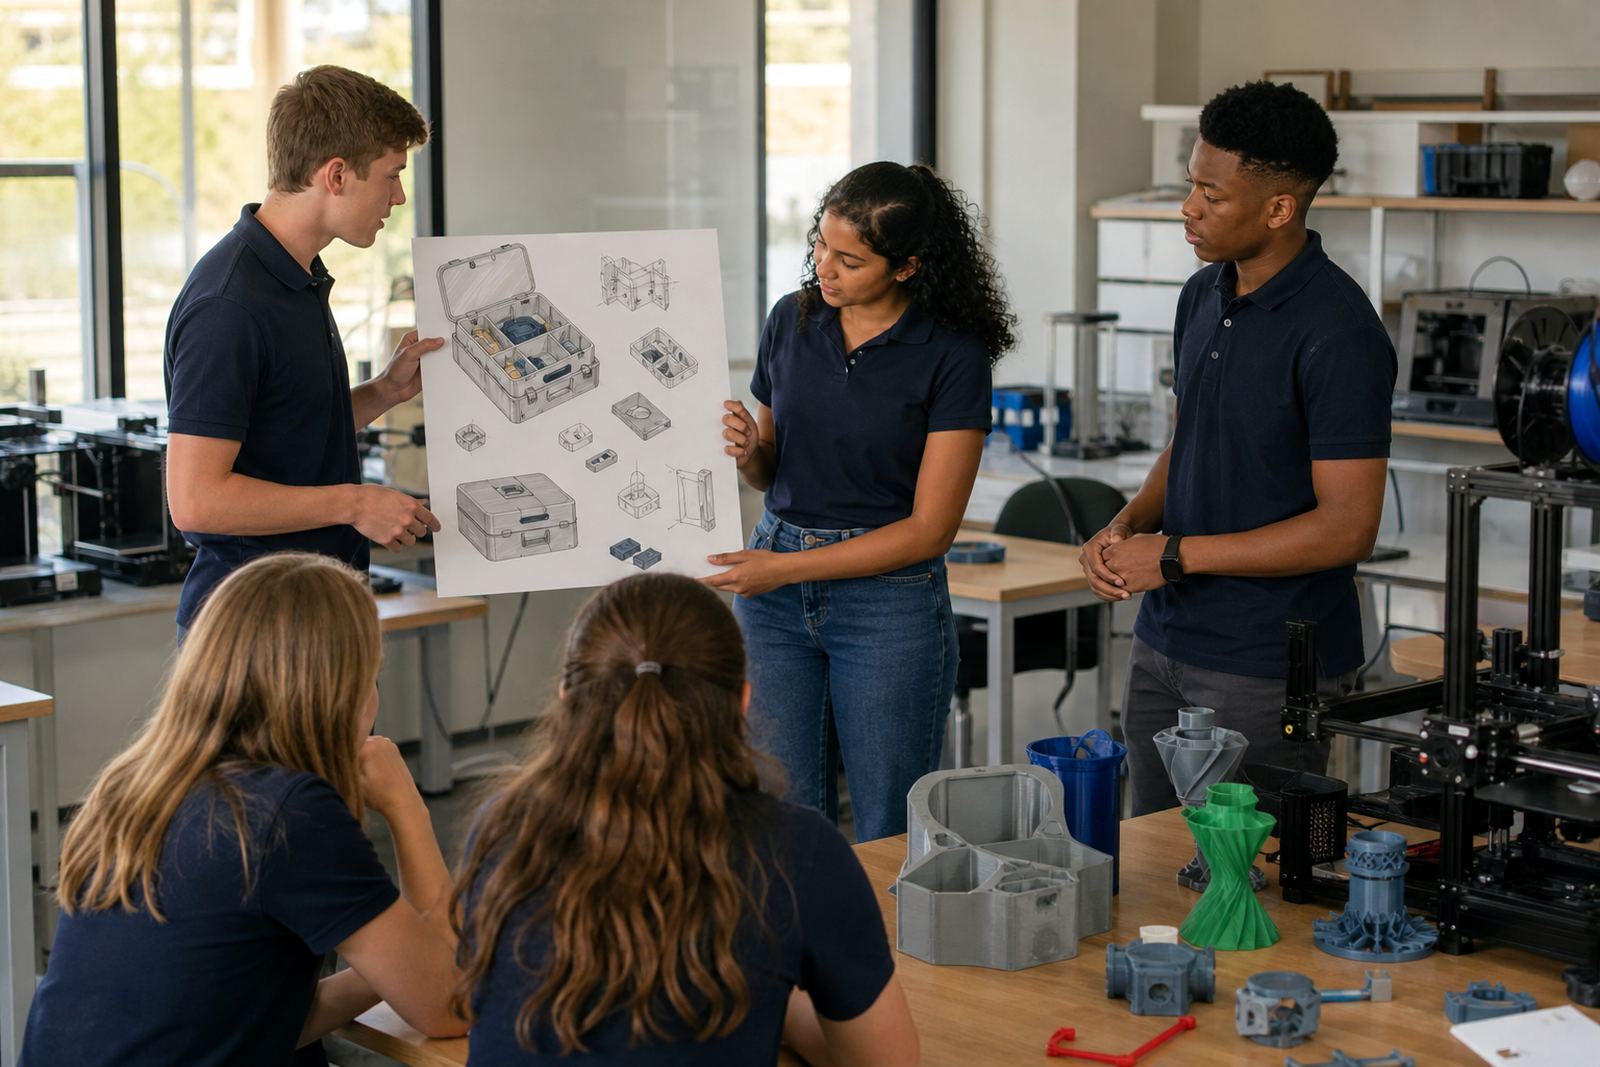
It helps to start with a short list of learning goals. For example, a maths teacher may need number lines, fraction parts and shape models, while a science teacher may need body systems, plant sections and simple machine parts. The clearer the goal, the better the printed aid usually turns out.
Budget ranges in Rand for schools and training teams
Budgets vary quite a bit depending on whether the school wants a single printer for demonstrations, a shared lab setup, or a broader rollout across several classrooms. For many schools, a basic entry point for inclusive learning aids can start from around R15 000 to R35 000 for a small starter set with one printer, tools and introductory materials. A fuller classroom setup with more capacity, better storage and extra consumables can move into the R40 000 to R90 000 range.
If the school needs multiple stations, stronger support for teacher training and a wider range of tactile resources, the budget can increase further. Schools should also keep a small annual allowance for filament, replacement parts and new learning models. That ongoing spend is often modest, but it is easy to forget when planning a first purchase.
For group training, many schools prefer to start with a management briefing or a teacher introduction session, then move into a lab setup course and printer operations training. This lets the team understand the room, the process and the costs before committing to a bigger rollout. It is usually the safest way to avoid overspending and to keep the project practical from the start.
How our team supports inclusive classroom projects
PrintAcademy 3D works from Stellenbosch and supports schools across South Africa, including Cape Town, Johannesburg, Pretoria, Durban and Gqeberha. Our team can help with planning, teacher training and the setup of school lab kits for inclusive learning aids. The goal is to make the room useful from day one, not just impressive on paper.
Depending on your needs, we can help with teacher introduction sessions, intermediate skills, CAD basics, printer operations, project planning, lab setup, maintenance basics, maker club training, holiday programmes and custom group workshops. For inclusive teaching, that usually means choosing the right models, arranging the room properly and making sure the staff know how to keep the equipment working term after term.
Schools that want to start small often begin with a narrow subject focus and expand later. That might be early numeracy, science, or tactile support for learners who need extra help to engage with material. A careful first step is often better than trying to do everything at once.