Why science models work well in class
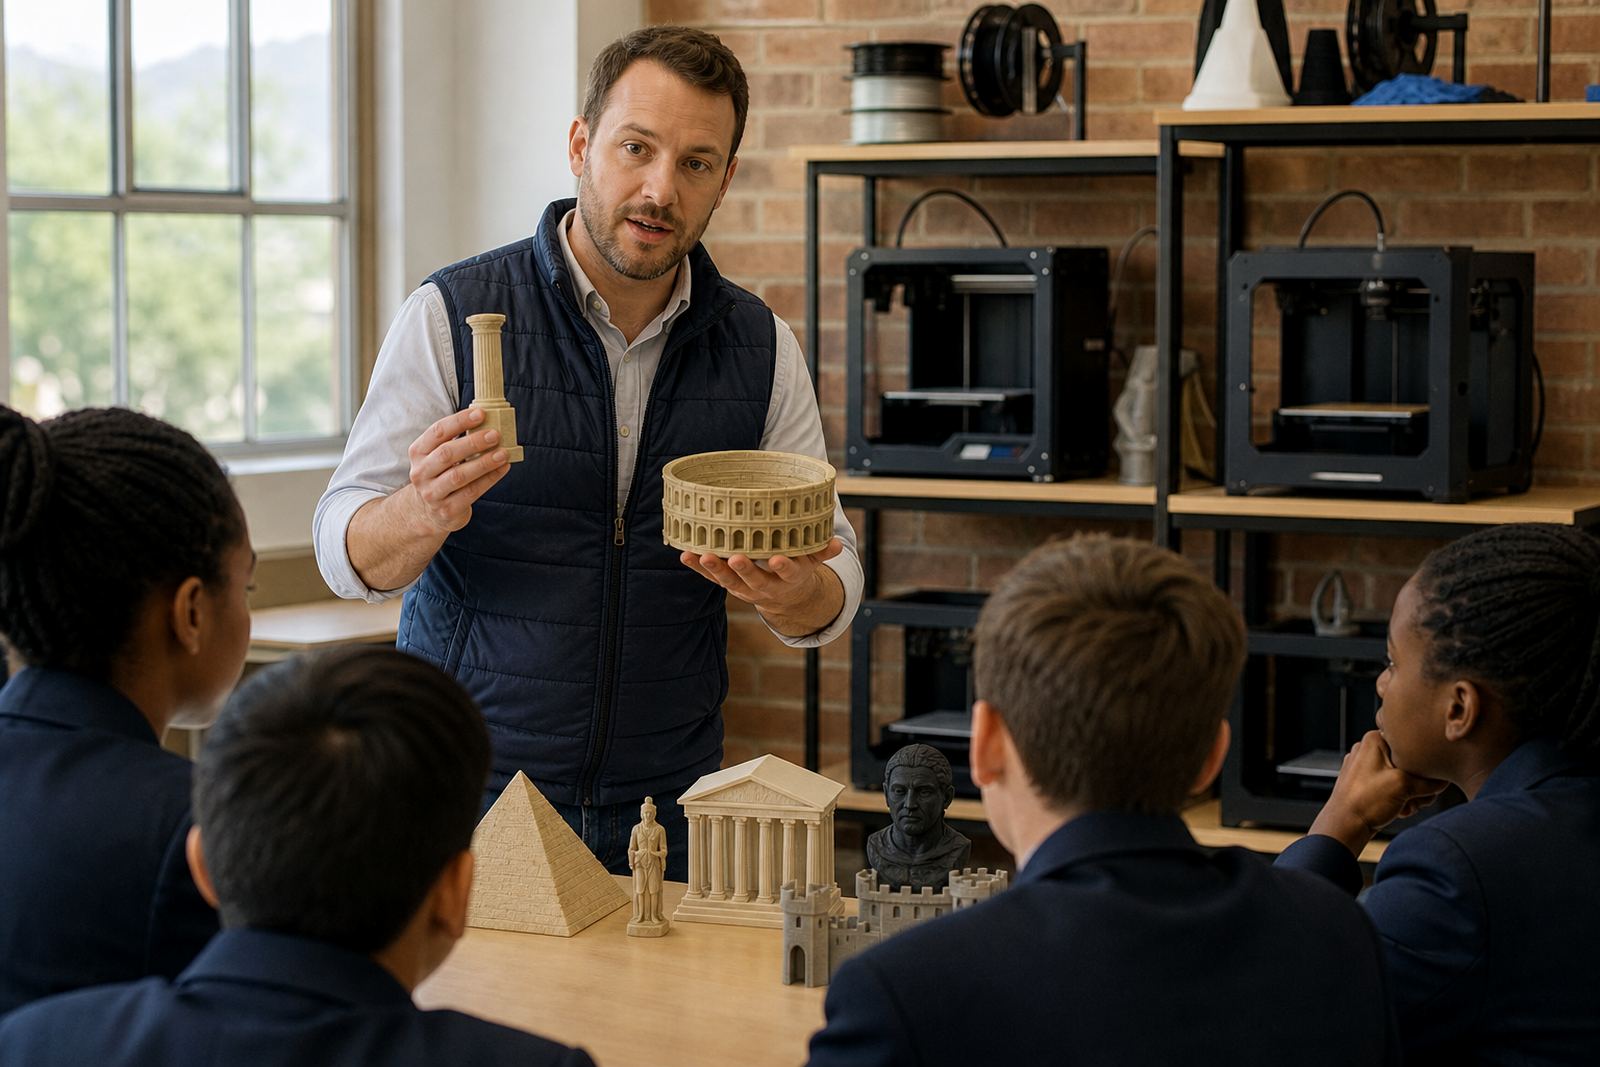
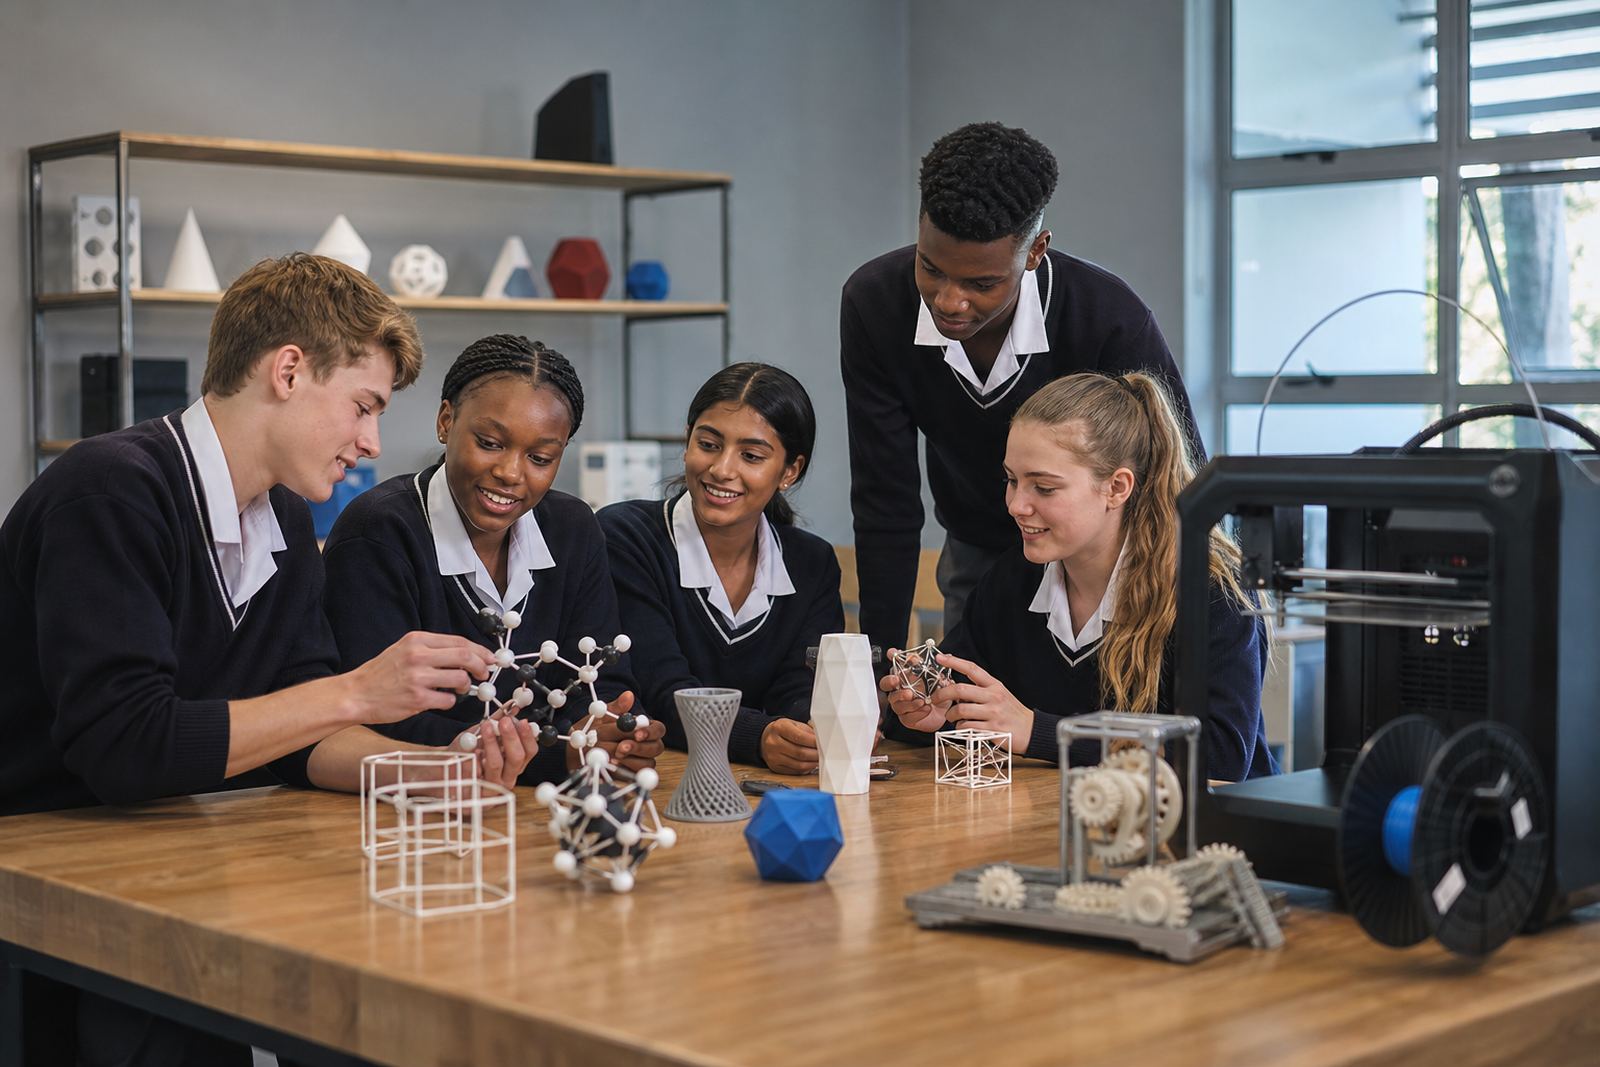
When a class is working through cells, geometric solids, molecules, the solar system or simple machines, a printed model can turn an abstract idea into something learners can hold and examine. That matters in busy classrooms where not every learner learns best from a board drawing. A model can be passed around, measured, compared and used again next term, which makes it a useful teaching aid for schools in Stellenbosch and across South Africa.
Science models also help teachers keep lessons practical without needing costly imported teaching aids. A school can print a set of models for Grade 4 natural sciences, senior phase physical science or maker club activities and reuse the same items across classes. In coastal schools, models stored correctly in sealed containers last well despite humidity. In inland schools, a stable power supply and sensible printing schedule matter more, especially during load-shedding.
Our course work for educators focuses on choosing the right model, sizing it for a classroom, and planning prints that are strong enough for handling but not so large that they waste filament. The goal is simple, make the science visible and usable.
Typical model set for a school lab
A school usually starts with a modest set of models rather than a single large display piece. That keeps printing time manageable and allows teachers to build a library of objects over the year. A common classroom set includes labelled parts, cross-sections and comparison pieces that fit neatly into lesson plans.
- Plant and animal cell models with removable parts
- Geometric solids and net forms for maths and science links
- Simple molecules and bonding models
- Earth layers, volcano sections and rock cycle models
- Human skeleton joints or organ examples for life sciences
- Force, pulley and lever demonstrations for physical science
For schools that want a broader practical setup, a lab kit can include one or two printers, starter filament in common colours, a computer for slicing, basic tools, spare nozzles, build surfaces and storage tubs. Teachers often prefer a smaller set that can be managed by one or two staff members, rather than a room full of equipment that sits unused.
How to plan the classroom layout
A good science-printing room needs clear work zones. One area is for the printer itself, one for cooling and finishing, and one for storage of filament and completed models. Keep the printer away from open windows, dust and direct sun. In warm inland towns, heat can affect print consistency, while on the coast moisture can make filament harder to manage if it is left open. A closed cupboard or sealed tub helps.
We usually advise schools to place printers where staff can supervise them without crowding learners. The machine should be on a steady table, with enough space for the bed to move and for a teacher to remove a model safely after printing. Avoid placing printers in a passage or next to a sink. If the school has regular interruptions from power cuts, a print schedule should be arranged so jobs start when someone is present to watch them.
- Keep filament dry and labelled by colour and material type
- Store small tools in one lockable container
- Leave a clear path around the printer for safe access
- Use a dedicated shelf for models awaiting class use
- Set out printed parts and support material for clean-up only after cooling
Courses that help staff use models properly
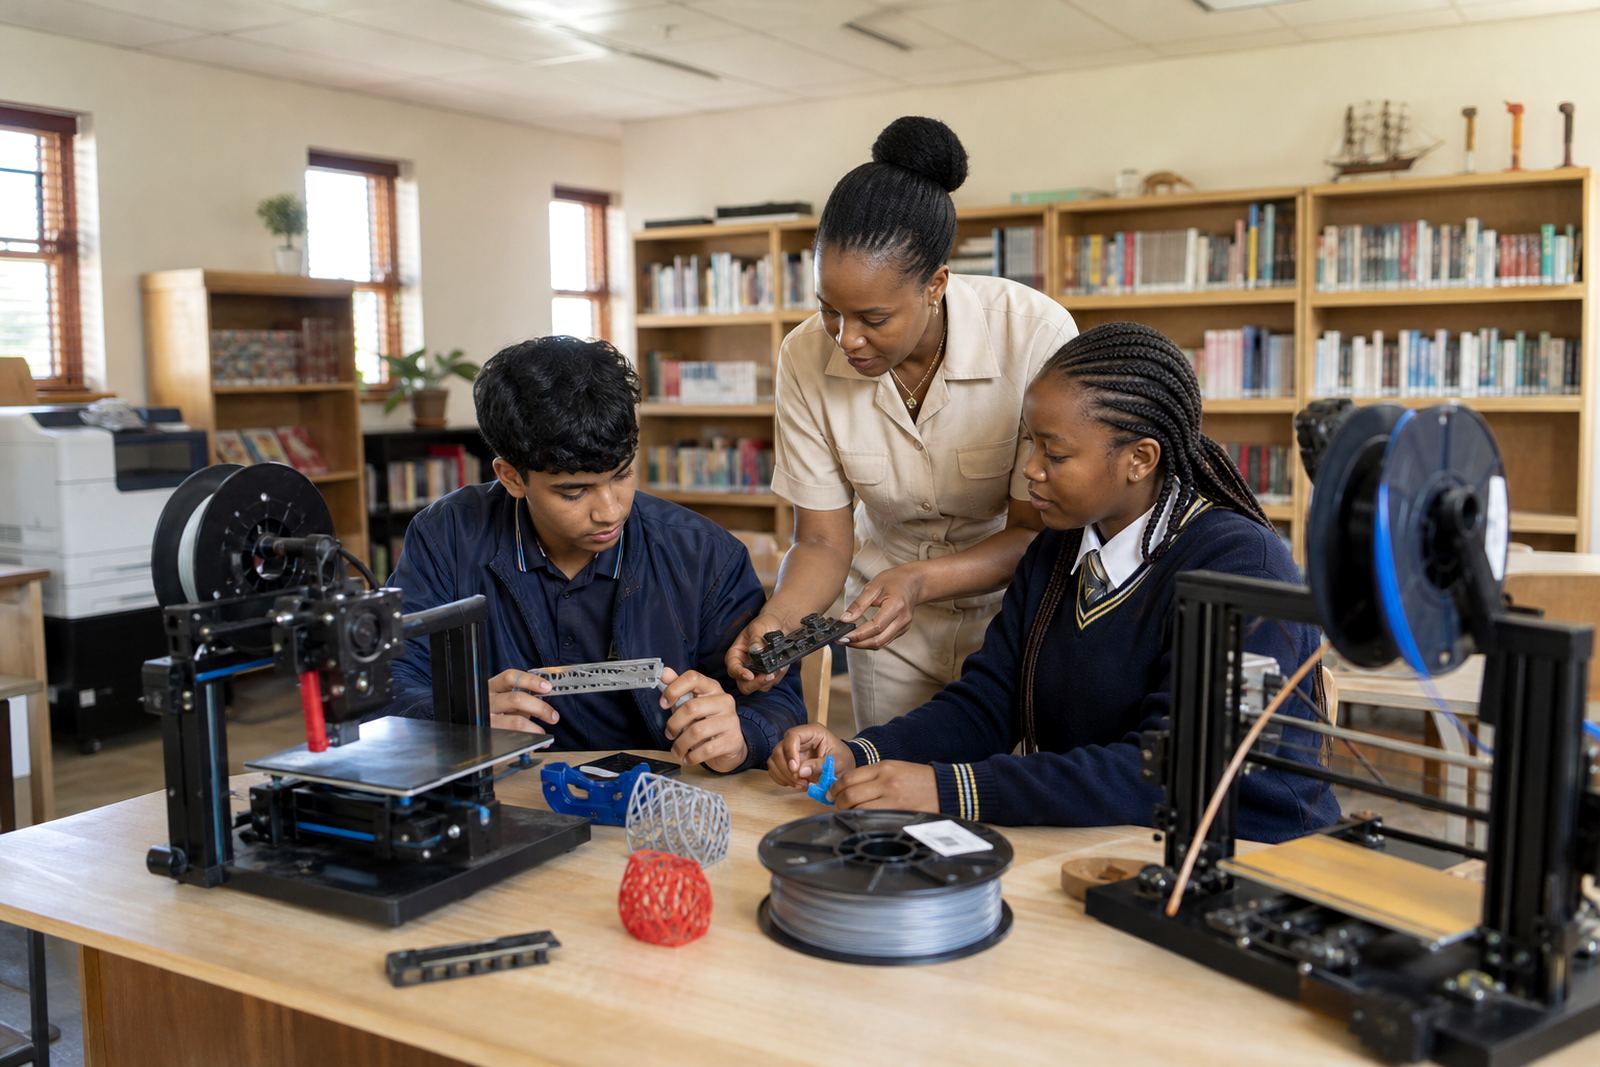
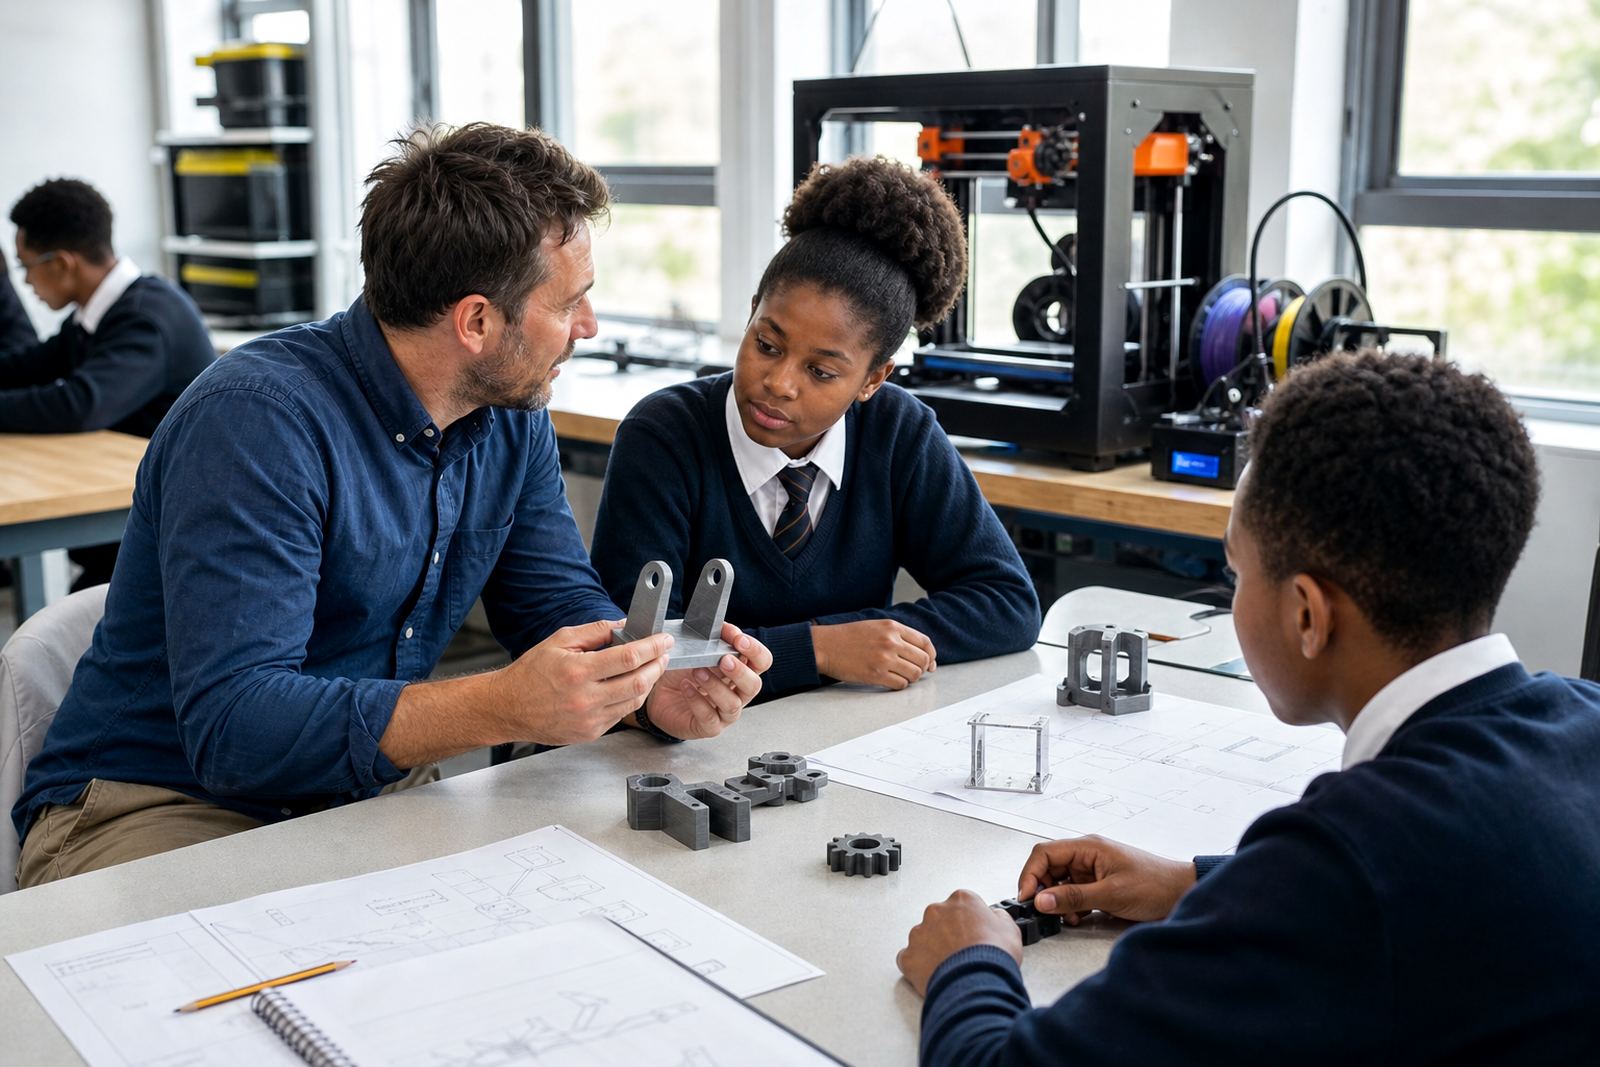
Schools do not just need equipment, they need staff who know how to use it without turning every lesson into a technical exercise. Our training options cover teacher introduction, CAD basics, printer operations and project planning, which gives staff a workable path from lesson idea to finished model. For schools that want a fuller rollout, a lab setup course and maintenance basics help with day-to-day running.
The most useful sessions are often the practical ones. Teachers learn how to select a model for the right age group, how to prepare a file, what orientation reduces print time, and how to spot a failed print before the material is wasted. Learners can also be introduced to basic design thinking through simple shapes and science-related projects, which builds confidence before they move to more detailed work.
For a staff room briefing or a holiday programme, we can shape the session around the subject area the school teaches most often. A life sciences team may want body systems and cells, while a combined sciences department may need more mechanical and geological examples.
Common mistakes schools make
The most common mistake is starting with a model that is too large or too detailed for first-time use. A complex print can fail, waste time and leave staff discouraged. It is better to begin with simple shapes, a few labels and one clear teaching purpose. Another issue is poor storage. Filament left open in humid conditions can absorb moisture and affect print quality, so schools need a dry cupboard or sealed tub from the start.
Some schools also underestimate the support time after a print. A model might need support removal, sanding or a quick fit check before class use. If that step is rushed, parts can break in a learner's hands. Another common problem is printing without a clear plan for who will run the machine, who will tidy the area, and who will keep a record of what has been printed.
- Do not rely on one overloaded printer for the whole school
- Do not leave filament and tools scattered between lessons
- Do not print a class set the night before without testing one sample first
- Do not skip safety guidance around hot parts and moving parts
Budget ranges for a school starting point
Budgeting depends on how many models are needed and whether the school wants a small starter setup or a multi-classroom rollout. A modest entry-level plan for science models can start with one printer, basic tools and a first batch of filament. A wider school setup with more than one machine, storage and staff training will cost more, but it also gives teachers more flexibility through the year.
As a practical guide, many schools start with a smaller setup and add to it once staff are comfortable. That may include a printer, materials and a short training session for the teaching team. A fuller lab kit, with planning support and maintenance guidance, sits at a higher budget because it covers more than just the machine. Schools often find it easier to spread the cost in stages rather than buying everything at once.
Because budgets vary between public and independent schools, and between large urban campuses and smaller schools in surrounding towns, we usually match the kit to the actual use case. The right setup is the one that will be used regularly, not the one with the most items on paper.
What schools usually ask for first
Most schools begin with a short conversation about the subjects they want to support, the number of staff involved, and the space available for setup. From there, the equipment list can be kept sensible and the printing schedule planned around the school day. A good first order is usually enough to support science clubs, classroom demonstrations and a few learner projects.
If your school wants printed science models for classes in Cape Town, Johannesburg, Pretoria, Durban, Gqeberha, Paarl or Somerset West, we can help with course advice, kit planning and practical setup guidance. The aim is to make the technology useful in the classroom, not complicated.