Why 3D Printing Fits Design Thinking in Classrooms
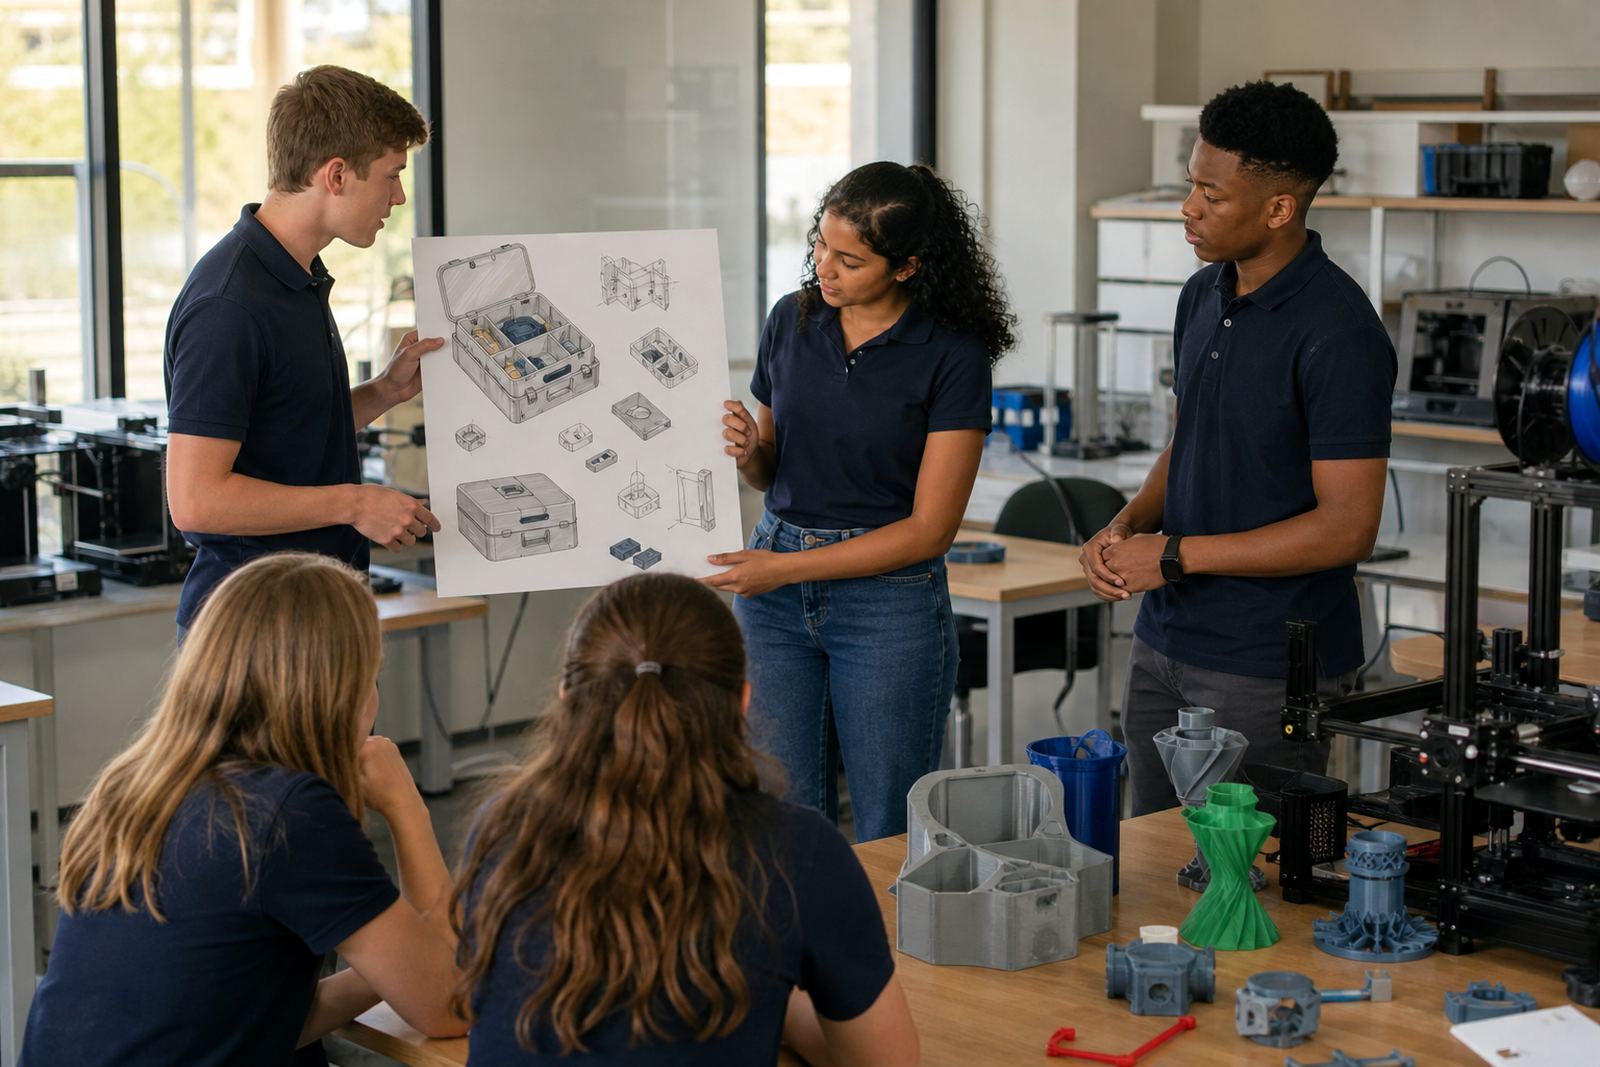
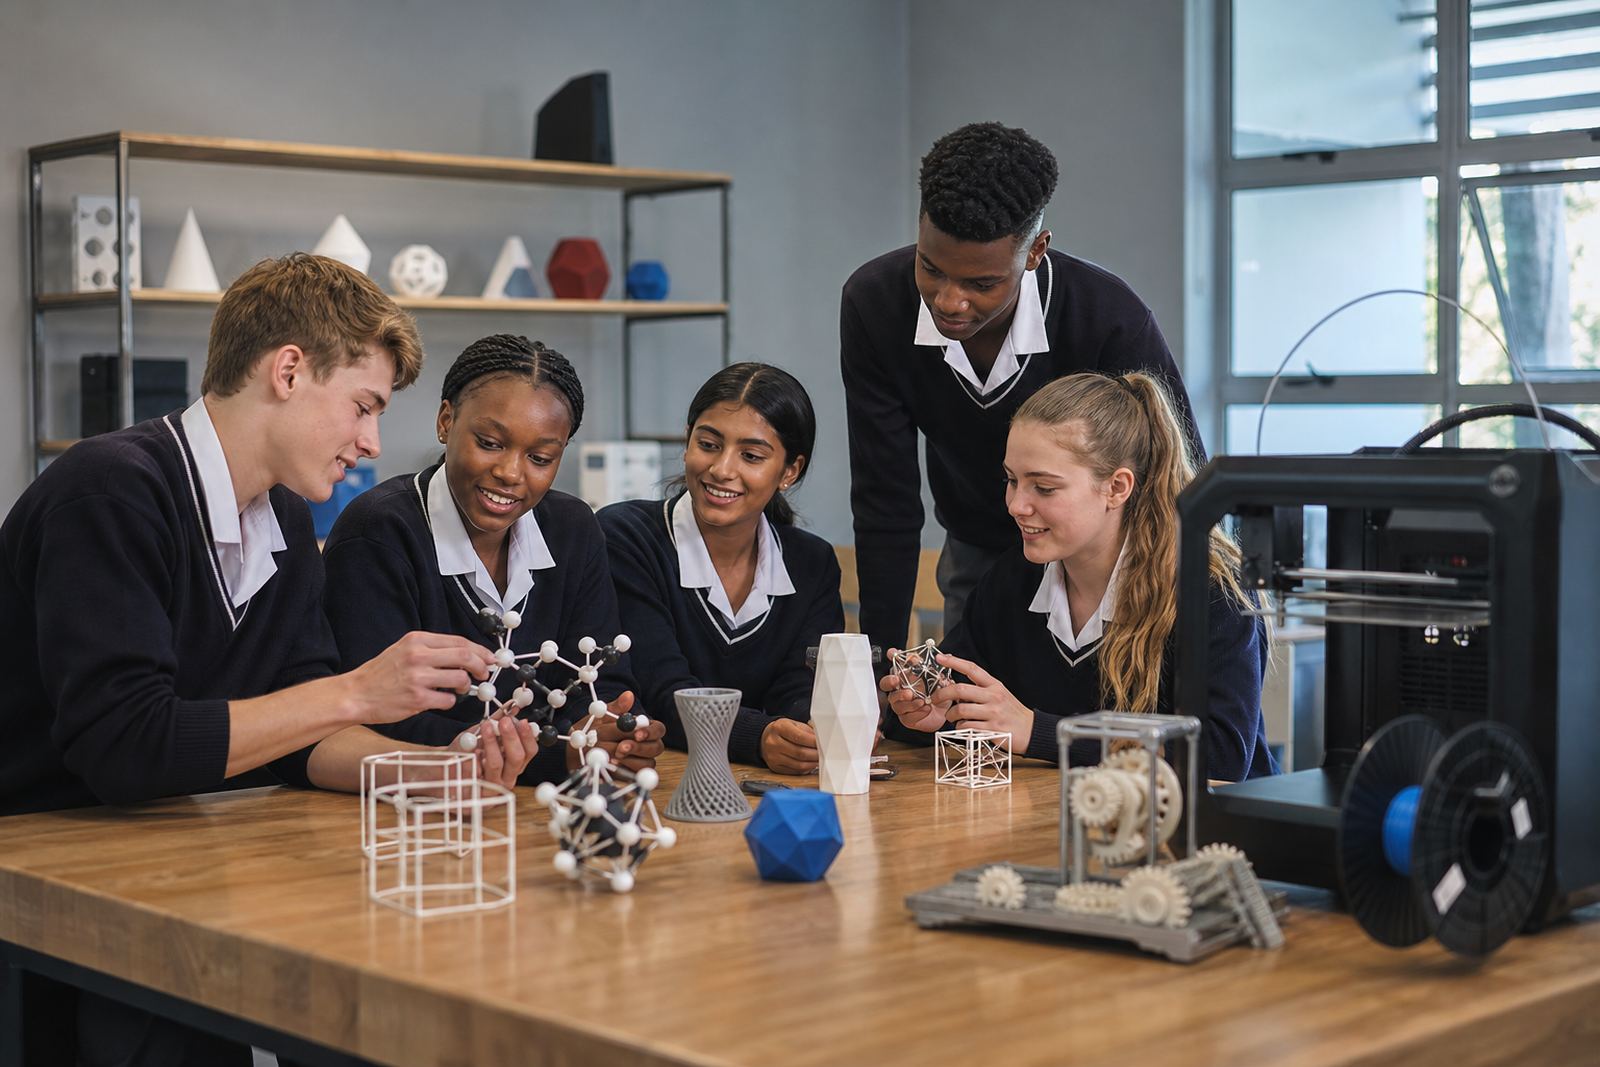
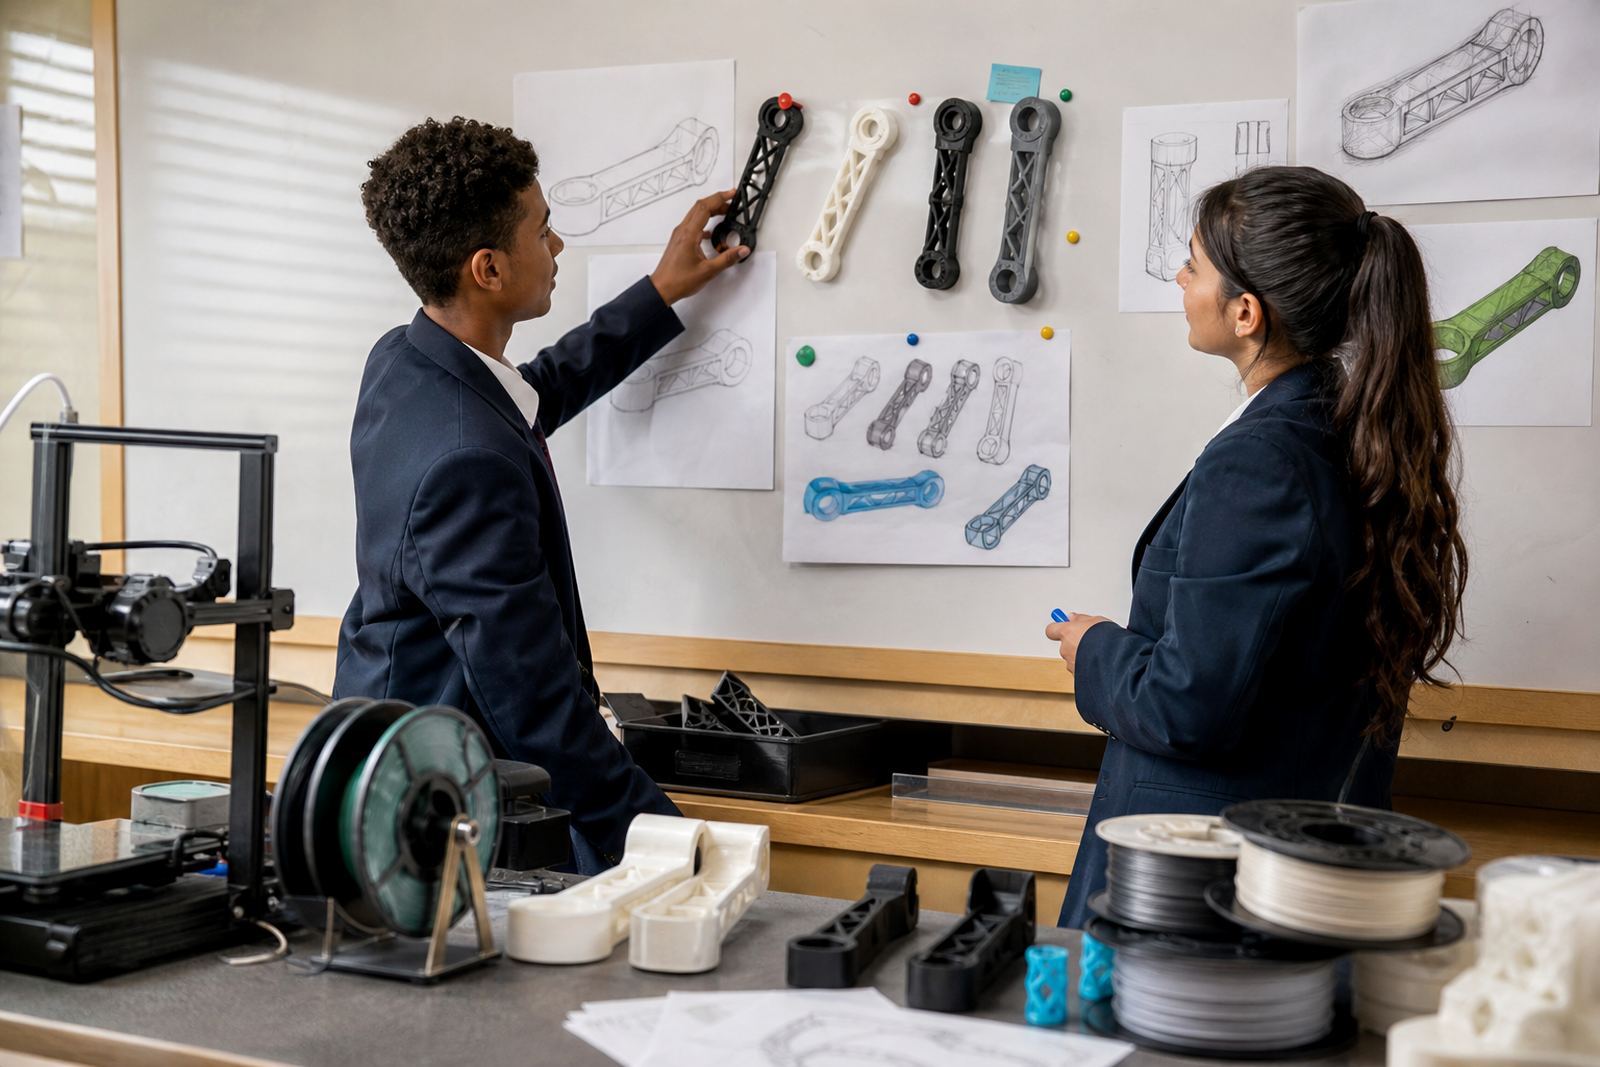
Design thinking asks learners to notice a problem, sketch possible answers, build a model, test it and improve it. 3D printing supports that process well because students can move from paper ideas to a physical object without waiting weeks for an outside supplier. In schools, that is useful for project work in technology, art, engineering tasks and maker club activities.
For South African classrooms, the value is practical. Learners can work on solutions for everyday needs such as classroom organisers, simple jigs, model parts, assistive tools, storage clips or presentation models. The point is not to make a perfect final item straight away, but to test ideas quickly and learn from what does not work.
Typical Client Situation: From Idea Board to Printed Prototype
Many schools come to us when teachers want a more structured way to support problem solving. The class may already have good ideas, but they need a clear process, a printer setup and guidance on how to keep the work manageable. A design thinking project works best when the brief is narrow, the time line is clear, and the final object can fit on a small build plate.
We usually recommend starting with one class or a small group, then building from there. That makes it easier to manage material use, supervise print queues and keep students focused on iteration instead of rushing to a final answer. It also helps teachers see where the bottlenecks are, whether that is file preparation, print time, or basic maintenance.
Course Options That Support the Project Cycle
For design thinking work, schools often choose a mix of teacher support and learner training. Teacher Introduction is useful where staff need confidence with the process, while CAD Basics and Printer Operations help learners understand how ideas become printable files. Project Planning is especially useful for classes that need to break work into stages, from research and sketching to testing and reflection.
Where schools want broader exposure, Learner Foundations, Maker Club Training and Holiday Programme sessions can support creative problem solving outside normal lessons. A Custom Group Workshop can be planned around a specific brief, such as a school innovation challenge or a cross-subject project week. This is often the best fit when teachers want the training tied to one practical outcome rather than general theory.
- Teacher Introduction for staff who are new to 3D printing
- CAD Basics for simple model creation and editing
- Printer Operations for loading, calibration and print supervision
- Project Planning for design brief, testing and iteration
- Custom Group Workshop for school-specific problem solving
Lab Kits and Equipment for Classroom Prototyping
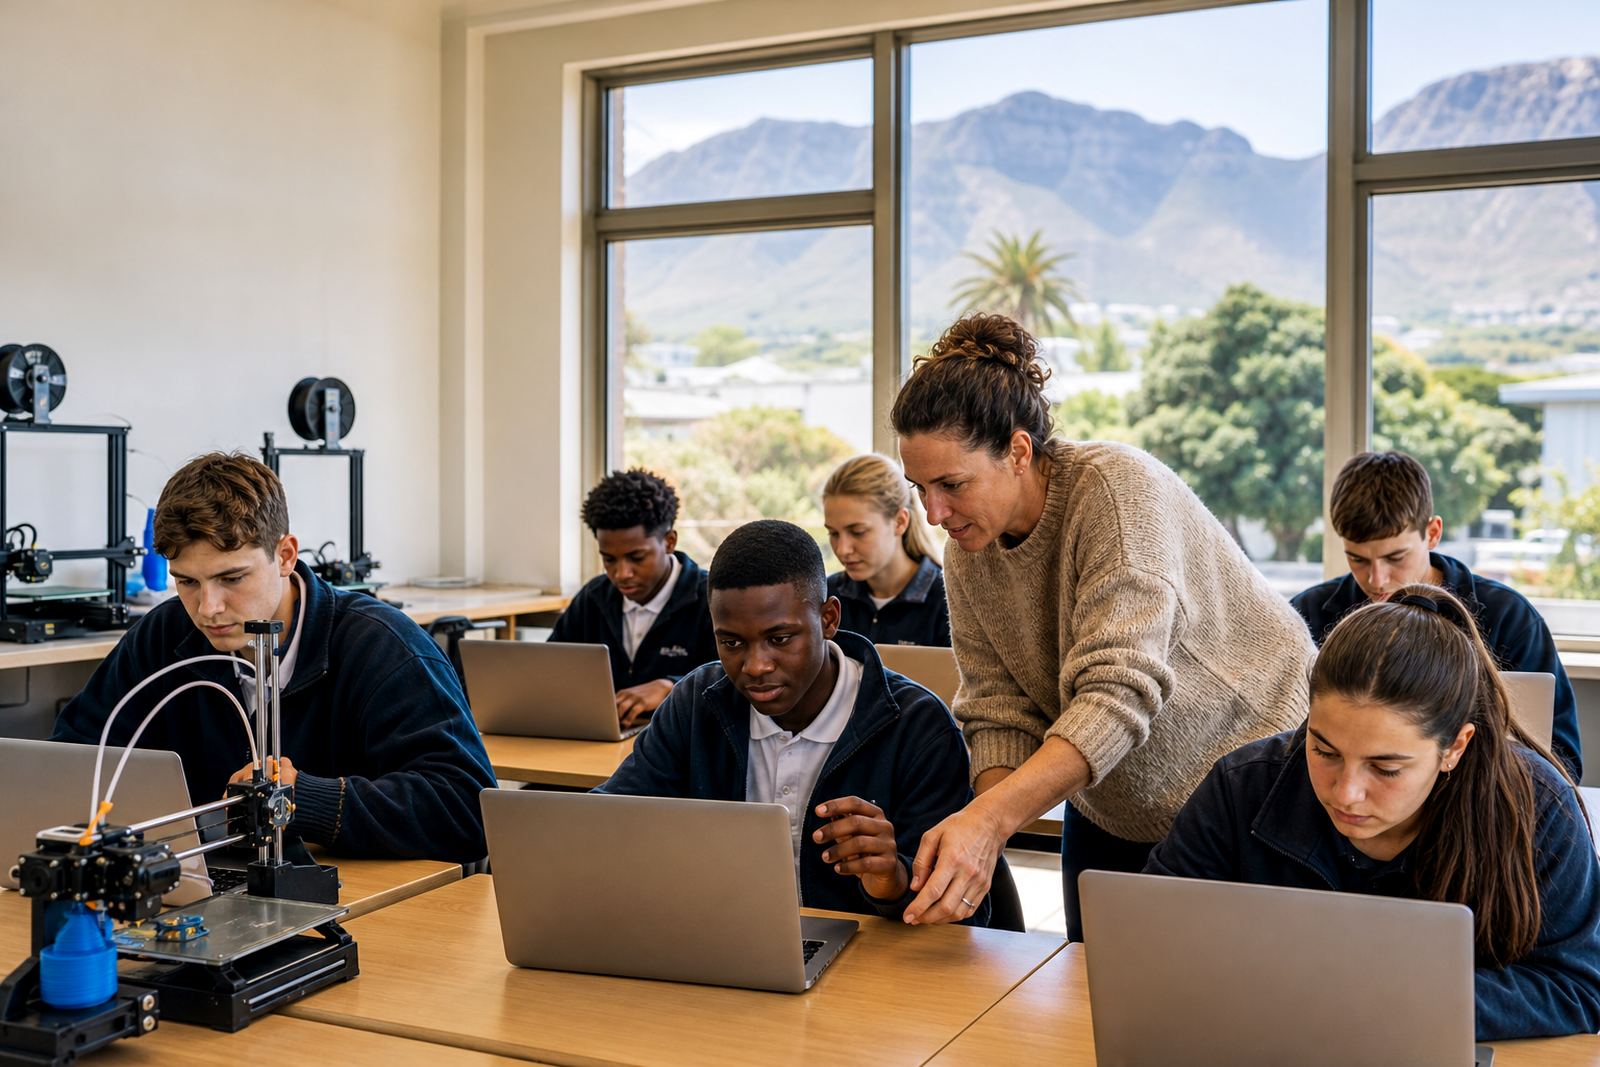
A classroom lab kit for design thinking does not need to be complicated. A basic setup usually includes one or more benchtop 3D printers, filament, a computer or laptop for file preparation, a slicing programme, a cutter or snips, calipers, spatulas, spare nozzles and a storage area for materials. Some schools also add a drying box or sealed containers, which helps in coastal areas where humidity can affect filament quality.
For planning purposes, it is worth thinking about the room before the machines arrive. The printer area should have stable tables, power points and good airflow. It should also sit where learners can view the process without leaning over the moving parts. If the school has load-shedding, a backup power plan matters, even if it is only enough to pause and save work safely until power returns.
- Allocate a clean table for printer operation and another for finishing work
- Keep filament sealed when not in use, especially near the coast
- Plan enough wall plugs to avoid unsafe extension leads
- Leave space for learners to queue work and collect parts without crowding
- Store small tools in labelled trays so items are easy to find and count
Layout and Planning Advice for Schools in South Africa
Schools in Stellenbosch, Cape Town, Johannesburg, Pretoria, Durban and Gqeberha all face slightly different room conditions, but the planning basics stay the same. A good classroom lab needs clear supervision lines, simple movement between stations and enough room for learners to watch print starts without interfering. If the class is large, it helps to divide the work into roles such as designer, file preparer, operator and recorder.
Safety matters from the start. Learners should know that hot nozzles, moving gantries and sharp tools need careful handling. Ventilation should be adequate, and any cleaning or maintenance should happen with the printer powered down and cooled. Teachers can also set simple rules for tying back hair, keeping drinks away from machines and waiting for permission before removing a print bed. These are small habits, but they prevent common problems.
Common Mistakes to Avoid in Design Thinking Projects
The most common mistake is trying to make the first prototype the final one. That creates stress and usually leads to wasted filament. Another issue is making the brief too broad. If learners are asked to solve a very general problem, they often struggle to define the shape, size and purpose of the object. A smaller task usually produces better results and stronger classroom discussion.
Schools also run into trouble when they under-plan the print time. A project that looks simple on paper may still need several hours to produce. If the lesson is short, it may be better to print a sample in advance and let learners compare versions, rather than waiting for a long print during class. Another common mistake is leaving maintenance too late. Regular nozzle checks, bed cleaning and basic calibration save time over the term and reduce frustration for both teachers and learners.
- Do not start with a large, complicated model
- Do not skip test prints when size or fit matters
- Do not leave filament open in damp rooms for too long
- Do not assume learners know how to handle hot or moving parts
- Do not plan a print time that is longer than the lesson window
Budget Ranges for a Working School Setup
Budget depends on how many learners will use the lab, how many printers are needed and how much teacher support the school wants. For a smaller starting setup, schools often look at a basic single-printer kit with essential tools and entry-level training. That can suit a pilot project or a club setting where one group works at a time. A larger classroom setup may include more than one printer, extra tools, better storage and structured training for both staff and learners.
As a rough guide, schools should expect starter lab budgets from around R35 000 for a very basic setup, while a more complete classroom package can move into the R80 000 to R150 000 range depending on the equipment count and support needs. If the school wants multiple printers, added storage, more consumables and staff workshops, the budget can go higher. The best approach is to match the setup to the actual teaching plan, not the other way round. That keeps the investment practical and easier to manage over time.
For a quote, schools can use the enquiry form on our contact page and tell us what age group, class size and room type they have in mind. That gives us enough detail to suggest a setup that suits the project work and the space available.