Where engineering basics fit into the classroom
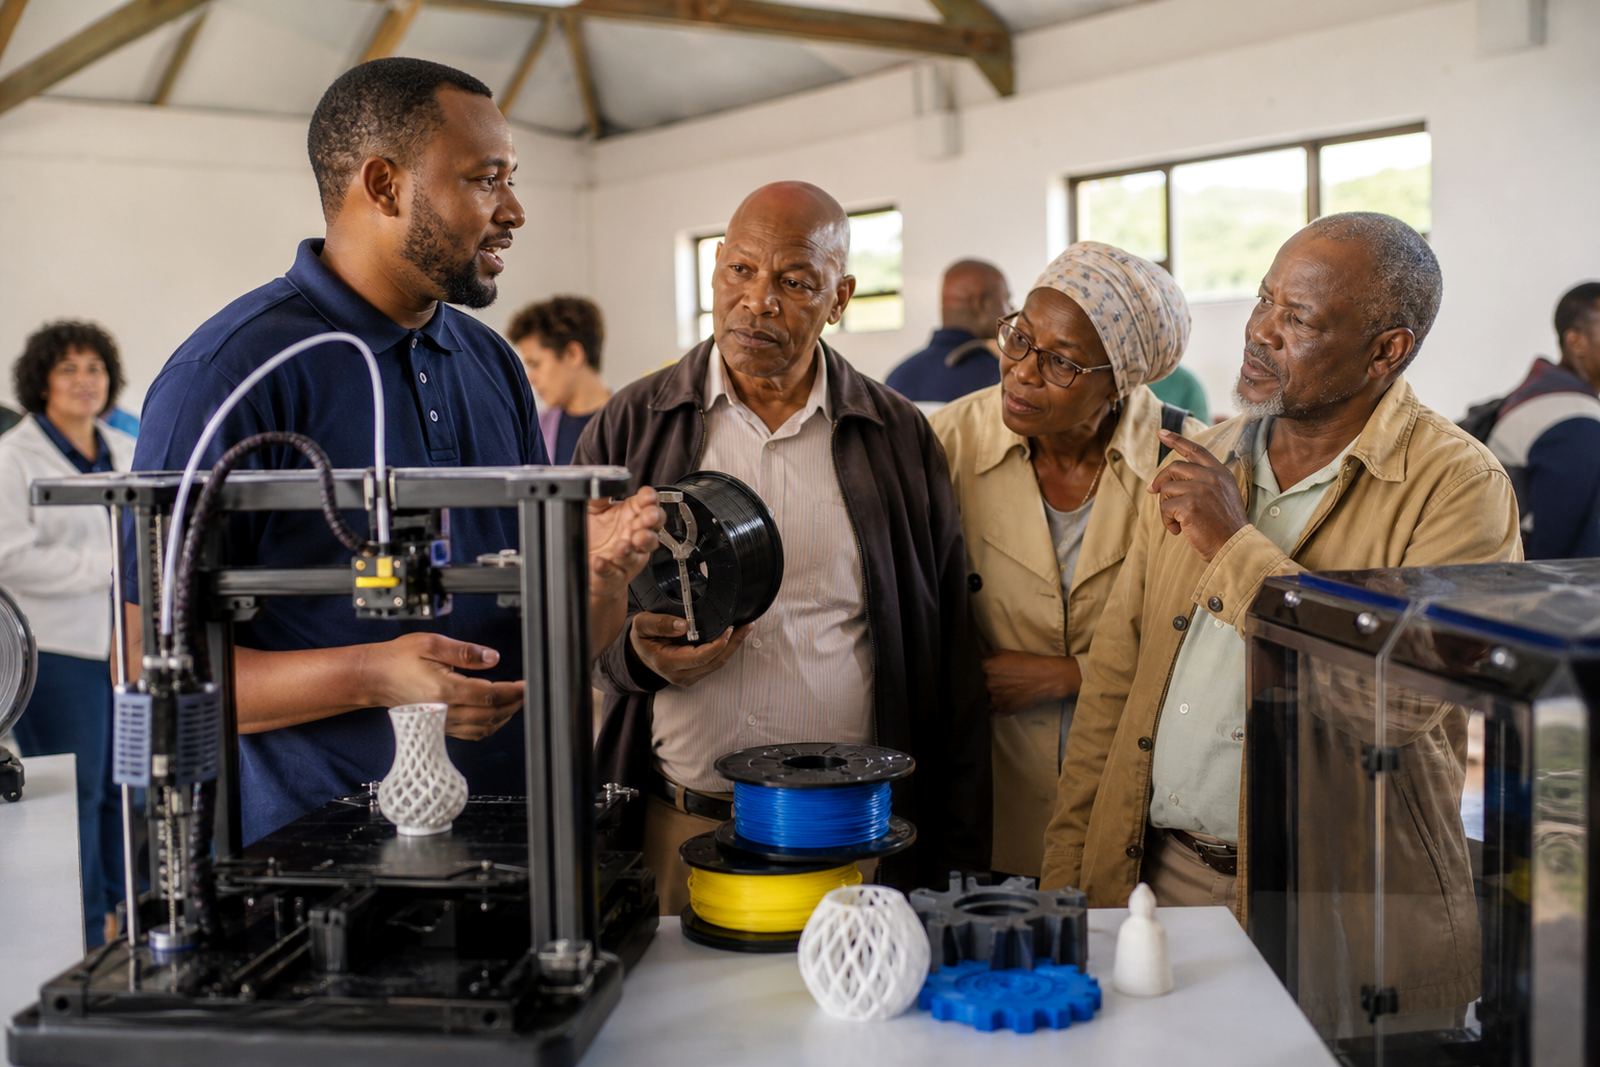
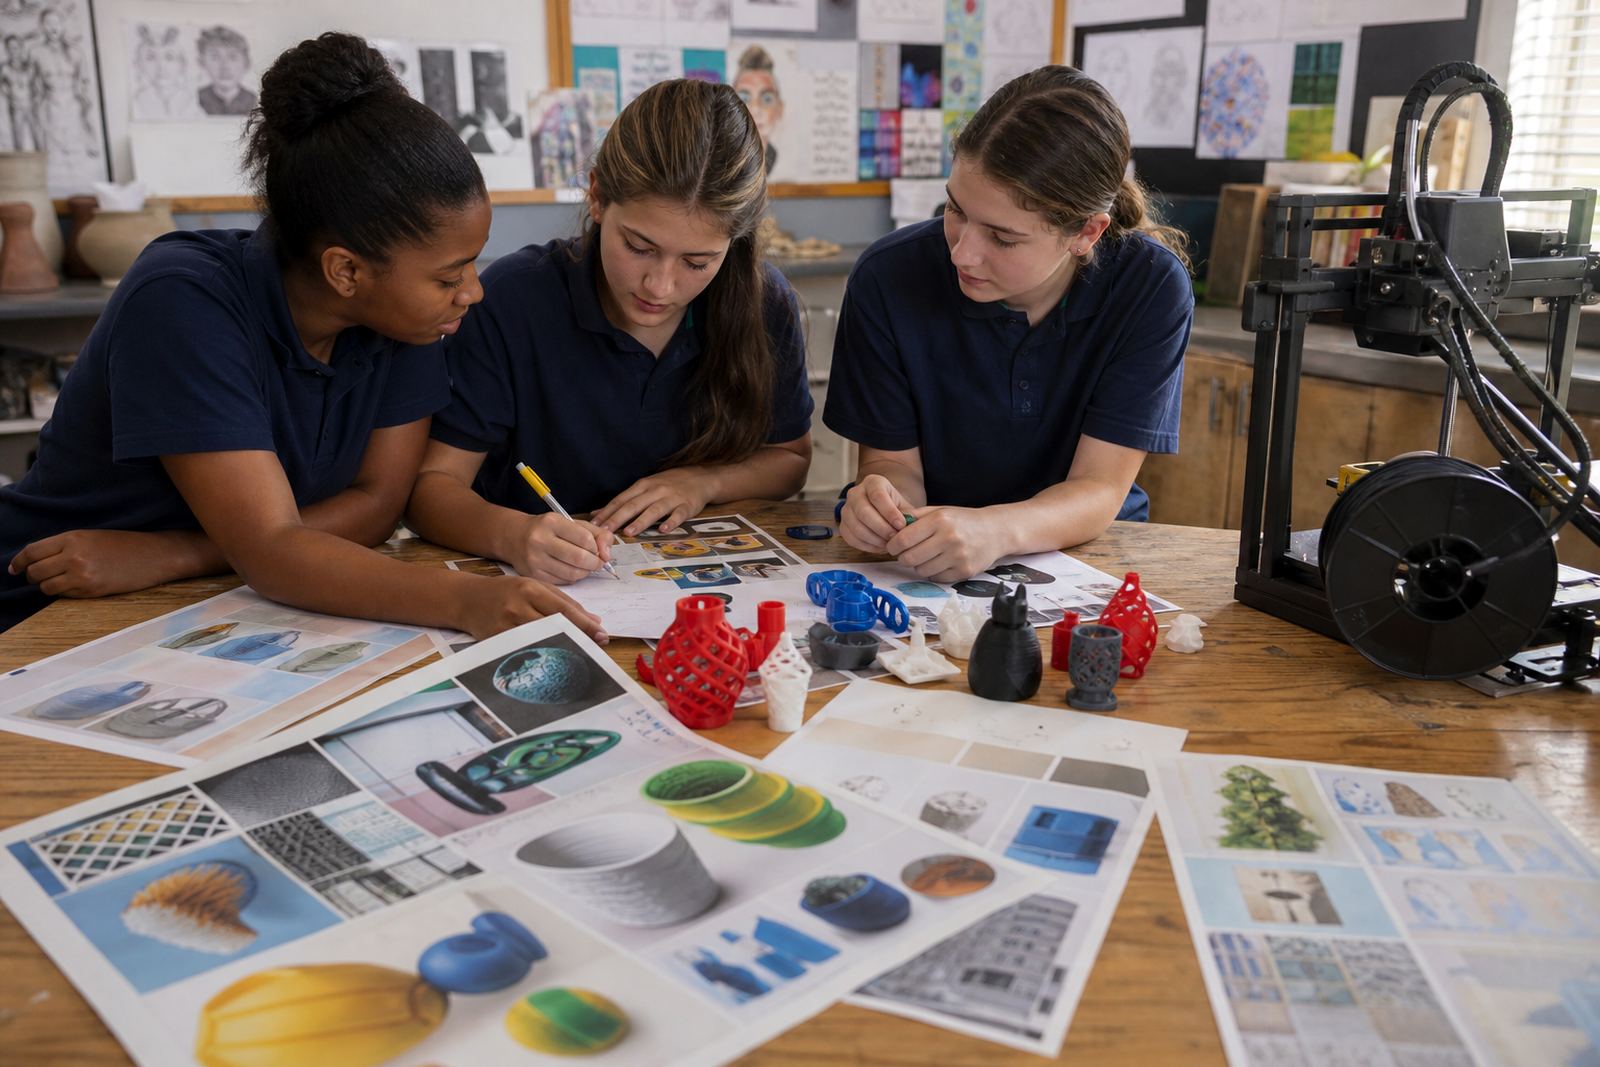
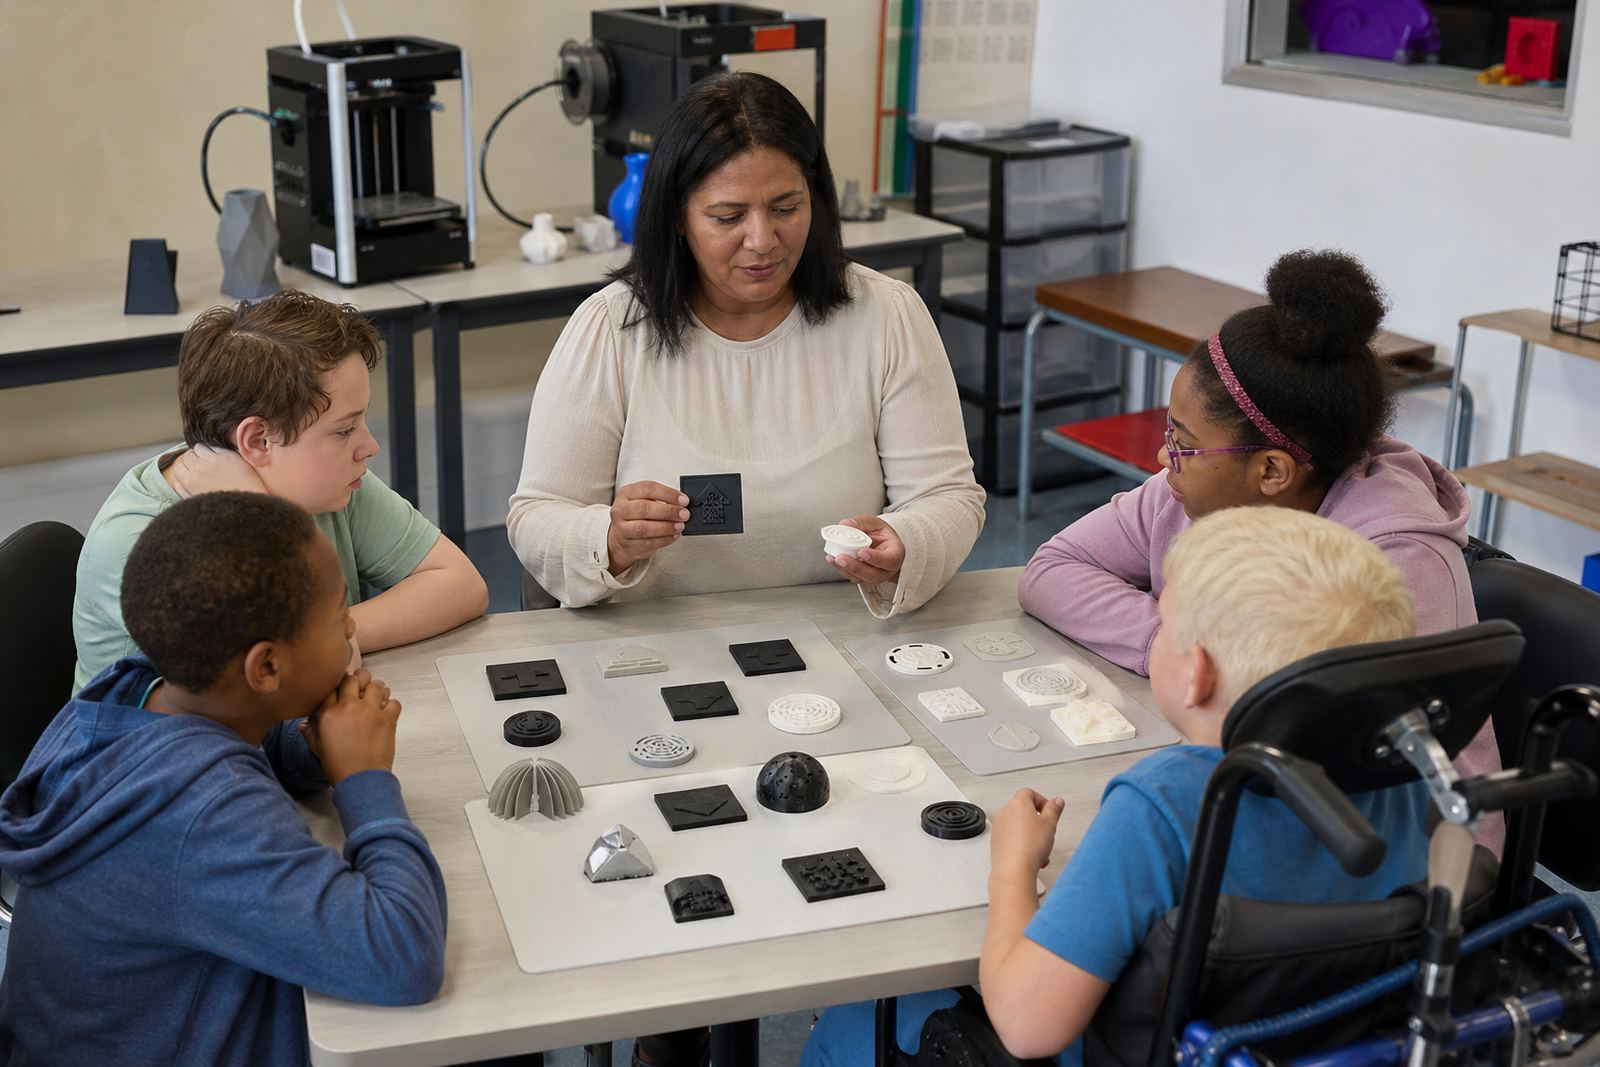
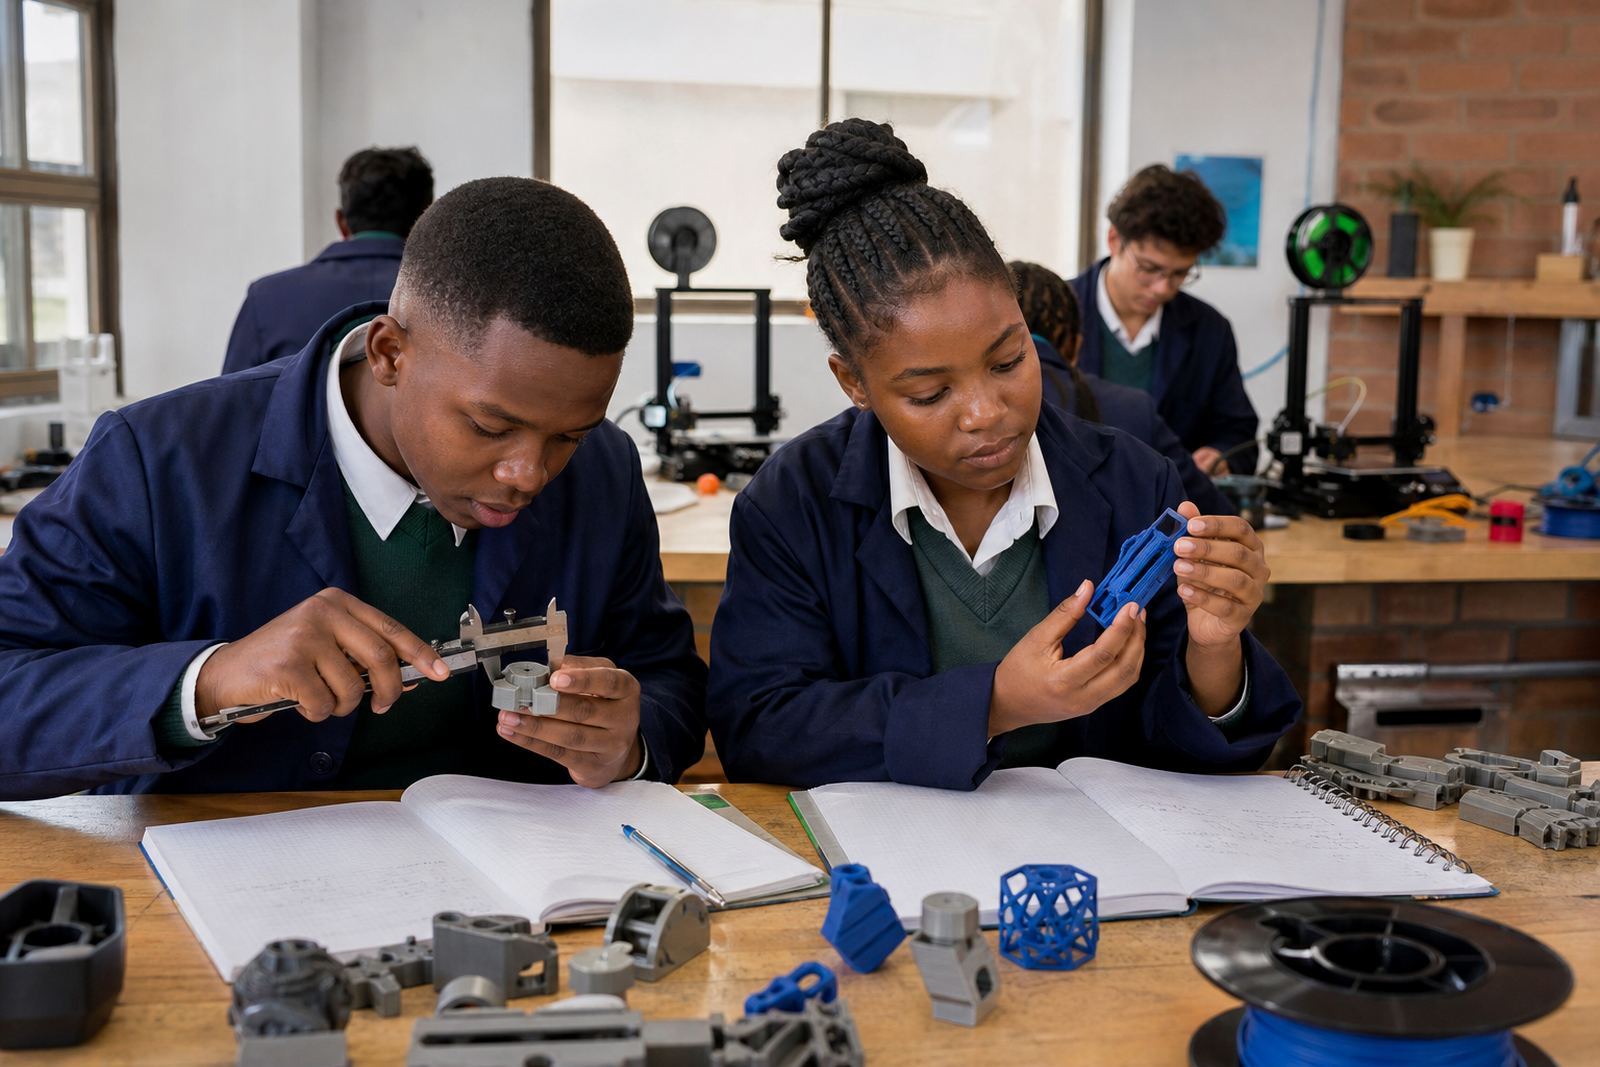
Engineering basics works well when learners need to move from theory to something they can hold, test and improve. A printed bridge, bracket, gear cover or simple joint gives a clear lesson in measurement, tolerance and why one part fits while another does not. In schools around Stellenbosch, Cape Town, Johannesburg, Pretoria, Durban and Gqeberha, this approach helps teachers link maths, design and practical problem solving without needing a full workshop.
It also gives educators a manageable way to show the difference between a neat model and a part that must actually perform. Learners can see how wall thickness changes strength, why support material matters on overhangs, and how a small design error can make assembly difficult. That kind of lesson tends to stick because it feels real, not abstract.
Typical equipment for a school engineering lab
A basic school lab does not need a large machine count to start well. One or two printers, a reliable computer, slicing software, storage for filament and a clear work table can support a strong programme if the room is organised properly. For engineering basics, schools often begin with parts that print in 30 minutes to 3 hours, depending on size and detail.
- 1 to 2 benchtop 3D printers for demonstrations and learner jobs
- A computer or laptop with enough processing power for simple CAD work
- Filament storage in sealed containers to manage coastal humidity in places like Durban and Gqeberha
- Basic hand tools for removal and finishing, such as side cutters and scrapers
- A labelled parts tray for nozzles, bedsheets and small accessories
- Heat resistant gloves and eye protection for supervised handling
For schools with frequent power cuts, it helps to plan for safe pause and resume routines, and to keep print jobs conservative rather than pushing long overnight runs. A UPS can be useful for the computer and network equipment, but teachers still need clear procedures for unsupervised printing after hours.
How to plan the room and workflow
Good layout matters almost as much as the printer itself. The ideal room keeps the printing area separate from the learner benches so that movement is controlled and materials are easy to issue. A teacher should be able to see the printers, the computer and the learners without crossing the room repeatedly. In a lab setup course, we usually suggest a simple flow: design, review, print, inspect and assemble.
If the room is shared, think about lockers or lockable cupboards for filament and tools. In warmer western parts of the country, direct sun on windows can lift room temperatures and affect print consistency, so blinds or shaded placement help. It also makes sense to keep printers off the floor and away from open windows, especially where dust, wind and afternoon humidity are a problem.
- Position printers on a stable table with room to access the front and sides
- Keep a clear walkway so learners do not brush against moving parts or hot surfaces
- Use a single launch point for jobs so the teacher can approve every print
- Store sample parts and failed prints separately for class discussion
- Label the room rules on the wall, including no touching hot nozzles or beds
Common mistakes schools make at the start
One common mistake is buying too much equipment before the class plan is settled. A school may have three printers but no clear lesson sequence, so the machines sit idle or run random models that do not support the topic. Another issue is choosing very difficult prints too early. Small, simple parts are better for building confidence and teaching basic engineering ideas first.
Schools also sometimes overlook maintenance time. A printer that is used daily in a busy class needs nozzle checks, bed cleaning and filament care. If no one is assigned to this work, the first signs are stringing, poor bed adhesion and slow print queues. In some cases the room is fine, but the storage plan is not. Open filament spools left in a humid room can lead to brittle material and failed prints, which is frustrating for learners and teachers alike.
A final mistake is underestimating supervision. Even a small lab needs clear rules for heat, moving parts and blade use during finishing. Engineering basics is safest when learners know what they may touch, when they may touch it and who signs off each step.
Budget ranges and what they usually cover
Budget depends on how many learners must share the equipment, whether the school wants a starter space or a fuller lab, and how much teacher support is needed. A modest entry setup can begin in the lower tens of thousands of Rand, while a more complete school lab with training, spare parts and better storage can move higher. It is better to budget for a sensible start than to buy large volumes of equipment that the school cannot support.
- Starter room with 1 printer, tools and basic consumables: roughly R15 000 to R35 000
- Two-printer setup with more filament, storage and learner support material: roughly R35 000 to R70 000
- Expanded lab with multiple printers, stronger workflow planning and maintenance spares: roughly R70 000 and up
Those figures shift with printer size, the amount of training needed and whether the school wants lesson prep support. For schools in municipal buildings, it is also worth checking electrical load, plug points and any internal rules for equipment placement before ordering.
What teachers and learners gain from printed parts
Printed parts help learners understand that engineering is not only about drawing a shape, but about making something that works in the real world. A lesson on fit becomes clearer when two printed pieces either slot together cleanly or do not. A lesson on support becomes more memorable when a part prints well on one orientation but fails on another. That hands-on evidence helps learners ask better questions and make better design choices.
Teachers also gain a practical way to assess progress. They can look at a learner’s design, the printer setup and the final part, then discuss what changed between the idea and the result. For schools in town and rural areas alike, this gives a useful bridge between classroom theory and making something useful. It is a simple method, but very effective when used consistently.
If your school is starting from scratch, the best first step is usually a short planning session, followed by a small pilot lab and a few well chosen lesson examples. That keeps the programme manageable and gives staff time to settle into the routine.