What the Architecture Model Pack includes
The pack is arranged around regular classroom use, so teachers can keep projects moving between design, slicing, printing, clean-up and display. It works well for group tasks where one class needs more than one machine, or where a school wants a starter setup for a maker space. The pack is practical for inland schools as well as coastal schools where moisture and dust can affect print quality if equipment is left open too long.
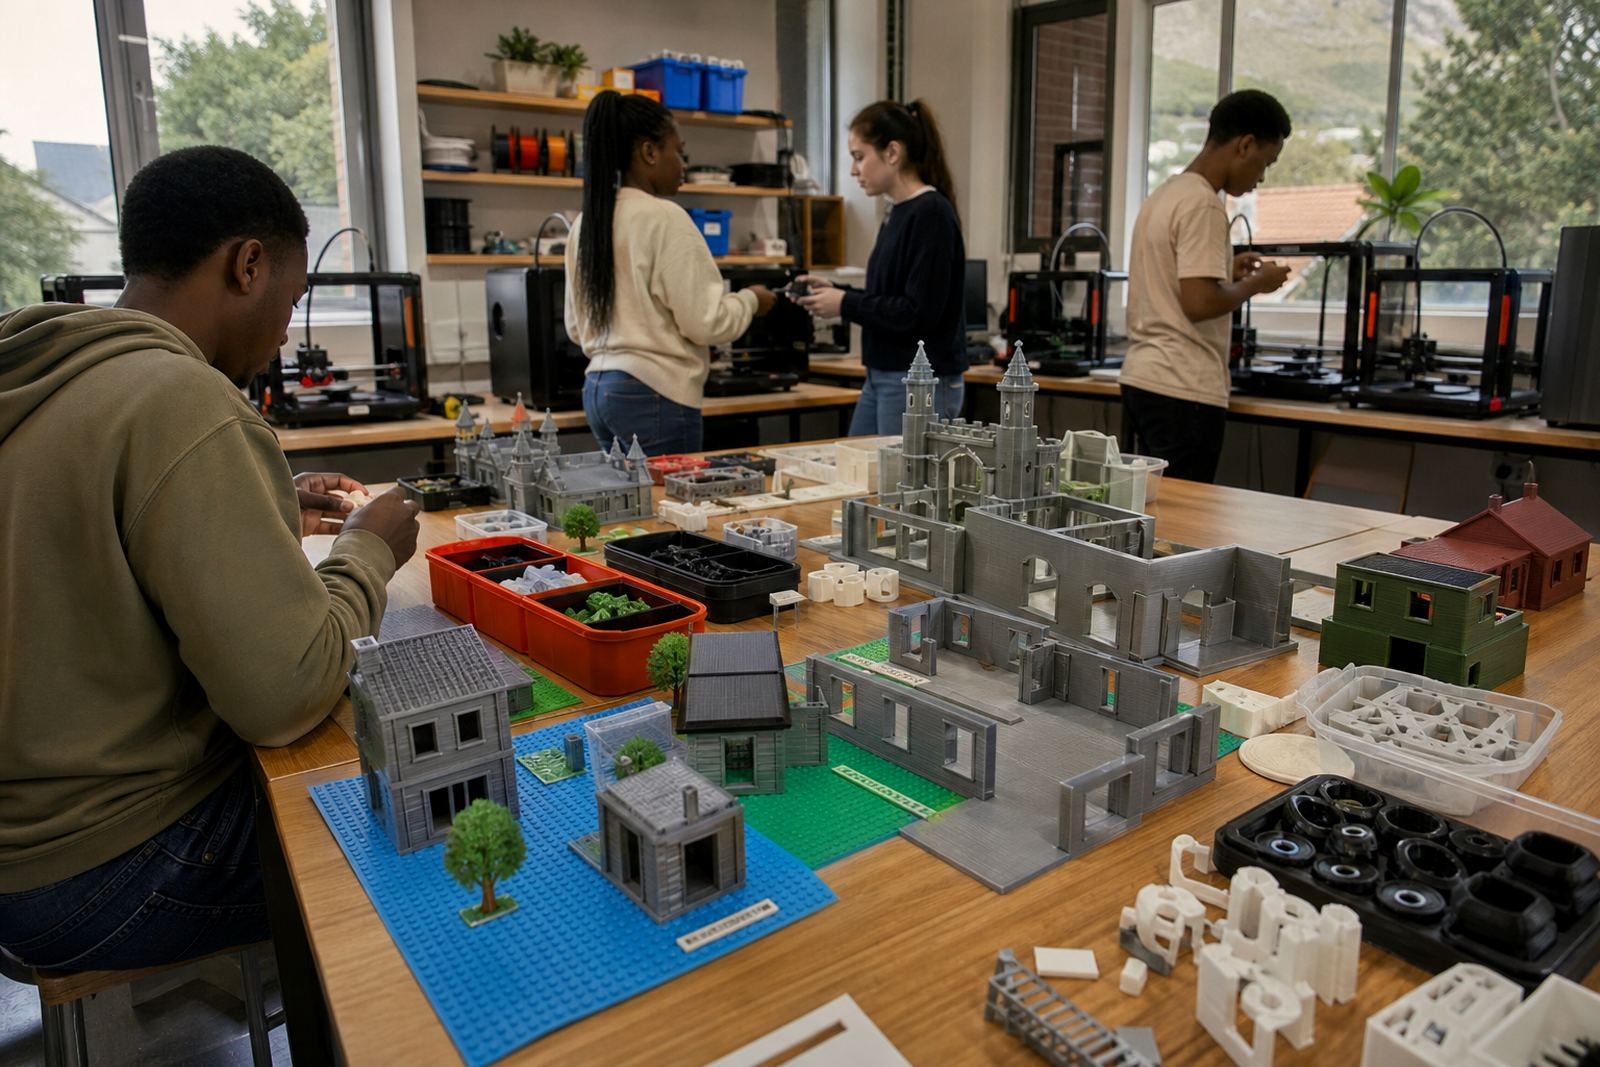
- Suitable for small architectural models and layout studies
- Supports class demonstrations and learner project work
- Useful for display models, concept models and group tasks
- Designed for repeat use in school environments
Sizes and configuration options
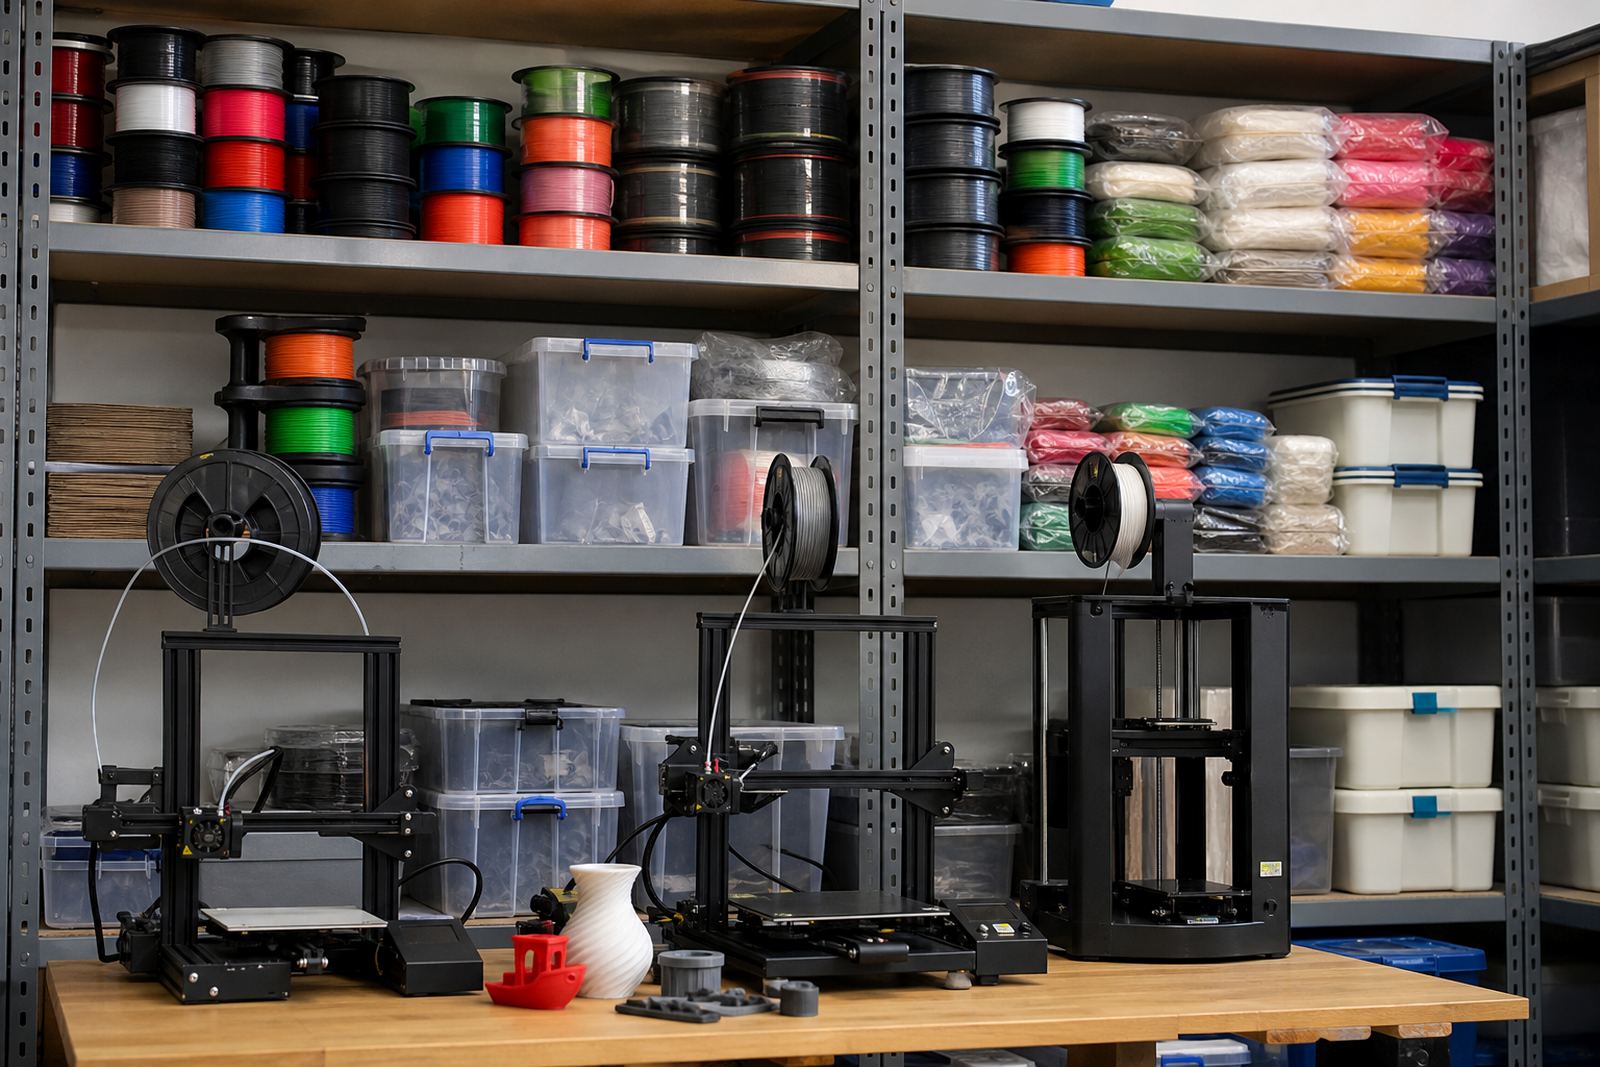
Typical options include a single-machine starter pack, a two-machine classroom pack, and a multi-machine lab pack for larger groups. Material storage, spare nozzles, calibration tools and drying containers can be added if the school plans to print often. In damp areas or near the coast, filament storage matters a lot because moisture can cause stringing, poor layer bonding and brittel parts that fail during model assembly.
- Starter pack for small classes or pilot use
- Classroom pack for shared use and group work
- Lab pack for higher volume printing and parallel projects
- Optional storage and consumable add-ons
Where the pack suits best in school programmes
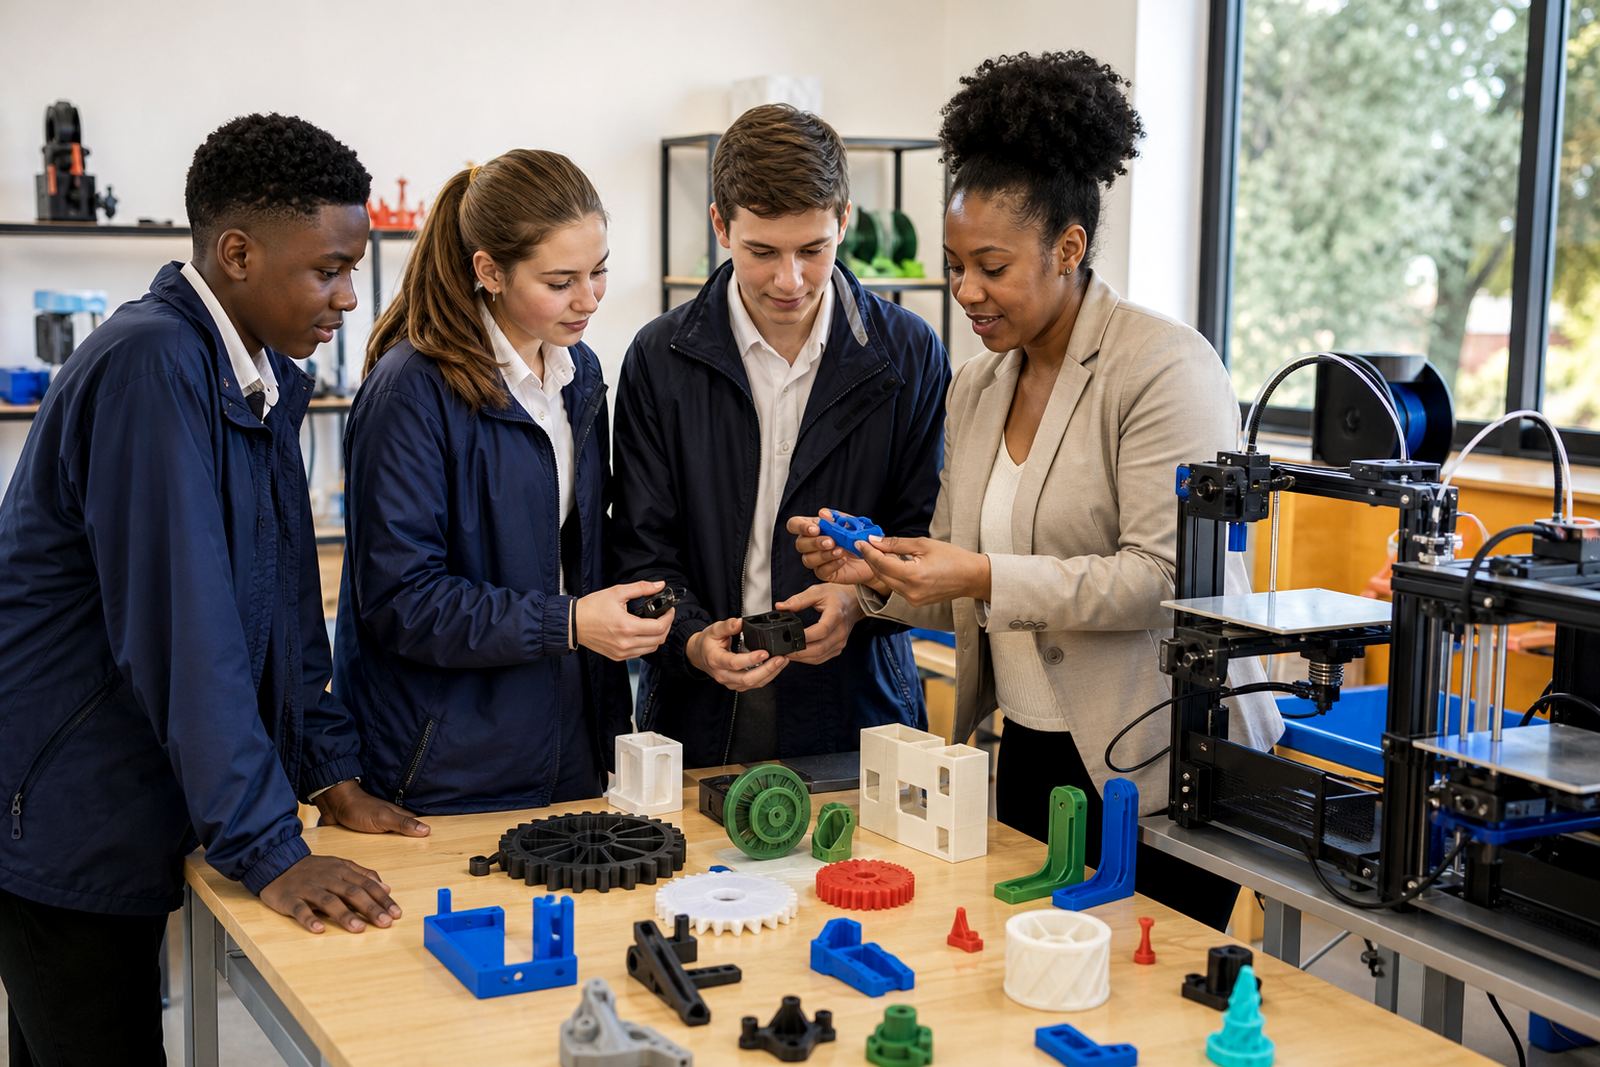
It suits schools that want a hands-on tool for explaining scale, layering and structure. Teachers can use it for problem-solving tasks that involve simple load paths, wall thickness, openings and roof spans. Learners see quickly why some forms print better than others, which helps with planning and design decisions. It also works well where the school wants one shared set of equipment rather than separate units in each room.
- Architecture and design classes
- Technology and engineering support work
- Maker clubs and holiday programmes
- Presentation and portfolio preparation
Installation, power and classroom setup
For a school lab, the layout should leave room for supervision, material storage and a clear path around each unit. Avoid placing machines near open windows, vibrating equipment or direct sun. A lockable cabinet for tools and filament is useful, especially where many learners share the room. If the room has carpet or heavy dust, add a cleanable mat under the equipment and keep brushes, scrapers and spare parts in labelled containers.
- Indoor, dry room recommended
- Standard 230 V power supply
- No gas or special utility line required
- Clear bench space and safe cable management needed
Care, servicing and safe classroom handling
For learners, the main rules are simple: do not touch hot parts, do not lean over moving axes, and keep hands clear while the machine is running. Remind learners that freshly printed parts can be warm and may need a few minutes before handling. If a print fails, stop the machine safely and clear the area before restarting. A tidy room also helps prevent snagged cables and accidental knocks, which happen more often than people expect.
- Clean beds and nozzles on a regular schedule
- Store filament sealed and dry
- Check belts, fans and cables during routine servicing
- Keep learner access supervised during prints
What to check before ordering
It is also worth confirming power access, supervision arrangements and where printed models will be stored while they cool. Schools should ask for the build area, layer resolution range, material compatibility and the usual turnaround for support or replacement parts. If the room will be used for more than one subject, plan the storage and cleaning routine now rather than later, otherwise small jobs tend to pile up fast.
- Number of learners and class size
- Room space, tables and power points
- Expected model size and print volume
- Storage, spares and consumables needed
Key facts
| Product type | School architecture model making pack |
|---|---|
| Typical use | Small models, layout studies and presentation pieces |
| Power requirement | 230 V mains, indoor classroom use |
| Gas requirement | None |
| Suggested build area | Compact to medium classroom options |
| Material support | Common classroom print materials and sealed storage |
| Safety note | Hot surfaces and moving parts require supervision |