What the Lesson Sample Pack includes
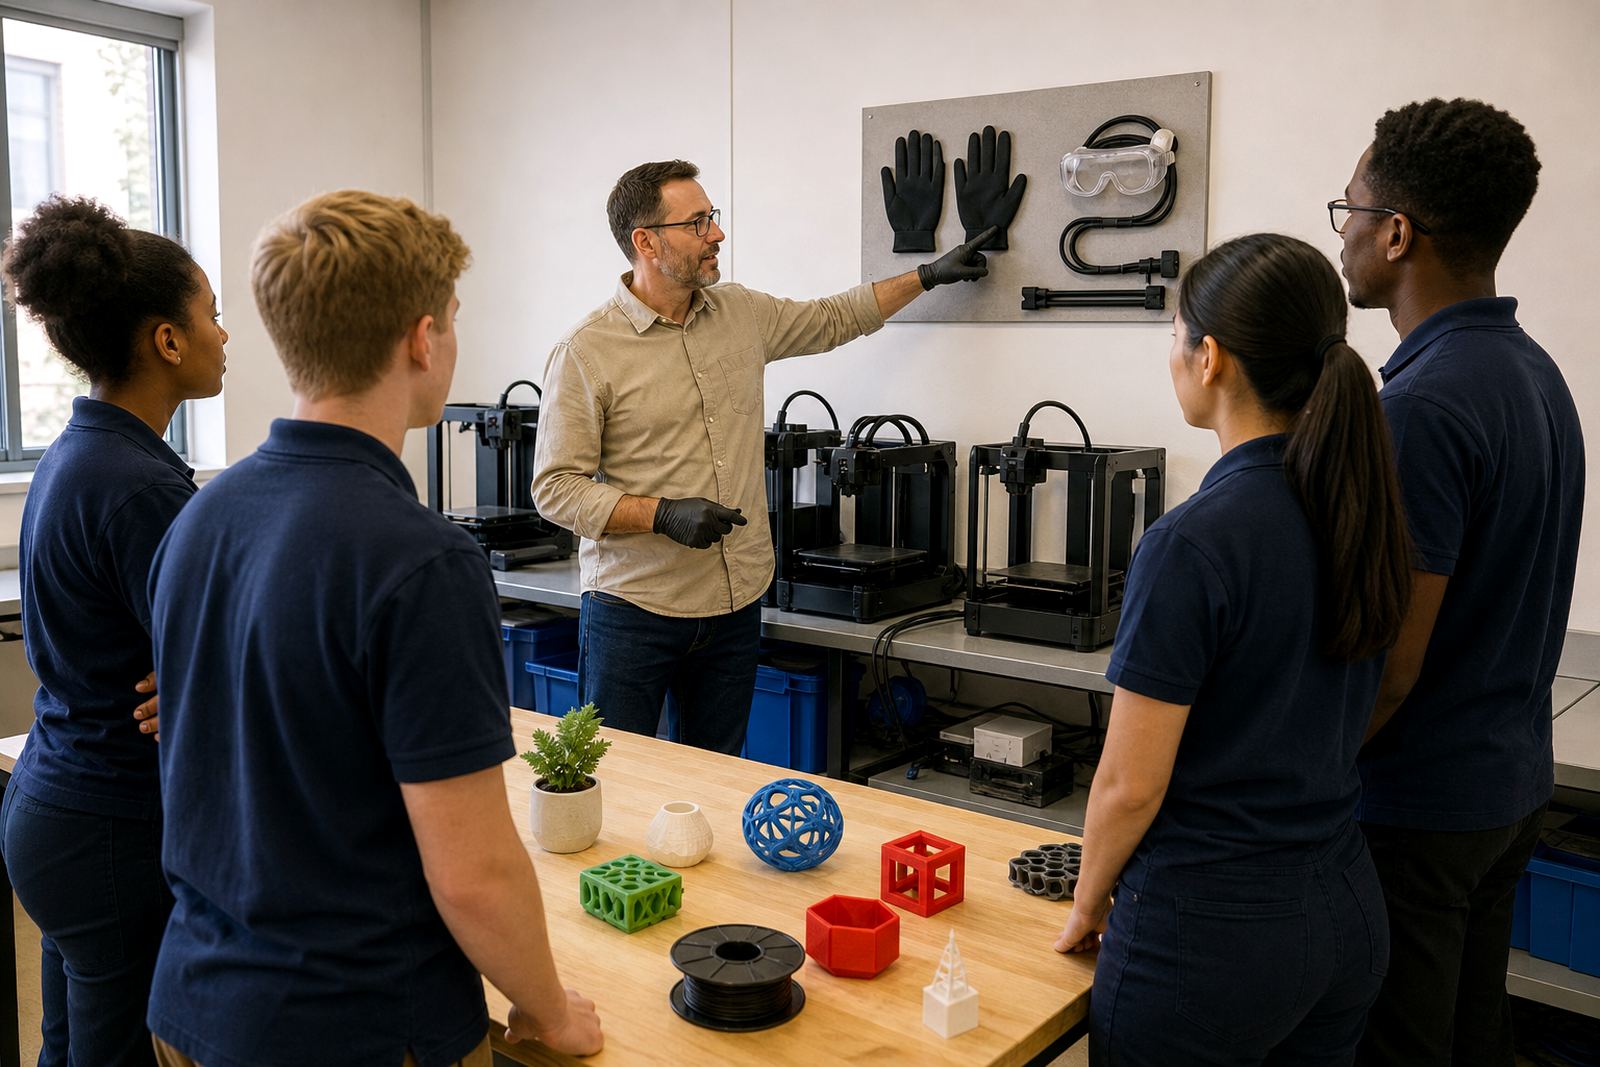
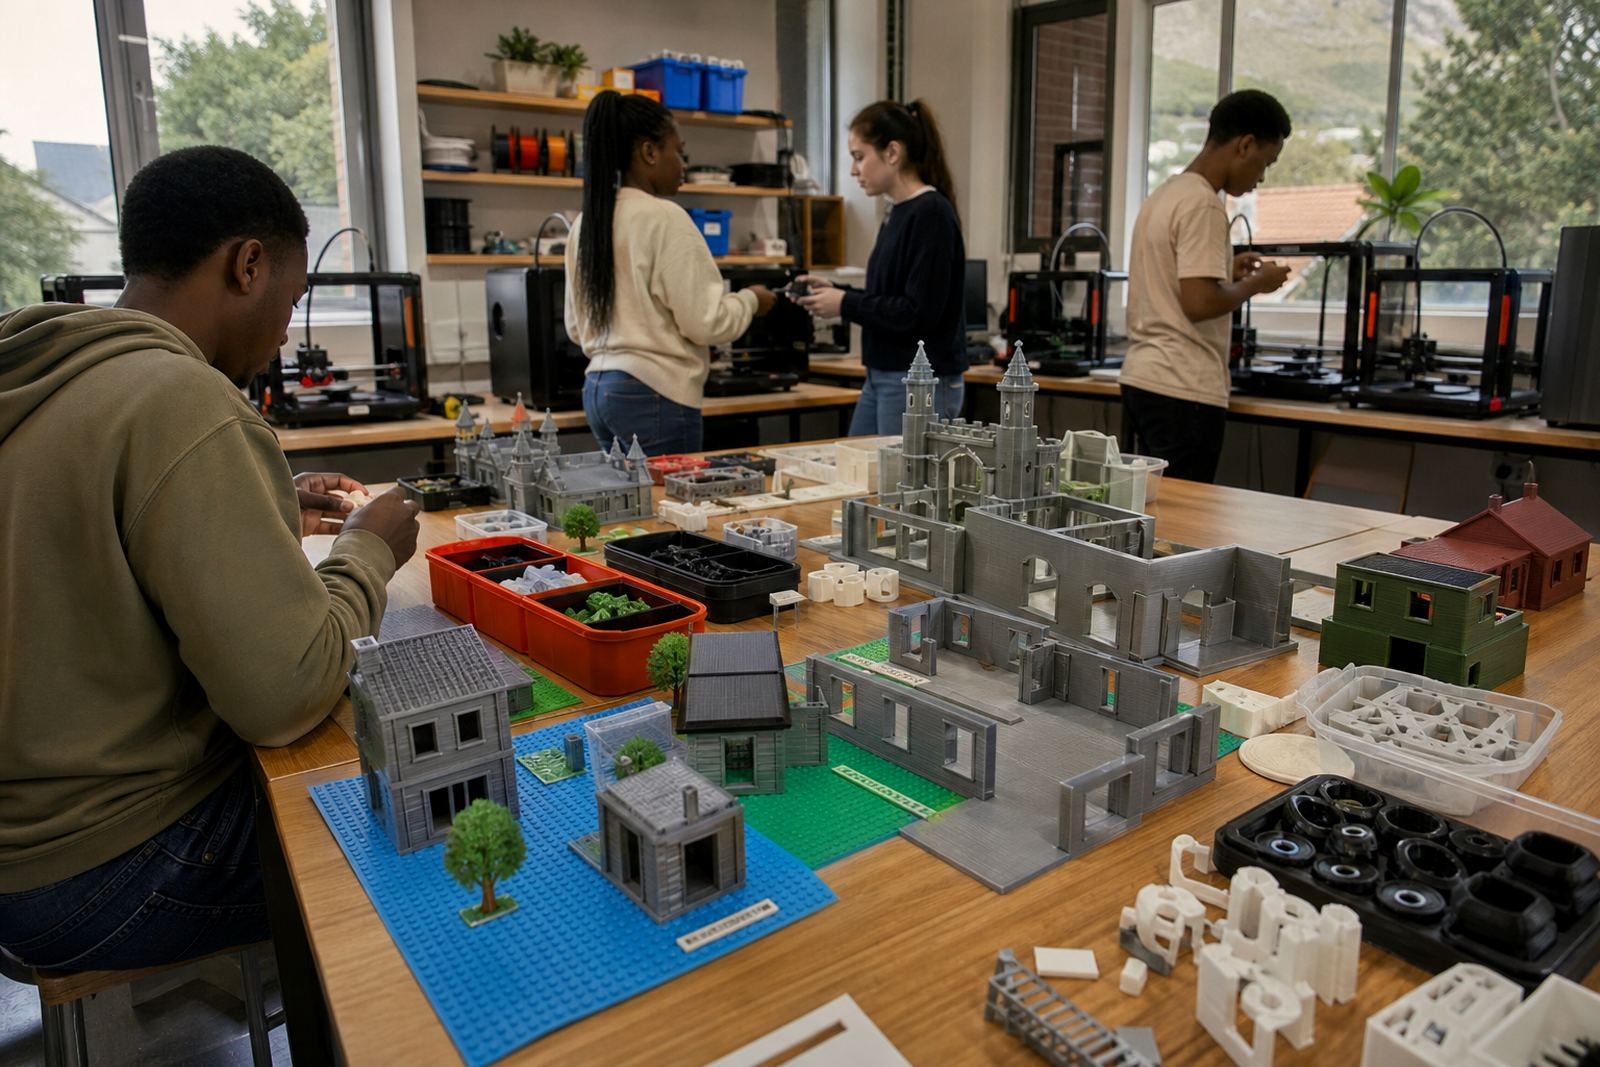
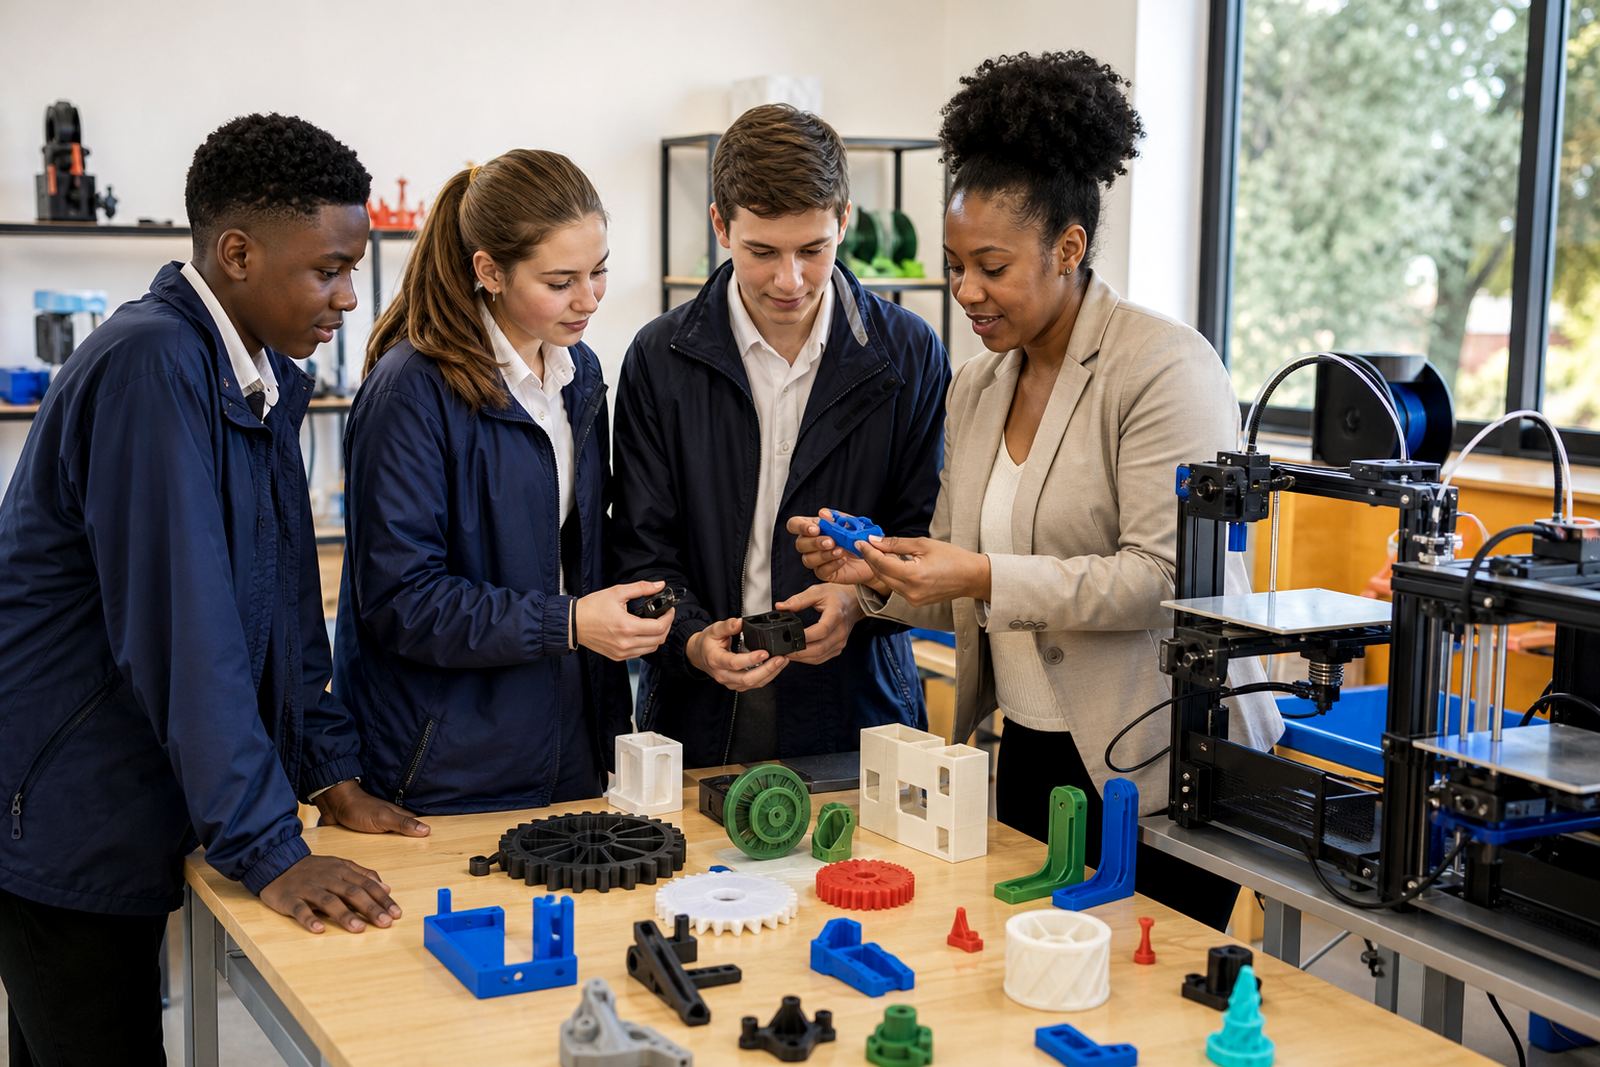
The Lesson Sample Pack is a curated set of printed example objects that can be passed around the classroom, compared on a table, and used to explain how different shapes behave in a print. It is useful when you want learners to see the difference between solid forms, hollow sections, bridges, overhangs and fine detail without needing to print a full project every time.
Each pack is assembled for teaching use, so the items are chosen for clear visual learning rather than decoration. Teachers can use the examples to discuss design choices, print orientation and the effect of layer height on finish. It also helps when introducing first-year learners to 3D printing because they can handle the parts and ask questions before working on the machine.
- Example objects for shape, structure and surface finish
- Suitable for demonstrations, lesson prep and classroom discussion
- Handy for school makerspaces, labs and holiday programmes
Sizes and pack options for different classrooms
The Lesson Sample Pack is offered in practical classroom formats, from a compact set for a single teacher to a larger pack for shared use across several groups. A smaller pack suits a lab with one printer and a limited class rotation, while a bigger set works better where multiple teachers need the same teaching aids at the same time.
Most schools choose a standard pack that fits easily into a storage tub or drawer. For larger campuses, a multi-pack option is useful when training takes place in more than one room or when the same samples need to move between departments. If your school runs maker club sessions after hours, a second pack can be kept aside for the club group.
- Compact classroom pack for teacher demonstrations
- Standard school pack for regular lessons and small groups
- Expanded pack for shared labs and multi-teacher use
Where it works best in schools
This product suits primary schools, high schools, technical classrooms and training spaces where 3D printing is part of practical learning. It is especially helpful in lesson setups where teachers need a quick way to explain why a print may succeed or fail before the machine is started. In Stellenbosch, Cape Town, Paarl and Somerset West, many schools use it in STEM rooms where space is limited and class time is tight.
It also works well in schools that have regular load-shedding, because the pack does not rely on power to be useful. Teachers can still use it during a darkened lesson or while waiting for the printer to come back online. That makes it a dependable teaching aid in municipal areas where interruptions can happen without warning.
- Useful for STEM rooms, computer labs and makerspaces
- Helpful for lesson prep when printing time is limited
- Suitable for schools managing outages and class rotation schedules
Installation, setup and power needs
The Lesson Sample Pack itself does not need installation. It arrives ready for use, so teachers can open the pack, sort the examples and begin the lesson straight away. If you are pairing it with a school printer setup, the samples are often used beside the machine to show what the printer is doing at each stage.
No gas is required. No special mounting is needed. If the school wants to keep the pack with a printer, a shelf, tray or lockable cupboard is usually enough. The only setup step is deciding where the samples will live so they remain easy to reach but not mixed up with learner work.
- No gas, plumbing or fixed installation required
- Can be stored on a shelf, in a cupboard or with the printer kit
- Works alongside standard classroom power use only if you are running a printer
Care, storage and servicing over time
The samples are easy to care for, but they do better when handled with some discipline. Wipe off dust with a dry cloth and keep them out of direct sun for long periods, especially in warm rooms. If a piece gets marked during a lesson, it can still be used for discussion, although the cleaner examples should be set aside for the next class.
Schools in humid coastal areas should store the pack indoors, away from open doors and wet art materials. In dusty areas or busy labs, a lidded container helps keep the items clean. There is no routine servicing as such, but it helps to check the pack now and then for missing pieces or damaged labels if the set is used by many classes.
- Store in a dry, shaded place away from heavy heat
- Use a container or tray to keep items together
- Check for missing pieces after shared lessons
What to confirm before you order
Before placing an order, check how many teachers will use the pack, what age group it is for and whether you need a smaller or larger set. It also helps to think about the lesson topics you cover most often. A school that focuses on introductory printing may only need basic forms, while a school running advanced projects may want more technical examples for shape and fitting.
You should also confirm where the pack will be stored and who will look after it. If the samples will move between rooms, a carry box may be useful. If they will stay near the printer station, a fixed tray is often enough. Getting these points right at the start makes the pack easier to use in daily teaching.
- Confirm learner age group and lesson level
- Check how many staff will use the pack
- Decide whether you need a carry box or fixed storage
- Match the sample mix to your printer and curriculum focus
Key facts
| Product type | Printed classroom sample pack for 3D printing lessons |
|---|---|
| Use case | Teacher demonstrations, learner discussion, project planning and printer explanation |
| Pack sizes | Compact, standard and expanded options |
| Setup | Ready to use, no installation required |
| Power and gas | No gas needed; no power required unless used alongside a printer |
| Storage | Dry indoor storage in a tray, box or cupboard |