What the Primary School Kit includes
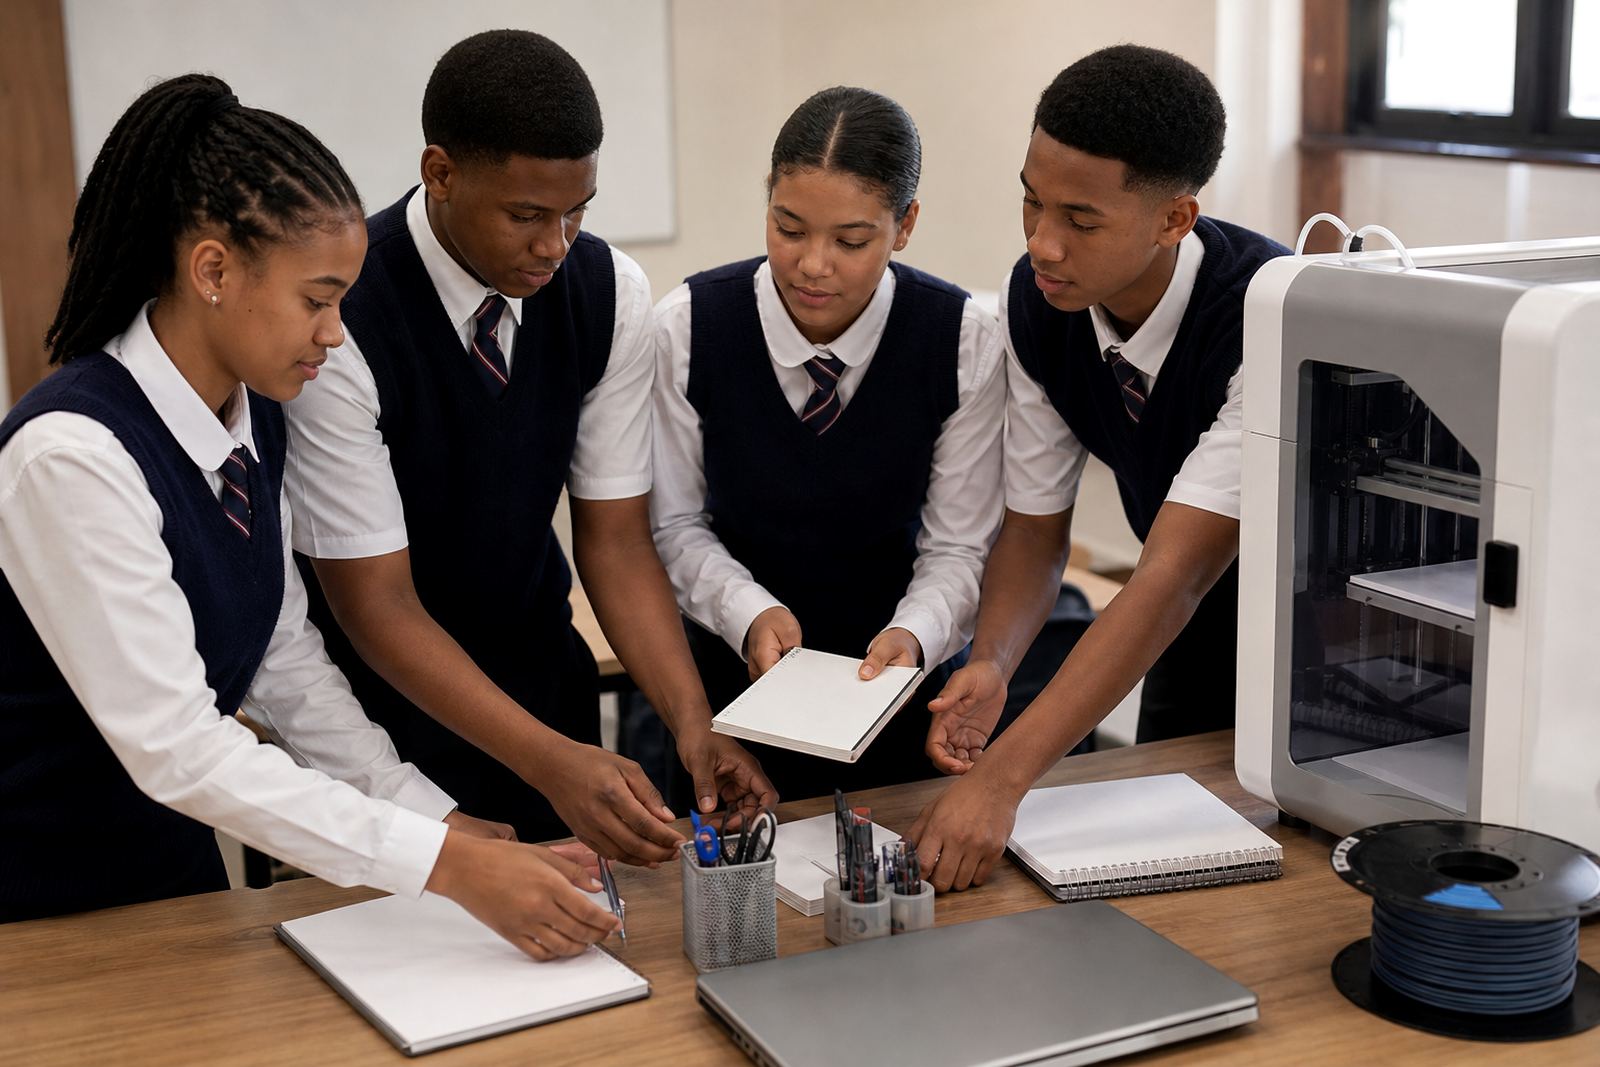
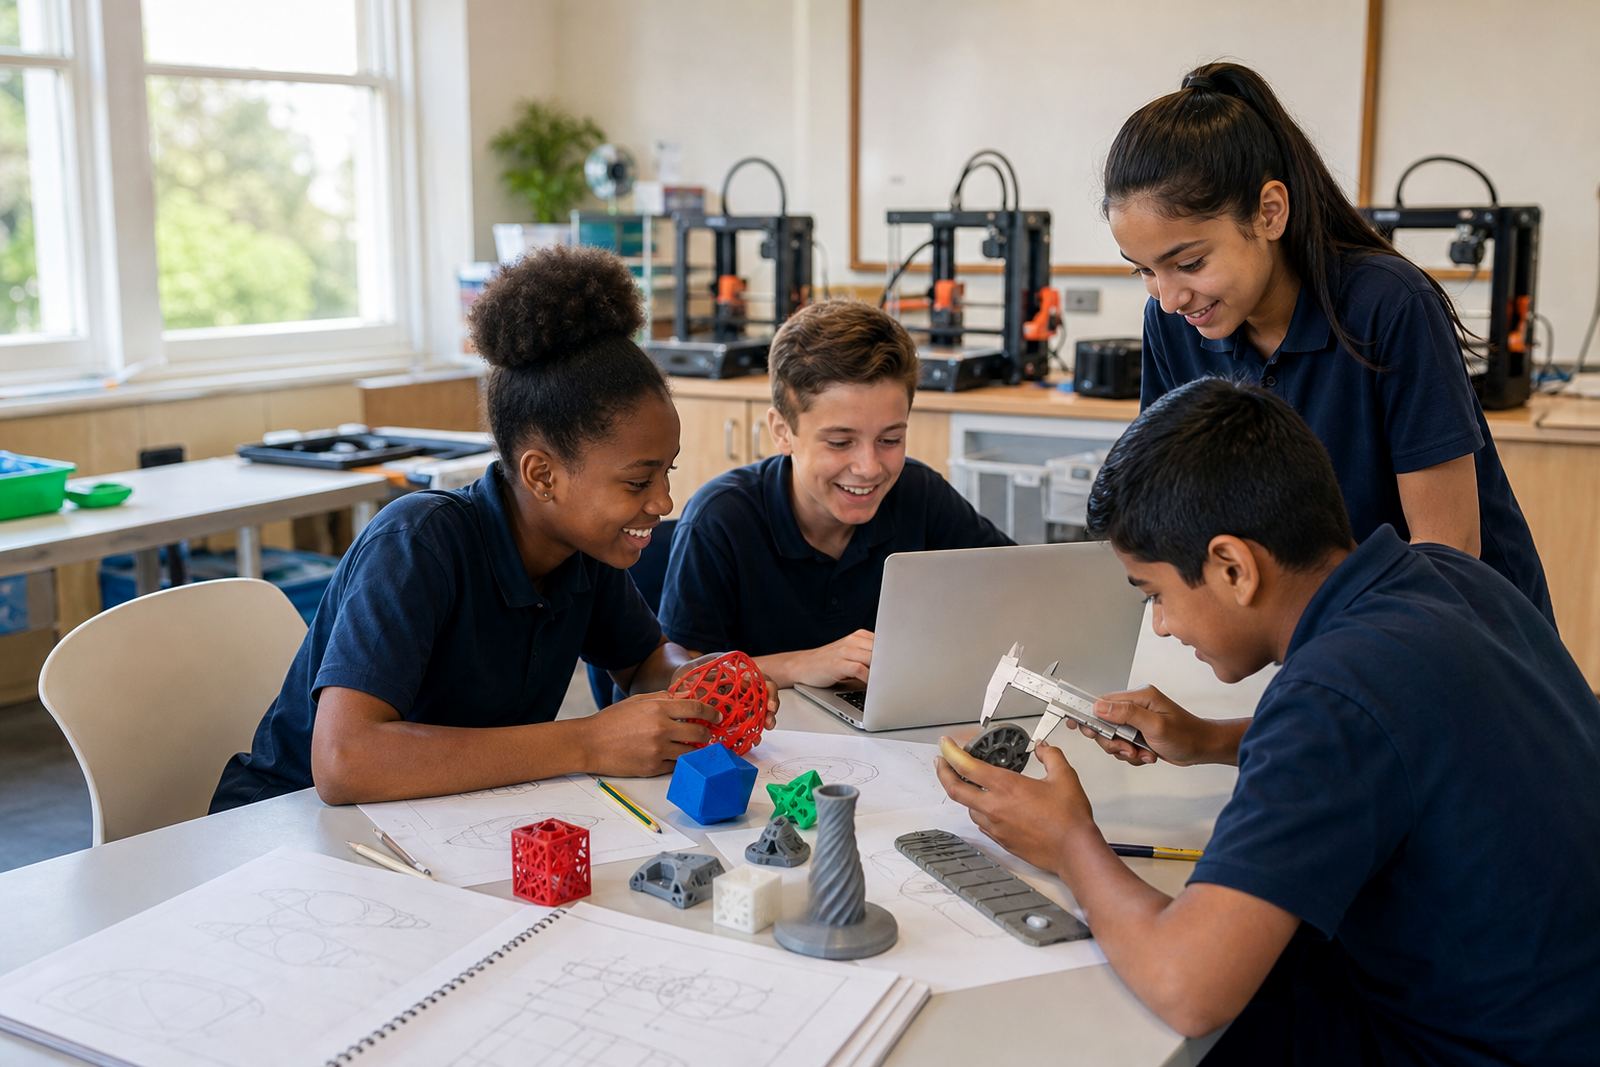
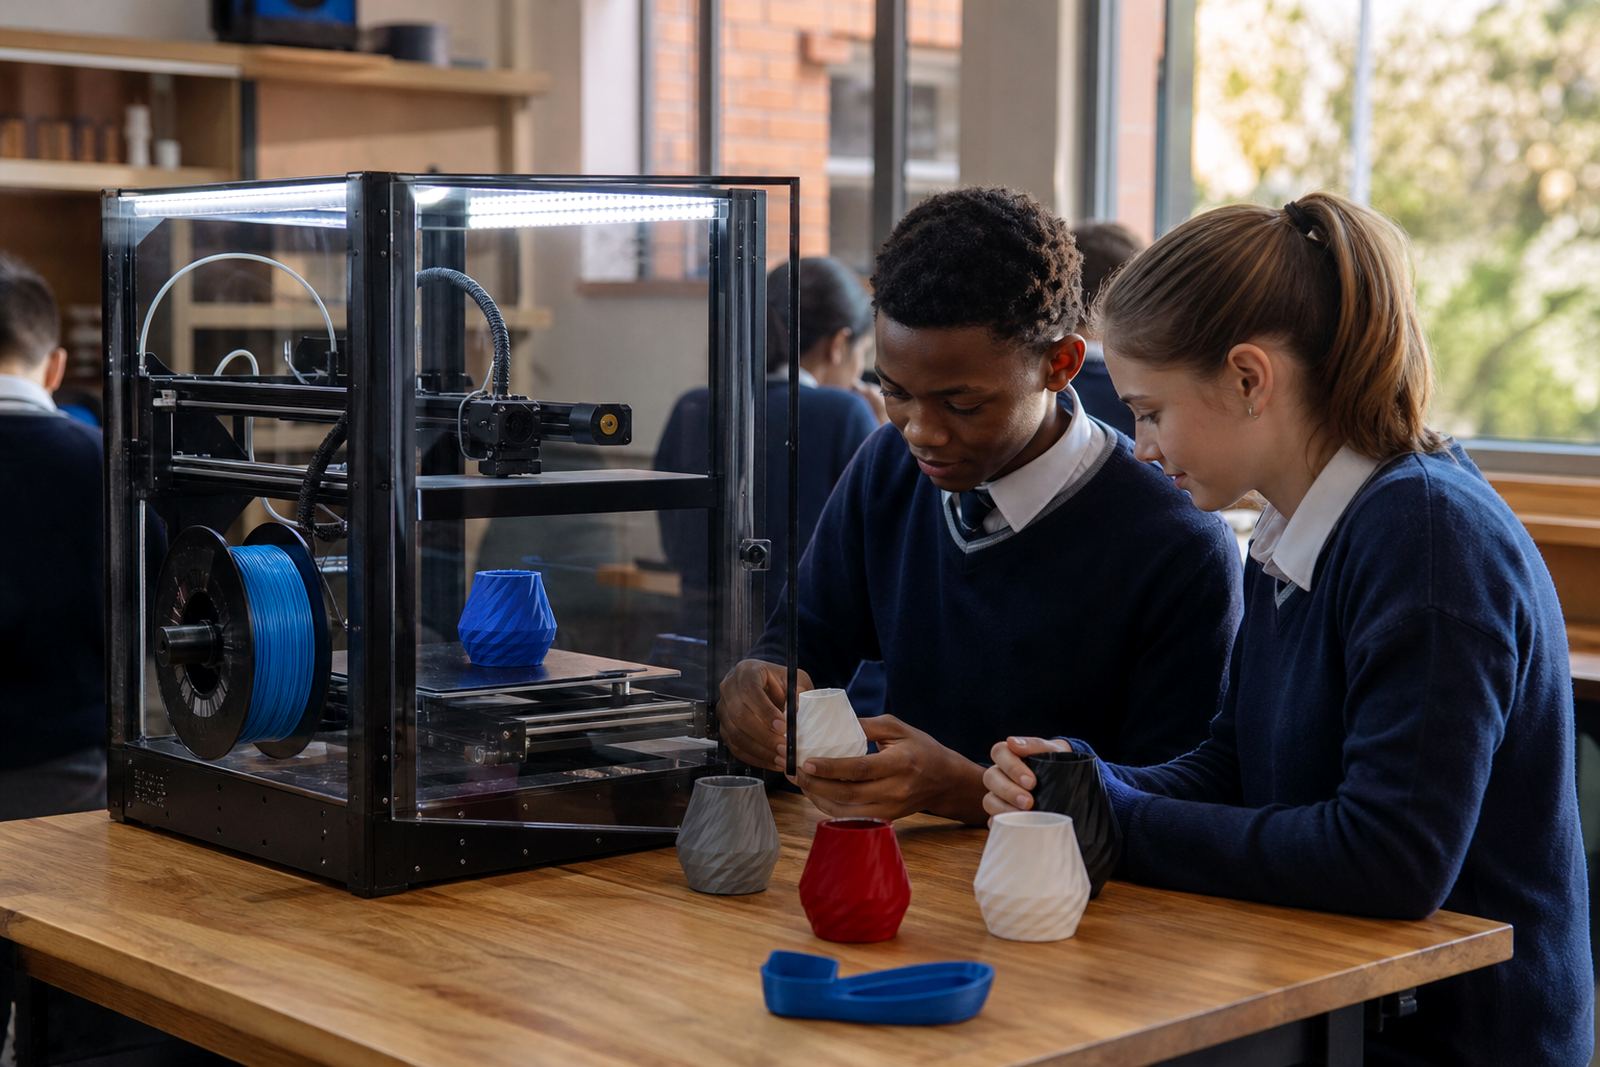
The Primary School Kit is set up for schools that want a clear, manageable introduction to 3D printing without overloading staff or learners with a complicated lab. It is suited to demonstrations, small-group activities and guided classroom use, with equipment selected for straightforward operation and easier supervision. The aim is to make the learning process practical, calm and repeatable from term to term.
Each kit is arranged around the basic steps of design, slicing and printing. Depending on the option you choose, the kit can include a compact 3D printer, starter filament, a basic computer or laptop requirement list, model prep guidance, sample classroom files and safety notes for supervised use. For primary school settings, the focus stays on simple shapes, small items and short print jobs that fit into lesson time.
- Compact printer for classroom-scale work
- Starter filament in common PLA colours
- Basic tool set for supervised removal and cleaning
- Teacher quick guide for daily use
- Safety reminders for learners and staff
Where it suits best in the school day
This kit suits schools that want to link technology with creativity, design and problem solving across subjects. It works well in a dedicated computer lab, a small innovation corner, or a shared classroom where learners are rotated in groups. Many primary schools use this kind of setup for technology lessons, art support, maker activities and enrichment programmes after school.
Because the kit is simplified, it is a good fit for younger learners who need clear structure and visible steps. It supports teacher-led demonstrations rather than unsupervised printing, which helps keep the room orderly and the process safe. The setup is also practical for schools in Stellenbosch, Cape Town, Paarl, Somerset West and other towns where space, storage and shared facilities need to be considered carefully.
- Suitable for Grade 4 to Grade 7 exposure, depending on class readiness
- Useful for STEM clubs and holiday programmes
- Works in shared spaces with controlled access
- Can be introduced in schools with limited technical support
Sizes, options and classroom footprint
Primary School Kit options are usually chosen around the size of the class, the number of teachers involved and the space available for storage. A smaller setup may suit a single class or pilot programme, while a larger option can support a whole grade’s rotation through practical sessions. The printer footprint is kept compact so it can sit on a stable table or work surface in a supervised area.
When comparing options, schools should consider build volume, noise level, filament storage, the age group being taught and how often the printer will be used. A modest build area is often enough for classroom learning because learners are usually printing small parts, test pieces and simple models rather than large display items. If your school wants to expand later, the kit can be planned so that extra printers or storage units are added in stages.
- Compact option for one classroom or small lab
- Expanded option for a shared learning area
- Single or multiple printer configurations
- Accessory storage for filament and tools
Installation, power and room requirements
Installation is straightforward, but the room should be planned properly before the kit arrives. A level surface, nearby plug points and enough space for supervision are the main requirements. Schools should avoid placing the printer near direct sunlight, open windows with dust, or busy passageways where learners may bump the table. In coastal areas, such as parts of the Western Cape and KwaZulu-Natal, keeping filament sealed and dry is especially important because moisture can affect print quality.
For power, most school kits need a standard electrical outlet and a stable supply. If the school experiences load-shedding, it helps to plan printing times carefully or keep to shorter jobs that can be resumed with less waste risk. No gas is needed for the kit. Good ventilation is recommended, and the room should always allow for adult supervision while the printer is running. A simple sign-in rule for access, plus clear learner instructions, helps keep the area orderly.
- Standard electrical outlet required
- No gas connection needed
- Stable table or bench top required
- Adult supervision recommended at all times during printing
- Dry storage for filament is important in humid areas
Care, servicing and everyday handling
Good care keeps the kit dependable and helps schools avoid unnecessary downtime. Daily handling should include checking the nozzle area, keeping the build surface clean and confirming that the printer is level before starting a job. Teachers or lab leads should store tools, filament and sample parts in a dry cupboard after use. For primary schools, a simple routine works best because it keeps the process consistent for new staff and relief teachers.
Basic servicing may include nozzle cleaning, bed checks, cable inspection and software updates where required. A school should also make sure learners are not touching hot parts and that finished prints are left to cool before removal. If a printer is used regularly, it is wise to set aside time for maintenance between sessions rather than waiting for a fault to develop. That small bit of routine care can save a lot of interruption later on.
- Wipe the build surface after each session
- Store filament in a dry container
- Check cables and plugs regularly
- Keep a simple log of prints and maintenance
- Replace worn parts before they affect class time
What to check before you order
Before ordering, schools should confirm the age group, room size, number of learners, and whether the kit is for one class or multiple classes. It also helps to know who will supervise the printer day to day, where materials will be stored and how much time is available for each lesson. These details affect the best kit option and make the handover smoother once the equipment is delivered.
It is also useful to check whether your school wants a simple starter setup or a fuller package with teacher guidance and ongoing support. If your campus is spread across more than one building, think about cable access, lockable storage and transport between rooms. For schools in Cape Town, Johannesburg, Pretoria, Durban, Gqeberha and surrounding areas, we can advise on the practical side of setting up a classroom-friendly 3D-printing corner that suits local conditions and school routines.
- Confirm learner age group and class size
- Check available space and plug points
- Decide who will supervise use
- Choose the level of support and training needed
- Plan storage for filament, tools and prints
Key facts
| Product type | Primary school classroom 3D-printing kit |
|---|---|
| Use case | Supervised learner exposure, design thinking and demonstration printing |
| Typical setup | Compact printer, starter filament, tools and teacher guidance |
| Power needs | Standard electrical outlet, no gas required |
| Space requirement | Stable table or bench with supervised access |
| Suitable environment | Primary schools, maker spaces and enrichment rooms |