What the Printer Enclosure Unit does in a school lab
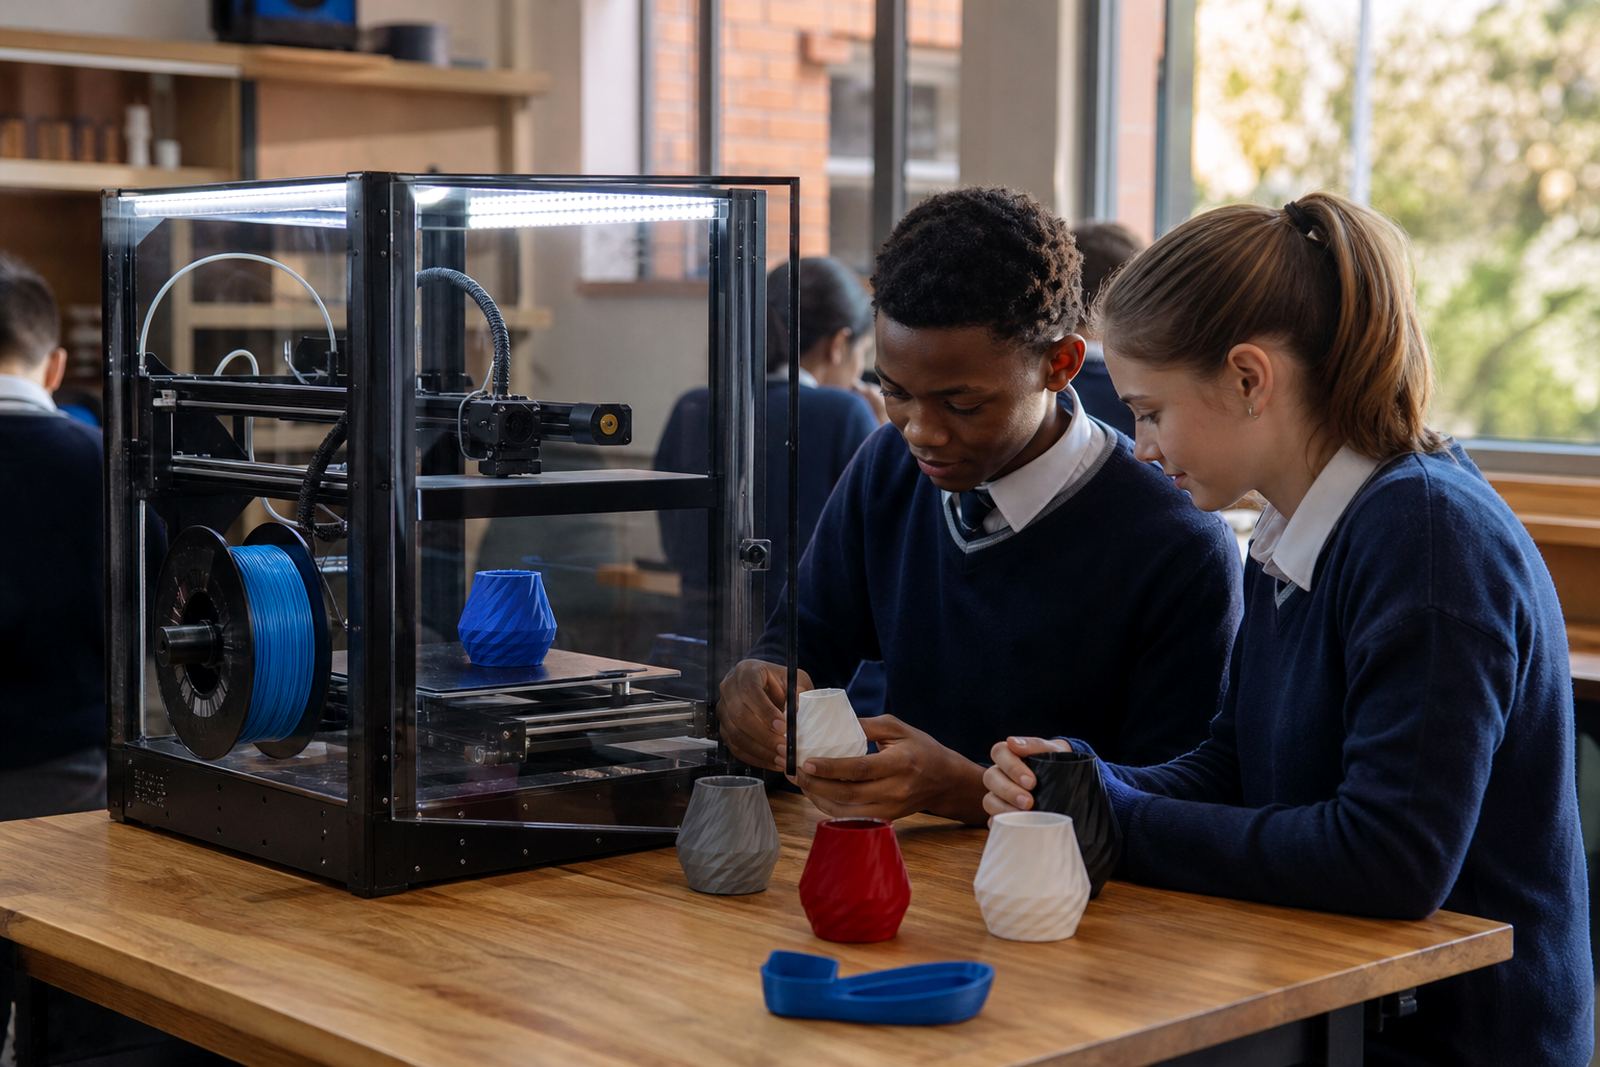
The Printer Enclosure Unit is a purpose-built housing for a benchtop 3D printer and its support items. It helps separate the printer from the rest of the classroom, keeps cables and tools in one place, and gives staff a better view of the print area during lessons. In practical terms, it is a tidy station for schools that want a more organised set-up without turning the room into a workshop floor.
For South African schools, this can be useful where space is shared between subjects, or where a lab has to be packed away after use. The enclosure helps reduce dust, casual handling and unnecessary contact with hot parts. It also supports more controlled printing on days when load-shedding or temperature changes affect classroom conditions.
- Helps contain the printer in one working zone
- Makes it easier to supervise active prints
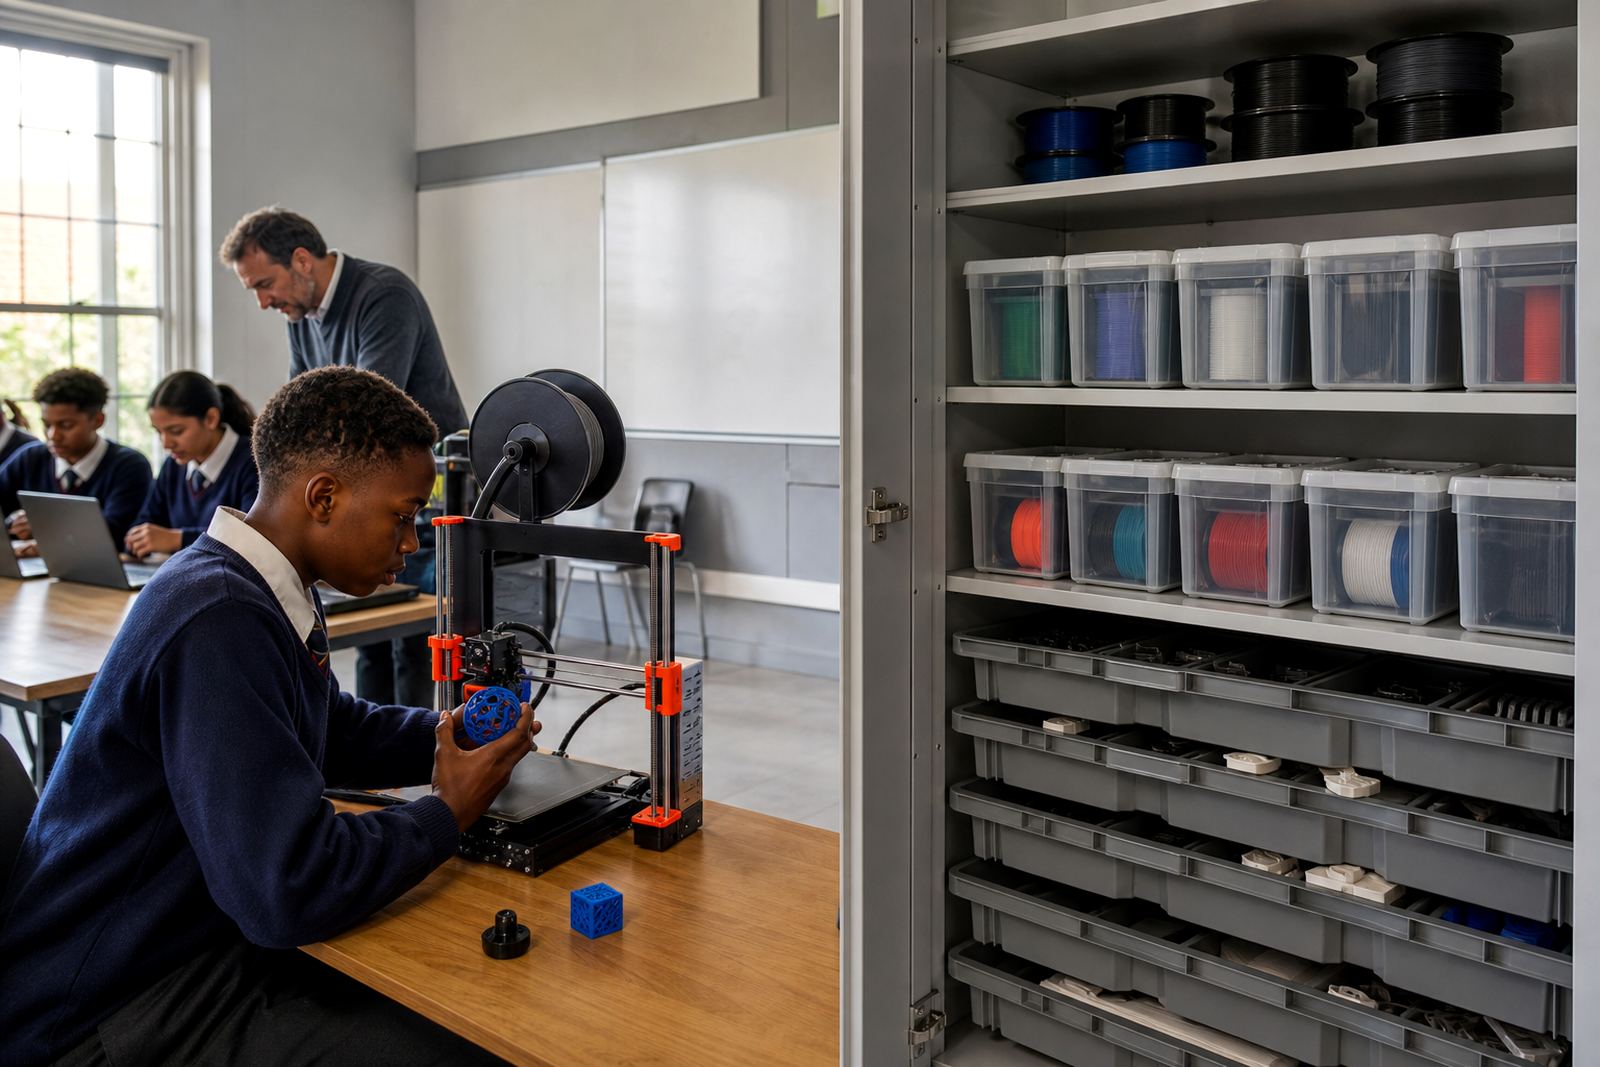
- Keeps filament, tools and spare parts together
- Useful for shared classrooms and maker spaces
Sizes, layout choices and build options
Printer enclosure units are usually supplied in a few practical sizes to suit single printers or a small cluster of machines. The right choice depends on the printer footprint, whether you need shelf space above or below, and how much room is available for airflow and access. In a school setting, it is better to leave enough space for the learner to see the machine clearly and for the teacher to reach the control panel without moving other equipment.
Common layout options include a basic single-unit enclosure, a larger double-width cabinet for additional storage, and a mobile version on locking castors for flexible classrooms. Some schools prefer a front-opening arrangement for quick access, while others want side panels for neater cable routing and safer placement against a wall. If your room is used for both teaching and practical work, a closed storage section below can be handy for filament, nozzles and cleaning tools.
- Single printer enclosure for compact rooms
- Wider unit with extra storage space
- Locking castors for moving between rooms
- Front or side access depending on layout
Where this enclosure suits best
This type of enclosure suits schools, training centres and makerspaces that run structured printing sessions. It works well in a science lab, technology room, library makers corner or a dedicated 3D-printing bay. In coastal towns such as Cape Town, Gqeberha and Durban, an enclosed unit can also help reduce the effect of dust and damp air on stored materials, though the room still needs ordinary ventilation.
For inland classrooms in Johannesburg, Pretoria, Stellenbosch and Paarl, it is a good way to keep equipment protected from general classroom traffic and to give learners a clear routine around set-up and pack-away. It is especially useful where younger learners are involved, because the print area remains visible while the hot components stay out of casual reach. A school can also use the enclosure to keep prints running during practical periods without taking over the whole room.
- Technology classrooms and labs
- STEM and maker spaces
- Teacher training rooms
- Holiday programmes and club sessions
Installation, power and room requirements
Installation is usually straightforward, but the unit should be placed on a level floor with enough clearance for the door or access panel to open fully. The printer needs a stable surface inside the enclosure, with room behind it for cables and, where relevant, a spool holder. If the enclosure includes internal lighting or a small extraction fan, a standard mains supply is needed and the plug point should be easy to reach for safe shut-down.
There is no gas requirement for a standard printer enclosure unit. Good practice is to keep the unit away from direct sunlight, open windows that carry dust, and damp corners. Where the classroom has limited ventilation, a teacher should still allow fresh air movement and avoid overcrowding the print area. During load-shedding, the enclosure can help protect the printer from accidental contact during restart, but the printer should not be left unattended if power returns unpredictably.
- Level floor and clear access space
- Standard mains power for lights or fan options
- No gas connection required
- Best placed away from damp corners and strong sun
Care, cleaning and servicing in school use
Routine care is simple. Wipe the exterior with a dry or slightly damp cloth, remove loose filament bits after lessons and keep the inside free of dust build-up. If the enclosure has a filter or fan, check it regularly and replace or clean parts as required. The printer itself should still be serviced according to normal maintenance basics, including nozzle checks, bed levelling and cable inspection.
For schools, it helps to assign one staff member or lab lead to log issues like loose hinges, damaged latches or worn wheels. If the unit is moved between rooms, the castors should be locked before a print starts. Avoid storing liquid cleaners, food or loose batteries inside the enclosure. The aim is a neat workspace that lasts, not a cupboard that fills up with random items. A few minutes of care each week will save time later and prevent avoidable downtime.
- Keep the enclosure free of dust and loose offcuts
- Check hinges, latches and wheels regularly
- Clean or replace filters if fitted
- Lock castors before starting a print
What to check before ordering
Before ordering, measure the printer footprint, height with spool mounted, and the space needed for the door to open. Also check whether you want a unit that holds only the printer, or one that includes storage for filament and tools. Schools should confirm the available power point position, the room layout and whether the unit must fit through narrow passages, stairs or classroom doorways. It is worth checking if the unit needs to be fixed to the wall or if a freestanding unit is better for your room.
Ask for the inside dimensions, material finish and any ventilation features. If the unit will be used in a busy school, a tougher surface and secure closing method are worth considering. You should also confirm how the enclosure is packed for delivery, especially if it is going to a school outside the main city centres. A little planning up front means the unit arrives ready for use and suits the room first time, instead of needing later changes.
- Printer footprint and total height
- Need for storage, lighting or fan options
- Room access, stairs and doorway width
- Ventilation and power point position
Key facts
| Product type | Enclosure unit for a classroom or training lab 3D printer |
|---|---|
| Typical footprint | Sized to suit a standard benchtop printer with space for cable access |
| Common options | Single unit, wider storage unit, mobile castor base, light or fan fitment |
| Power needs | Standard mains supply if lighting or extraction is included |
| Gas needs | None |
| Best use | School labs, teacher training rooms, makerspaces and holiday programmes |