A school kit for steady class use
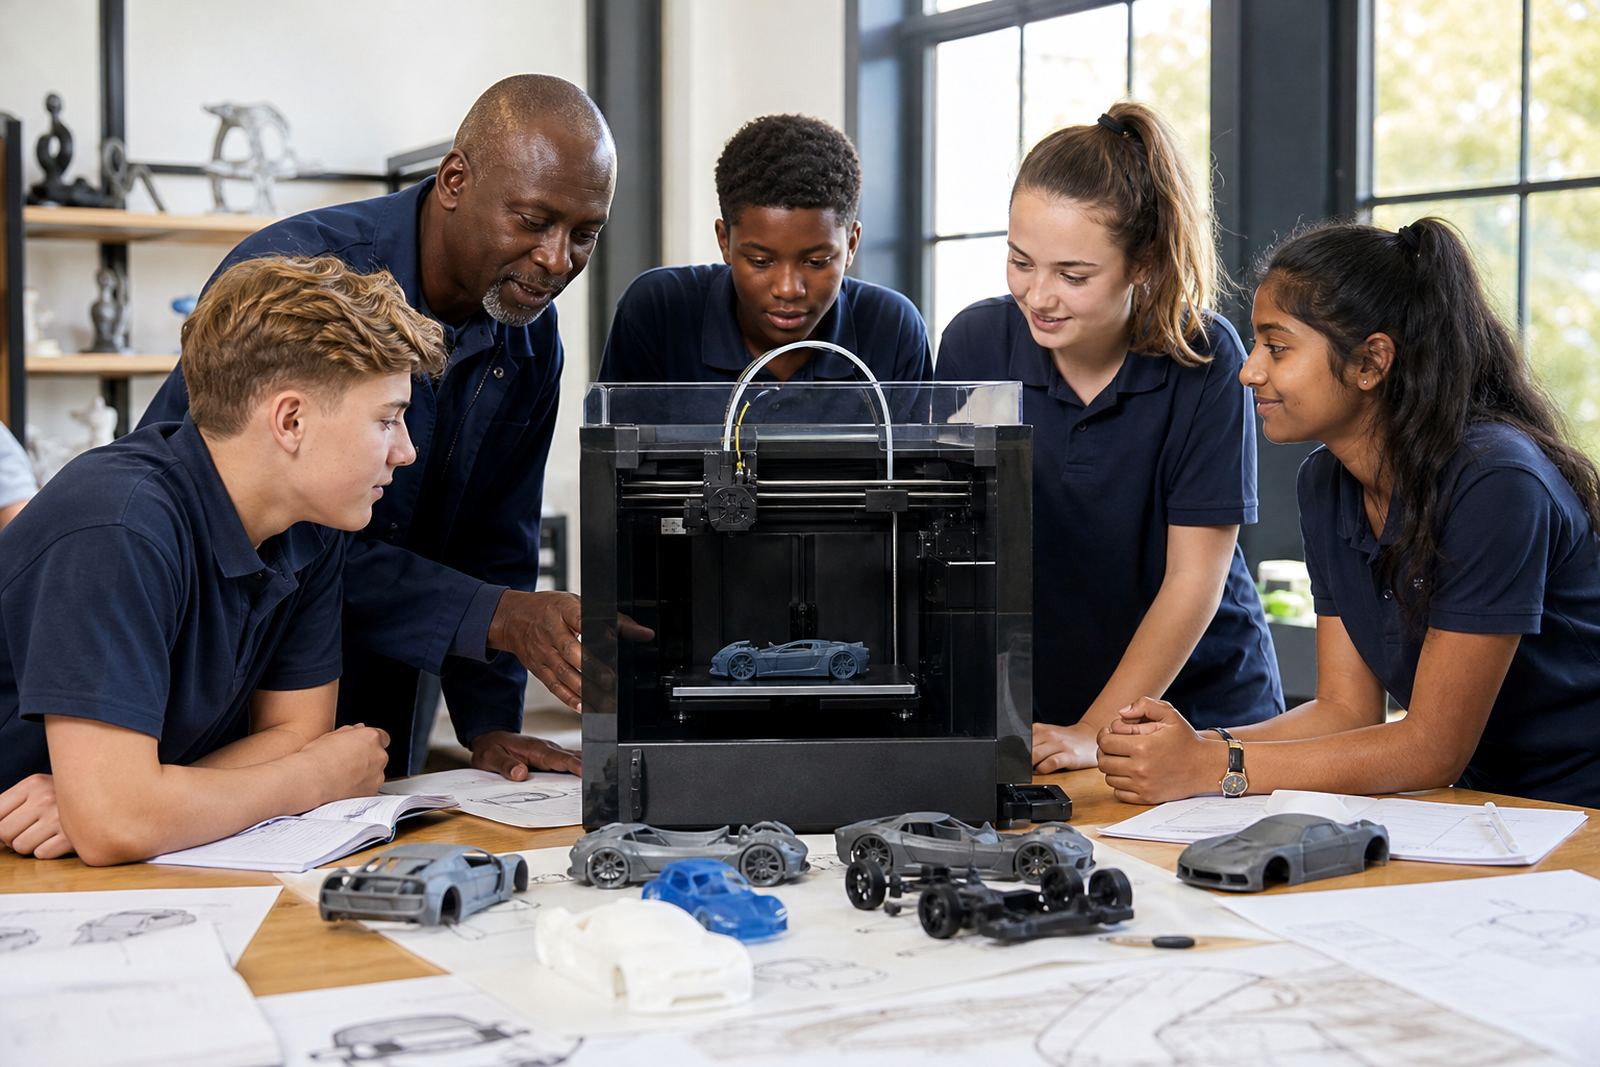
The Intermediate Lab Kit is a broader setup for schools that want to move beyond occasional demonstrations and into regular hands-on work. It suits technology rooms, maker spaces, media centres and shared labs where more than one class needs to use the equipment during the week.
Schools in Stellenbosch, Cape Town, Johannesburg, Pretoria, Durban and Gqeberha often ask for a setup that can cope with class rotation, after-school clubs and project work without turning the room into a jumble of loose tools and spools. This kit is arranged for that sort of use. It gives teachers a clearer way to manage learners, print jobs and basic upkeep, while keeping the workspace easy to clean and easier to supervise.
The kit can be scaled to suit your room size and learner numbers. Smaller schools may use it as a single shared lab, while larger campuses may place one unit in a computer room and another in a practical classroom. It is a proper working setup, not just a few items on a shelf.
What is included in the intermediate setup
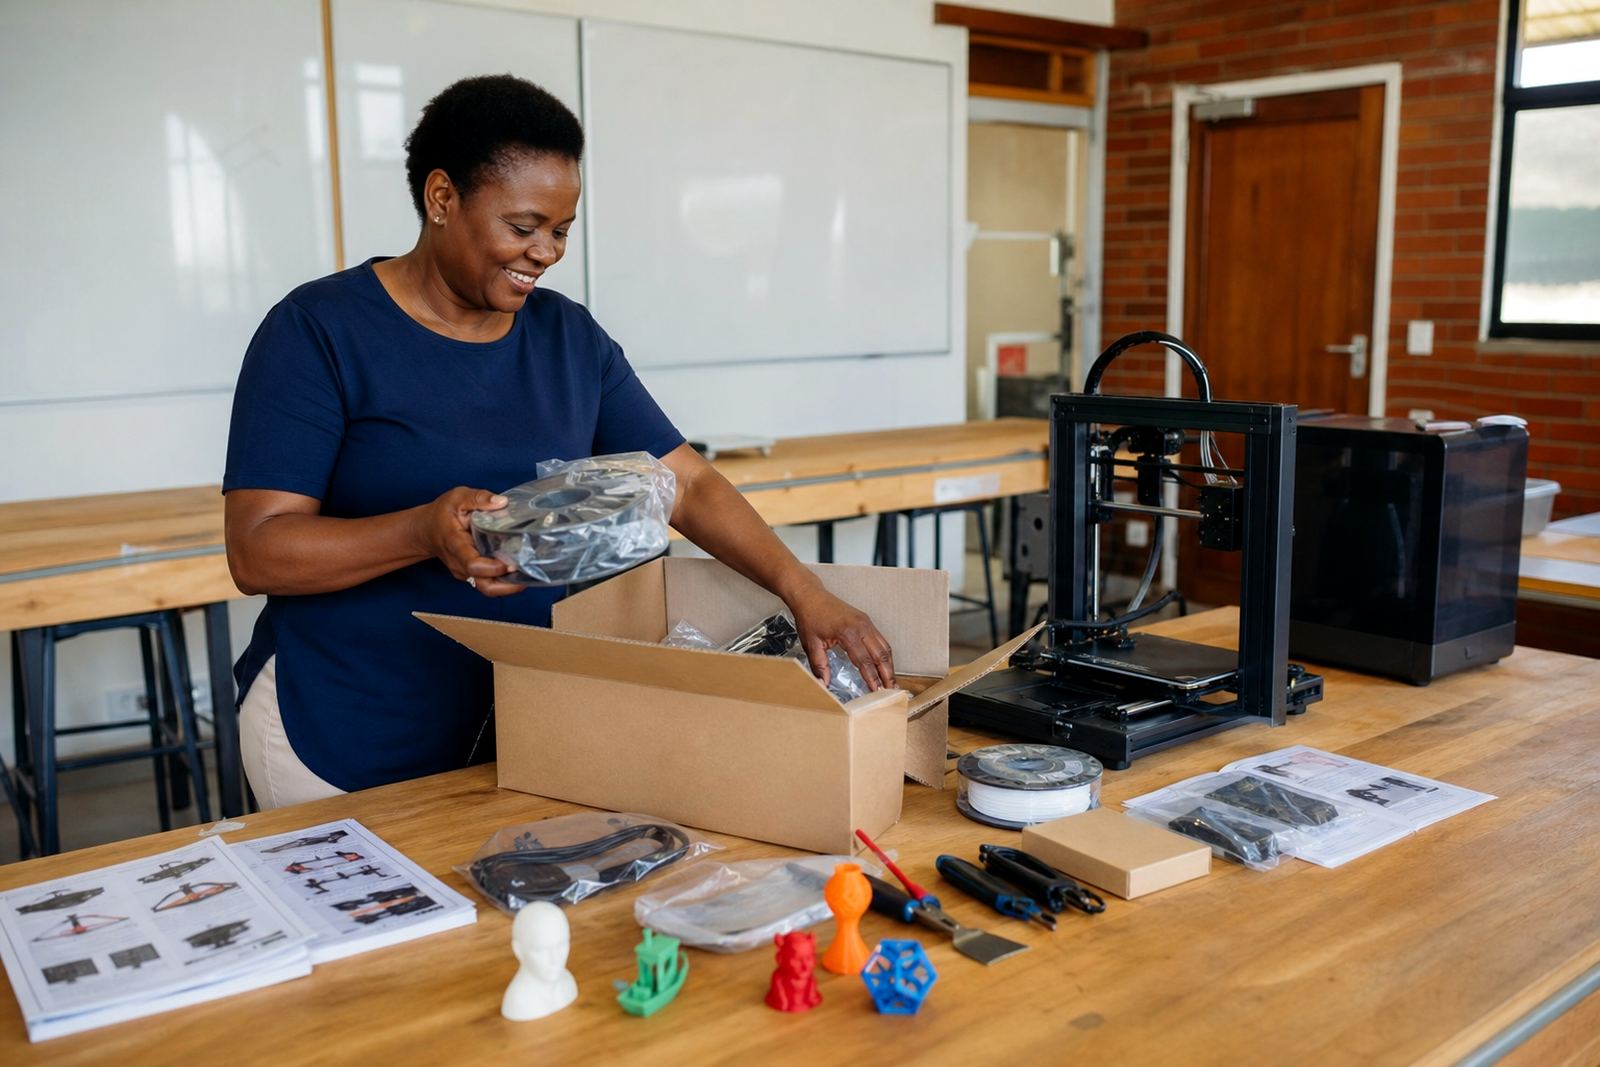
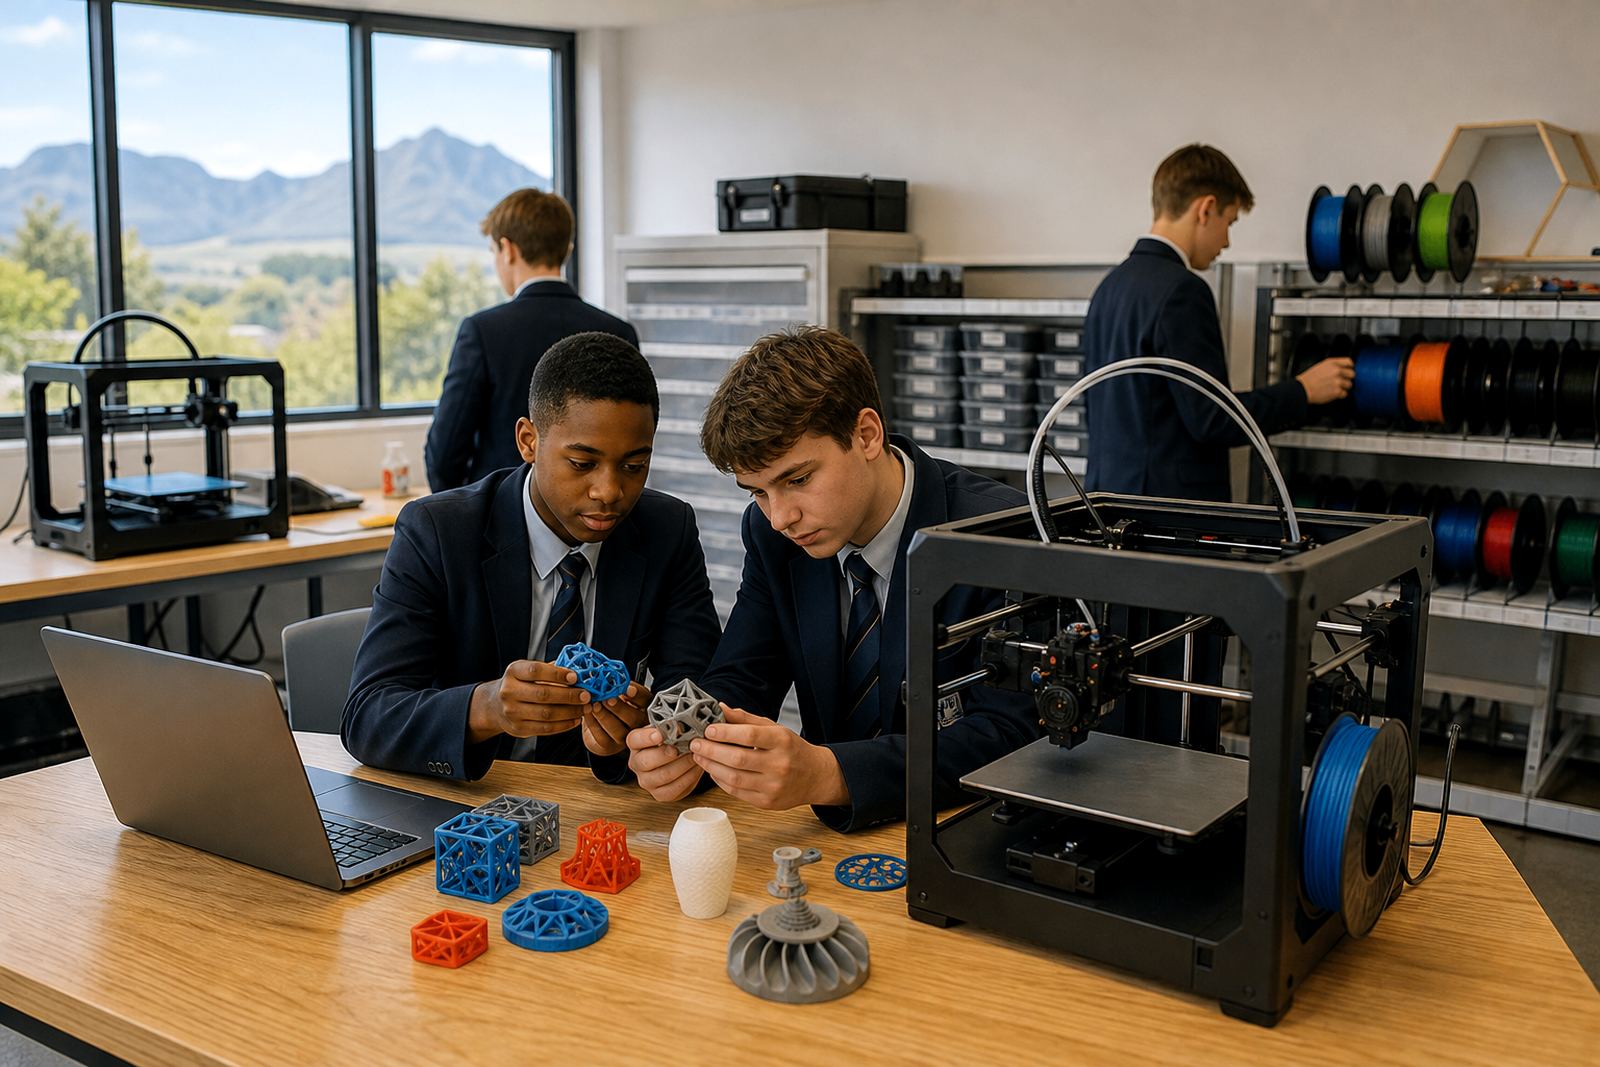
The exact contents can be adjusted, but the core package usually includes a classroom-suitable 3D printer, slicing and design software guidance, filament storage, sample teaching models, hand tools and consumables for routine use. Schools can also request storage tubs, filament holders, print bed care items and labelled organiser trays so the room stays tidy between lessons.
- One or more classroom-grade 3D printers for supervised learner use
- Spare nozzles, build plate care items and basic maintenance tools
- Starter filament in common classroom colours
- Printed sample objects for teaching measurement, tolerances and design thinking
- Storage for filament, tools and ongoing projects
- Teacher notes for supervision, classroom routines and safe handling
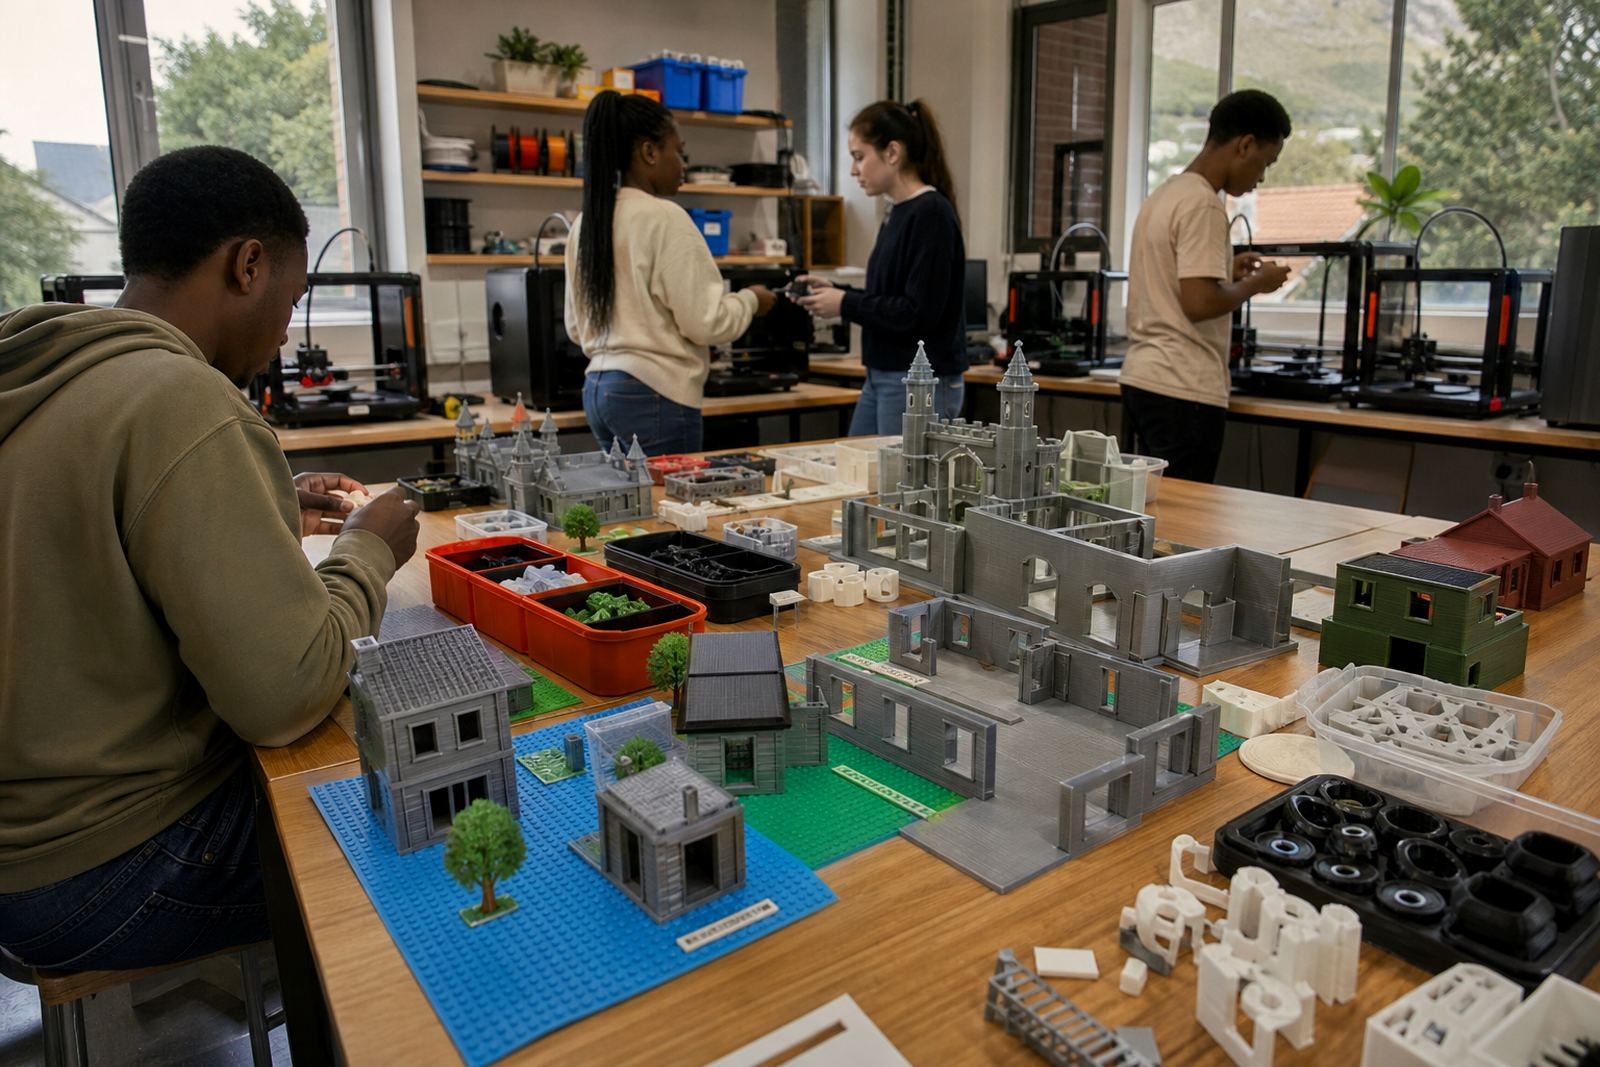
For schools running project-based learning, the kit can also include duplicate work trays so different groups can store parts without mixing them up. That helps when Grade 8 and Grade 9 learners are working on different tasks at the same time.
Where this kit fits best in a school
This setup suits schools that already have a basic digital skills room, or those ready to add 3D printing to science, design, technology or robotics activities. It works well where learners need to rotate through stations and where teachers want enough equipment for several groups over a term.
It is also a strong option for independent schools, technical schools and public schools that have a committed staff member looking after the room. In coastal areas such as Durban and Gqeberha, the kit can be planned with added storage considerations for humidity. In some inland schools, dust control and stable power supply may be the bigger issue, especially during load-shedding and voltage dips.
If your room is shared with other subjects, the setup can be adapted so it is not disruptive. A lockable cupboard, labelled bins and a clear booking sheet usually go a long way. It is surprising how much smoother things run when every item has its place and learners know where to return it.
Room layout, power and installation notes
The Intermediate Lab Kit needs a stable table or bench, access to standard mains power and enough airflow for regular printing. A dedicated corner of the room is often better than moving the printer from class to class. The printer should sit on a level surface, away from direct sunlight and away from windows that can cause drafts.
Most schools only need a normal electrical supply, but the room should be checked for safe plug points and sensible cable routing. Where load-shedding is common, schools may choose to run the equipment on a backup power arrangement so prints are not lost halfway through a job. If the school already has networked computers, the kit can be tied into that space without major changes.
- Keep the printer on a sturdy, level surface
- Allow clear space around the machine for safe loading and removal
- Use a ventilated room, not a closed cupboard or small storeroom
- Plan a power point close to the printer to avoid loose leads across walkways
- Keep liquids, snacks and loose paper away from the print area
No gas supply is normally required for 3D printing. What schools do need is a practical room rule for supervision, storage and after-hours access. A simple sign-out system for filament and tools keeps the lab accountable, especially where several teachers share the same space.
Care, servicing and day-to-day use
Like any classroom equipment, a 3D printing setup lasts longer when it is cleaned and checked regularly. The printer bed should be kept clear of residue, moving parts should be inspected visually, and filament should be sealed away from moisture after use. In a coastal school, this matters even more because damp air can affect print quality and material storage.
Teachers do not need to strip the machine down every week, but they should know the basics: how to level the bed, how to clear a simple jam, how to check the nozzle and how to pause a print safely. That is usually enough for normal school use. If a problem goes beyond routine care, the machine should be taken out of service rather than pushed through a faulty job.
A small stock of spare parts is a smart idea for schools that print often. It prevents wasted class time when a nozzle blocks or a component wears out. The goal is not perfection, it is reliable use through the school term without constant interruptions.
What to confirm before ordering this club kit
Before ordering the Intermediate Lab Kit, it helps to confirm how many learners will use the space, whether the room has enough power points and who will manage the equipment from week to week. Schools should also decide if they want one printer or a multi-printer layout, because that affects storage and workflow.
- Number of learners using the lab each week
- Room size and bench space available
- Power point position and backup power plans
- Who will supervise printing and manage supplies
- Whether the school needs extra storage or lockable cupboards
- What type of learning projects the kit should support
It is also worth checking whether the room can remain dedicated to the kit or needs to double as another classroom. That choice affects setup and safety. A shared room can work well, but it needs a clear routine so nothing goes missing and learners are not waiting around for tools.
If you are ordering for a school group, it helps to plan for your busiest term rather than your quietest one. That way the kit is ready for project weeks, practical assessments and club sessions without needing a rushed upgrade later on.
Key facts
| Kit type | Intermediate school lab kit for regular class use |
|---|---|
| Printer capacity | Single-printer or multi-printer configuration |
| Power requirement | Standard mains electricity with stable plug points |
| Use environment | Classroom, technology room, maker space or shared lab |
| Typical users | Teachers, learners and school project groups |
| Support items | Tools, storage, consumables and basic maintenance items |