What is included in the Teacher Starter Pack
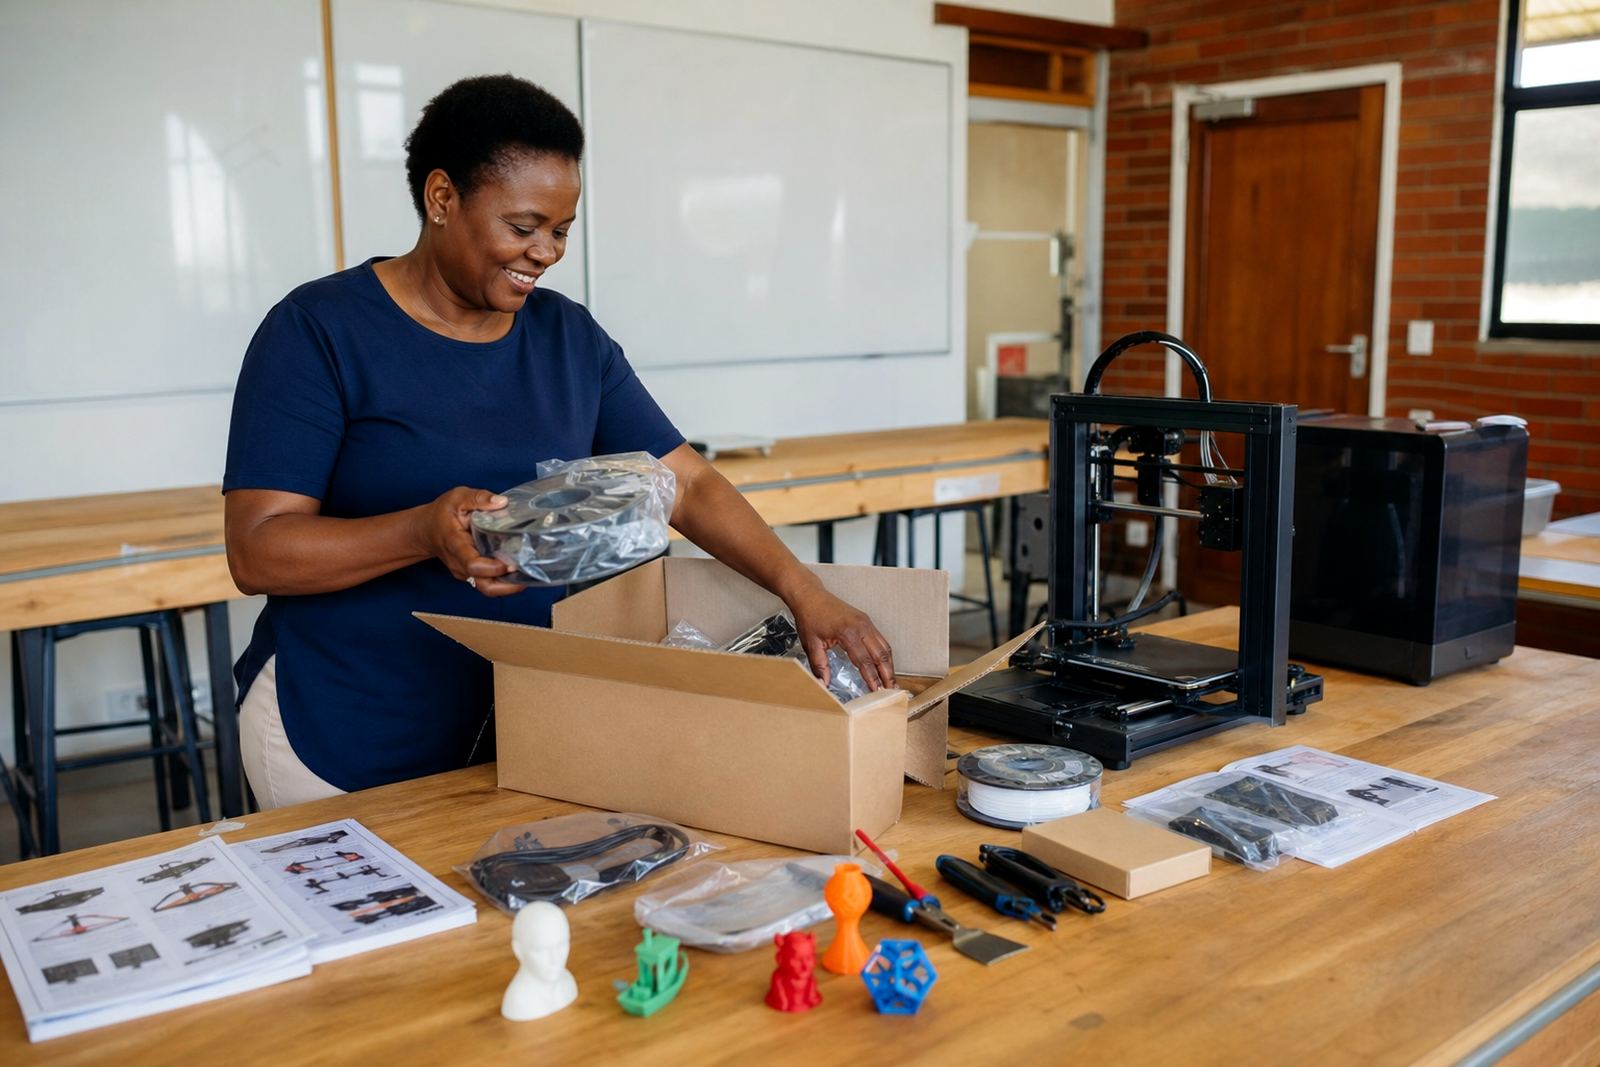
The Teacher Starter Pack is a classroom-ready bundle for teachers who need the essentials to plan lessons, explain 3D printing basics and guide learners through simple supervised prints. It is designed for school use in South Africa, with the main items chosen for day-to-day handling, lesson prep and controlled demonstrations in a lab, technology room or makerspace.
The pack typically covers the items needed to move from lesson planning to first print trials without unnecessary extras. It is a practical option for schools in Stellenbosch, Cape Town, Paarl, Somerset West, Johannesburg, Pretoria, Durban and Gqeberha where teachers often need a compact setup that can be stored securely between lessons.
- Teacher reference materials for lesson preparation
- Basic design and print workflow support items
- Supervised demonstration accessories
- Starter consumables for classroom trials
- Safe handling guidance for teachers and learners
Pack sizes and classroom options
Schools can choose a pack that fits a single teacher, a small teaching team or a shared department setup. The most common option is a starter pack for one classroom, but larger schools often prefer a multi-teacher version so that more than one educator can prepare lessons and manage the same process in a consistent way.
Where a school is running a maker club, holiday programme or a small lab, the pack can be matched to the number of teachers who will actually use the equipment. It is better to size the pack to the class load and timetable, not just to the number of machines on site.
- Single-teacher starter pack for one classroom or subject room
- Department pack for shared use across several teachers
- Demo-focused pack for practical introduction lessons
- Expanded pack for schools adding regular print sessions
Where the pack works best
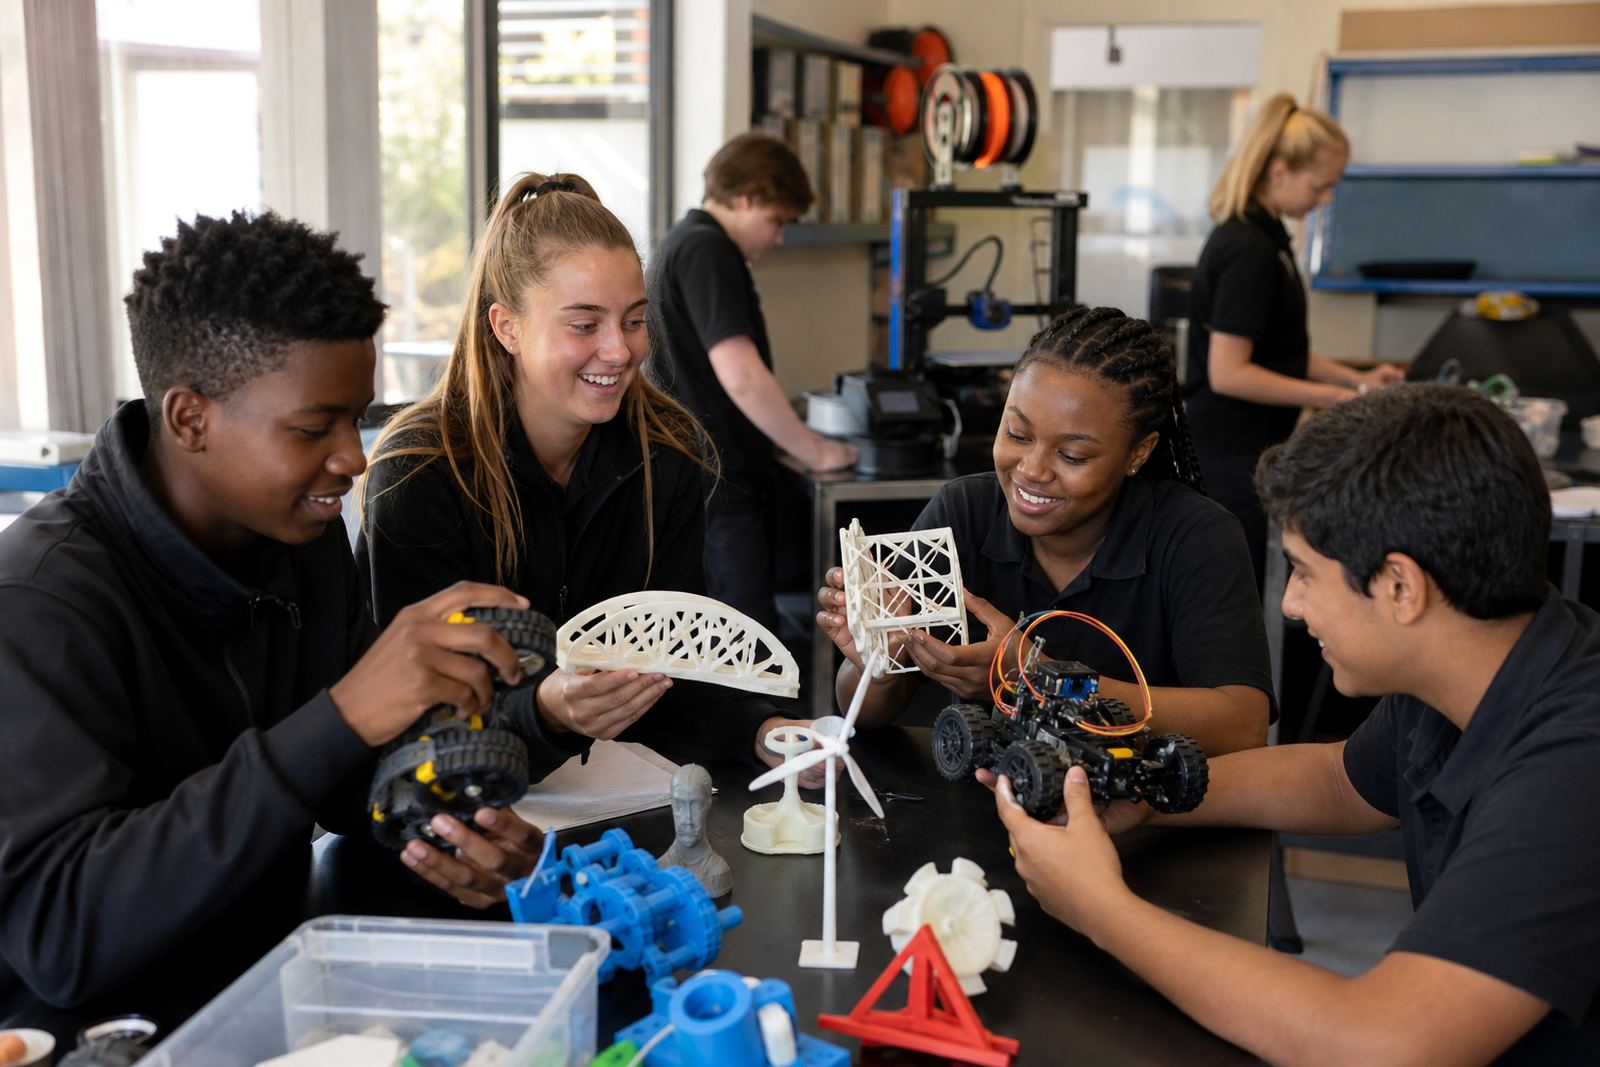
This pack suits schools that want to introduce 3D printing in stages. It works well for Technology, Creative Arts, CAT support work, robotics clubs and enrichment lessons where learners need to see the full process from design to finished object. It is also useful where teachers are still building confidence with printer setup, bed preparation and basic troubleshooting.
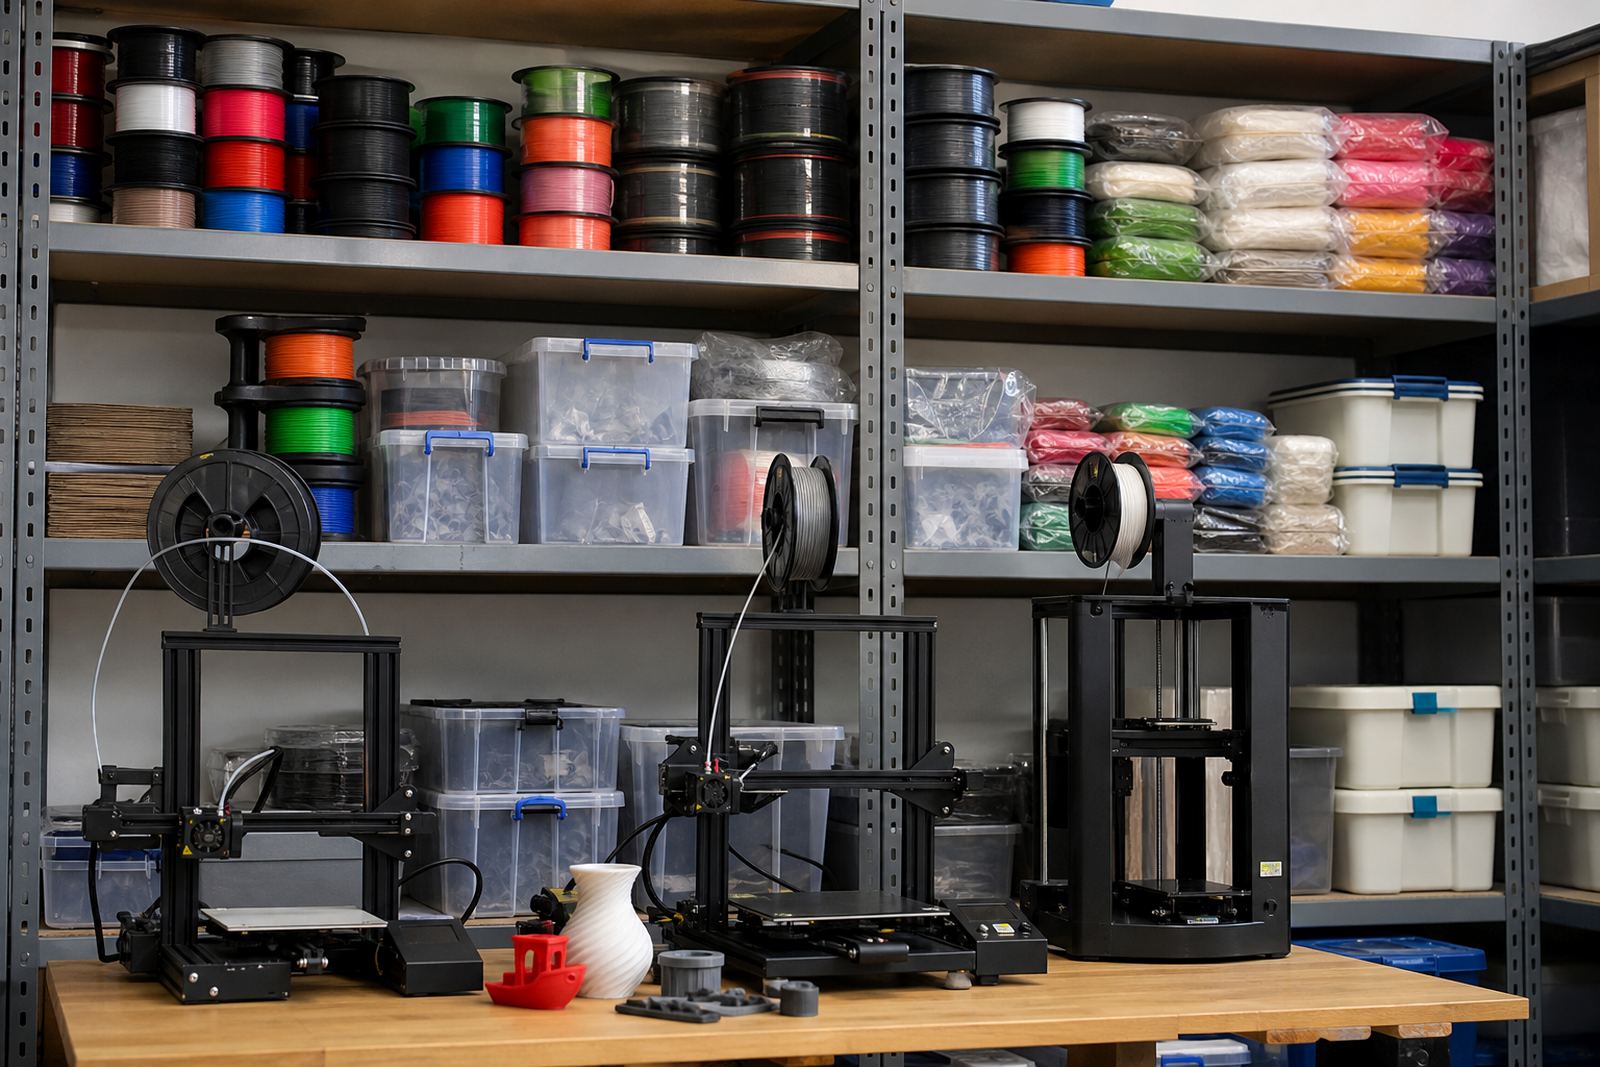
The pack is especially handy in schools that have limited prep time. Teachers can keep the materials together, plan around the school timetable and avoid hunting for small parts before each lesson. In coastal towns where humidity can affect filament storage, having a dedicated classroom pack helps keep consumables together and dry.
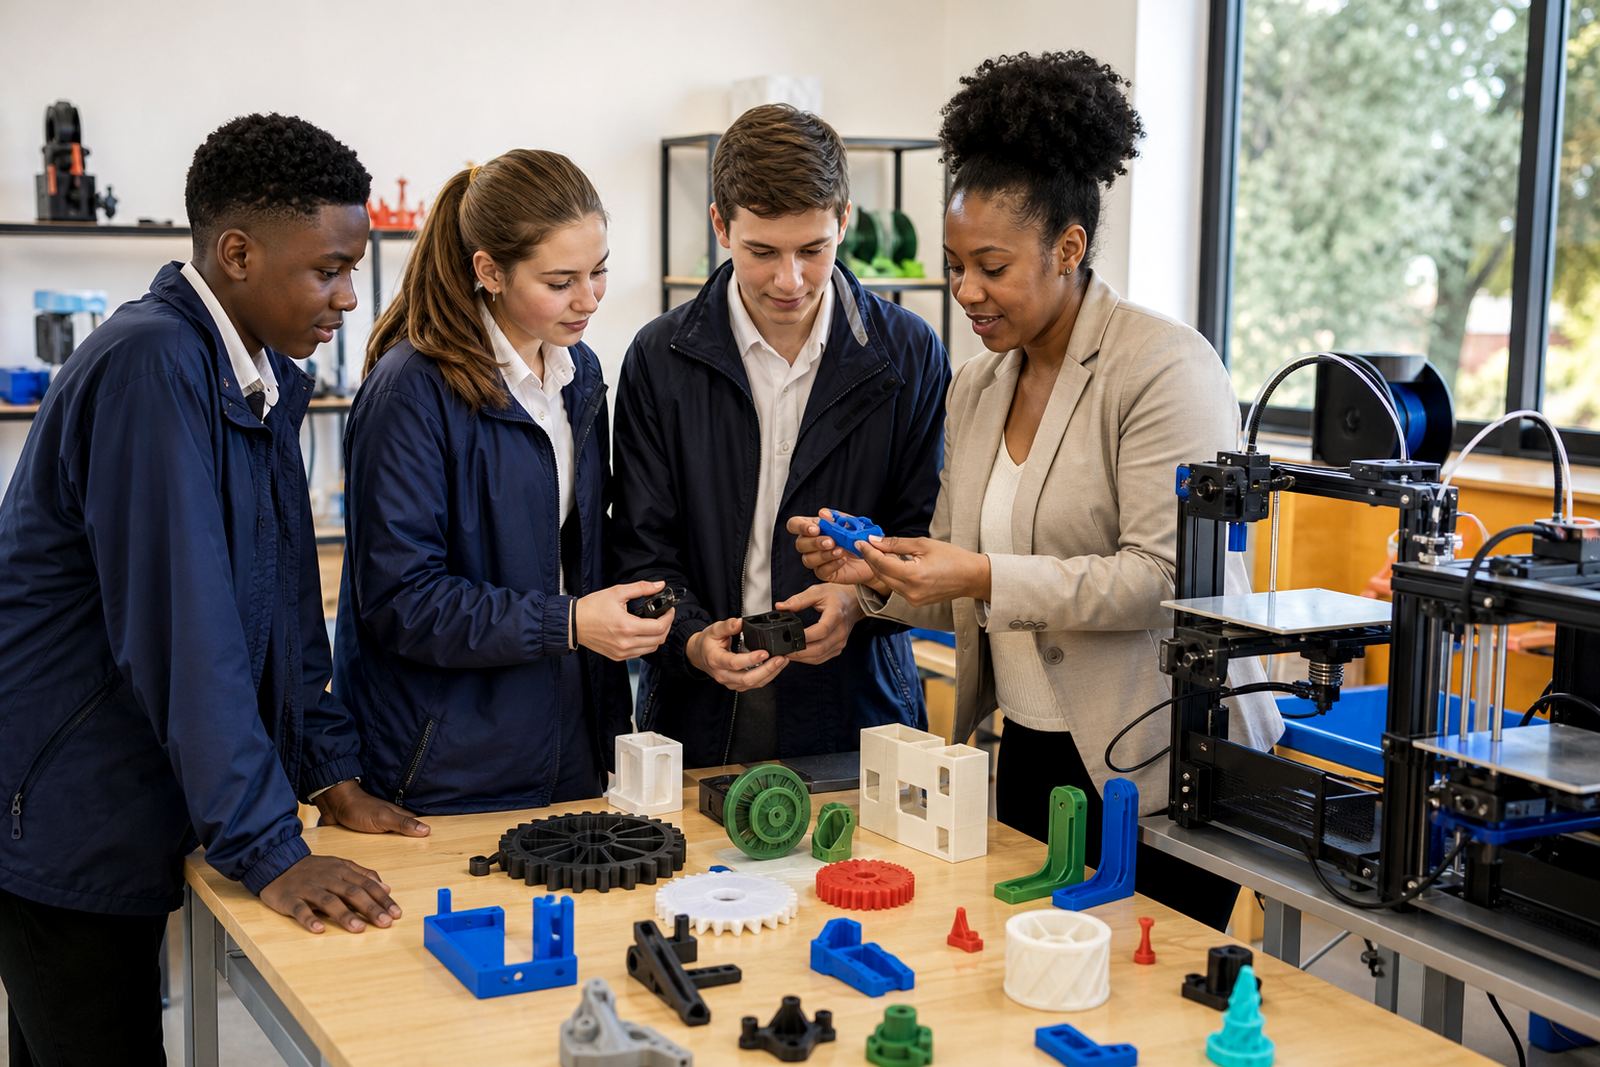
- Classroom demonstrations with small learner groups
- Teacher training rooms and internal workshops
- Maker clubs and holiday learning sessions
- Schools starting a new 3D printing programme
Installation, power and room needs
The Teacher Starter Pack itself does not need fixed installation, but it should be used in a room with a stable table, enough ventilation and easy access to power for the printer if one is part of the lesson plan. Most school setups use a standard 220 V supply. If the area is affected by load shedding, it helps to have a backup power plan for the printer and a safe way to pause work without losing the lesson flow.
A lockable cupboard or secure shelf is recommended for storage. Keep the area away from direct sun, damp walls and busy traffic through the room. A clean, level surface makes it easier to show bed levelling, first-layer checks and simple calibration steps. No gas is required for this pack or for standard classroom 3D printing use.
- Standard 220 V power for printer use where applicable
- Ventilated room with a stable work surface
- Dry storage area for consumables and teaching tools
- Secure cabinet or lockable shelf for shared school use
Care, servicing and classroom handling
Good care keeps the pack ready for the next lesson and reduces avoidable delays. Consumables should be stored in sealed containers or bags, especially in humid areas near the coast. Printed samples and teaching aids should be wiped clean and checked for damage after use. If the pack includes printer-related tools, they should be returned to the same place every time so that learners do not handle sharp or hot items unsupervised.
Teachers should also set clear rules for handling build plates, hot nozzles and moving parts. A short safety briefing before each session is enough for most school settings. It is best to inspect cables, connectors and any moving components before every practical class, because a small fault can interrupt a lesson quickly. Regular servicing of the printer, if included in the school setup, should be logged so issues are picked up early, not after a busy term.
- Store consumables in dry conditions
- Check tools and cables before each lesson
- Keep hot parts and cutting tools under teacher control
- Record service dates and any faults found during use
What to check before ordering
Before ordering, schools should confirm how many teachers will use the pack, what kind of lessons it must support and whether the classroom already has a printer, software access and secure storage. It is also worth checking whether the school needs a basic starter pack or a fuller setup for repeated demonstrations and learner projects.
Ask which consumables are included, what support materials come with the pack and whether the contents suit the age group being taught. Schools should also check the room layout, power access and storage arrangements before the first session. If the pack will be shared between several teachers, make sure the contents are easy to track and simple to return after use.
- Number of teachers using the pack
- Whether a printer is already available
- Storage space and room access
- Consumables included with the pack
- Suitable age group and lesson level
How schools usually use the pack term by term
Many schools start with teacher preparation, then move into small supervised demonstrations before letting learners take part in simple design or print tasks. That approach keeps lessons manageable and gives teachers time to build confidence with the equipment. A pack like this can support introductory lessons, revision sessions and project planning across more than one term.
It also works well when a school wants to align 3D printing with practical subjects, club activities or holiday workshops. The aim is not to overload the timetable, but to give teachers a clear, usable set of tools that fits into normal school life. With the right storage and a sensible routine, the pack can be used again and again without much fuss.
- Term 1: lesson prep and introductory demos
- Term 2: guided learner exercises and small projects
- Term 3: repeated classroom use and maintenance checks
- Term 4: review, storage and planning for the next year
Key facts
| Product type | Teacher-focused classroom starter pack for 3D printing lessons |
|---|---|
| Use case | Lesson preparation, supervised demonstrations and basic classroom setup |
| Suitable for | Primary and secondary schools, maker clubs and teacher training rooms |
| Power needs | Standard 220 V supply for printer use where applicable |
| Storage | Dry, lockable storage recommended for consumables and tools |
| Servicing | Routine visual checks and scheduled printer maintenance if included |