What the Post Processing Pack does in a school lab
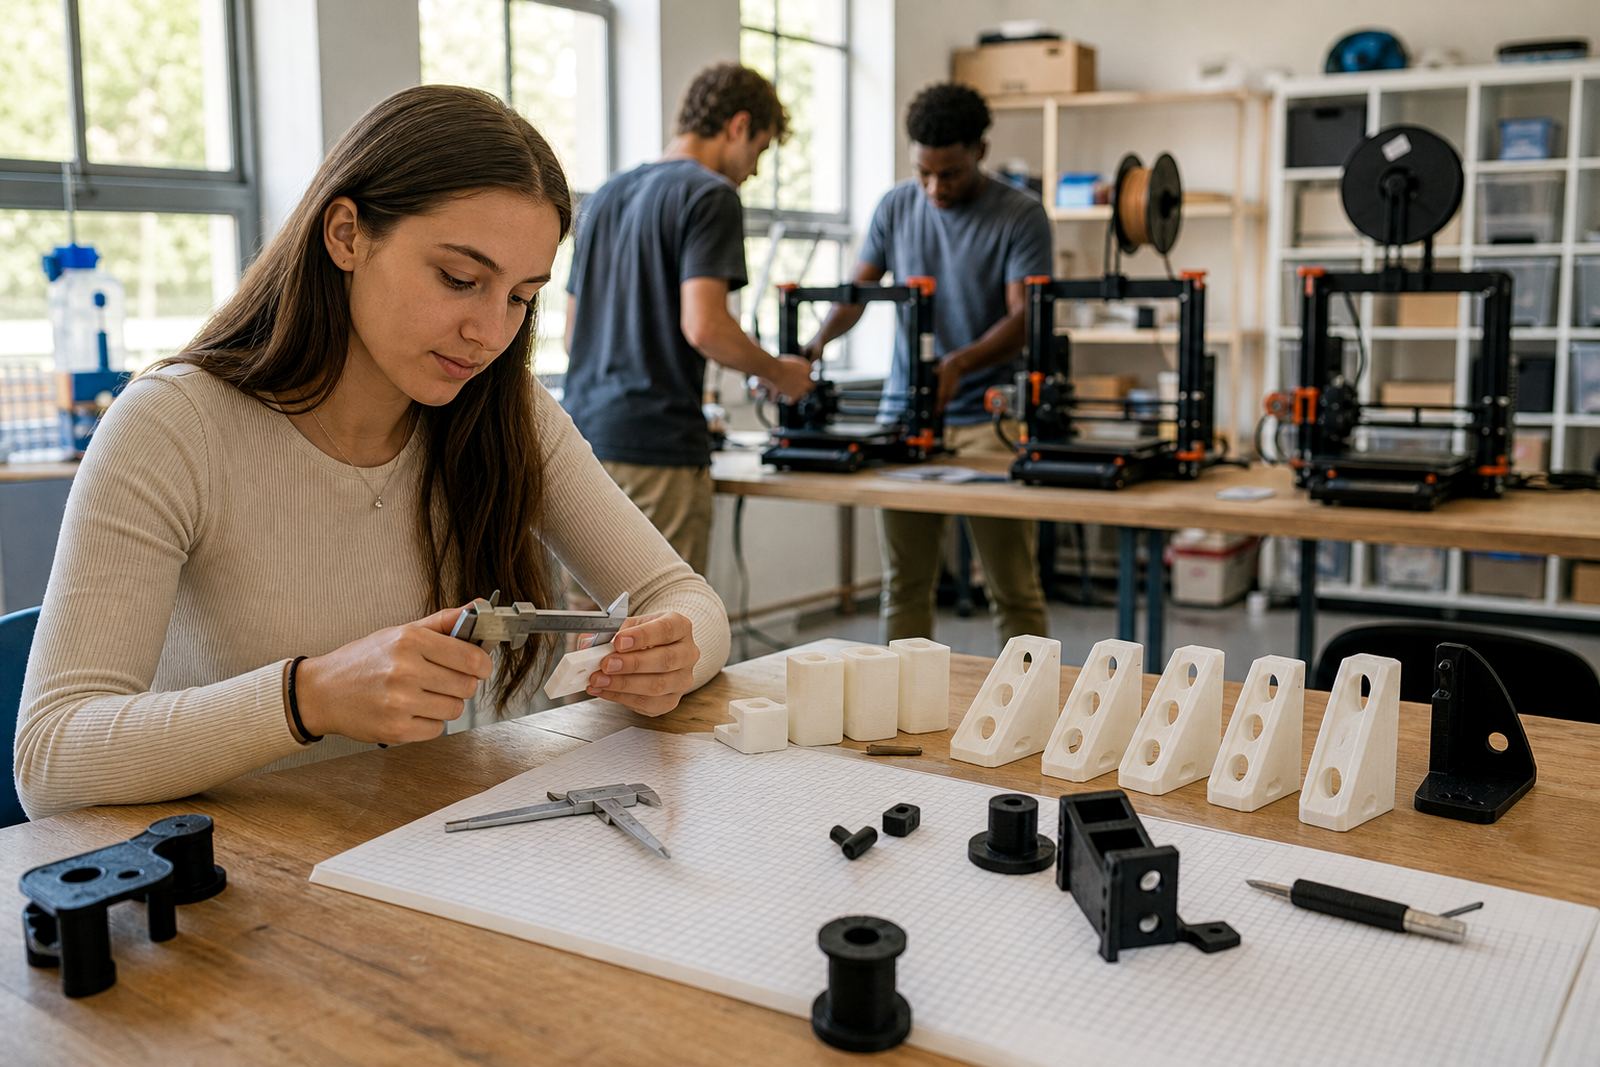
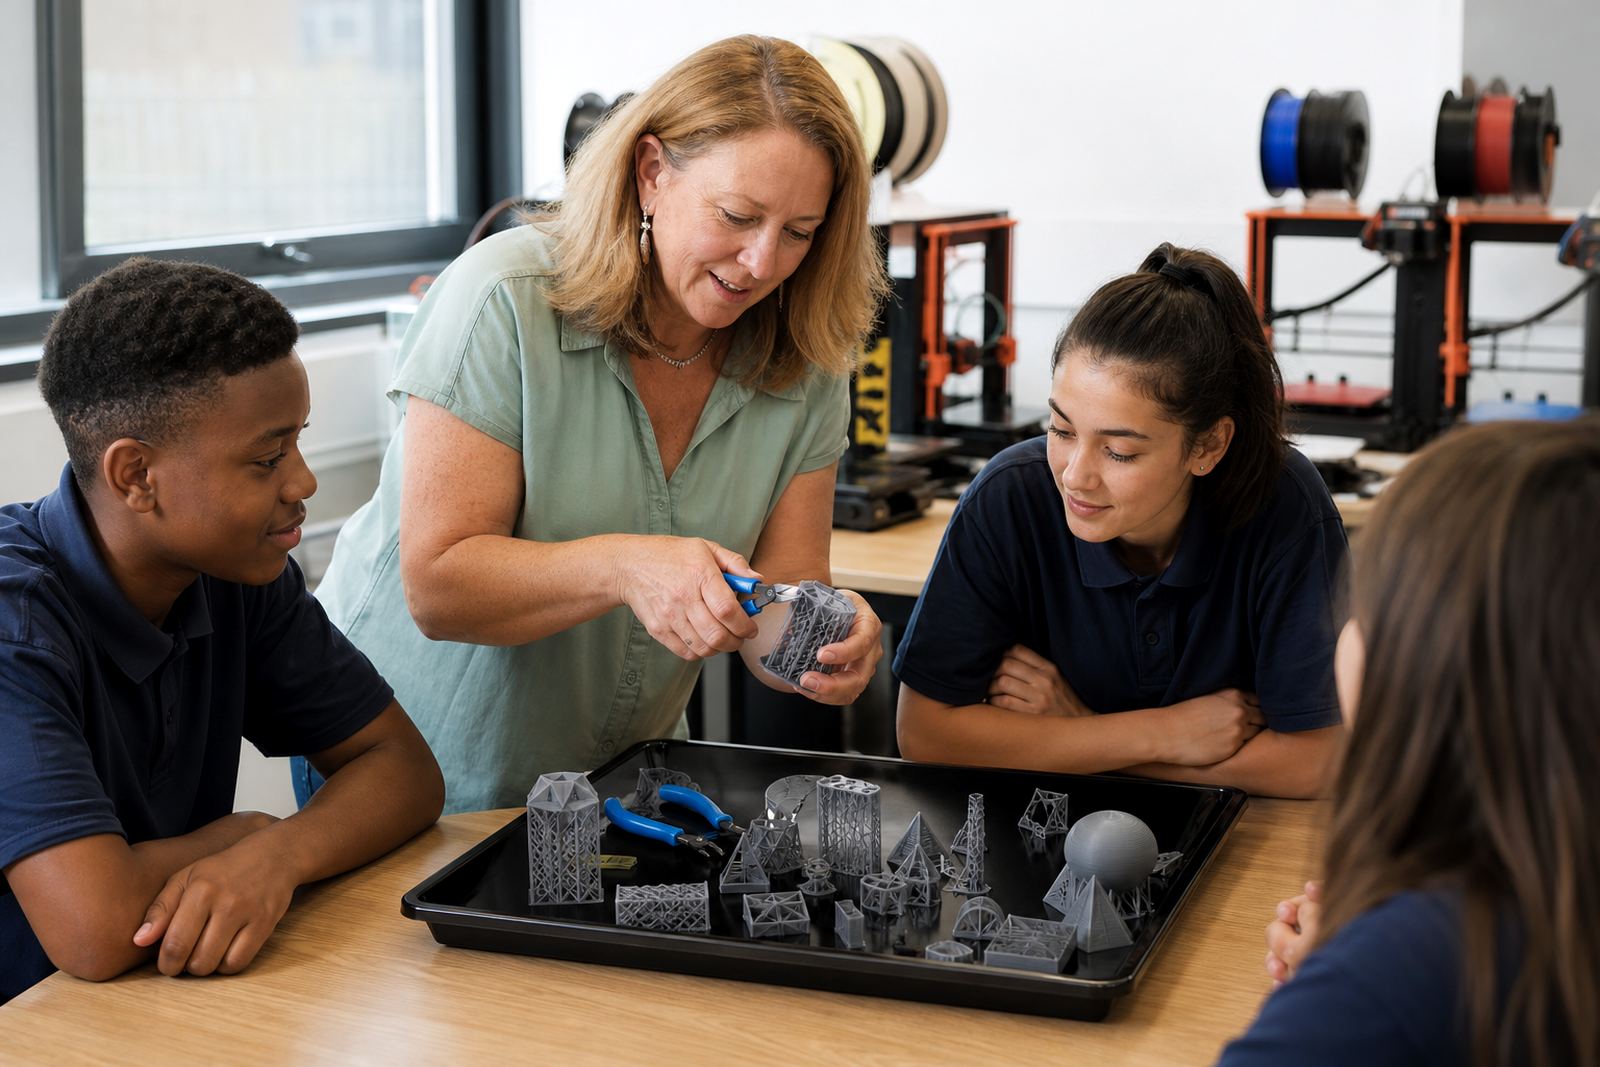
This pack is for the stage after printing, when learners need to remove light support marks, check fit and give parts a neater finish. It is aimed at supervised classroom use, so teachers and technicians can guide each step without bringing in specialised workshop machinery.
The set supports basic cleaning, fine smoothing and visual inspection of printed parts made from common classroom materials. It helps with prototypes, small models, lab projects and assessment pieces where the finish matters, but a full industrial finishing line is not needed.
- Supports supervised clean-up of printed parts
- Helps reduce rough edges and support marks
- Useful for checking holes, joints and surface quality
- Fits a school lab, tech room or maker space
Typical contents and pack sizes
The pack is supplied as a practical classroom set, with tools chosen for day-to-day educational use. The exact mix can be adjusted for a single classroom or a larger school lab, depending on how many learners are sharing the station and how often prints are finished in one session.
Common pack options suit small groups or a fuller lab setup. A smaller set works well for a teacher demonstration area, while the larger set is better where multiple learners need to inspect and finish parts at the same time. If your school prints regularly, it is better to order the wider option so tools do not become a bottleneck.
- Hand finishing tools for light smoothing
- Inspection tools for checking edges and fit
- Cleaning items for dust and loose material
- Storage tray or organiser for supervised use
- Optional add-ons for higher learner numbers
Where it suits best in South African schools
This product suits STEM rooms, CAT or robotics spaces, innovation hubs and teacher training environments where printed parts are handled after production. It is especially useful where learners need to compare a first print against a revised version and see how small changes improve the outcome.
Schools in Cape Town, Johannesburg, Pretoria, Durban, Gqeberha, Stellenbosch, Paarl and Somerset West often need a finishing workflow that is simple and durable. Coastal humidity in places like Cape Town and Gqeberha means tools and storage should be kept dry, while inland schools may need a tighter routine during dusty or windy terms. In both cases, the pack is best used at a clean bench with enough light.
- School labs and maker clubs
- Teacher training spaces
- Holiday programmes and project weeks
- Small group practical lessons
Installation, bench space and power needs
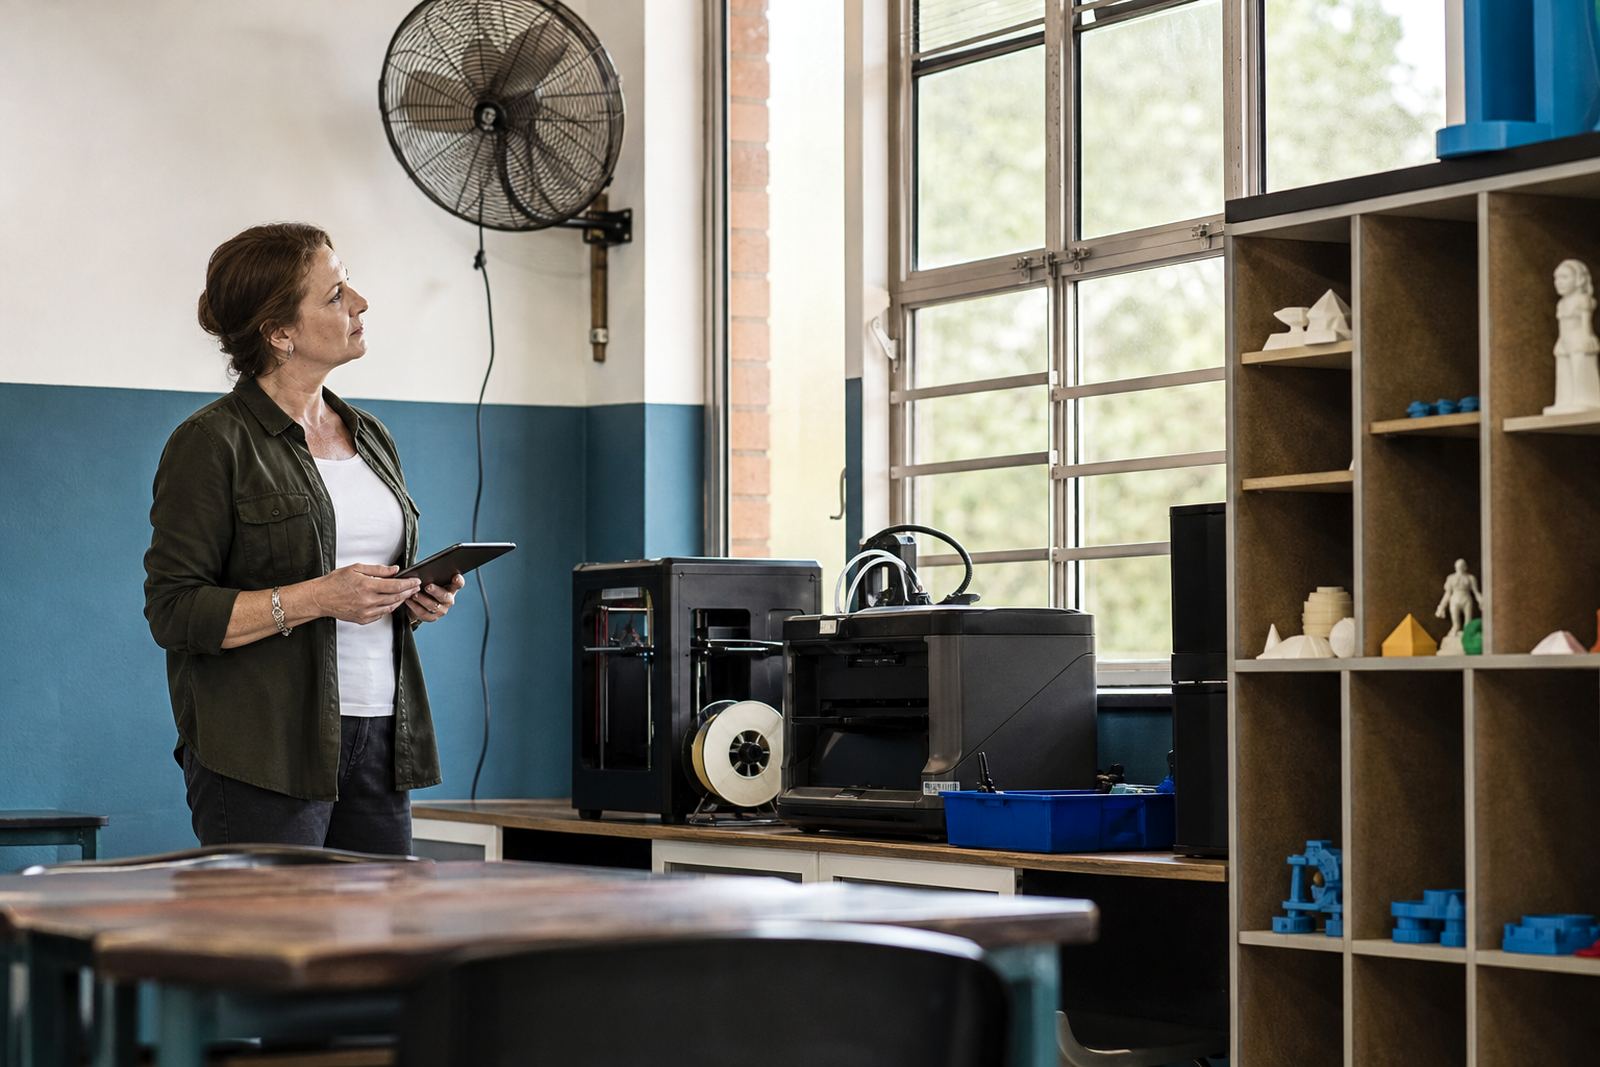
The Post Processing Pack does not need a special electrical installation. It is set up as a low-power classroom station and can be used on a stable bench with good lighting, safe storage and clear supervision. No gas supply is required for the standard pack.
For best use, allow enough space for the printed part, the tools and a small inspection area. A non-slip mat or clean cutting surface helps keep parts steady. If the school wants to place the pack alongside a printer station, keep it separate from hot components and from the general computer area so learners do not mix up tasks.
- Power: none for the basic pack
- Gas: not required
- Space: a clear bench with room for parts and tools
- Lighting: bright, shadow-free task lighting recommended
- Surface: stable, easy-to-clean worktop preferred
Care, servicing and classroom safety
Care is straightforward. Keep tools clean, return each item to its place and check the contents at the end of the lesson. Worn consumables should be replaced before they affect the finish of printed parts. If the pack is shared across classes, a quick inventory after each session saves time later.
General classroom safety matters more than anything else. Learners should wear basic eye protection where needed, handle tools under supervision and keep fingers clear of sharp edges. Dust and small offcuts should be cleared after use. If a print is still warm, let it cool before cleaning or inspection. A labelled storage box helps prevent loss and keeps the station tidy.
- Wipe tools down after use
- Store in a dry cabinet away from moisture
- Replace worn items as needed
- Supervise all learner handling
- Keep the bench free of food and loose cables
What to check before ordering
When ordering, check how many learners will use the pack, what type of parts are being printed and how often the station will be used. A school that prints only a few classroom models each week will need less than a lab that runs daily project work. Also check whether the school wants a basic set or a broader pack with extra inspection and storage items.
It helps to confirm the printer materials already in use, since different classroom parts can leave different surfaces and support marks. If the school already has a post-print routine, the pack should match that process rather than complicate it. For multi-campus schools, ask for the same contents across sites so teachers can follow one method. Ettienne Truter and the team in Stellenbosch can help match the pack to your lab setup and the way your staff teach.
- Number of users per session
- Type of printed parts and materials
- Available bench space
- Storage conditions in the room
- Need for a single-site or multi-site order
Key facts
| Product type | Supervised classroom post-processing pack |
|---|---|
| Primary use | Light clean-up, basic smoothing and inspection |
| Power requirement | None for the standard pack |
| Gas requirement | Not required |
| Suitable setting | School labs, maker clubs and training rooms |
| Typical order options | Small group set or larger shared lab set |