What the Printer Toolkit Pack is for
This pack brings together the small tools that matter most when a school starts working with a 3D printer. It is aimed at basic setup, safe print removal and simple maintenance between lessons, so staff do not have to keep borrowing tools from other departments or sending learners off to hunt for loose items.
The kit is best suited to school labs where printing happens often enough to need order, but not so heavily that a full workshop tool cabinet is required. It gives teachers and technicians a proper starting point for routine tasks such as trimming supports, checking bed levelling, cleaning nozzles and keeping the build area tidy. In a busy classroom, that saves time and avoids rough handling of printed parts.
- Use it for new printer setup and first runs
- Use it for careful removal of finished parts from the build plate
- Use it for light cleaning and routine checks between jobs
- Keep one kit with the printer and another in a shared store room if several classes use the same equipment
Typical toolkit contents and working range
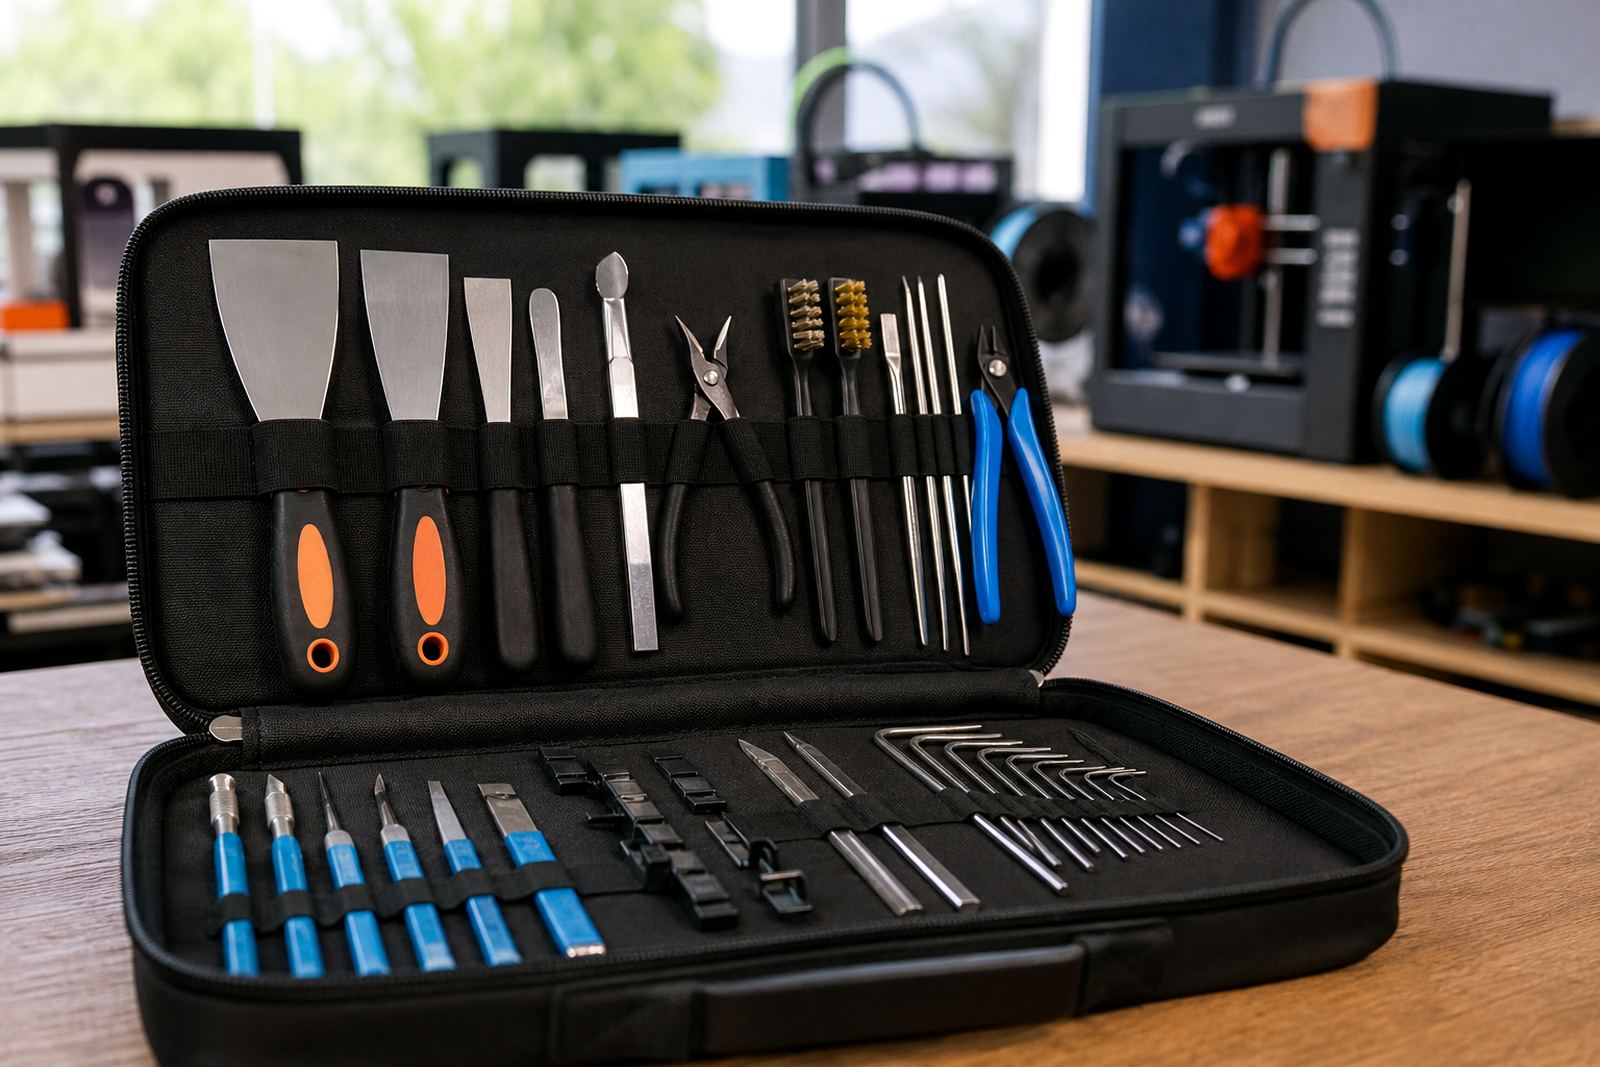
The exact contents can vary by lab requirement, but the pack is generally built around the practical items needed for standard school use. The tools are selected for everyday handling rather than specialist repair work. That keeps the kit simple for teachers and suitable for learners under supervision.
Most school labs will want a mix of hand tools, cleaning items and small consumables. In a coastal area like Cape Town or Gqeberha, it helps to keep metallic parts dry and stored in a sealed container because humidity can lead to surface rust if tools are left out after use.
- Part removal tools for lifting prints without damaging the build surface
- Cutters and snips for support material and clean edge finishing
- Small keys, scrapers and adjustment tools for basic printer checks
- Cleaning cloths and brushes for dust, filament offcuts and bed care
- Storage case or organiser so items stay together in one place
For schools with more than one machine, it is worth ordering extra consumables so the class does not run short during practical work. A packed drawer can look complete, but if there are no spare blades, cloths or levelling aids then the kit becomes harder to use in real lessons.
Where it suits best in a school lab
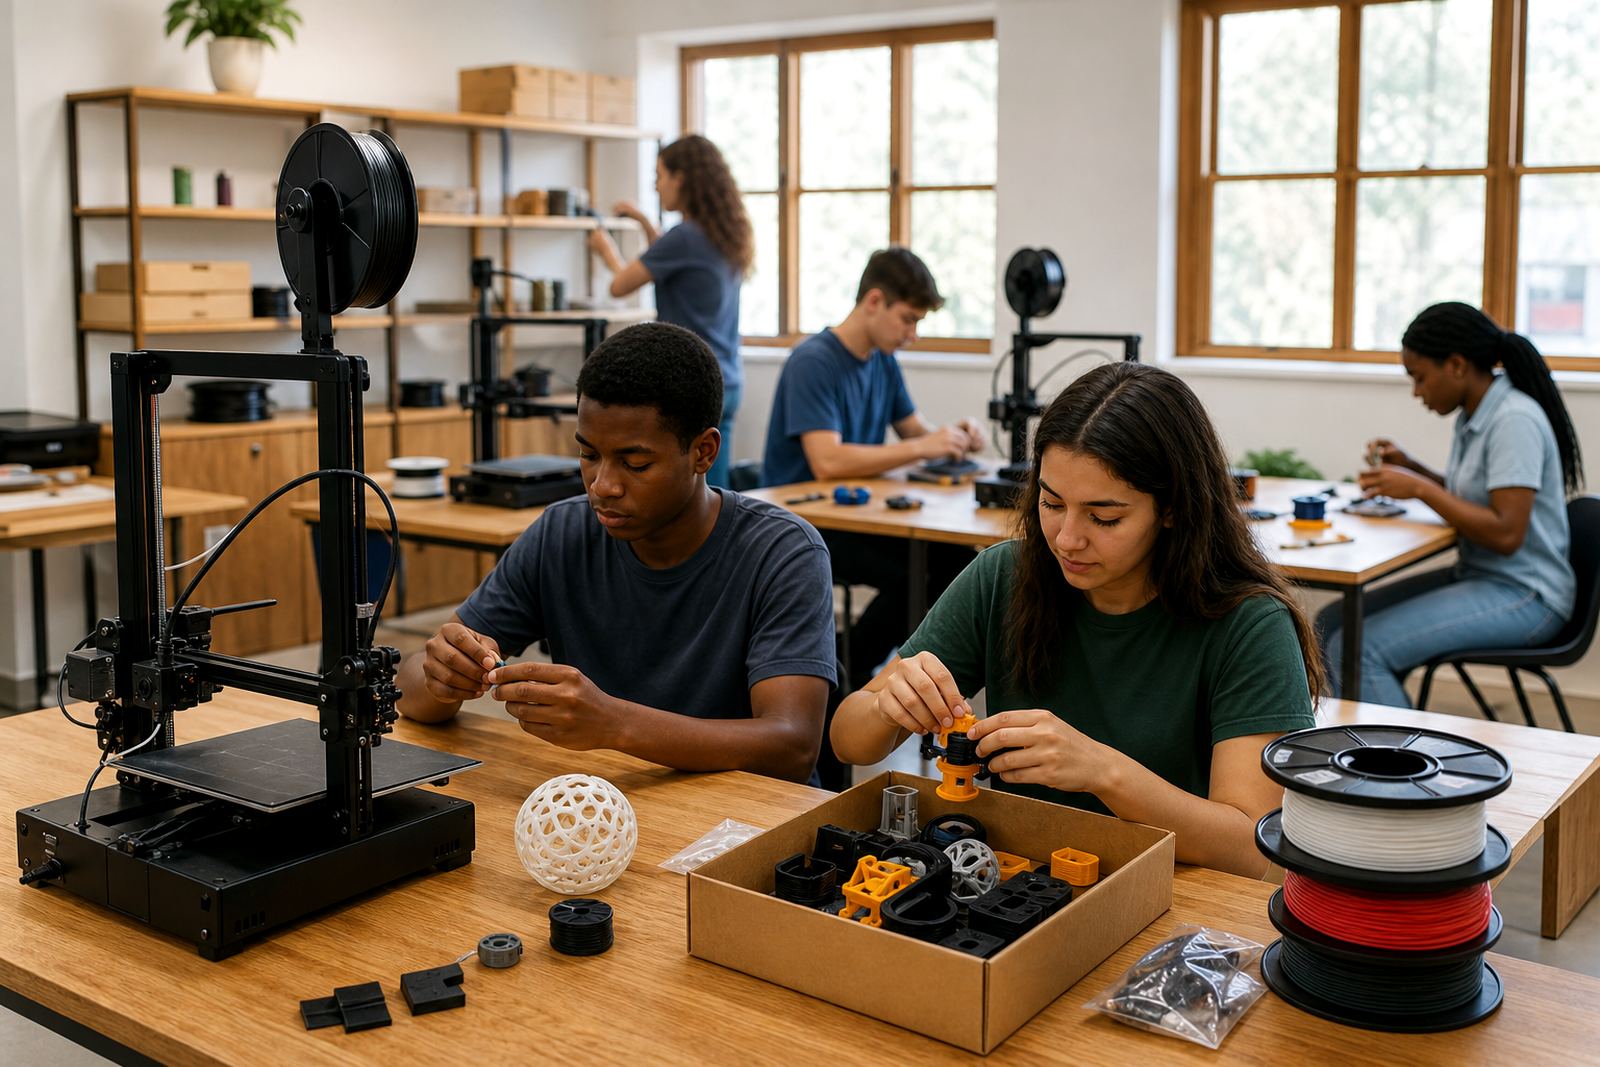
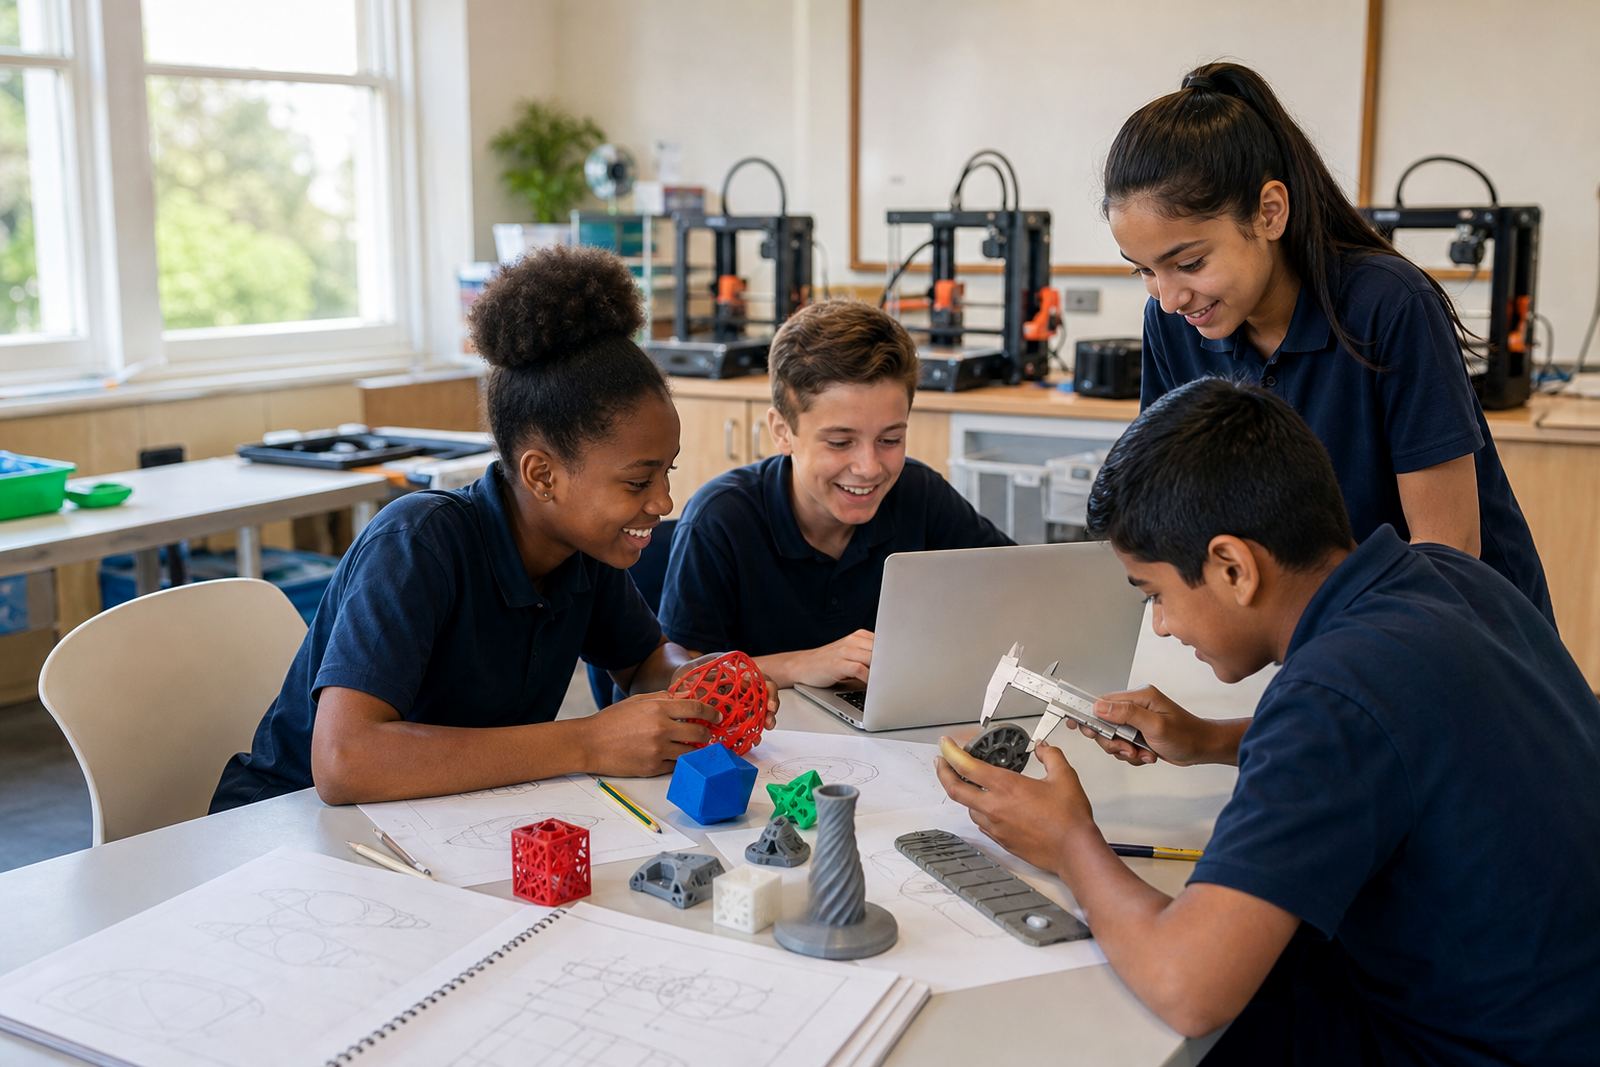
The Printer Toolkit Pack is a good fit for STEM classrooms, technology rooms, maker clubs and shared innovation spaces. It also works well for schools that have a small number of printers and want a central care kit instead of separate loose tools in every room. For teacher training sessions, it helps staff follow the same process when preparing machines for printing or clearing a finished build.
In larger schools the pack can be kept with the printer trolley or in the lab cupboard and checked out before a class. That is useful where learners move between rooms, because it keeps the tools in one place and reduces missing items. It also supports cleaner supervision, since the teacher can quickly see what is available and what needs replacing.
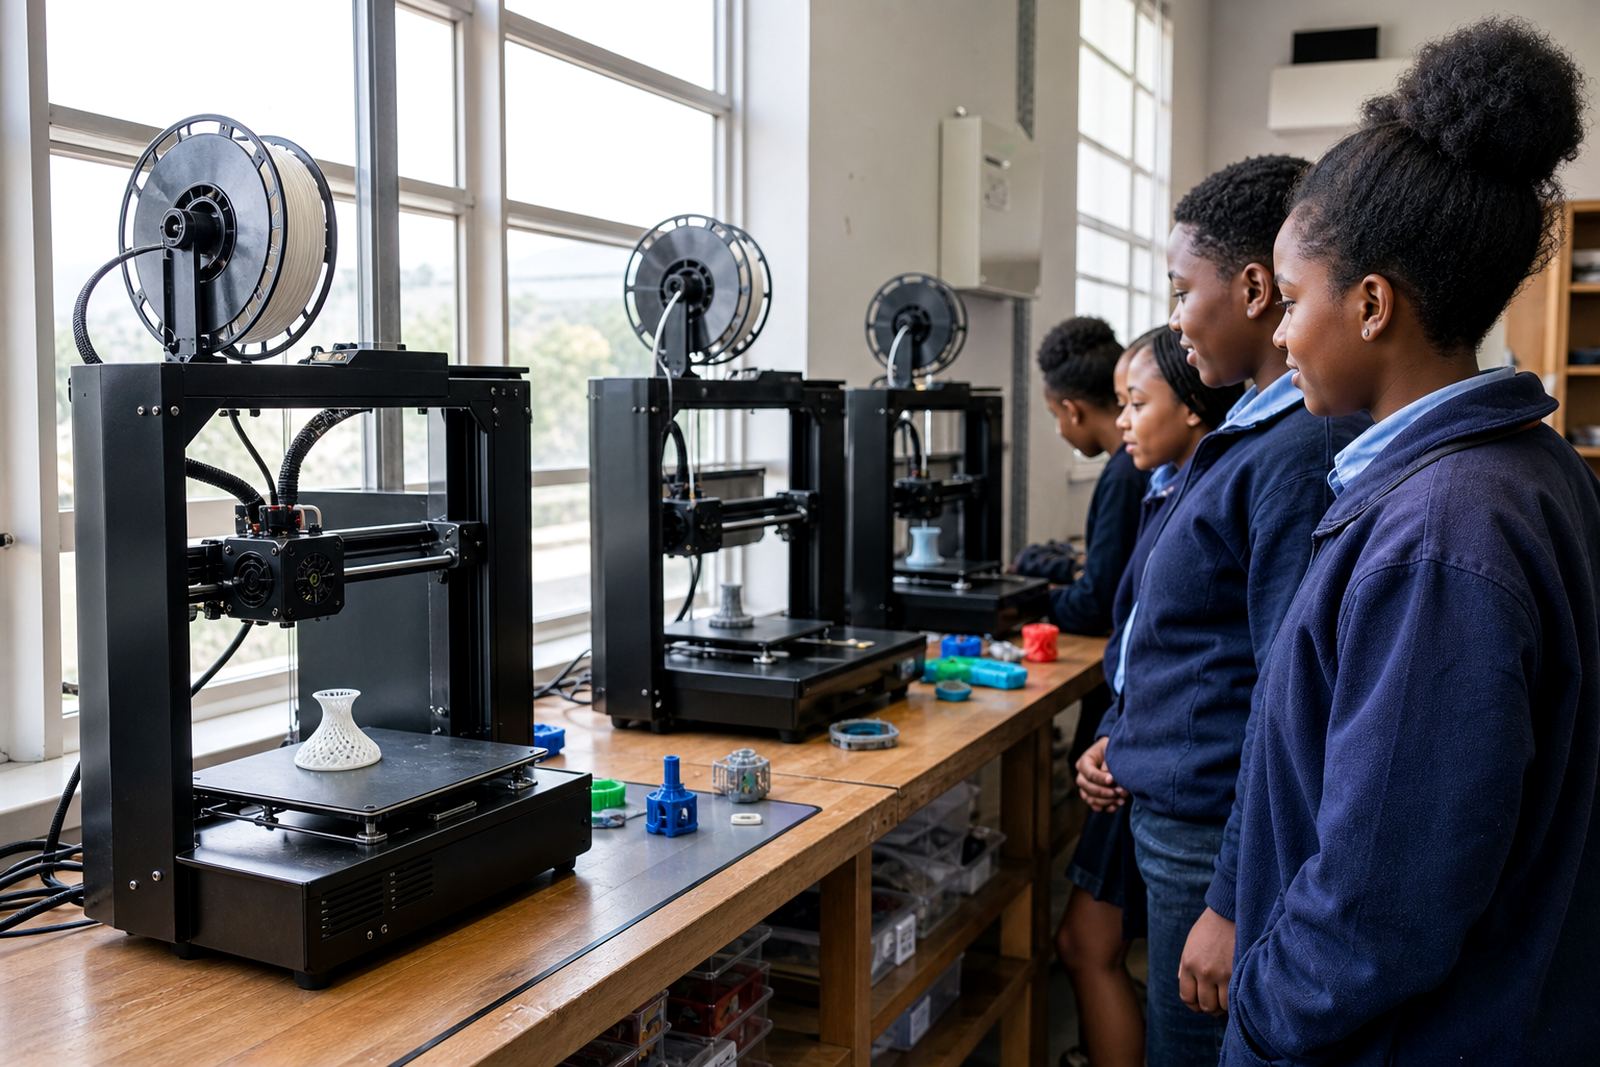
- Primary and high school labs with one or more benchtop printers
- Teacher training rooms that support 3D design and printer operation
- Holiday programmes and maker clubs with rotating learner groups
- Schools in towns and cities where printers are shared across departments
Installation, bench space and power needs
This is a toolkit pack rather than a powered machine, so it has no direct gas requirement and does not need a dedicated electrical connection. It does however work best where the printer itself is installed properly, with enough bench space around it for safe handling and tool use. Allow room for the printer, the toolkit, filament storage and a clean area for finished parts.
A good school setup will place the kit near the printer but not on top of it. Keep it away from the hot end, moving belts and build plate while a print is running. If the school uses a backup power system for load-shedding, the toolkit should remain in a dry cupboard or shelf where staff can reach it once the printer is safely paused or shut down.
- No gas connection is required
- No direct power connection is required for the toolkit itself
- Best used on a stable work surface close to the printer
- Keep clear access to sockets, cable routes and emergency shut-off points for the printer setup
Care, storage and regular servicing
School tools last longer when they are counted back into the kit after each session. Wipe metal items clean, remove filament shavings, and store everything dry. In humid areas or rooms near the coast, a sealed box or latch case is worth using, especially if the lab is not air-conditioned. This simple habit keeps the kit ready for the next class and helps avoid missing pieces.
The toolkit itself does not need servicing in the same way as a printer, but the items inside should be checked regularly. Blades go blunt, cloths wear out and small tools can go missing after busy sessions. If the lab uses multiple printers, assign one person to check the kit at the end of the week so the next class does not start with a half complete set. That little bit of routine avoids delays when a print has just finished and everyone wants to see the result.
- Inspect the kit weekly for missing or damaged items
- Replace worn cutters, blades or cloths as needed
- Keep sharp tools in a closed container when not in use
- Do not leave tools on the printer bed or near heated parts
What to check before placing an order
Before ordering, it helps to match the toolkit to the number of printers, the age group using them and how often the lab runs practical sessions. A foundation class may only need the essentials, while a busy school lab may want extra duplicates for supervision and faster turnaround. If learners are involved, choose a pack that keeps the sharp tools under adult control.
It is also useful to think about the type of printers already in the room. Some schools need a general setup pack, while others want a more complete maintenance set for regular use. If you are unsure, confirm the printer model, the build plate size and the way the class is managed. That information helps choose the right mix of tools and avoids buying items that stay in the cupboard unused.
- How many printers will use the kit at the same time
- Whether the lab is for teachers only or supervised learner use
- What spare consumables should be added to the order
- Whether the storage case must fit into a locked cabinet or mobile trolley
Built for practical school use
The Printer Toolkit Pack keeps the basics in one place so teachers can focus on the lesson instead of chasing small tools around the room. It supports careful print removal, simple upkeep and cleaner habits in busy school labs across Stellenbosch, Cape Town, Johannesburg, Pretoria, Durban and Gqeberha.
For schools that want a straightforward starting point, this is a sensible bit of kit. It is neat, easy to store and suited to the everyday work that comes with 3D printing in education.
Key facts
| Product type | School 3D printer toolkit pack |
|---|---|
| Primary use | Basic setup, part removal and everyday printer care |
| Recommended setting | Classrooms, maker spaces and school labs |
| Power requirement | None for the toolkit pack itself |
| Gas requirement | None |
| Storage | Dry sealed case or organiser, kept near the printer but away from heat |