What the Single Printer Kit includes
The Single Printer Kit is a starter package centred on one benchtop 3D printer for everyday classroom use. It is set up for small group demonstrations, learner projects and teacher-led activities where the focus is on basic design, printer operation and safe handling. The package is practical for a school that wants to test the water before adding more units later.
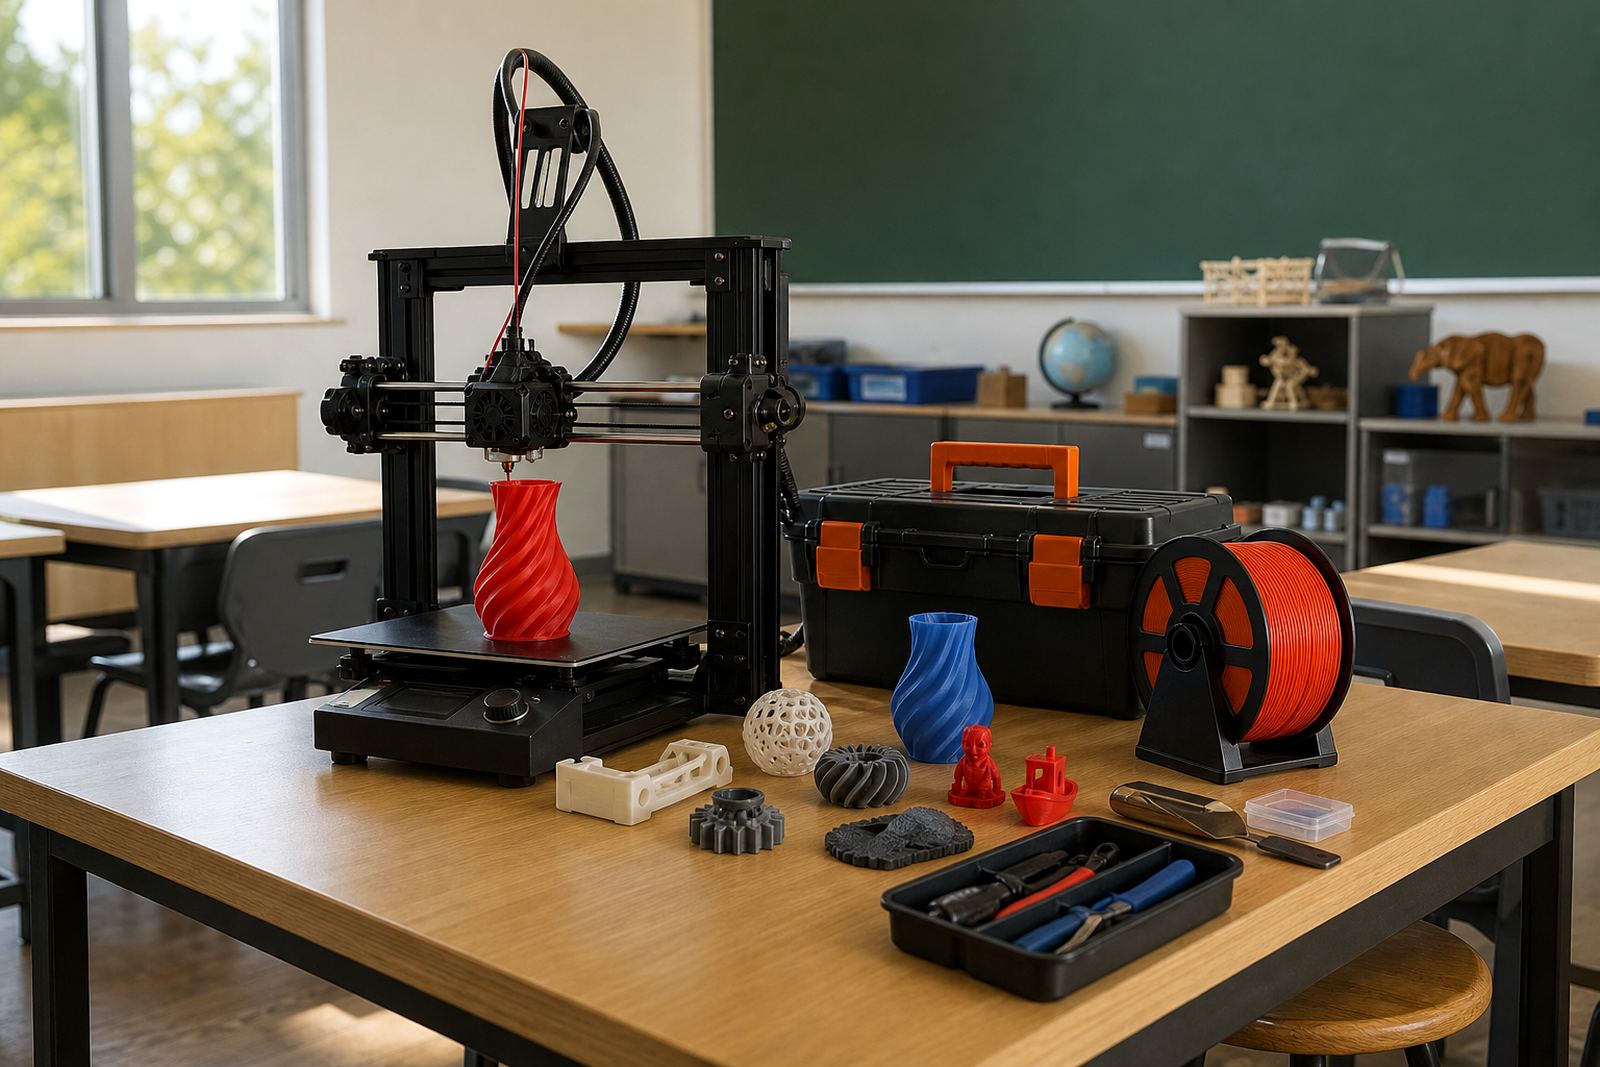
Typical kit contents include the printer unit, filament starter materials, basic tools for removing prints, a build surface, sample models and printed setup guidance. Depending on the order, the kit can also include a locked storage case for consumables and a simple maintenance starter pack. The aim is to keep the setup clean and manageable, with enough parts to get going without clutter.
- One benchtop printer for classroom or club use
- Starter consumables for first projects
- Basic tools for print removal and cleaning
- Simple setup and user guidance
- Optional storage and service items
Where this kit works best
This package is a strong fit for a library makerspace, a design room, a technology classroom or a small club space. It also suits schools running introductory teacher training or holiday programme sessions where only a few learners are printing at a time. In Stellenbosch, Paarl and Somerset West, many schools use this format where space is tight and power planning matters.
For larger campuses in Cape Town, Johannesburg, Pretoria, Durban and Gqeberha, the single kit often works as a pilot unit before a bigger rollout. It helps staff learn the workflow first, from slicing a file to cleaning the build plate and checking prints for faults. That early learning saves time later when more printers are added.
- Introductory learner clubs
- Teacher demonstrations
- Small project groups
- Pilot installations before expansion
- Holiday and enrichment programmes
Size, space and power notes for installation
The printer itself fits on a sturdy table or counter with enough room around it for safe handling and basic airflow. A clear working area is important, especially where learners need to watch the first layers and remove finished prints without crowding the machine. A single unit is easier to place than a full lab, but it still needs a proper surface and a dry indoor location.
For power, a standard 230V school supply is usually enough. A dedicated plug point is best, with surge protection where possible, especially in areas that see load-shedding or unstable supply. No gas is needed. Keep the unit away from open windows that bring in coastal humidity or dust, and away from direct sun, heaters and wet prep areas. If the room is shared, the printer should sit where learners cannot reach moving parts during a run.
- Indoor placement on a stable table
- One normal plug point, ideally protected
- No gas or compressed air required
- Dry room preferred for cleaner printing
- Allow space for safe access at the front and sides
How to use it for lessons and demonstrations
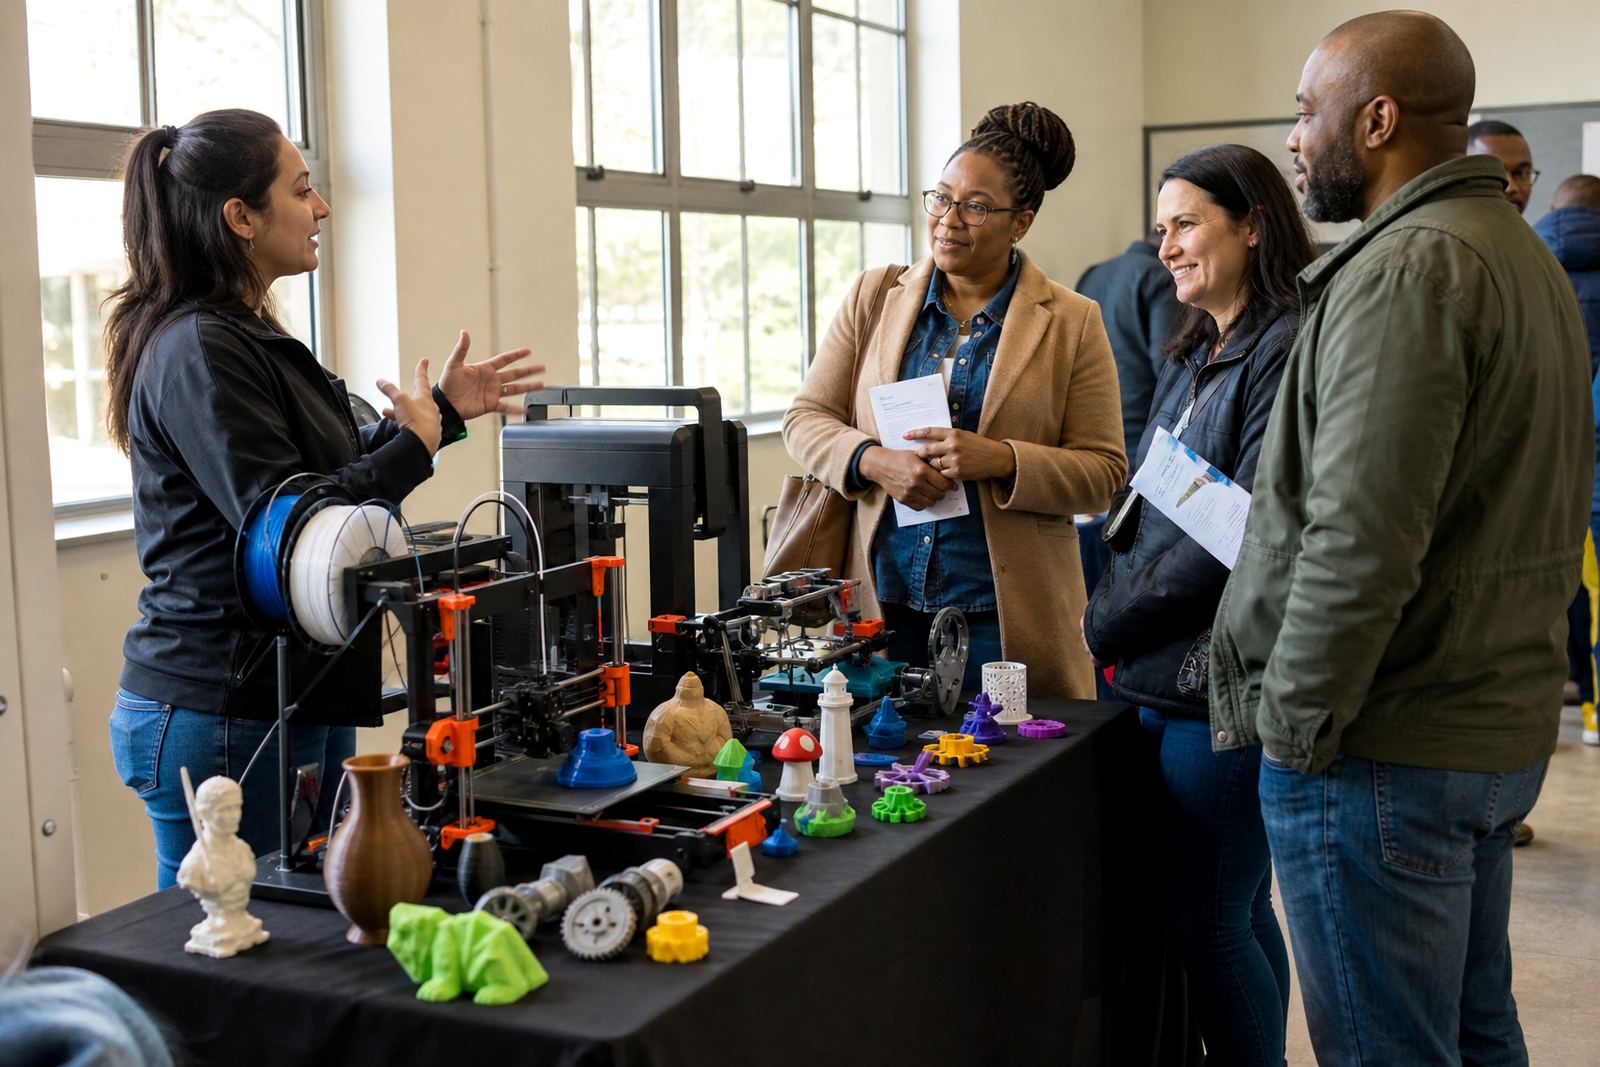
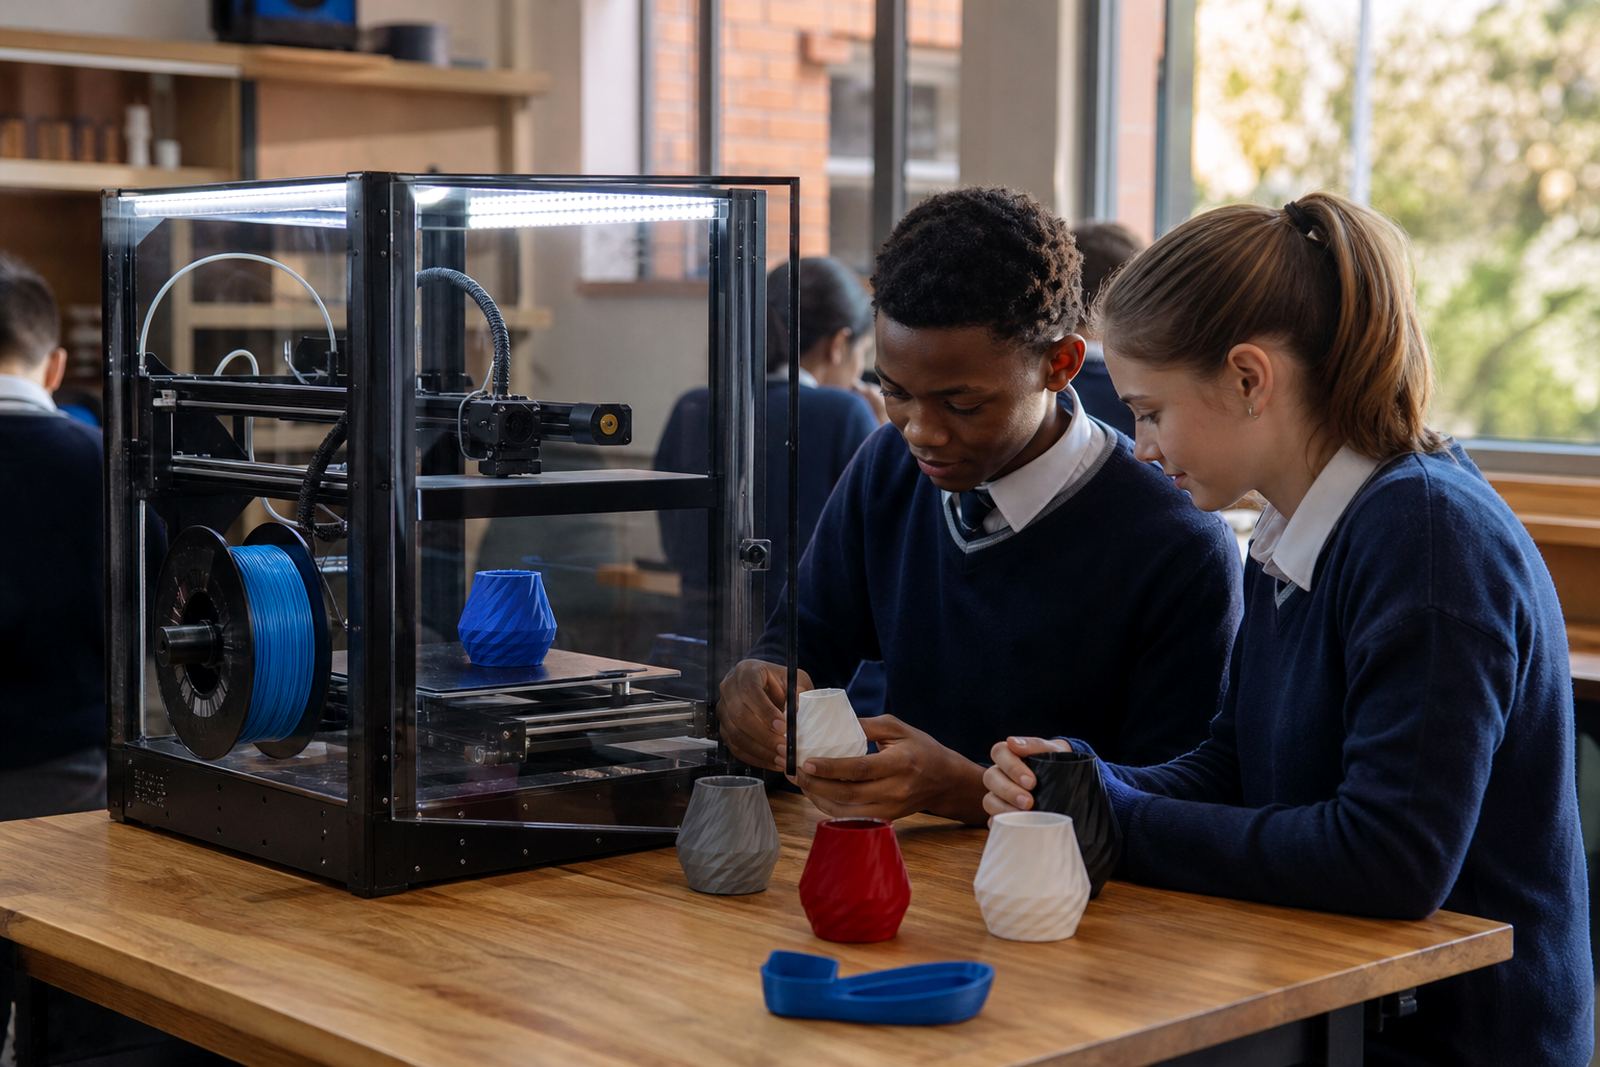
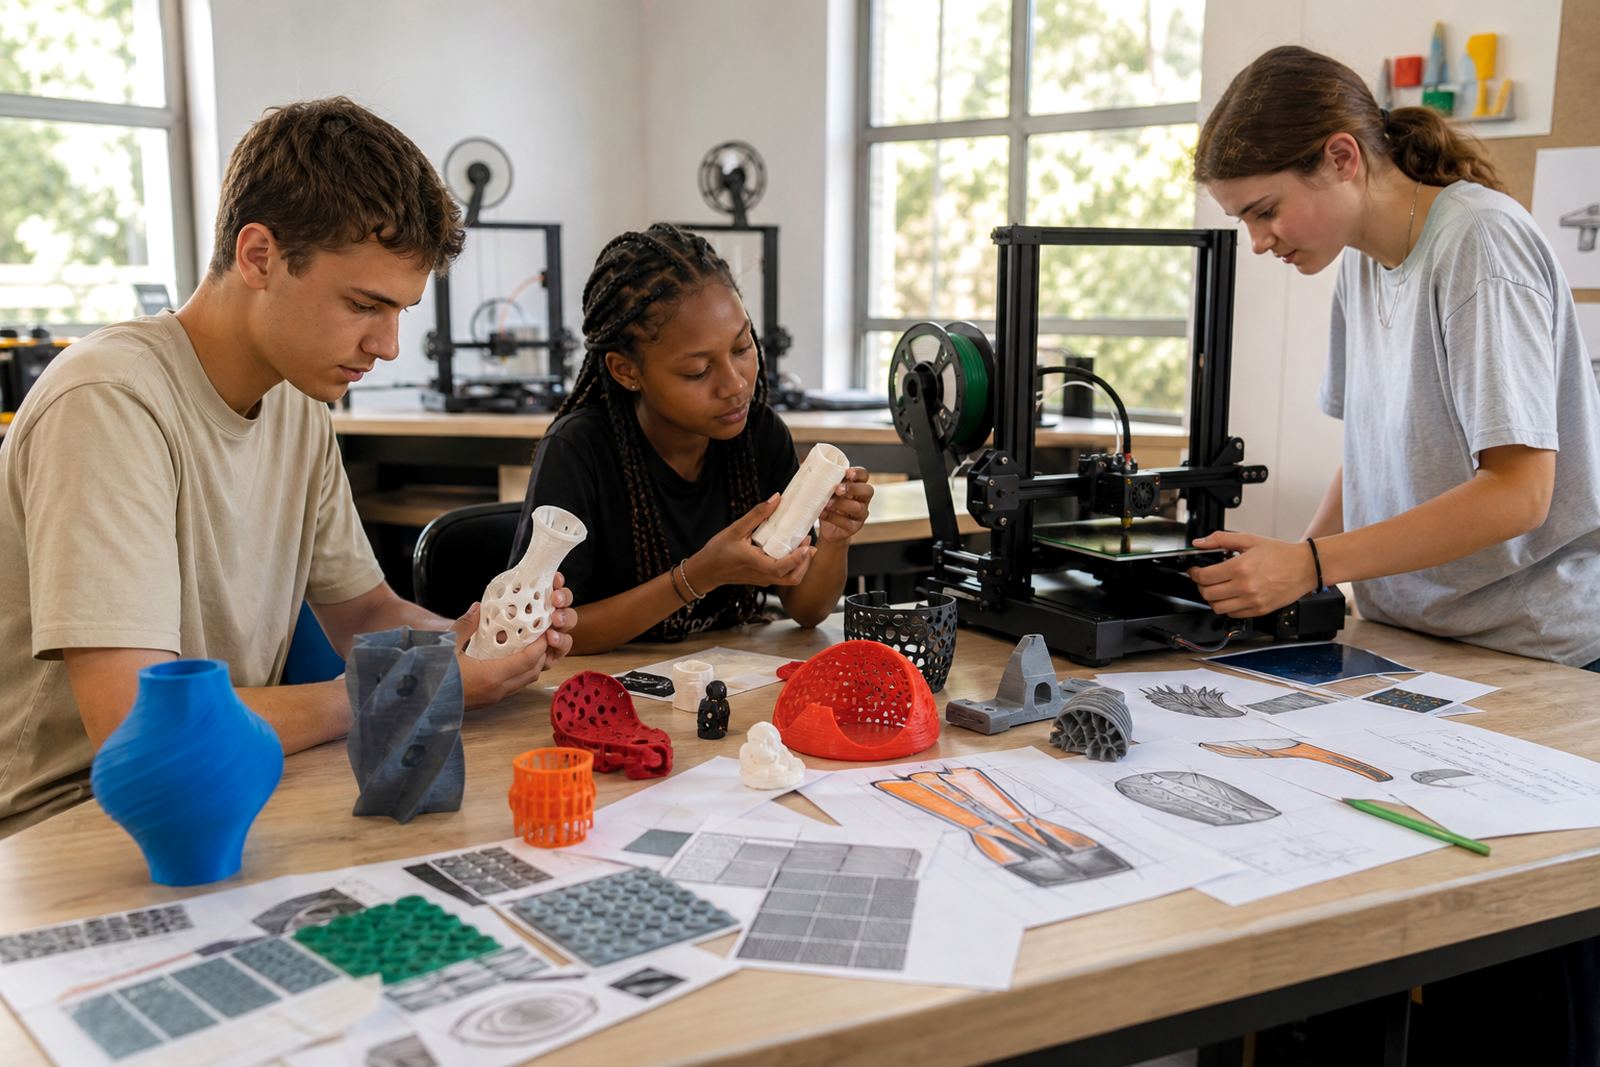
The Single Printer Kit is often used for short guided activities rather than long production runs. Teachers can introduce basic CAD concepts, talk through file preparation and show how one printed object is built layer by layer. For clubs, it works well for badges, small prototypes, classroom aids and simple design challenges. Learners can see the whole process from model to finished object, which keeps the session practical and focused.
It also suits staff development because the printer is simple enough for new users to understand without needing a full lab. A teacher can learn loading, levelling, starting a print and checking the first few layers before involving learners. The kit is best where a school wants hands-on learning and can manage turn-taking. With one machine, planning matters, so print queues should be kept short and clear.
- Good for short guided lessons
- Useful for clubs and enrichment projects
- Supports teacher training and demos
- Best for small batches and simple models
Care, servicing and classroom safety
Regular care keeps a single printer working well. The build surface should be cleaned after use, moving parts checked for dust and loose filament, and nozzle wear monitored over time. Consumables should be stored in a dry cupboard, since moisture can affect print quality. A basic service routine is enough for many schools, but it should be followed consistently so the unit does not sit idle with small faults that could have been avoided.
For classroom safety, learners should only handle the printer under supervision. Hot ends, heated plates and moving belts can cause injury if rushed. Keep hair tied back, no loose sleeves near the machine and do not allow prints to be removed until the bed has cooled enough. It helps to assign one person to supervise the first layers and another to manage tools and storage. That small routine makes the room calmer and less messy.
- Clean the build surface after each session
- Store filament in a dry place
- Check belts, nozzle and cable condition
- Supervise learners near heat and moving parts
- Remove prints only after cooling
What to confirm before ordering this club kit
Before ordering, confirm the space where the printer will stand, who will use it and how often it will run. Check whether the school needs a full starter pack or only the printer and essential consumables. It also helps to decide if the kit is for demonstrations, clubs, or a small class group, because that changes how many accessories and training notes are most useful.
You should also check power access, storage space for filament and tools, and whether the room has a door or cupboard for secure keeping after hours. If the printer is going into a shared learning area, ask who will handle daily setup and shutdown. A small starter unit can work very well, but only when the people using it know the plan from the start. Getting those details right avoids a lot of back and forth later on.
- Confirm room size and table space
- Check power access and surge protection
- Decide on learner, teacher or club use
- Plan storage for tools and filament
- Nominate the person responsible for daily use
Key facts
| Printer count | 1 benchtop printer |
|---|---|
| Typical use | Demonstrations, clubs and introductory training |
| Power requirement | 230V AC, single plug point |
| Gas requirement | None |
| Room type | Indoor classroom, lab or makerspace |
| Support items | Starter tools, sample files and basic consumables |