What the Starter Lab Kit includes
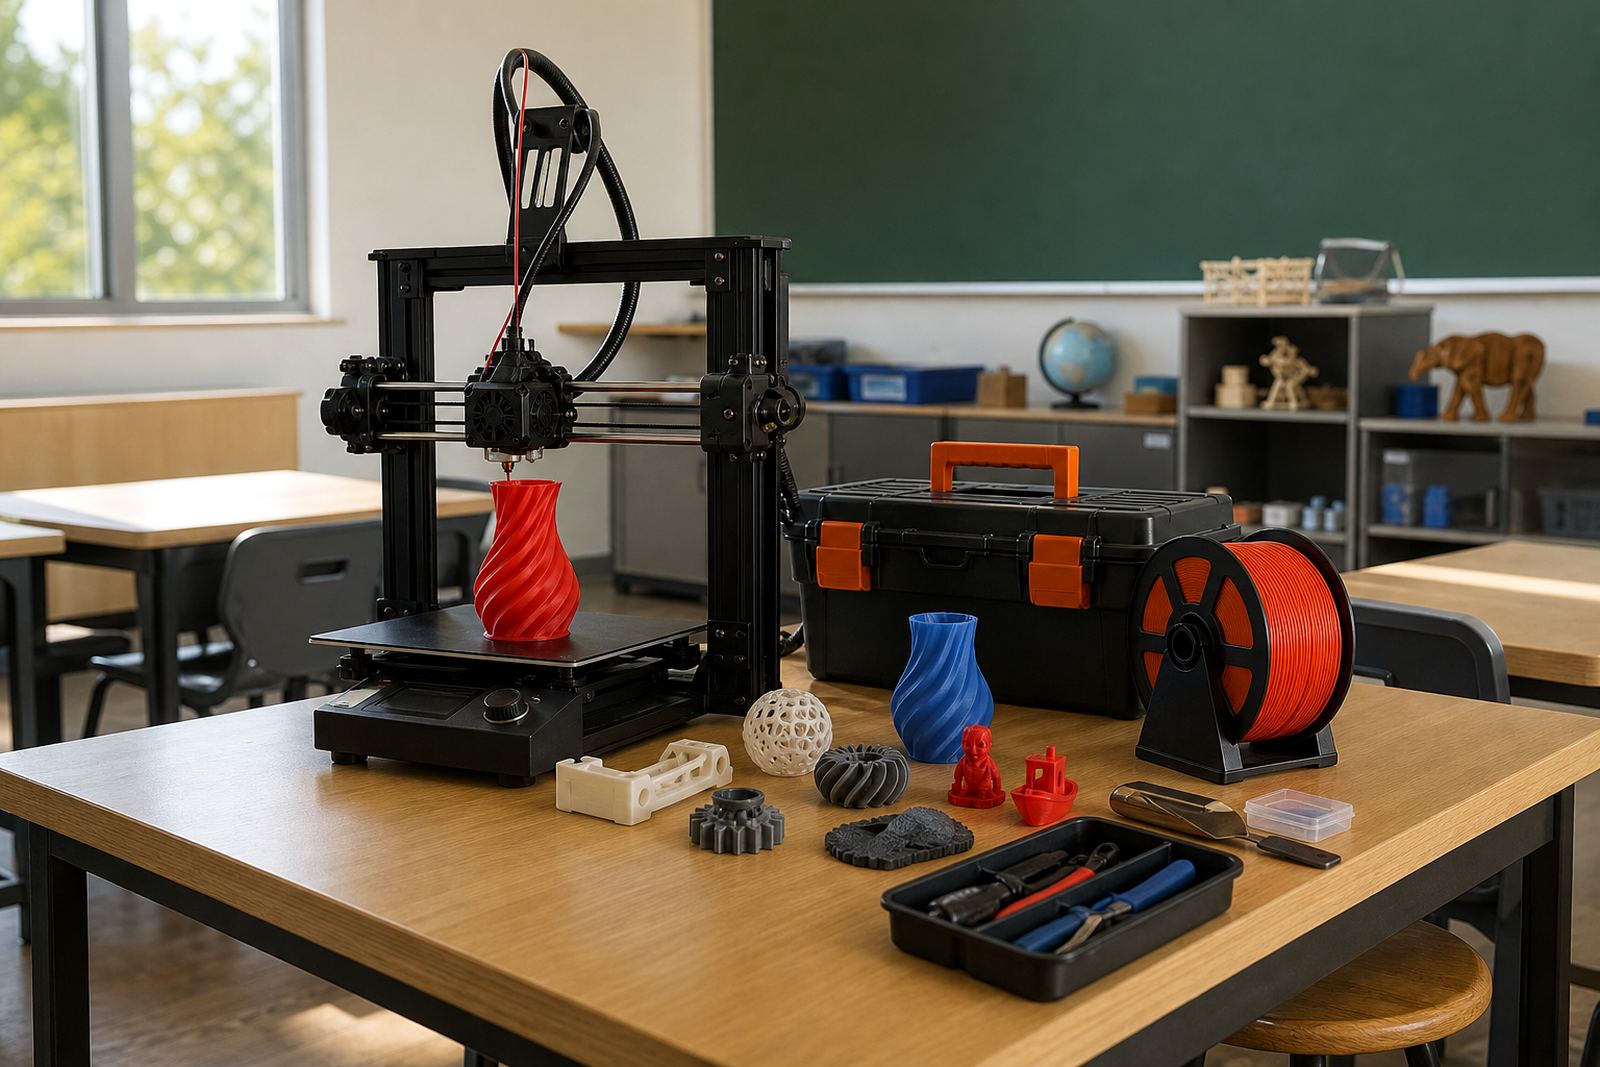
The Starter Lab Kit is a compact school package for introductory 3D printing activities. It is put together for classrooms that want to move from demonstration work to hands-on learner tasks with a small number of printers, support tools and safe storage for everyday use.
The kit is intended for printed models, simple design exercises and guided project work in Technology, Coding and Robotics, or Maker Club sessions. It is also a sensible fit where the school wants a controlled start before expanding to a larger lab. All items are selected for routine school handling, with basic spares and accessories that help keep lessons moving when a nozzle needs clearing or a spool runs low.
- Entry-level 3D printer or matched printer set, depending on the chosen configuration
- Filament for introductory classroom printing
- Basic tools for removal, trimming and surface cleaning
- Build surface, sample models and setup accessories
- Storage guidance for materials and printed parts
Sizes and school room options
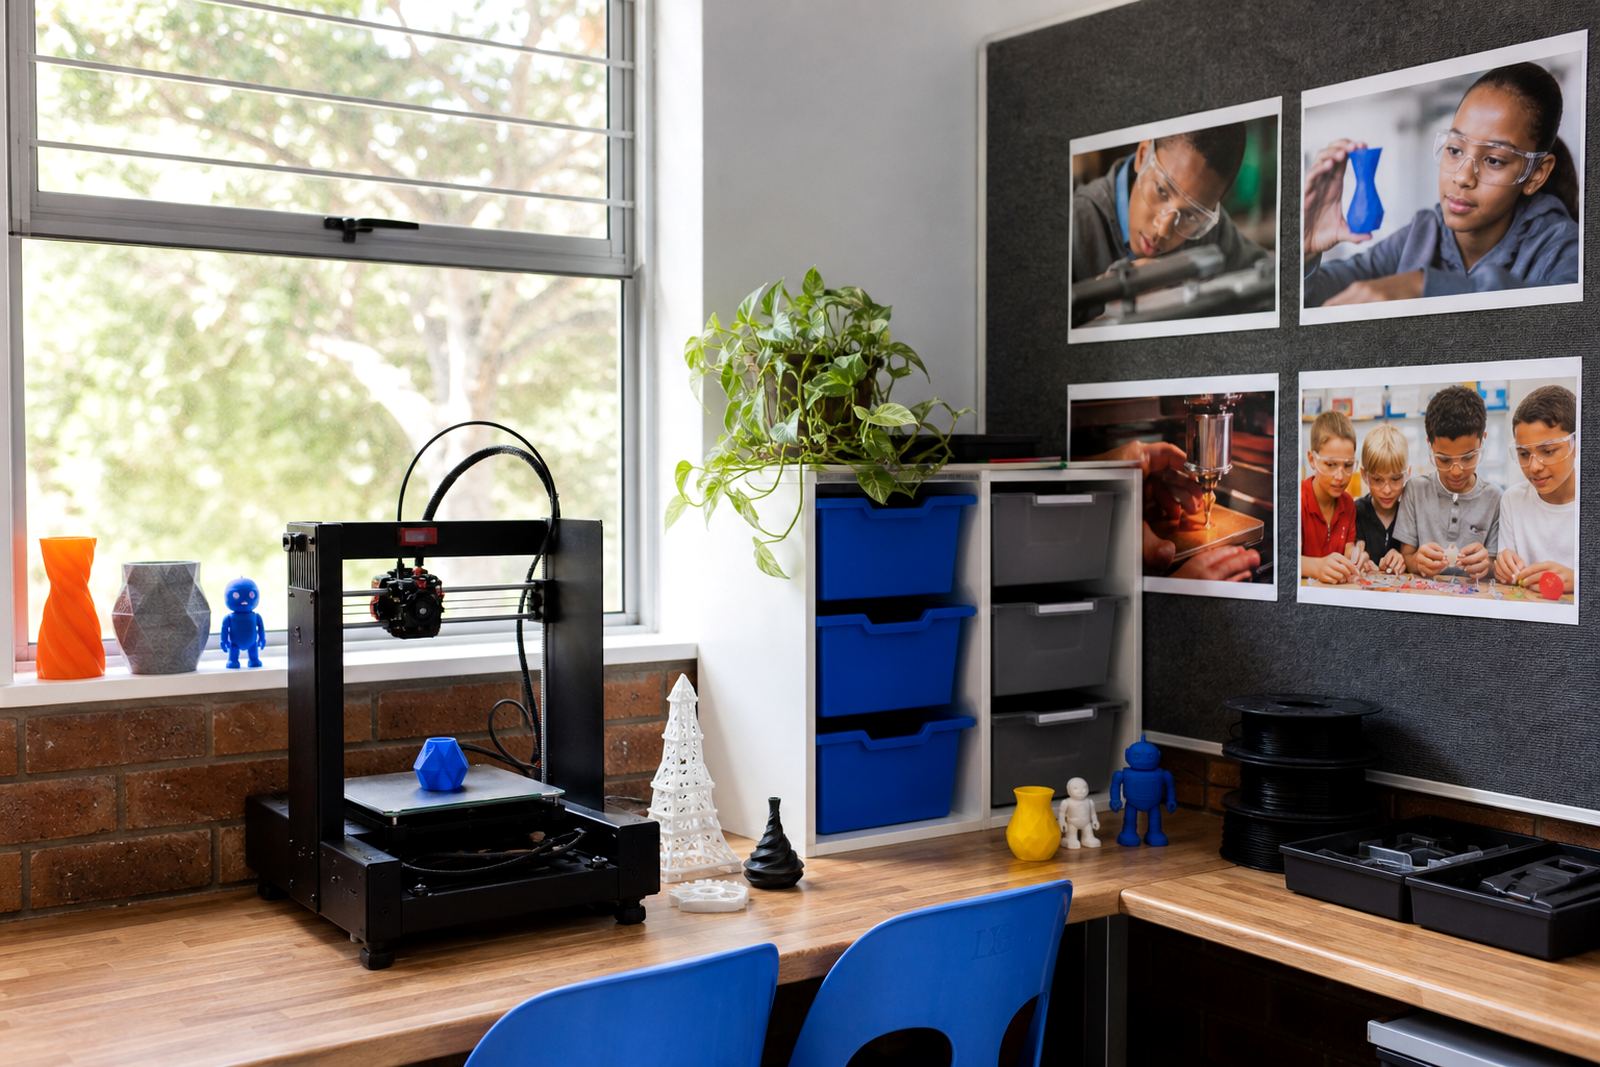
The kit is available in a few practical formats so schools can match the package to the number of learners, the room size and the level of supervision available. A compact single-printer option works well for a small lab corner, while a two-printer or multi-printer layout suits a dedicated room where learners rotate through design, slicing and print monitoring tasks.
For many schools in Stellenbosch, Cape Town, Paarl or Somerset West, the first choice is often a smaller setup that can be secured in a lockable room after hours. Larger schools in Johannesburg, Pretoria, Durban and Gqeberha often ask for a layout that can support several classes, with separate storage for filament, tools and unfinished work. The footprint can be planned around the available tables and power points, so the kit does not take over the whole room.
- Single printer starter setup for demonstrations and small groups
- Dual printer setup for shared classroom rotation
- Expanded starter setup for a dedicated learning space
- Optional storage cabinet and filament organiser
- Table layout advice for supervised use
Where the kit suits best
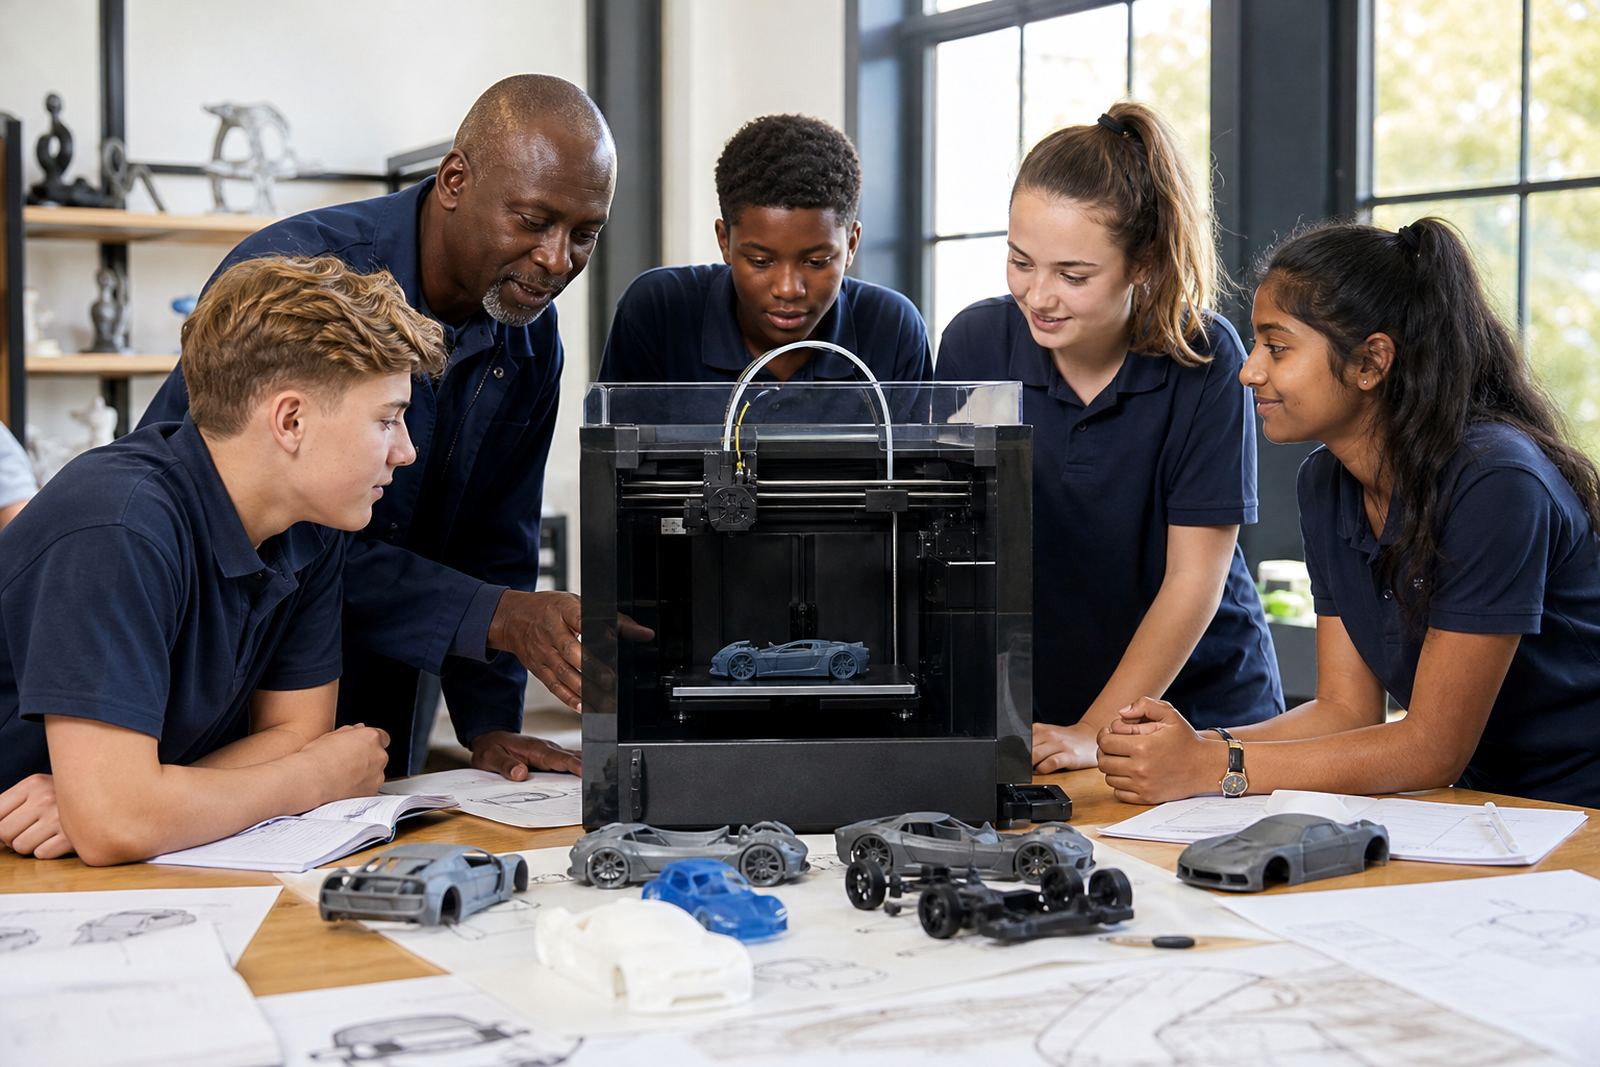
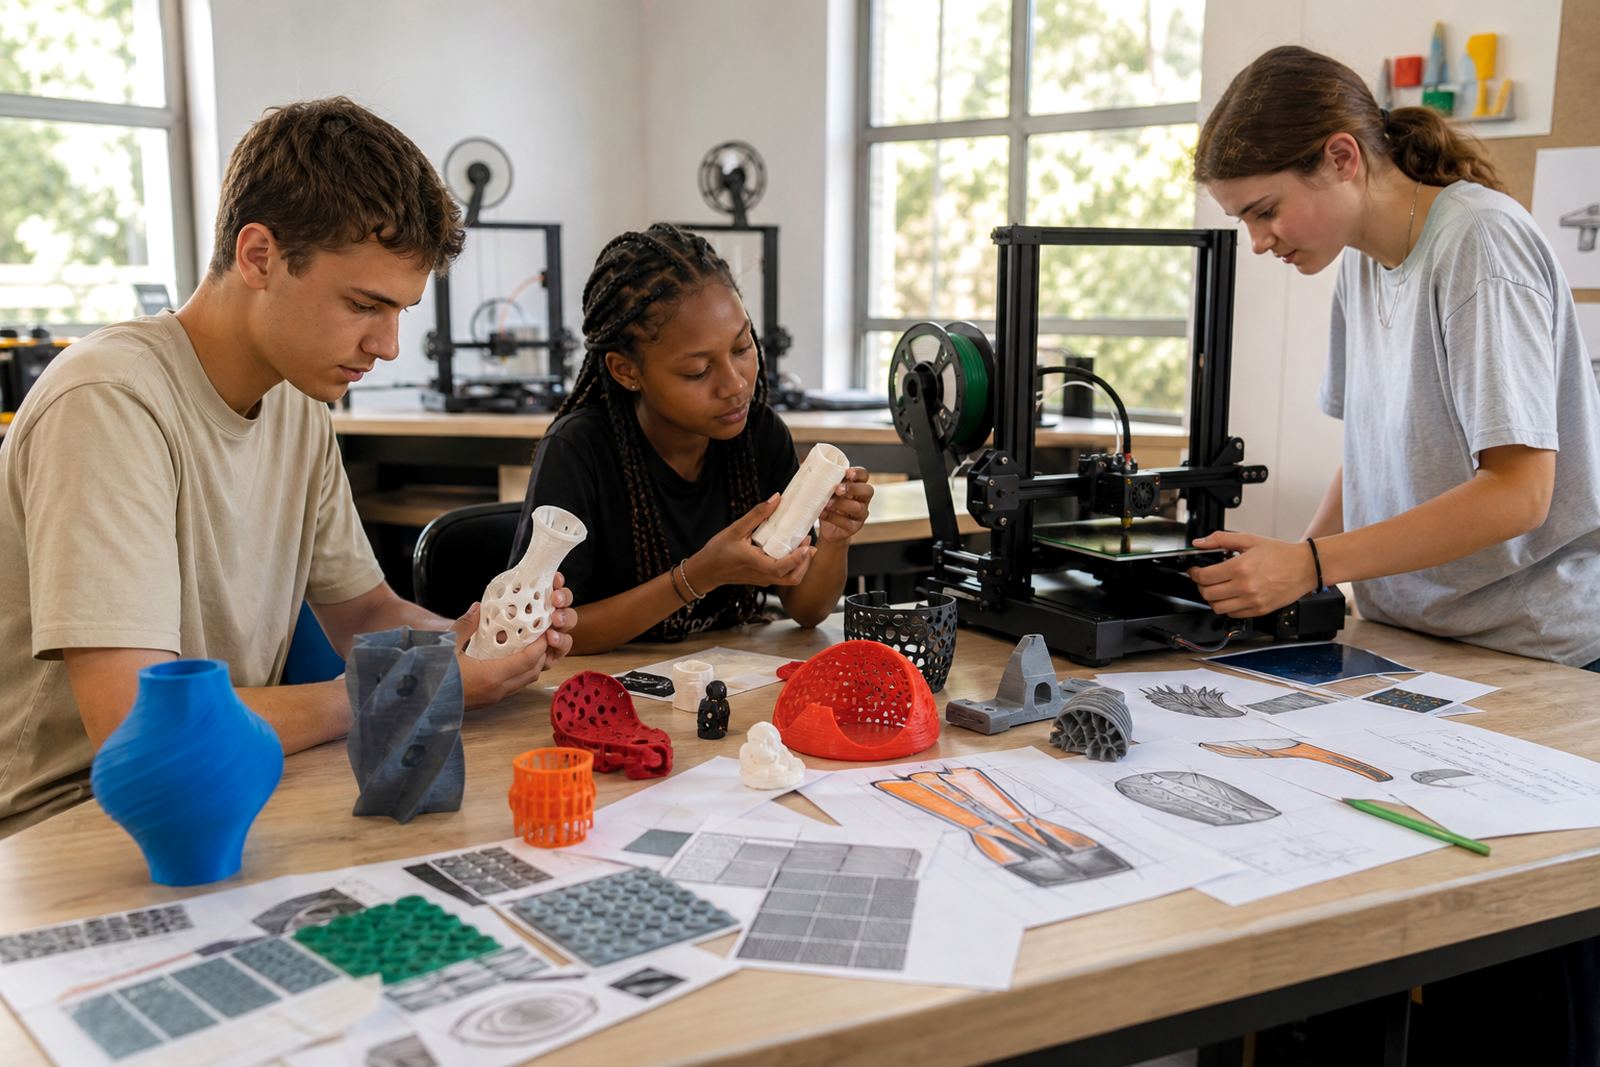
This package is made for schools that want to teach basic digital making without putting too much strain on staff time or room planning. It suits primary school enrichment rooms, intermediate phase technology classes, high school maker spaces and after-school clubs where learners need clear instructions and visible steps. The kit is especially useful when teachers want to introduce shape, measurement, design thinking and simple production in one activity.
It also works well for schools that want one shared setup for several groups rather than a machine in every classroom. In coastal areas such as Cape Town, Durban and Gqeberha, schools often prefer enclosed storage for filament and printed parts because humidity can affect material handling. In inland towns, the focus is often on load-shedding planning, so a neat power arrangement and print scheduling matter quite a bit.
- Technology rooms with supervised learner movement
- Maker clubs and holiday programmes
- Schools testing 3D printing before scaling up
- Small labs with secure storage and planned access
- Rooms where a teacher wants visible, repeatable class activities
Installation, power and classroom setup
Setting up the Starter Lab Kit is straightforward, but it still needs careful placement. The printer should stand on a stable table away from direct sunlight, wet areas and heavy foot traffic. Good airflow matters, along with enough space for the print bed to move freely and for learners to stand back while a print is running. A lockable cupboard or room is recommended for filament and tools when the equipment is not in use.
The kit runs from standard mains power and does not need gas. A dedicated plug point is preferable, with surge protection and a plan for power interruptions. Where load-shedding is part of the school day, it helps to schedule longer prints around the timetable and keep shorter classroom jobs for days with more certainty. We also recommend that teachers check the room light level and cable routing before the first lesson so no one trips over leads or reaches into moving parts.
- Stable table or bench with enough clearance around the printer
- Standard mains power point with surge protection
- No gas connection required
- Room ventilation and supervised access
- Secure storage for filament, tools and completed prints
Care, servicing and everyday use
Good results depend on ordinary care. The build surface should be cleaned, the nozzle checked for blockages, and the printer kept free of dust. Teachers should supervise removing prints, especially when learners are new to the machine. It is also wise to keep spare filament sealed when not in use, because moisture can affect print quality and cause uneven extrusion.
Routine servicing usually includes checking belts, rails, bed adhesion and the condition of the nozzle. Schools that use the kit regularly should plan a simple weekly inspection and a more detailed check after a busy term. If the printer starts skipping layers, stringing badly or losing bed grip, that is often a sign that it needs cleaning or re-calibration rather than a major repair. Small issues fixed early save time later, and it keeps lessons on track.
- Wipe down the printer after lessons
- Store filament in a dry, sealed place
- Check bed levelling and nozzle condition regularly
- Keep a small log of print issues and maintenance dates
- Use supervised handling for hot parts and moving components
What to confirm before you order
Before placing an order, it helps to confirm how many learners will use the kit, what room it will sit in and whether the school wants one printer or several. Also check the level of teacher support needed, whether the room has reliable power access, and if secure storage is available. These details help match the kit to the way your school actually works, rather than forcing the room to fit the equipment.
We also recommend checking the type of learner projects you want to run. Simple geometric models and classroom samples need less material than larger prototype tasks, and some schools prefer a setup that is easier to manage during busy terms. If you are ordering for a coastal school or a site with humidity concerns, ask about storage and material handling. If the school faces load-shedding often, make sure the timetable and backup planning are sorted before the first print starts, otherwise the first term can get messy.
- Number of learners and expected class size
- Room size, storage and table layout
- Power access and load-shedding planning
- Project type and how often the kit will be used
- Need for support with setup, training or maintenance
Key facts
| Kit type | Starter classroom 3D-printing package |
|---|---|
| Printer format | Single or multi-printer options available |
| Power needs | Standard mains power, surge protection recommended |
| Material | Common classroom filament types, depending on setup |
| Use case | Supervised learner projects, demos and introductory tasks |
| Care | Routine cleaning, nozzle checks and dry storage for filament |