Why prototype feedback matters before the final print
In a classroom setting, the first printed version often shows more than one problem at once. A wall may be too thin, a hole may be slightly off, or a part may look neat but fail when students try to assemble it. That is where feedback becomes useful, because it moves the learner from guesswork to evidence. Instead of asking whether the model looks good, teachers can ask whether it works, whether it can be printed cleanly, and whether it serves the intended purpose.
When learners hear feedback early, they usually spend less time reprinting the same faults. They also start to link design decisions with real outcomes, which is exactly what makes 3D printing such a practical learning tool. It teaches patience, accuracy and problem-solving in one process. In a mixed class, even a small correction can help a learner understand why a model failed and what to change next.
A simple feedback routine that works in the classroom
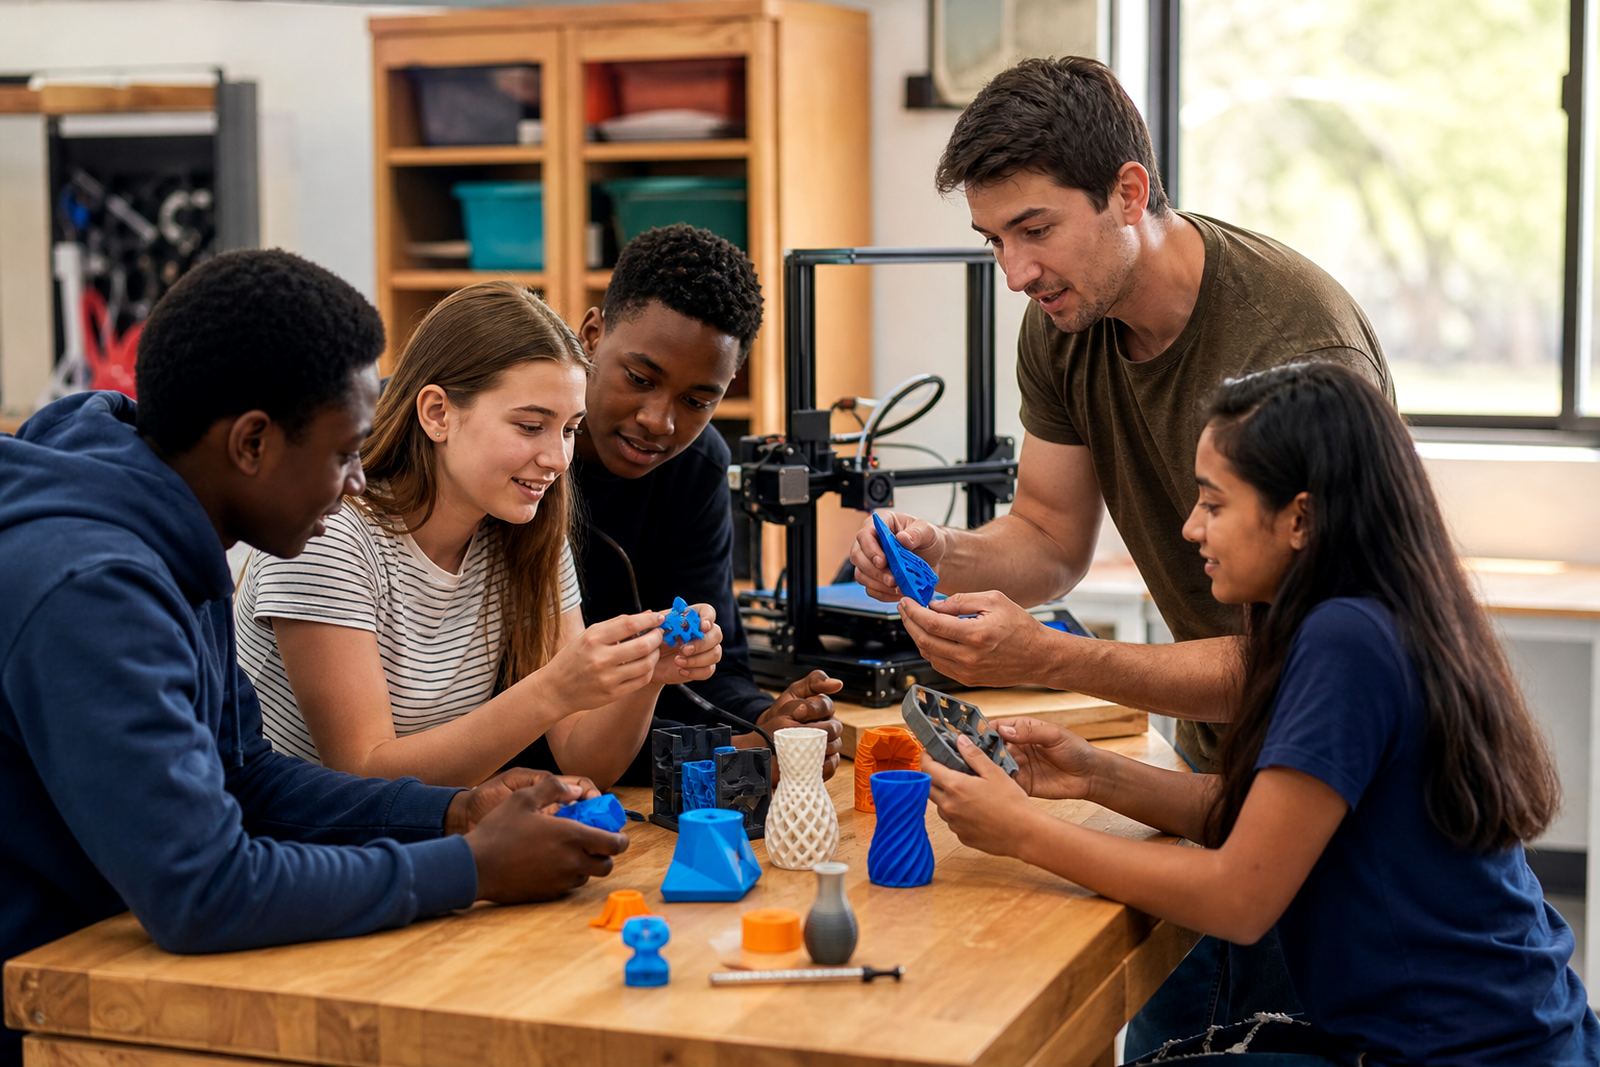
Feedback is easiest to use when the class follows the same routine every time. A short review after the first print keeps the discussion focused and prevents the session from turning into vague opinions. The best approach is to combine teacher comments, peer input and the learner's own reflection. That gives the class a clear structure and makes the process less intimidating for younger learners.
- Start with the purpose: what should the object do?
- Check fit and function before surface appearance.
- Ask what changed between the drawing and the printed result.
- Look for one main improvement, not ten small ones.
- End with a clear action for the next version.
In practice, this can take only a few minutes per model. A learner in Stellenbosch might bring in a prototype bracket for a small classroom project, while another group in Durban could be printing a scaled component for a science demonstration. The feedback steps stay the same, even if the project changes.
What teachers should look for in a prototype
Good feedback is specific. Rather than saying a print is wrong, it helps to point out where the issue started. Was the model too tall for the build volume? Did a sharp overhang cause sagging? Was the text too small to read? These questions teach learners to look at design, printer settings and material behaviour together, which is far more useful than just blaming the machine.
Teachers can focus on a few practical checks during review:
- Dimensions: does the printed part match the intended size?
- Strength: are the walls and joins thick enough for handling?
- Accuracy: do moving parts or slots line up properly?
- Print quality: are there signs of stringing, warping or poor layer bonding?
- Use case: does the item solve the problem it was meant to address?
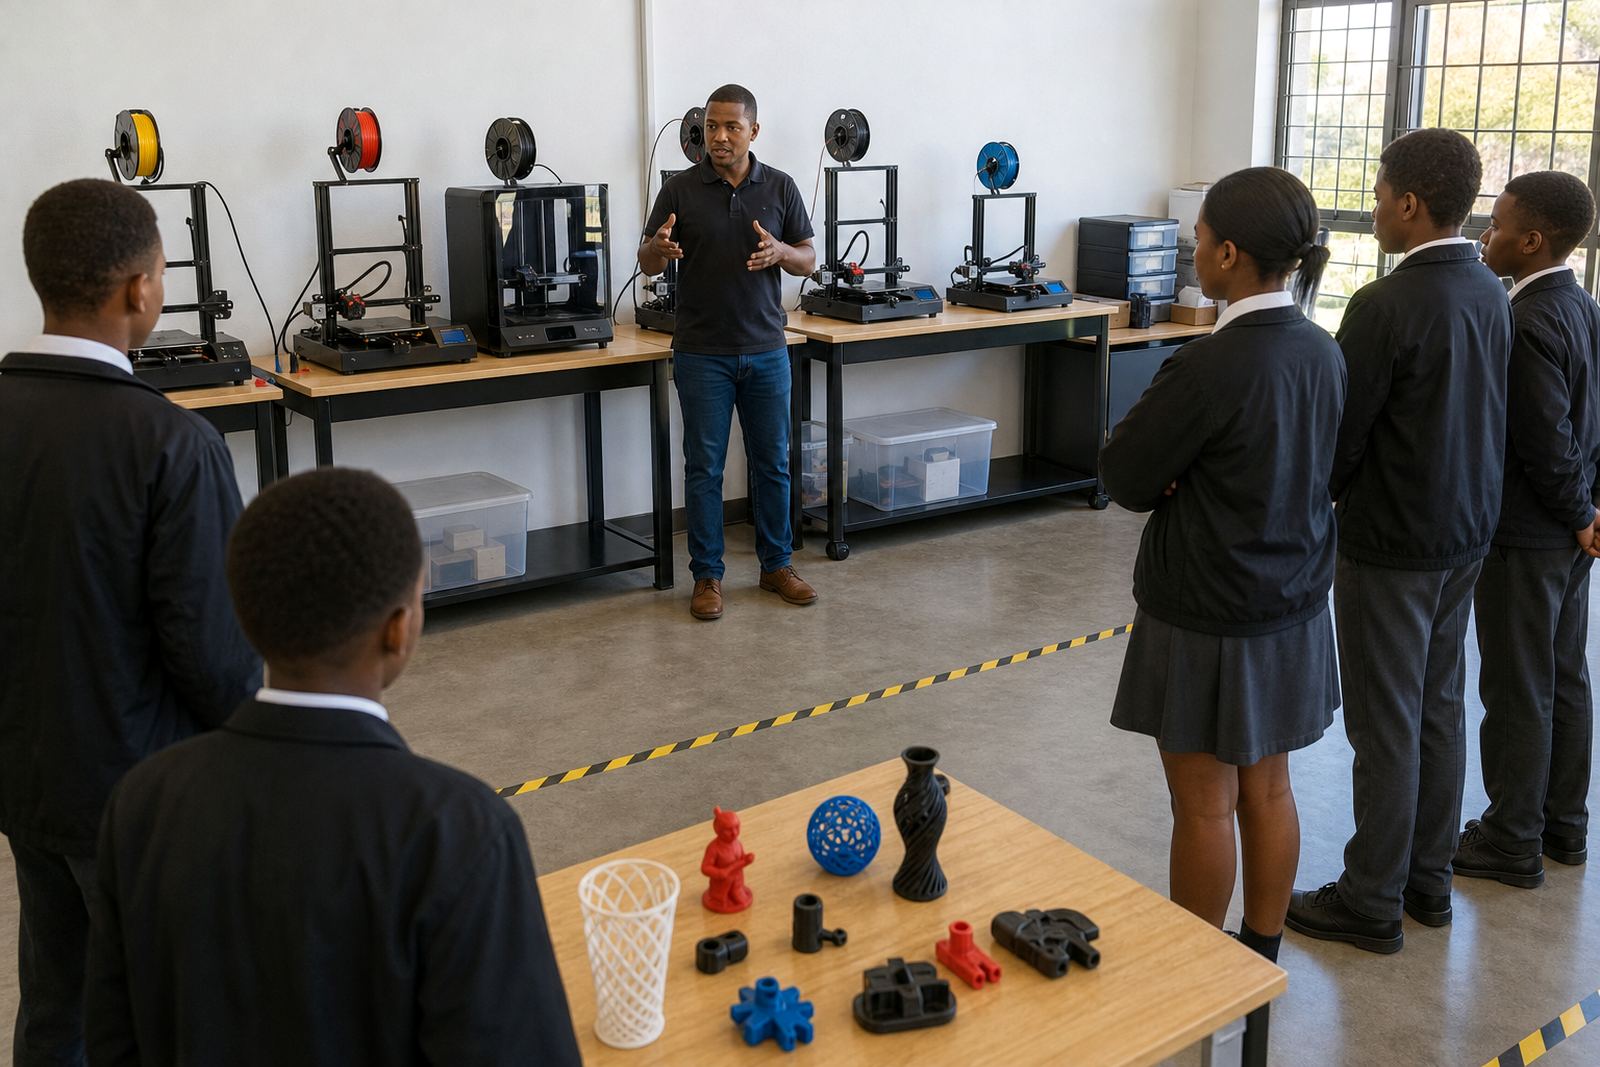
When these checks become routine, learners begin to spot issues before the print starts. That saves filament and time, especially in schools where the lab is shared across several classes and the machine schedule is tight. It also helps with load-shedding planning, because fewer reprints means less pressure on limited lab time.
How learners can respond without taking feedback personally
Many learners feel protective about their first prototype, especially when they have spent hours modelling it. That is normal. The teacher's job is to separate the person from the object. A prototype is a draft, not a judgement of ability. If that message is repeated often, learners are more likely to listen carefully and less likely to shut down after correction.
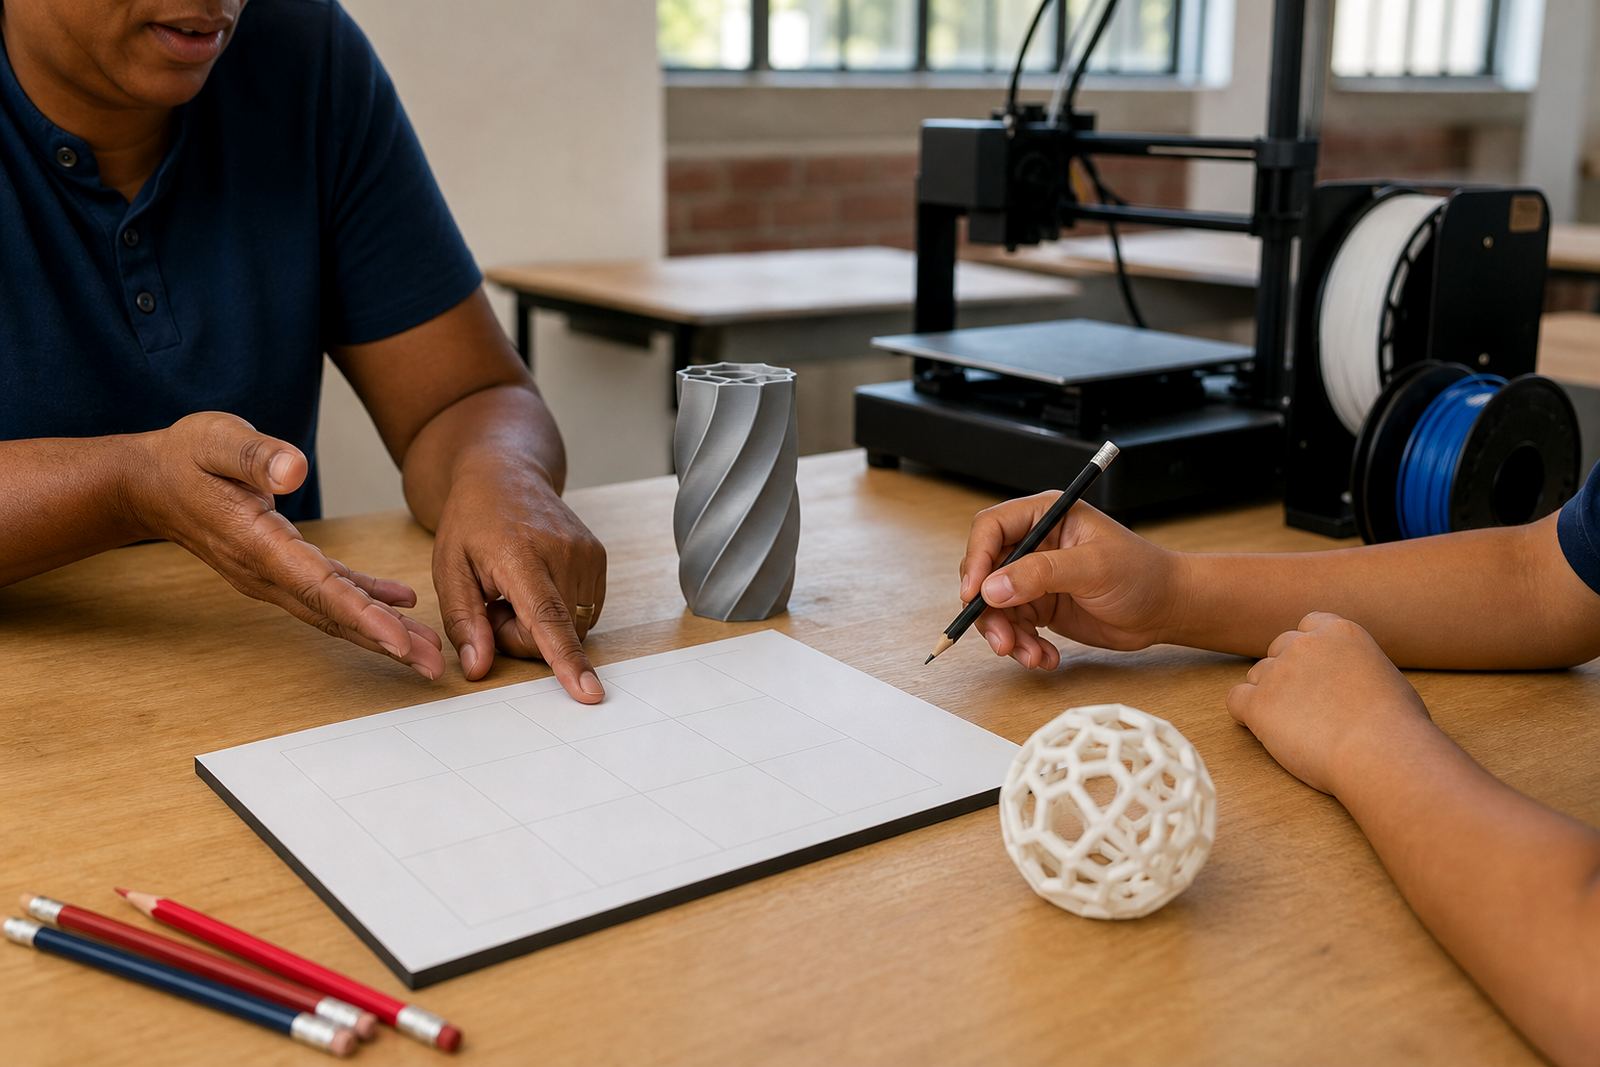
One practical method is to ask learners to explain what they would change before anyone else comments. This gives them ownership of the process and often makes the teacher's job easier. It also builds honesty, because learners can see for themselves where the weak points are. A learner who says, "the clip snapped when I tested it" is already thinking like an engineer, even if the final shape still needs work.
In a mixed-age maker club, this can be especially useful. Older learners can help younger ones phrase feedback in a respectful way and show them how to make notes for the next version. The aim is not perfection on the first try, but better decisions on the second.
A local example from a Western Cape school lab
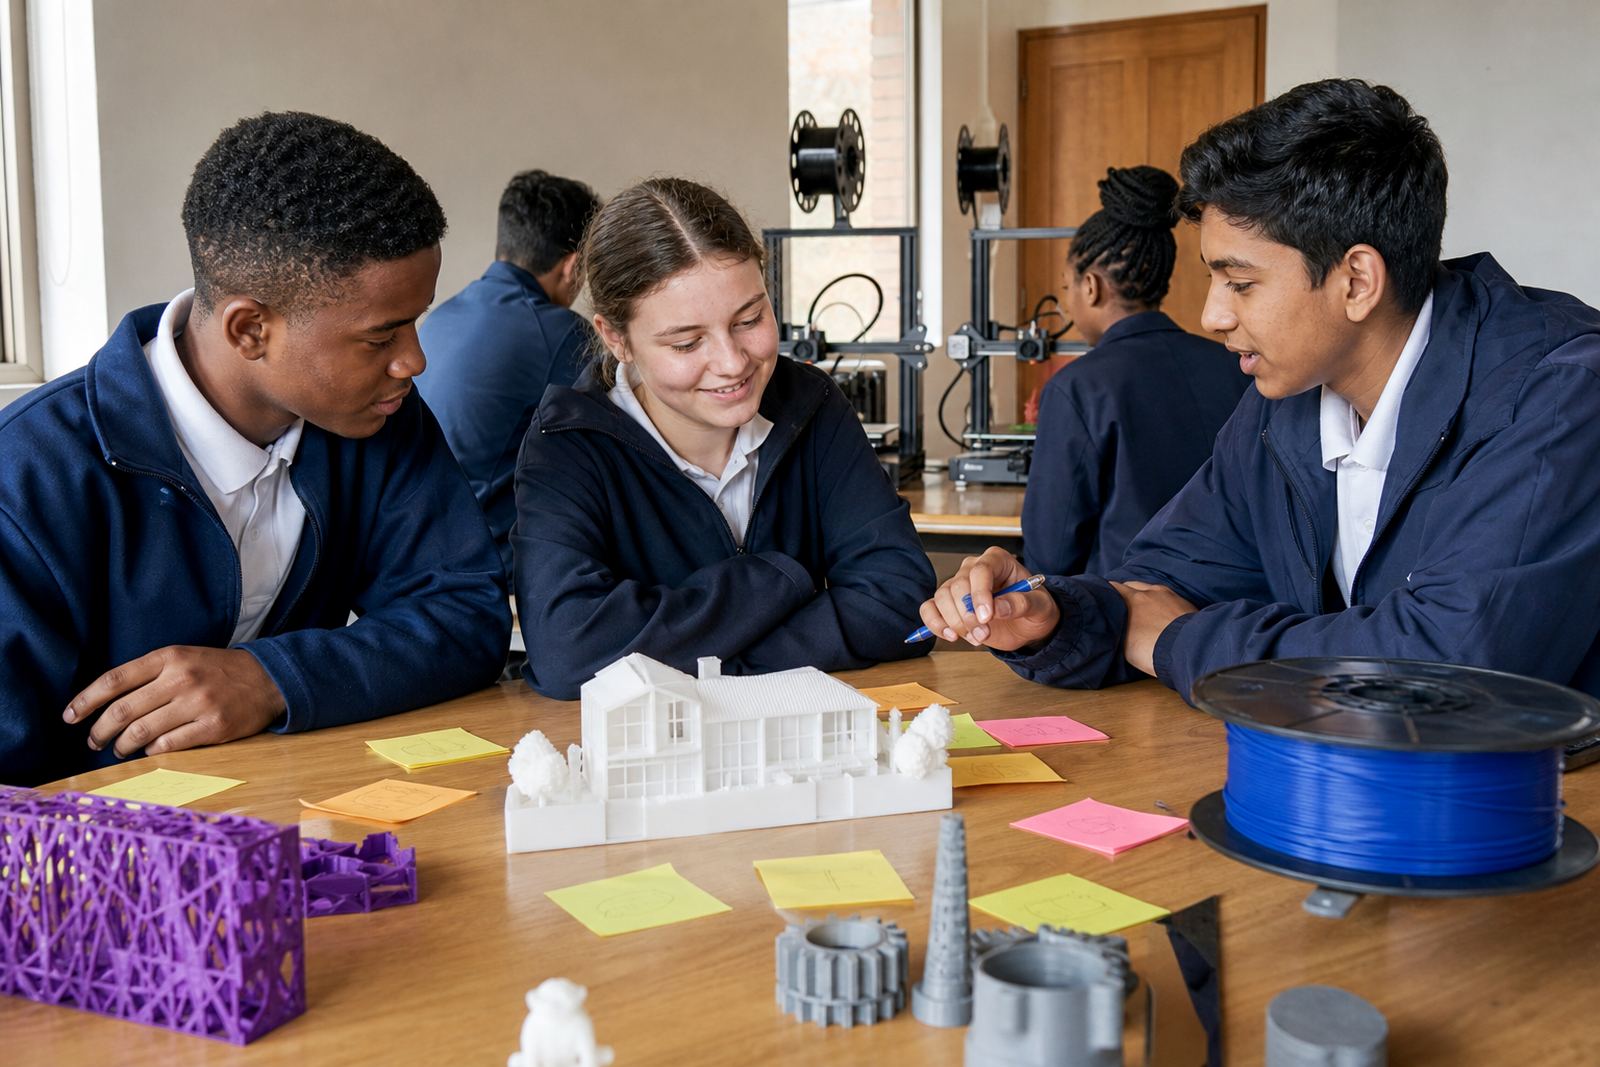
At a school lab in the Western Cape, a learner group designed a small parts tray for classroom use. The first print looked neat enough, but the corners were too thin and the tray flexed when it was lifted with a full load of markers. Instead of starting over, the teacher asked the learners to test the tray with a few books and identify where the weakness came from. They noticed the base needed more support and the corner radius had to be widened.
After that discussion, the group adjusted the model and printed a second version. The improved tray held its shape properly and was easier to stack on a shelf. That was a simple lesson, but an important one. The learners did not only fix a part, they learned how to connect design choices with real classroom use. In a school setting that kind of feedback is worth far more than praise alone.
For schools in Cape Town, Paarl or Somerset West, the same process helps when a prototype must fit a specific cupboard, table or transport box. Local spaces vary, so feedback should always include the room the object will live in, not just how it looks on a screen.
Keeping feedback safe, fair and useful in a school lab
Classroom feedback should stay practical and safe. Sharp tools, heated nozzles and moving parts need supervision, and learners should be reminded not to touch a newly printed part until it has cooled. If a prototype is used for assembly or handling, the teacher should check that edges are smooth and that the design does not create avoidable pinching points. Basic safety rules matter more when the class is busy and the machines are running back to back.
It also helps to set fair expectations. Not every learner starts with the same drawing skill or digital experience, so feedback should match the task and the learner's level. A beginner may need help with scale and shape, while a more advanced group may need sharper comments on tolerances and assembly. The point is to move each learner forward, not to compare one project against another.
- Keep comments focused on the prototype, not the person.
- Use the same review steps for every class.
- Record changes so learners can track progress.
- Protect the lab by checking prints before handling.
- Make sure each revision has one clear goal.
When feedback is handled well, the prototype becomes a teaching tool rather than a failed attempt. That shift is what gives 3D printing its value in schools.
Turning one print into a better next version
The strongest feedback is the kind that leads to action. If learners leave the table knowing exactly what to change, they are more likely to improve the model and their own thinking. Over time, they begin to predict problems before printing and to explain their choices with more confidence. That is a useful habit in any classroom, whether the project is a simple keyring, a class organiser or a small mechanical part.
For teachers and lab coordinators, the goal is to make feedback part of the normal workflow. Review, revise, reprint, reflect. Once learners understand that sequence, they stop seeing mistakes as setbacks and start seeing them as part of the process. That is how practical design skills are built, one prototype at a time.