Start with the skill, not the printout
When teachers plan assessment tasks for 3D printing, the first question should be: what do I want learners to prove? The answer is not only that they can produce a neat model. It may be that they can measure accurately, build a basic digital shape, follow a printing workflow, or explain why a design failed and how they improved it.
A strong task starts with the learning outcome, then breaks it into smaller steps. For example, a Grade 8 class in Stellenbosch might be asked to design a simple key holder, but the marking should also cover the sketch, measurements, file preparation, printer setup and a short reflection. This keeps the task fair even if some prints need a second attempt.
Build marks around process, reflection and final output
Teachers often find that a single final object gives too little information. A learner may have received help during the print, or the model may look neat even though the design work was weak. That is why assessment works better when it includes three parts: process, reflection and final output.
- Process: planning notes, sketches, measurements, file setup and safe machine use
- Reflection: what went wrong, what was changed, and why those changes were made
- Final output: the printed item, its fit for purpose, and the quality of the finish
This approach is useful in busy schools because it rewards effort and thinking, not only the final result. It also helps when a power cut interrupts a print or a model has to be reprinted after a nozzle block.
Choose tasks that suit the classroom reality
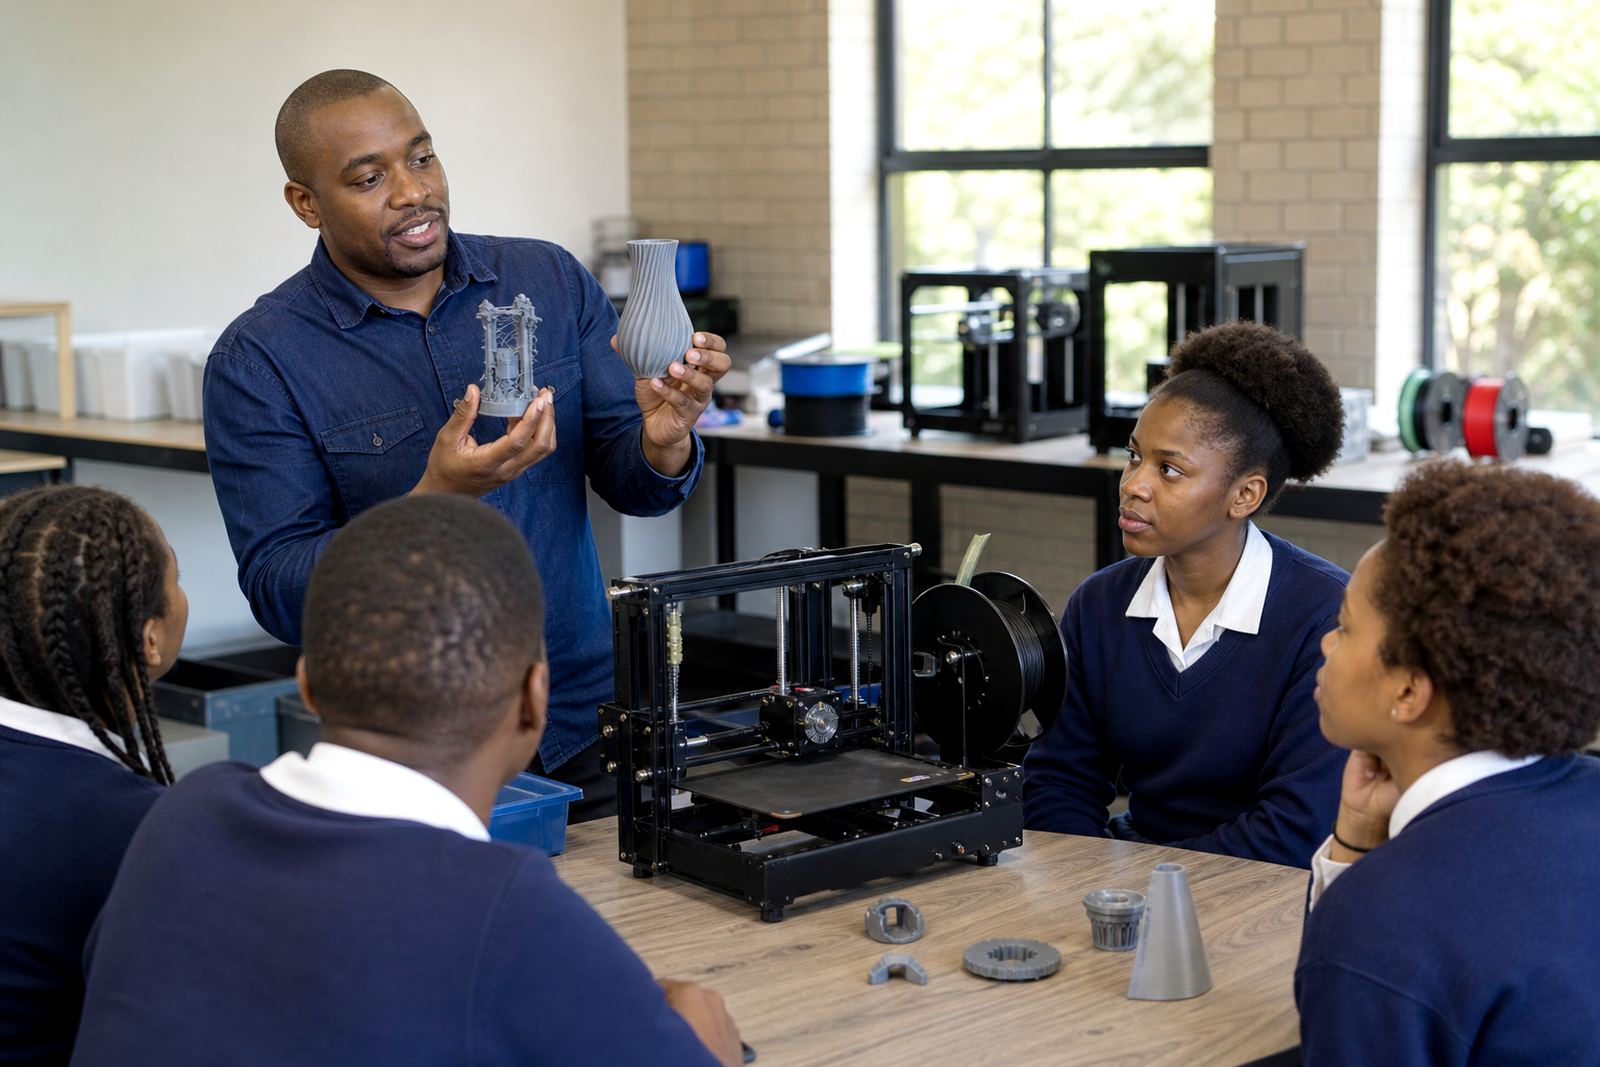
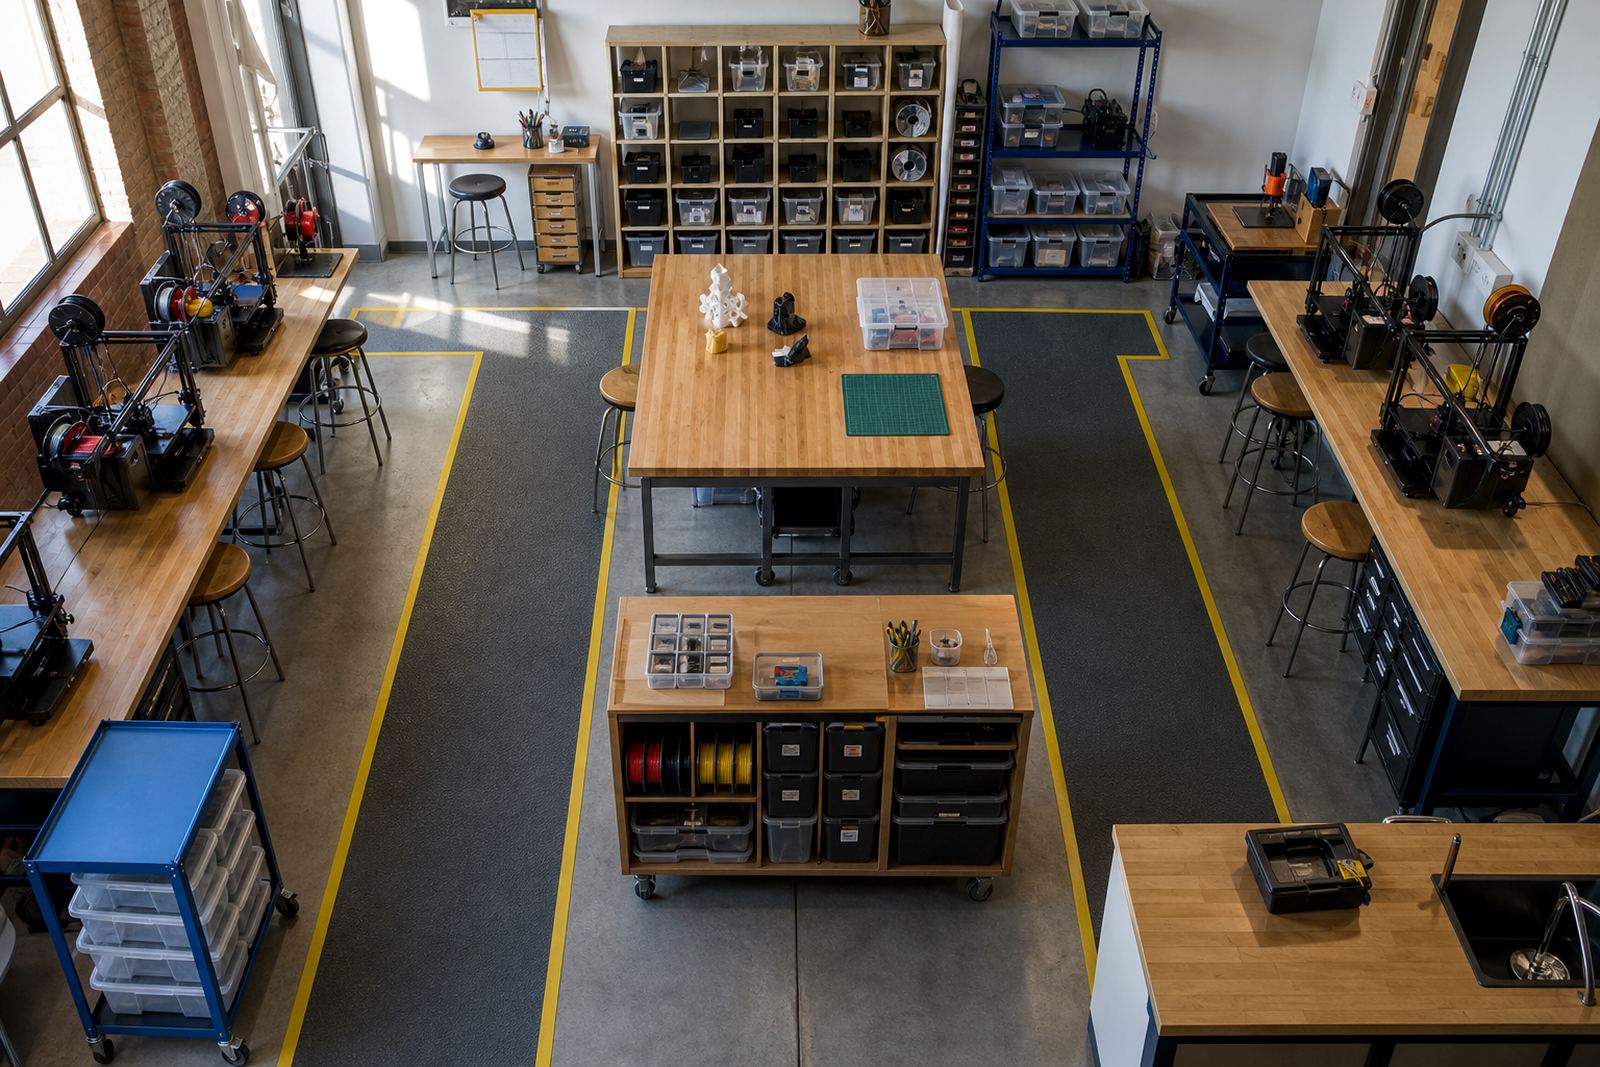
A practical assessment task must match the equipment, timetable and learner level. A school with one printer and a full class needs a different task from a lab where several printers are running at once. In many South African schools, lesson time is shared, electricity is not always stable, and classrooms may be noisy or crowded. The task should still be manageable.
Good assessment tasks are short enough to complete in stages. A teacher can set one lesson for planning, one for modelling, and another for printing or finishing. If load-shedding is a concern, the task can include backup planning, such as saving files properly and preparing a manual drawing task while waiting for print time.
- Keep the model simple enough to finish within the available class time
- Use materials that are realistic for the school setting
- Allow for one revision cycle, not endless reworking
- Set clear rules for printer use, clean-up and storage
Use a rubric that learners can understand
A clear rubric helps learners know what is expected before they begin. It should describe what good work looks like in plain language. Terms like accurate measurements, correct scaling, clean slicing settings and safe handling are more useful than vague comments such as neatness or effort.
Rubrics also make marking faster and more consistent when more than one teacher is involved. In a larger school group, for example in Cape Town or Pretoria, a shared rubric can help different classes work to the same standard. Keep the number of criteria limited so that marking stays practical. Four or five criteria are usually enough for a classroom project.
Try to write descriptors that reflect real classroom performance. A strong task description might say that the learner can explain why a support structure was needed, or can identify the cause of a warped print and suggest a fix. That is more useful than only scoring the object itself.
Make space for learner explanation
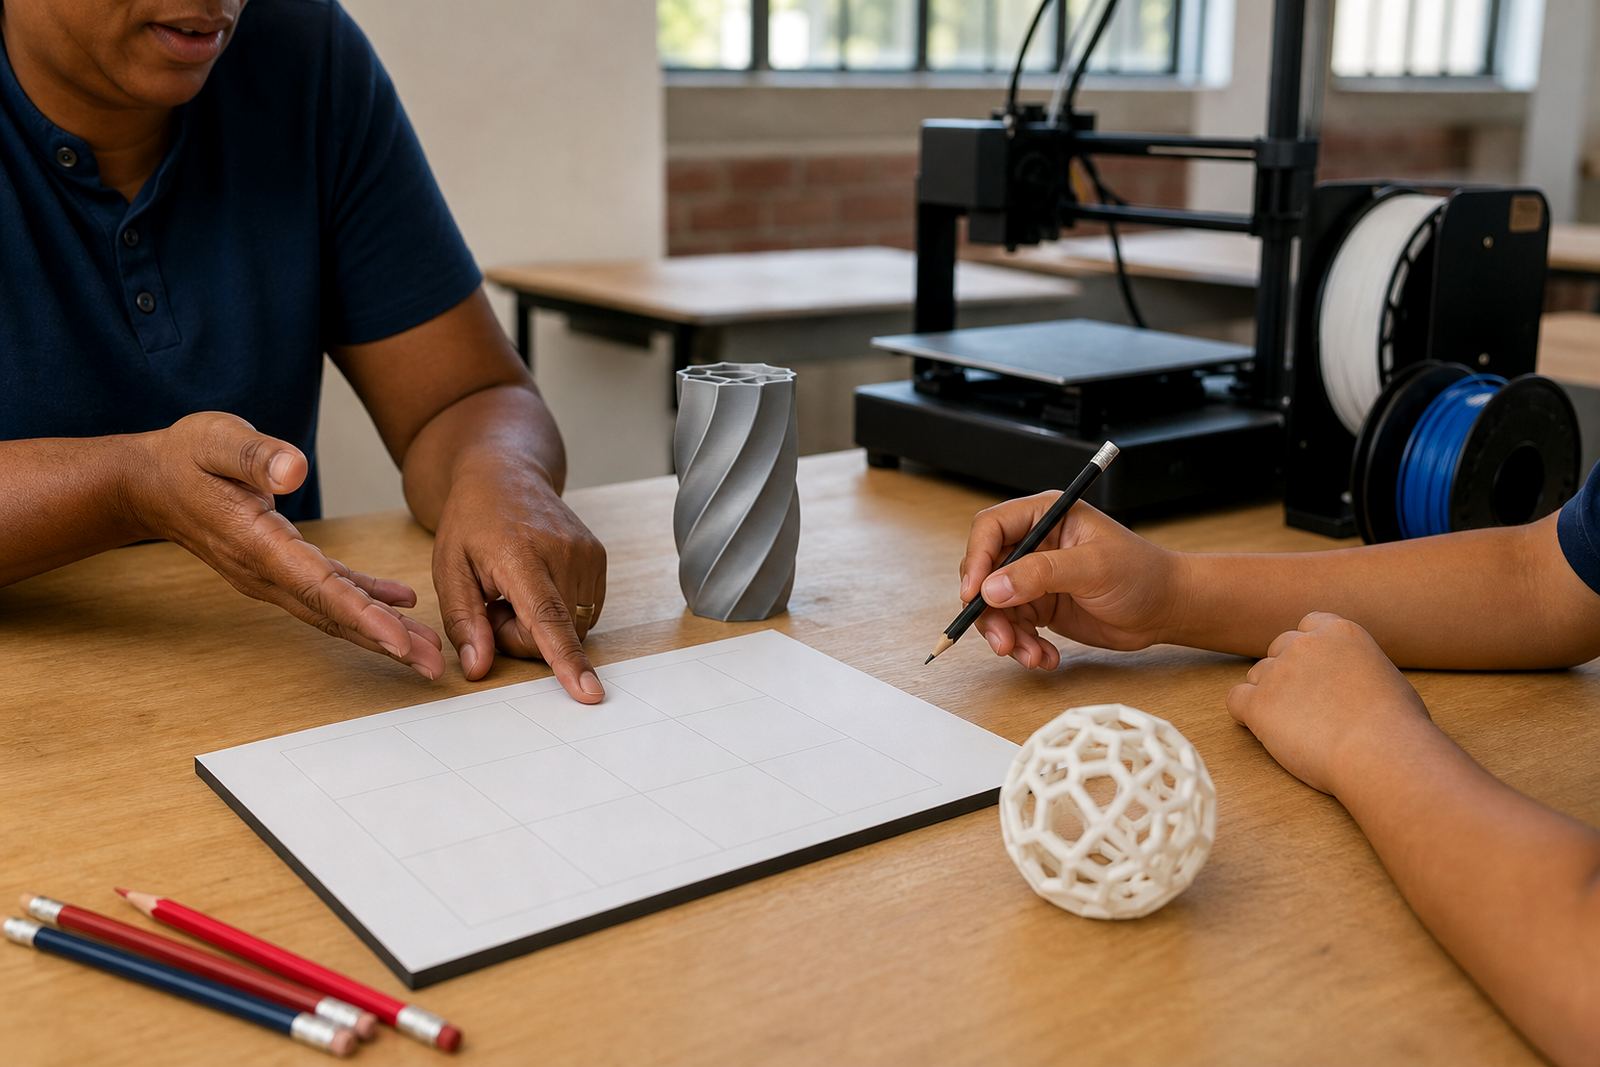
One of the best ways to assess understanding is to ask learners to explain their choices. This can be done in writing, in a short oral discussion, or through annotated diagrams. When learners describe why they chose a certain shape, wall thickness or orientation, teachers can see whether they understand the printing process or are just copying steps.
This is especially helpful for mixed-ability classes. A learner who struggles with drawing may still explain the design well, while another learner may make a neat model but not understand the printer settings. Reflection levels the field a bit and gives each learner a fairer chance to show what they know.
In a school workshop, a short verbal check at the end can be enough. Ask what failed, what was adjusted, and what they would change next time. Those answers often reveal more than a polished print ever will.
A local example from a Western Cape classroom
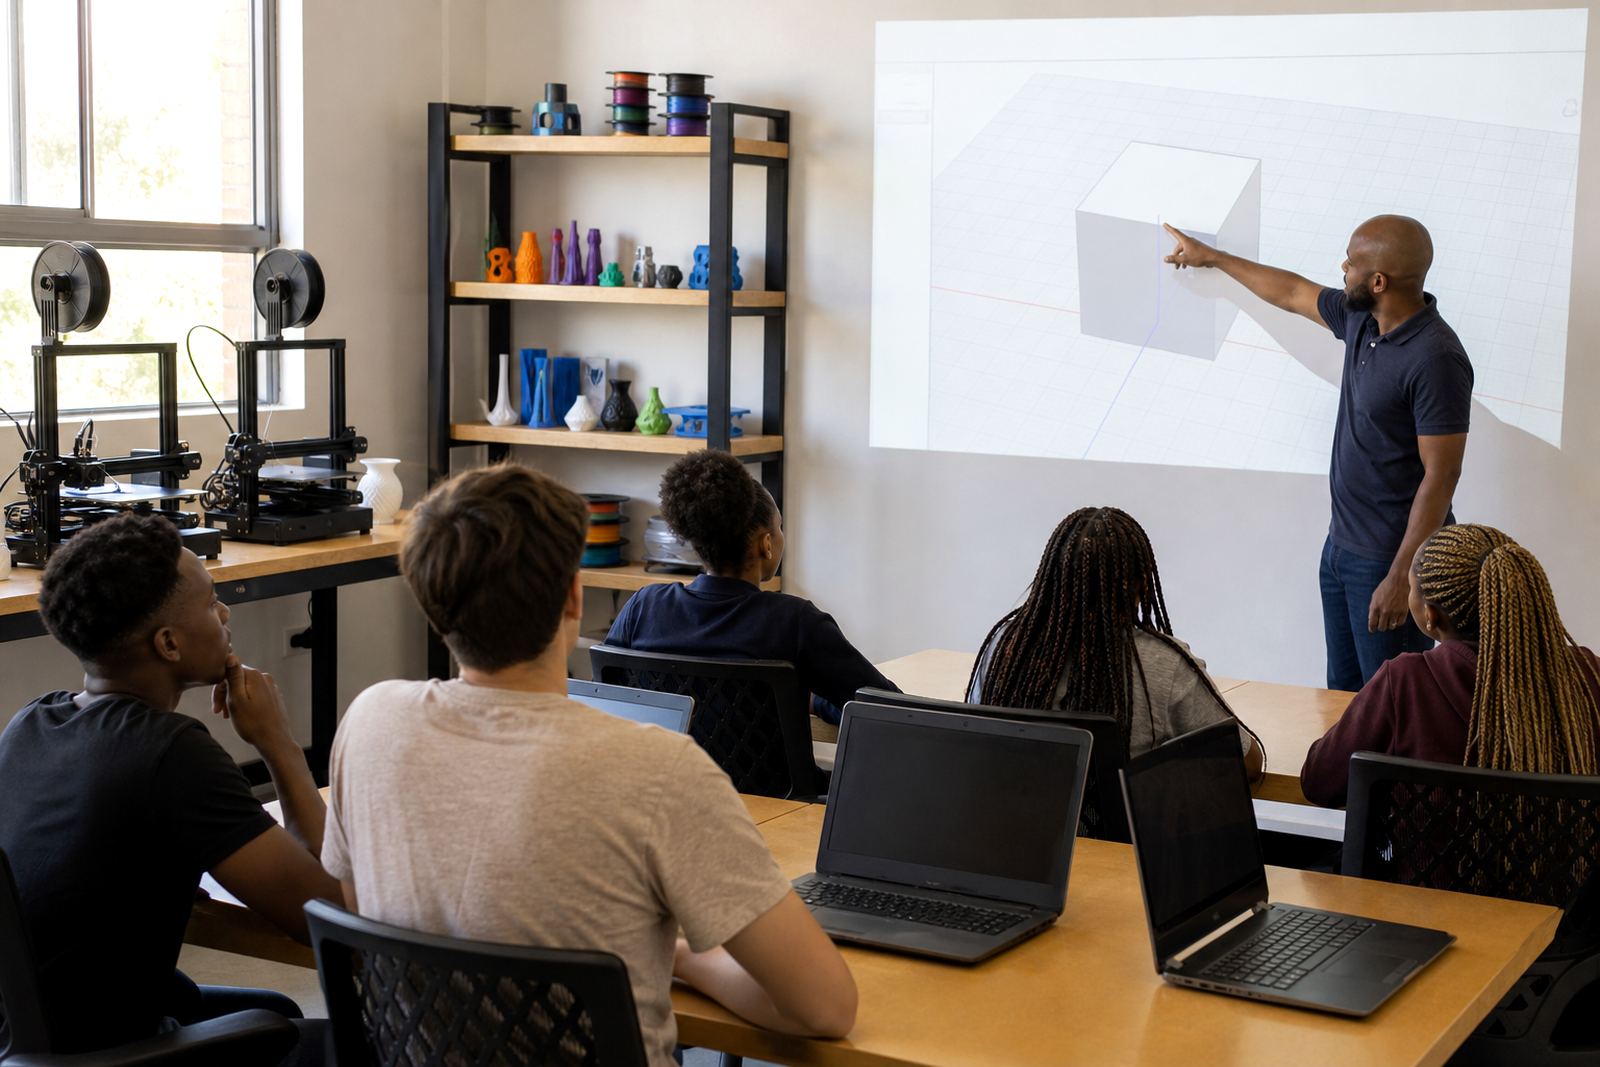
Imagine a Technology class in Somerset West working on a simple classroom tool holder. The teacher sets the task in three parts. First, learners sketch the item and label the dimensions. Second, they prepare a digital model and check whether it will fit the intended counter space. Third, they print the item, inspect it and write a short reflection on the process.
The marking sheet gives equal weight to planning, printing and reflection. Learners who need extra support can still earn marks for good measurement and sound reasoning, even if their print has minor flaws. Another learner may achieve a clean print but lose marks for skipping the planning stage. That balance makes the assessment more honest and more useful for teaching.
For schools across South Africa, this kind of task also helps teachers manage limited printer time. While one group prints, another can complete reflections, label diagrams or prepare the next file. The lesson stays active and the equipment is used properly.