Why tidy tools matter in a busy school lab
In a school 3D-printing lab, the small things go missing first. Hex keys, side cutters, scrapers, tweezers and USB cards all seem to vanish when several classes use the same room. Once that happens, teachers lose time, learners lose patience and the lab starts to feel harder to manage than it should be.
Good tool organisation is not about making the room look neat for a photo. It supports daily teaching. When tools have a fixed place, learners can return them quickly, teachers can check stock at a glance, and the next group can start on time. It also helps with safety, because sharp or hot tools are less likely to be left lying around after a lesson.
For schools in Stellenbosch, Cape Town or further afield, tidy systems are especially useful where multiple groups share one lab. A simple method that works on a Monday morning should still work after a full week of holiday programme sessions, maker club meetings and teacher workshops.
Start with zones that match the way the lab is used
The easiest way to organise tools is to split the room into clear zones. Keep one area for printer operation, one for model prep, one for maintenance and one for completed parts. When tools stay in the zone where they are used, learners spend less time walking around and more time working carefully.
A practical setup might include labelled tubs or drawers for the most common items. Keep everyday tools in the main teaching area and reserve less-used items for a closed cupboard. In a school lab, clear separation matters because people move in and out quickly, especially between periods. If everything sits in one pile, the room can feel cluttered very fast.
- Keep printer tools close to the machines they service
- Store cutting and finishing tools in a supervised area
- Use a separate box for spare nozzles, belts and fittings
- Keep consumables such as filament cutters and glue sticks in a labelled drawer
This kind of layout works well even in a smaller room, because it reduces guesswork. Learners know where to fetch and return items, and teachers can spot missing tools before the next class begins.
Labels, shadow boards and clear storage save teaching time
Labels are one of the cheapest ways to keep order. A label on a drawer, tub or shelf tells learners exactly where something belongs. In a lab where more than one educator uses the same space, labels remove the need for repeated reminders.
Shadow boards can help too. These are boards with outlines showing where each tool should hang or sit. If a pair of pliers or a screwdriver is missing, it is easy to see at once. For schools, this can work well for frequently used maintenance tools. It also helps learners develop a habit of checking equipment before and after a task.
Transparent containers are useful for small parts, but do not overload them. If a box is packed full, learners stop seeing what is inside and the system fails. Leave some space so the contents remain clear. In a humid coastal town like Gqeberha, sealed containers can also help protect metal tools from rust and damp air.
- Use large printed labels, not handwritten notes that fade
- Mark items by category, size or task where needed
- Keep small spares in a lidded container with a count sheet
- Check that labels stay readable after cleaning and daily use
Simple check-out habits prevent missing tools
Even the neatest storage system will slip if tools move without a record. A basic check-out routine keeps everyone accountable. It does not need to be complicated. A clipboard, register or sign-out sheet is enough for most school labs.
Each group can collect a standard kit at the start of the lesson and return it at the end. The teacher or facilitator then checks that all items are back in place before the next class enters. This is especially useful for shared maker spaces where different grade groups work in rotation.
For higher-risk items such as craft knives, hot tools or small blades, the record should be even stricter. Only issue them when needed and collect them immediately after use. A little bit of routine saves a lot of searching later, and it teaches learners that shared equipment must be treated with care.
In larger schools, one staff member may oversee stock while another handles teaching. That division works best when the lab has a clear handover process. When tools are counted at the start and end of the day, missing items are identified early instead of being discovered weeks later.
Choose storage that suits the room and the weather
South African school labs are not all the same. A room in Stellenbosch may face warm afternoons and dust from open doors, while a coastal school may deal with salt air and damp mornings. Storage choices should suit the building and the local conditions.
Closed cupboards protect tools from dust, but they need to be easy to open and simple to organise. Open shelving works well for larger items that are used often, provided the shelves are kept orderly. Heavy tools should sit lower down so they are safer to lift. Lightweight items can go higher up, but never so high that learners must stretch unsafely to reach them.
If the lab has load-shedding interruptions, keep a small emergency kit in one clearly marked container. Include a torch, spare batteries, a manual screwdriver set, a basic cleaning cloth and any items needed to safely pause a print or shut down equipment. That way, a power cut does not turn into a full room scramble.
Where moisture is a concern, avoid cardboard boxes for long-term storage. Plastic tubs with lids are more durable, and they are easier to wipe down after a busy term. A small desiccant pack in a sealed container can help with sensitive parts, though it should be checked regularly and replaced when needed.
Teach learners the habit, not just the rule
Tool organisation lasts longer when learners understand why it matters. If they only hear instructions like “put it back”, the habit can fade. When they are shown how tidy storage saves time, protects equipment and keeps the room safe, they are more likely to follow the system.
Teachers can build this into daily routines. For example, ask one learner to check the tool tray at the end of the lesson, another to wipe down the work area, and a third to confirm that hot tools are switched off. Rotate the roles so everyone learns the process. In time, the lab becomes easier to reset because the group is doing the work together.
A short induction at the start of term can help too. Show learners where tools live, how they are counted and what should be reported immediately. Explain that broken or missing items must be flagged early rather than hidden away. That small step protects the rest of the class and keeps the room ready for the next group.
- Demonstrate the storage system before first use
- Assign a daily tidy-up role to each class
- Replace missing items as soon as possible
- Praise good housekeeping as part of the practical lesson
A Stellenbosch example that works across the week
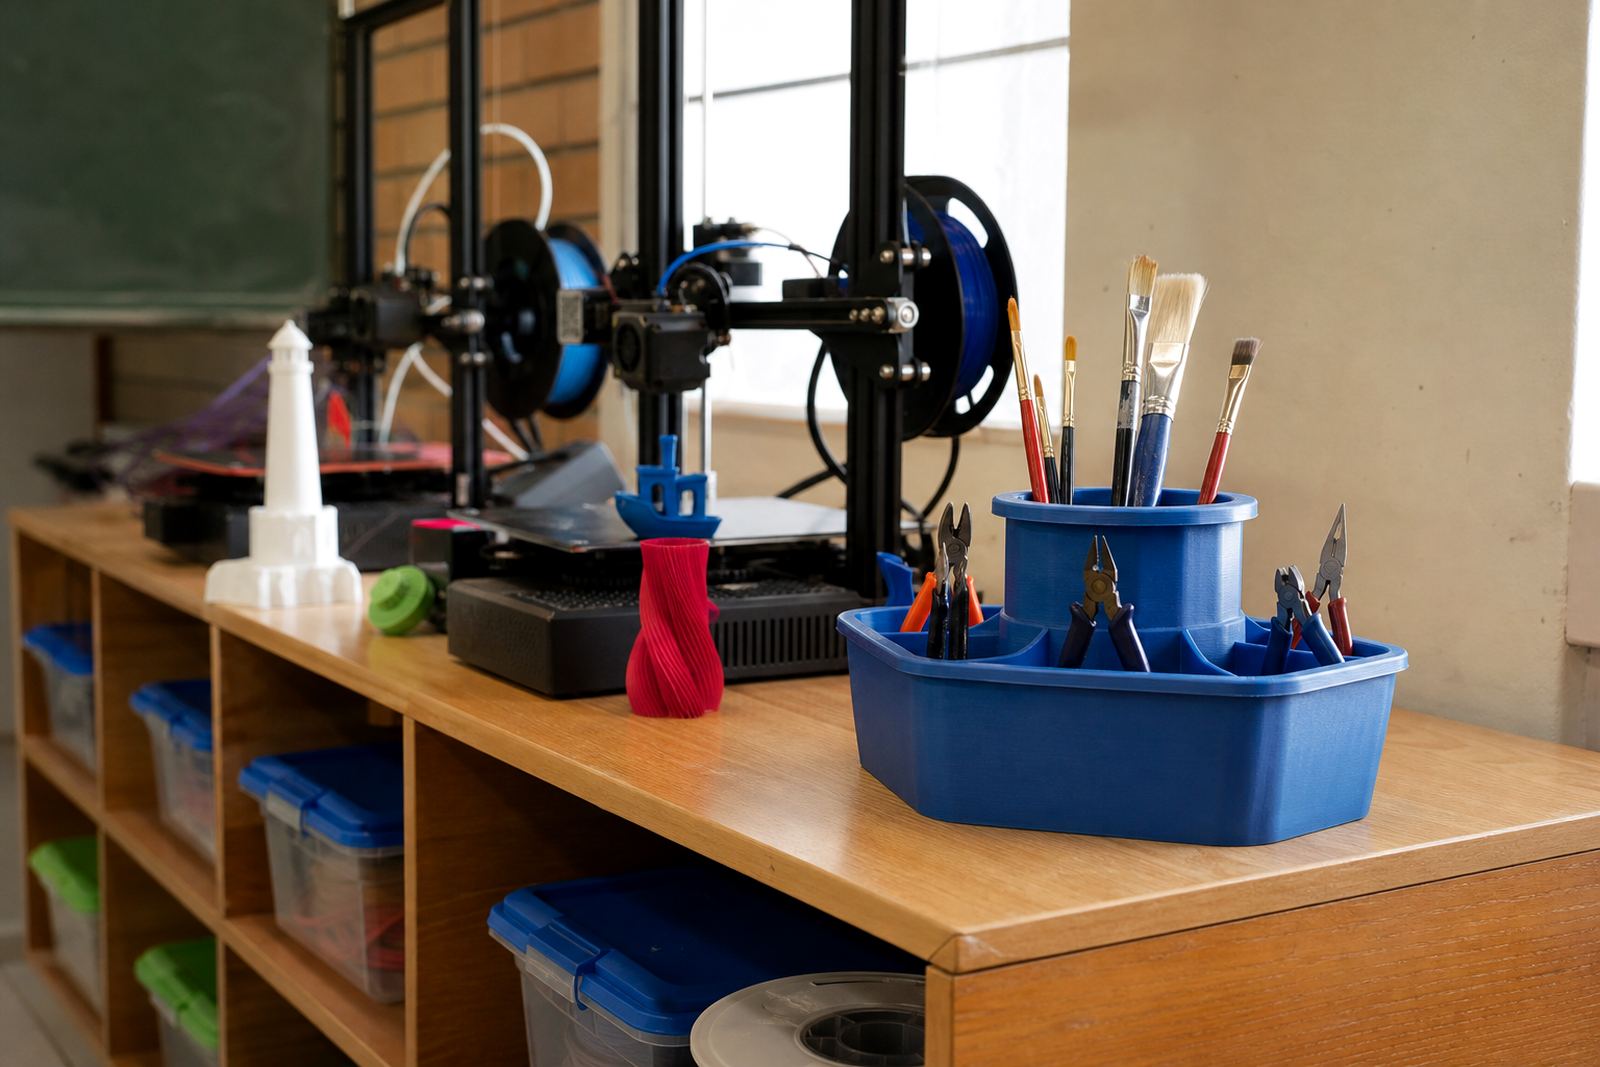
In a Stellenbosch school lab running several 3D-printing sessions each week, a simple tool board and labelled tubs can make a big difference. One tray holds the common printer tools, another keeps model-finishing items, and a closed cupboard stores spare parts and maintenance gear. The teacher can see at once if something is missing, and learners quickly learn to return everything to the same spot.
That same system can be adapted for Cape Town, Johannesburg, Pretoria, Durban or Gqeberha, because the principle stays the same. Keep it visible, keep it simple and keep it consistent. Once the room has a reliable system, the lab feels calmer, lessons move faster and tool loss drops noticeably, even during a busy term.
For schools introducing 3D printing for the first time, tidy tools are one of the easiest places to start. They set the tone for the whole lab and give learners a practical lesson in responsibility before the first model is even printed.