Start with the learning goal, not the machine
Before a school buys any equipment, it helps to decide what the lab must do. Is the focus on design thinking, maker projects, Technology and Engineering tasks, or a shared space for multiple subjects? A clear purpose keeps the setup simple and stops the room from turning into a storage area for unused parts.
For many schools in Stellenbosch and the wider Western Cape, the first step is to match the lab to the age group that will use it most often. Younger learners need shorter print jobs and more hands-on supervision. Older learners can manage more of the process, including basic CAD work, file preparation and simple maintenance routines.
It also helps to define who will own the space. One teacher can lead it, but a small support team usually works better when the room is used by several grades. That way the printer is not tied to one timetable only, and other staff members can step in when there is a busy term or a sickness issue.
Choose a room that can handle heat, noise and movement
A school 3D printing area does not need a full workshop, but it does need a calm room with power points, ventilation and enough bench space. A corner in a science lab, library tech room or spare classroom can work if it is planned properly. The room should be easy to supervise and not tucked away behind heavy traffic where learners come and go all day.
In South Africa, power interruptions and summer heat need to be considered from the start. A printer sitting in a hot, dusty room will not perform as well, and coastal humidity can affect filament storage. At schools near the coast, keep materials sealed in dry containers. In hotter inland towns, try to avoid placing printers close to windows with direct sun or near a noisy fan that shakes the table.
- Place printers on stable tables that do not wobble when learners walk past.
- Keep a clear space around each machine for safe access and maintenance.
- Store filament, tools and spare parts in labelled containers, not loose on shelves.
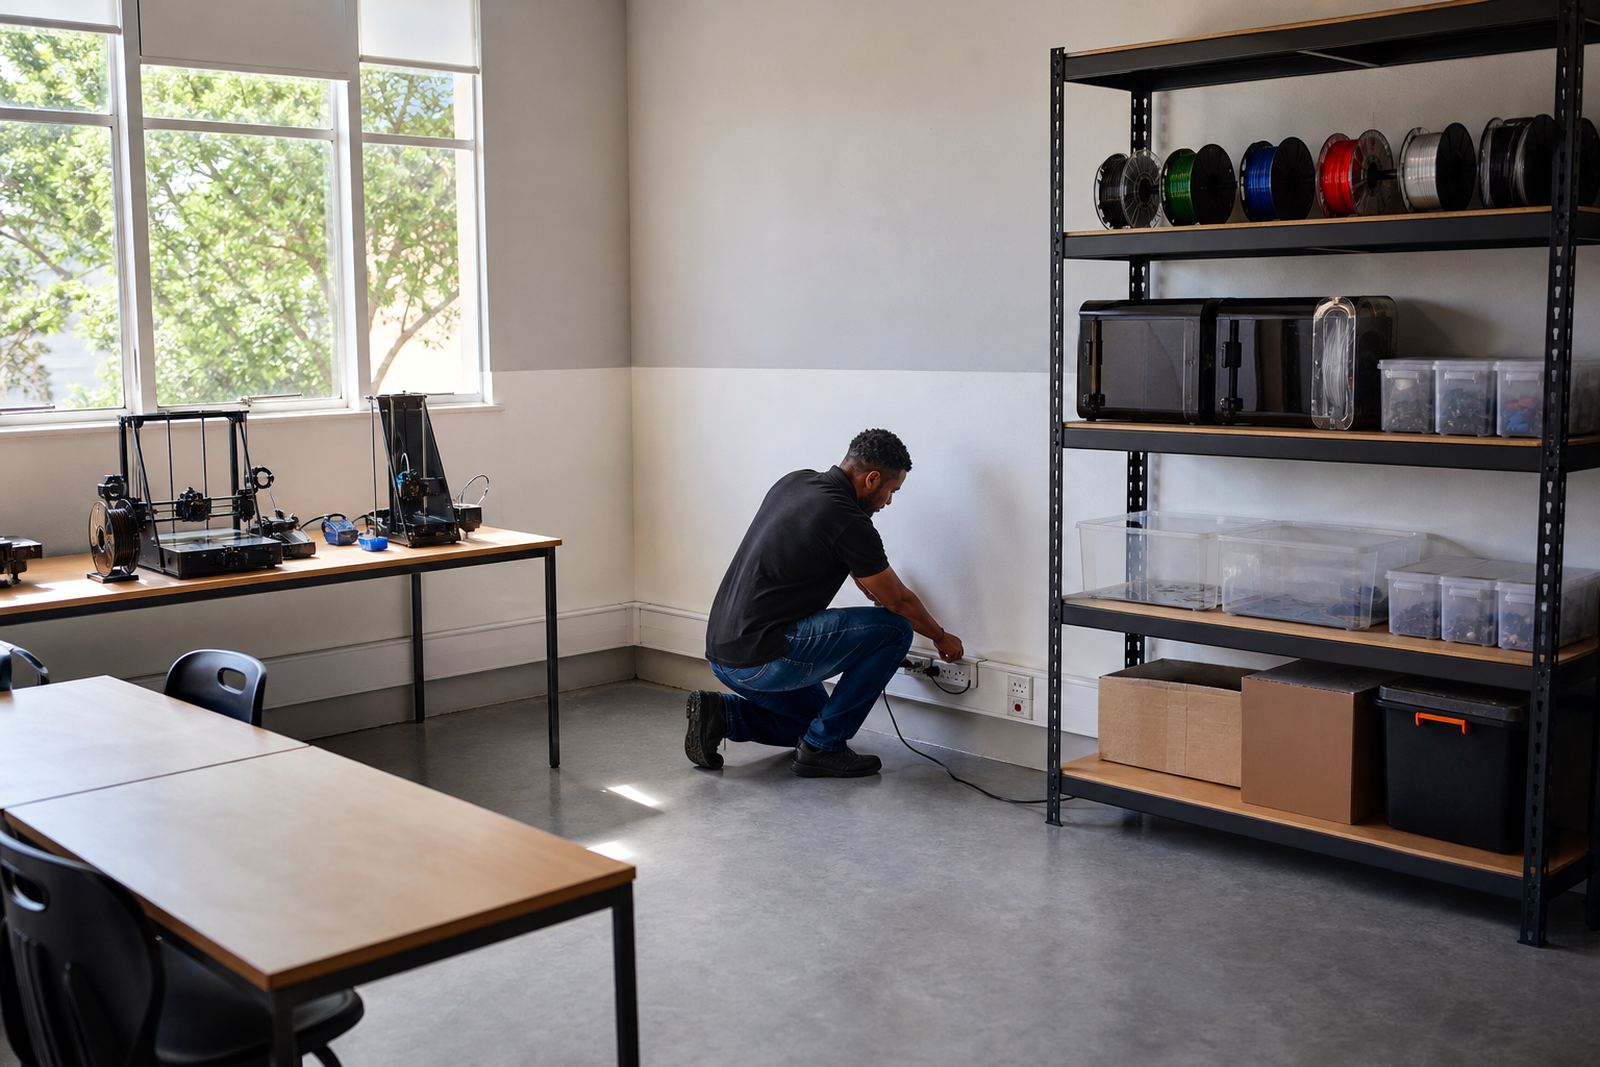
- Use enough plug points so leads do not run across walkways.
Build the lab around routines, not special occasions
A successful lab works because the same steps happen every time. Learners should know when they may touch the printer, who checks the file, where the tools go, and what to do when a print fails. If the room only opens for special events, equipment often sits idle and staff lose confidence. Regular class use creates familiarity and better care of the machines.
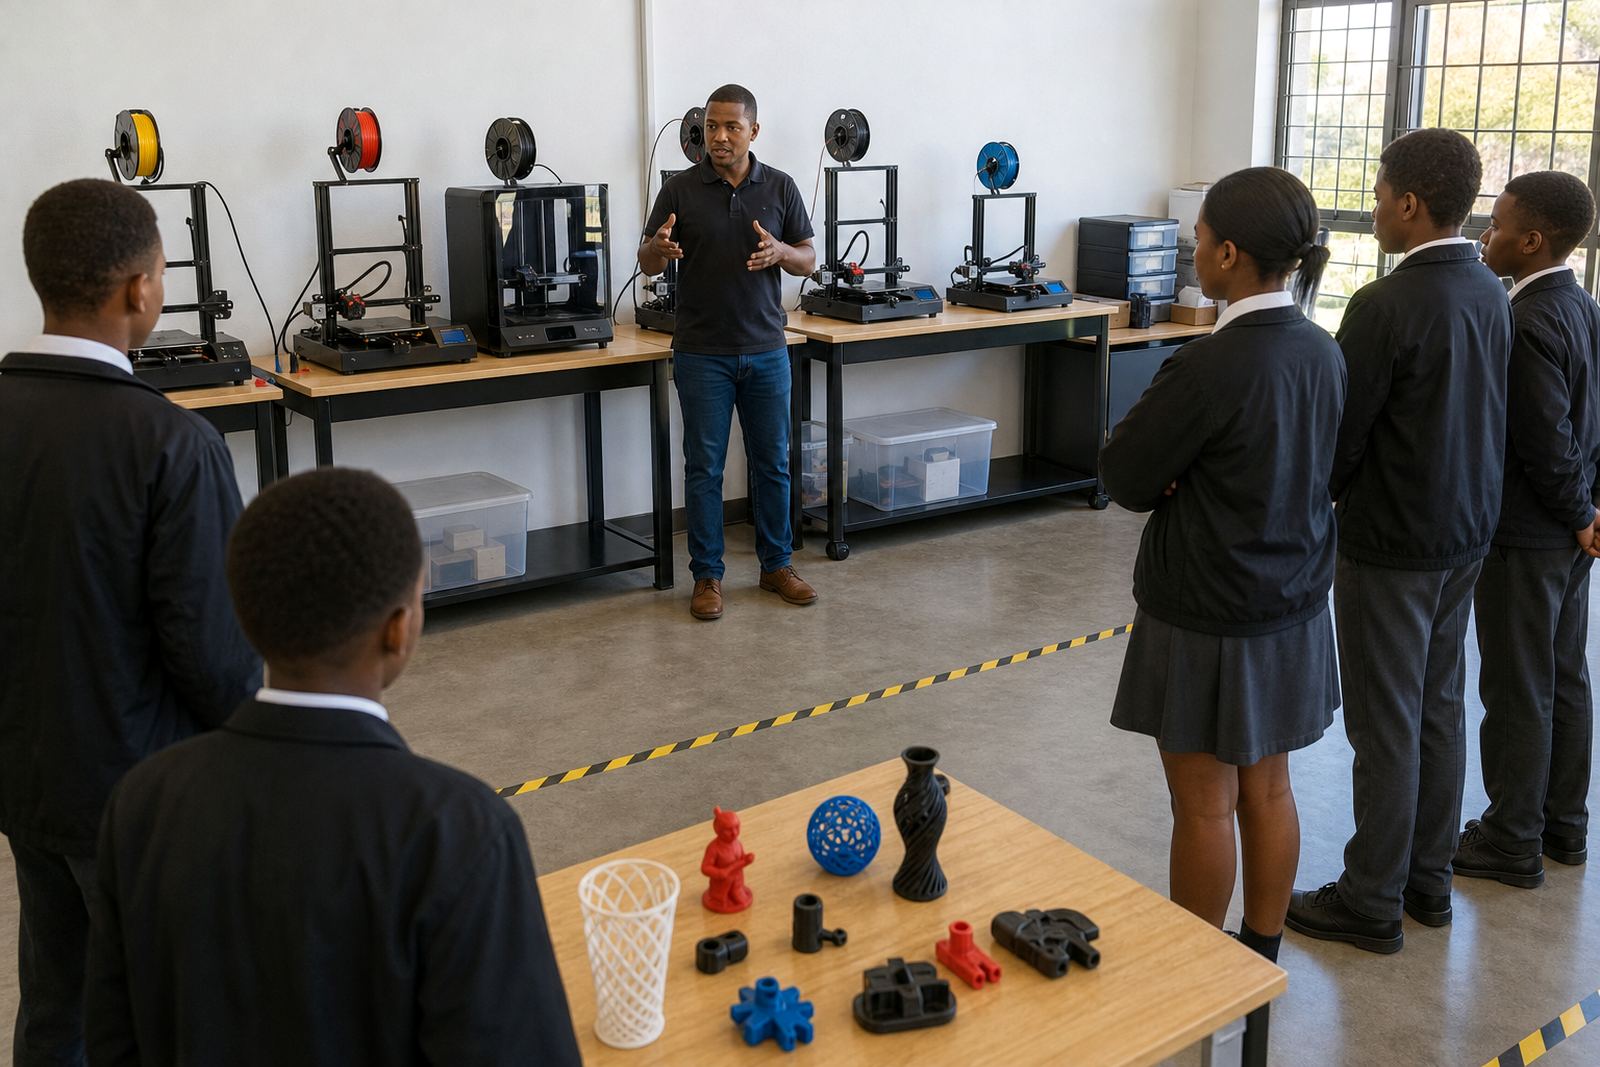
The best schools start with a small set of clear rules. Keep prints supervised, do not reach into moving parts, and only remove models after the bed has cooled. That sounds basic, but it prevents injuries and damaged prints. It also teaches learners that technology needs patience and process, not guesswork.
For a first lab, one or two printers are usually enough. A single well managed machine can teach more than a room full of equipment nobody knows how to use. Schools can then add capacity once the teachers are comfortable with loading material, starting jobs and checking the results.
Train staff before the timetable starts
The biggest risk in a new 3D printing space is not the machine, it is uncertainty. If teachers are unsure how to slice a file, load filament or clear a simple fault, the lab becomes stressful. A short staff introduction can make a big difference because it shows the team what is possible and where the limits are.
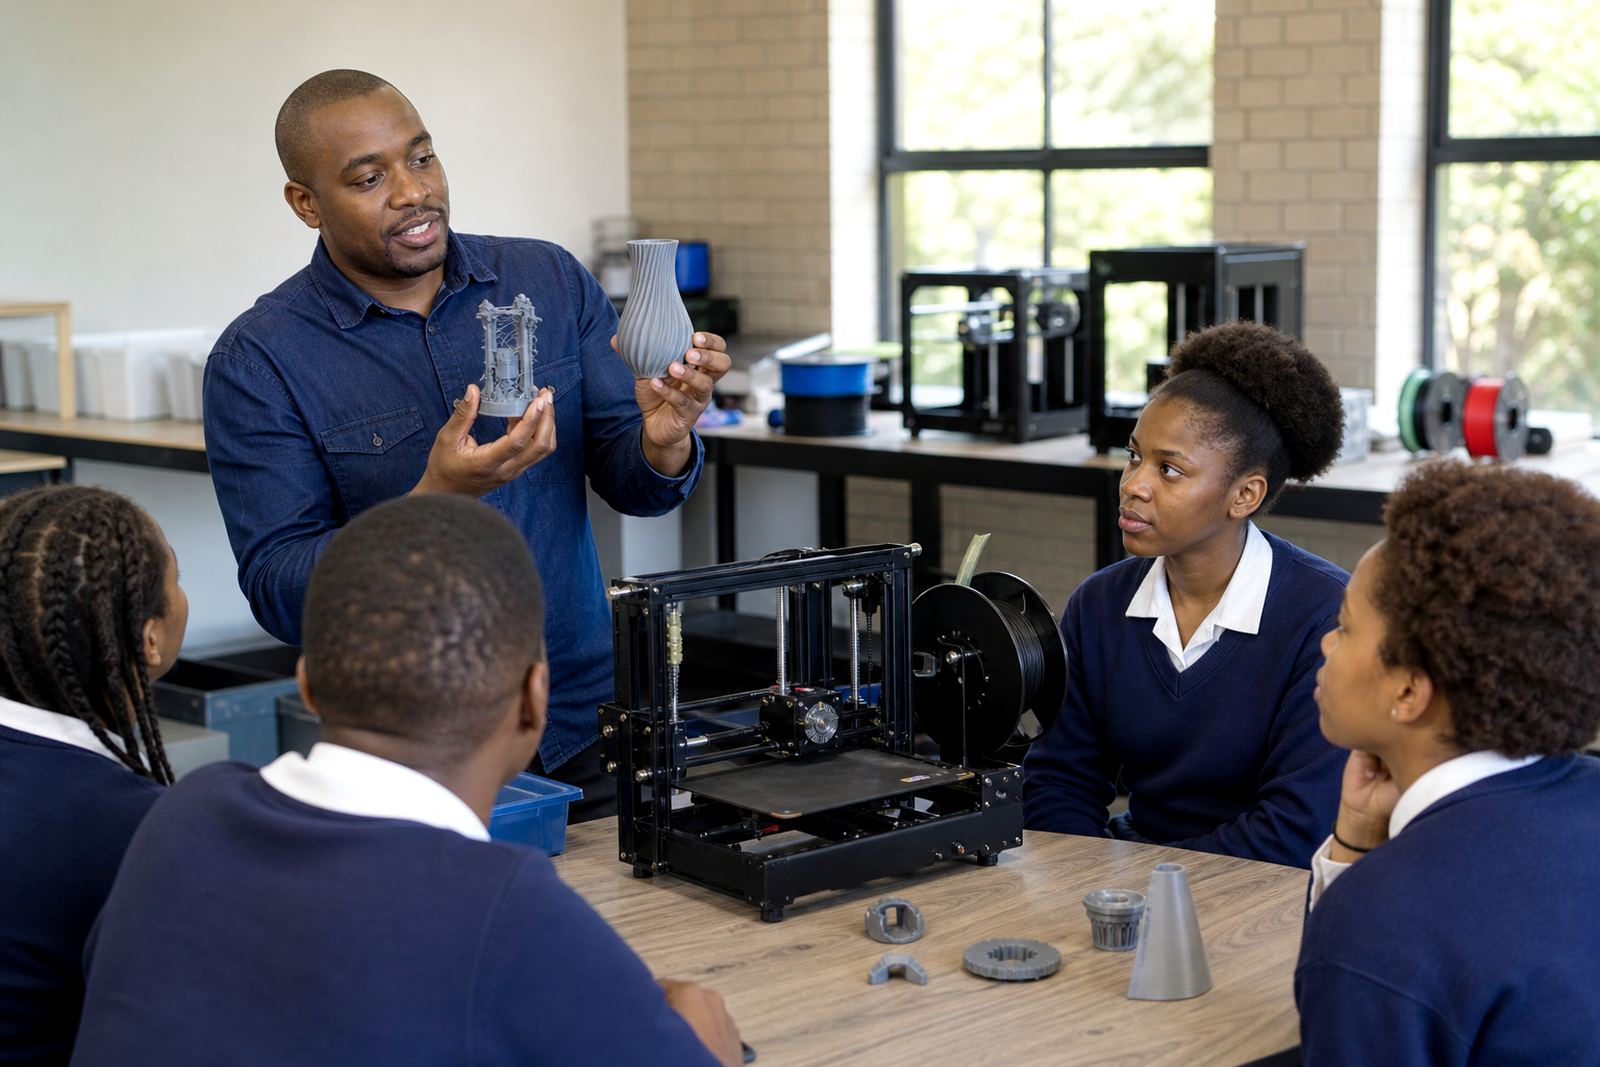
Good training should cover design basics, printer operation, project planning and what to do when a print fails halfway through. It should also explain how to manage class groups, because one teacher can only monitor so many learners at once. When staff understand the sequence from idea to finished object, they are more likely to use the lab often.
- Start with one lead teacher and one backup staff member.
- Use sample projects that fit the time available in a normal school week.
- Keep written steps near the printer for loading, starting and stopping a job.
- Review common errors after the first few lessons and adjust the process.
Match the kit to school use, not showroom use
School lab kits should be practical. That means enough material for steady classroom use, basic tools for cleanup and finishing, and storage that keeps everything in order. Teachers do not need complicated extras just to get started. What they do need is a setup that can handle repeated use, simple maintenance and safe storage between lessons.
A good starter kit usually includes the printer, filament, tools for removing prints, spare nozzles or other common wear items, and a place to keep everything organised. If several classes will use the room, labelling is very helpful. Learners should know which items are for setup, which are for cleaning, and which are only for staff use.
Schools in Cape Town, Johannesburg, Pretoria, Durban and Gqeberha often face different room conditions, but the same rule applies everywhere: keep the setup straightforward enough that another teacher can take over if needed. A lab that depends on one person becomes vulnerable during exams, sport seasons and end-of-term pressure.
Use local examples to plan projects that matter
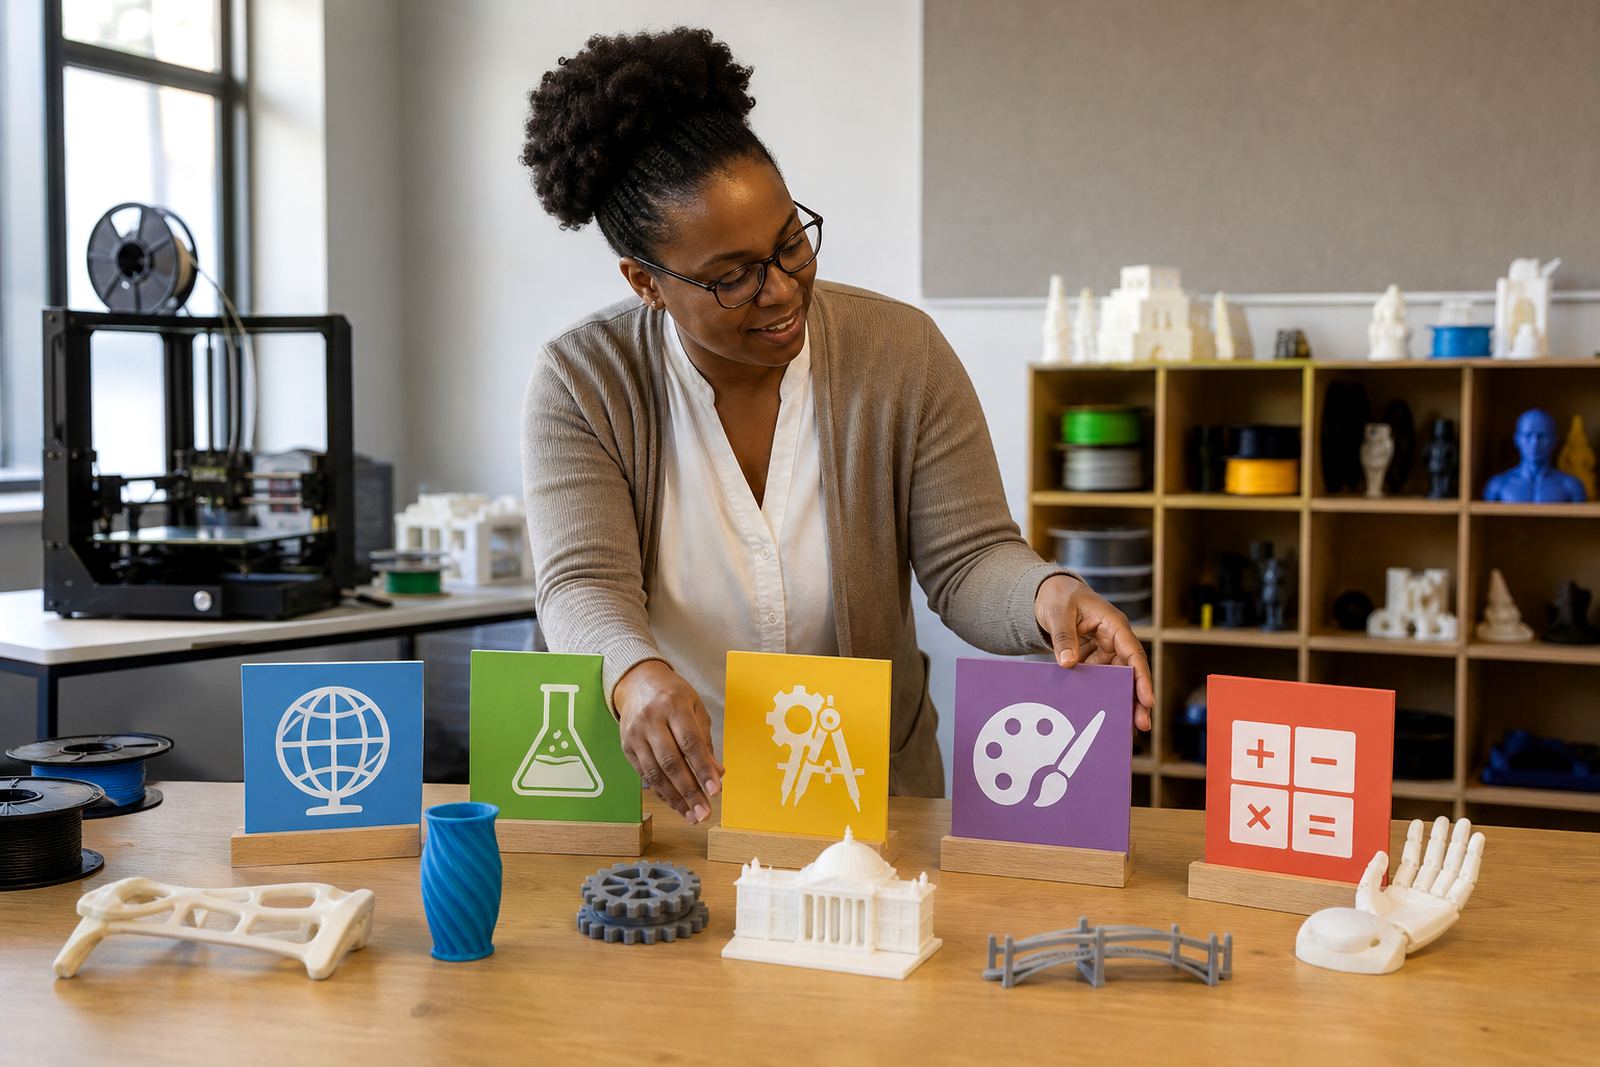
When schools ask what to print first, the answer should be connected to the curriculum and the learner group. Small design tasks work well at the start, such as classroom labels, simple mechanical parts, science models or a housing piece for a school project. These are practical, low-risk jobs that show learners how digital design becomes a physical object.
In Stellenbosch, a school might use the lab for a Grade 9 prototype linked to a local environmental topic, while a coastal school in Gqeberha may focus on a project that fits a marine or engineering theme. The point is not to print for the sake of printing. It is to show learners how design choices affect size, strength and finish.
Once the first few projects are done, teachers can plan more ambitious work such as learner portfolios, maker club activities or holiday programmes. These keep the lab active and create a steady rhythm through the year, which is usually better than one-off use during a single term.
Plan for maintenance from day one
Every school lab needs a simple maintenance routine. Printers collect dust, build plates need cleaning and parts wear down over time. If nobody is assigned to check the equipment, small problems become larger ones. It is better to spend a few minutes after each session than to lose a whole week to a preventable fault.
Set aside time for basic checks and keep a written log of what was printed, what material was used and whether there were any issues. This helps staff spot patterns early. It also supports better budgeting because the school can see which parts or materials are used most often.
A first 3D printing area should feel manageable. If the room is organised, the staff are trained and the purpose is clear, the lab can become a practical part of everyday teaching rather than a once-off novelty. That is where the real value lies.